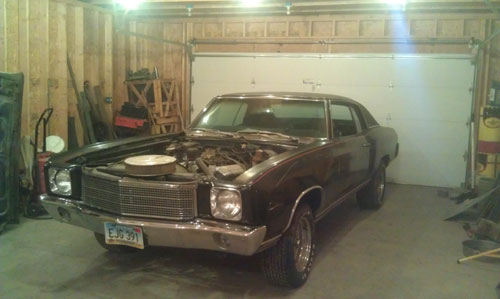
1970 Triple Black 402 Big Block Monte Carlo
Page 6
For Sale!
June 1 2013
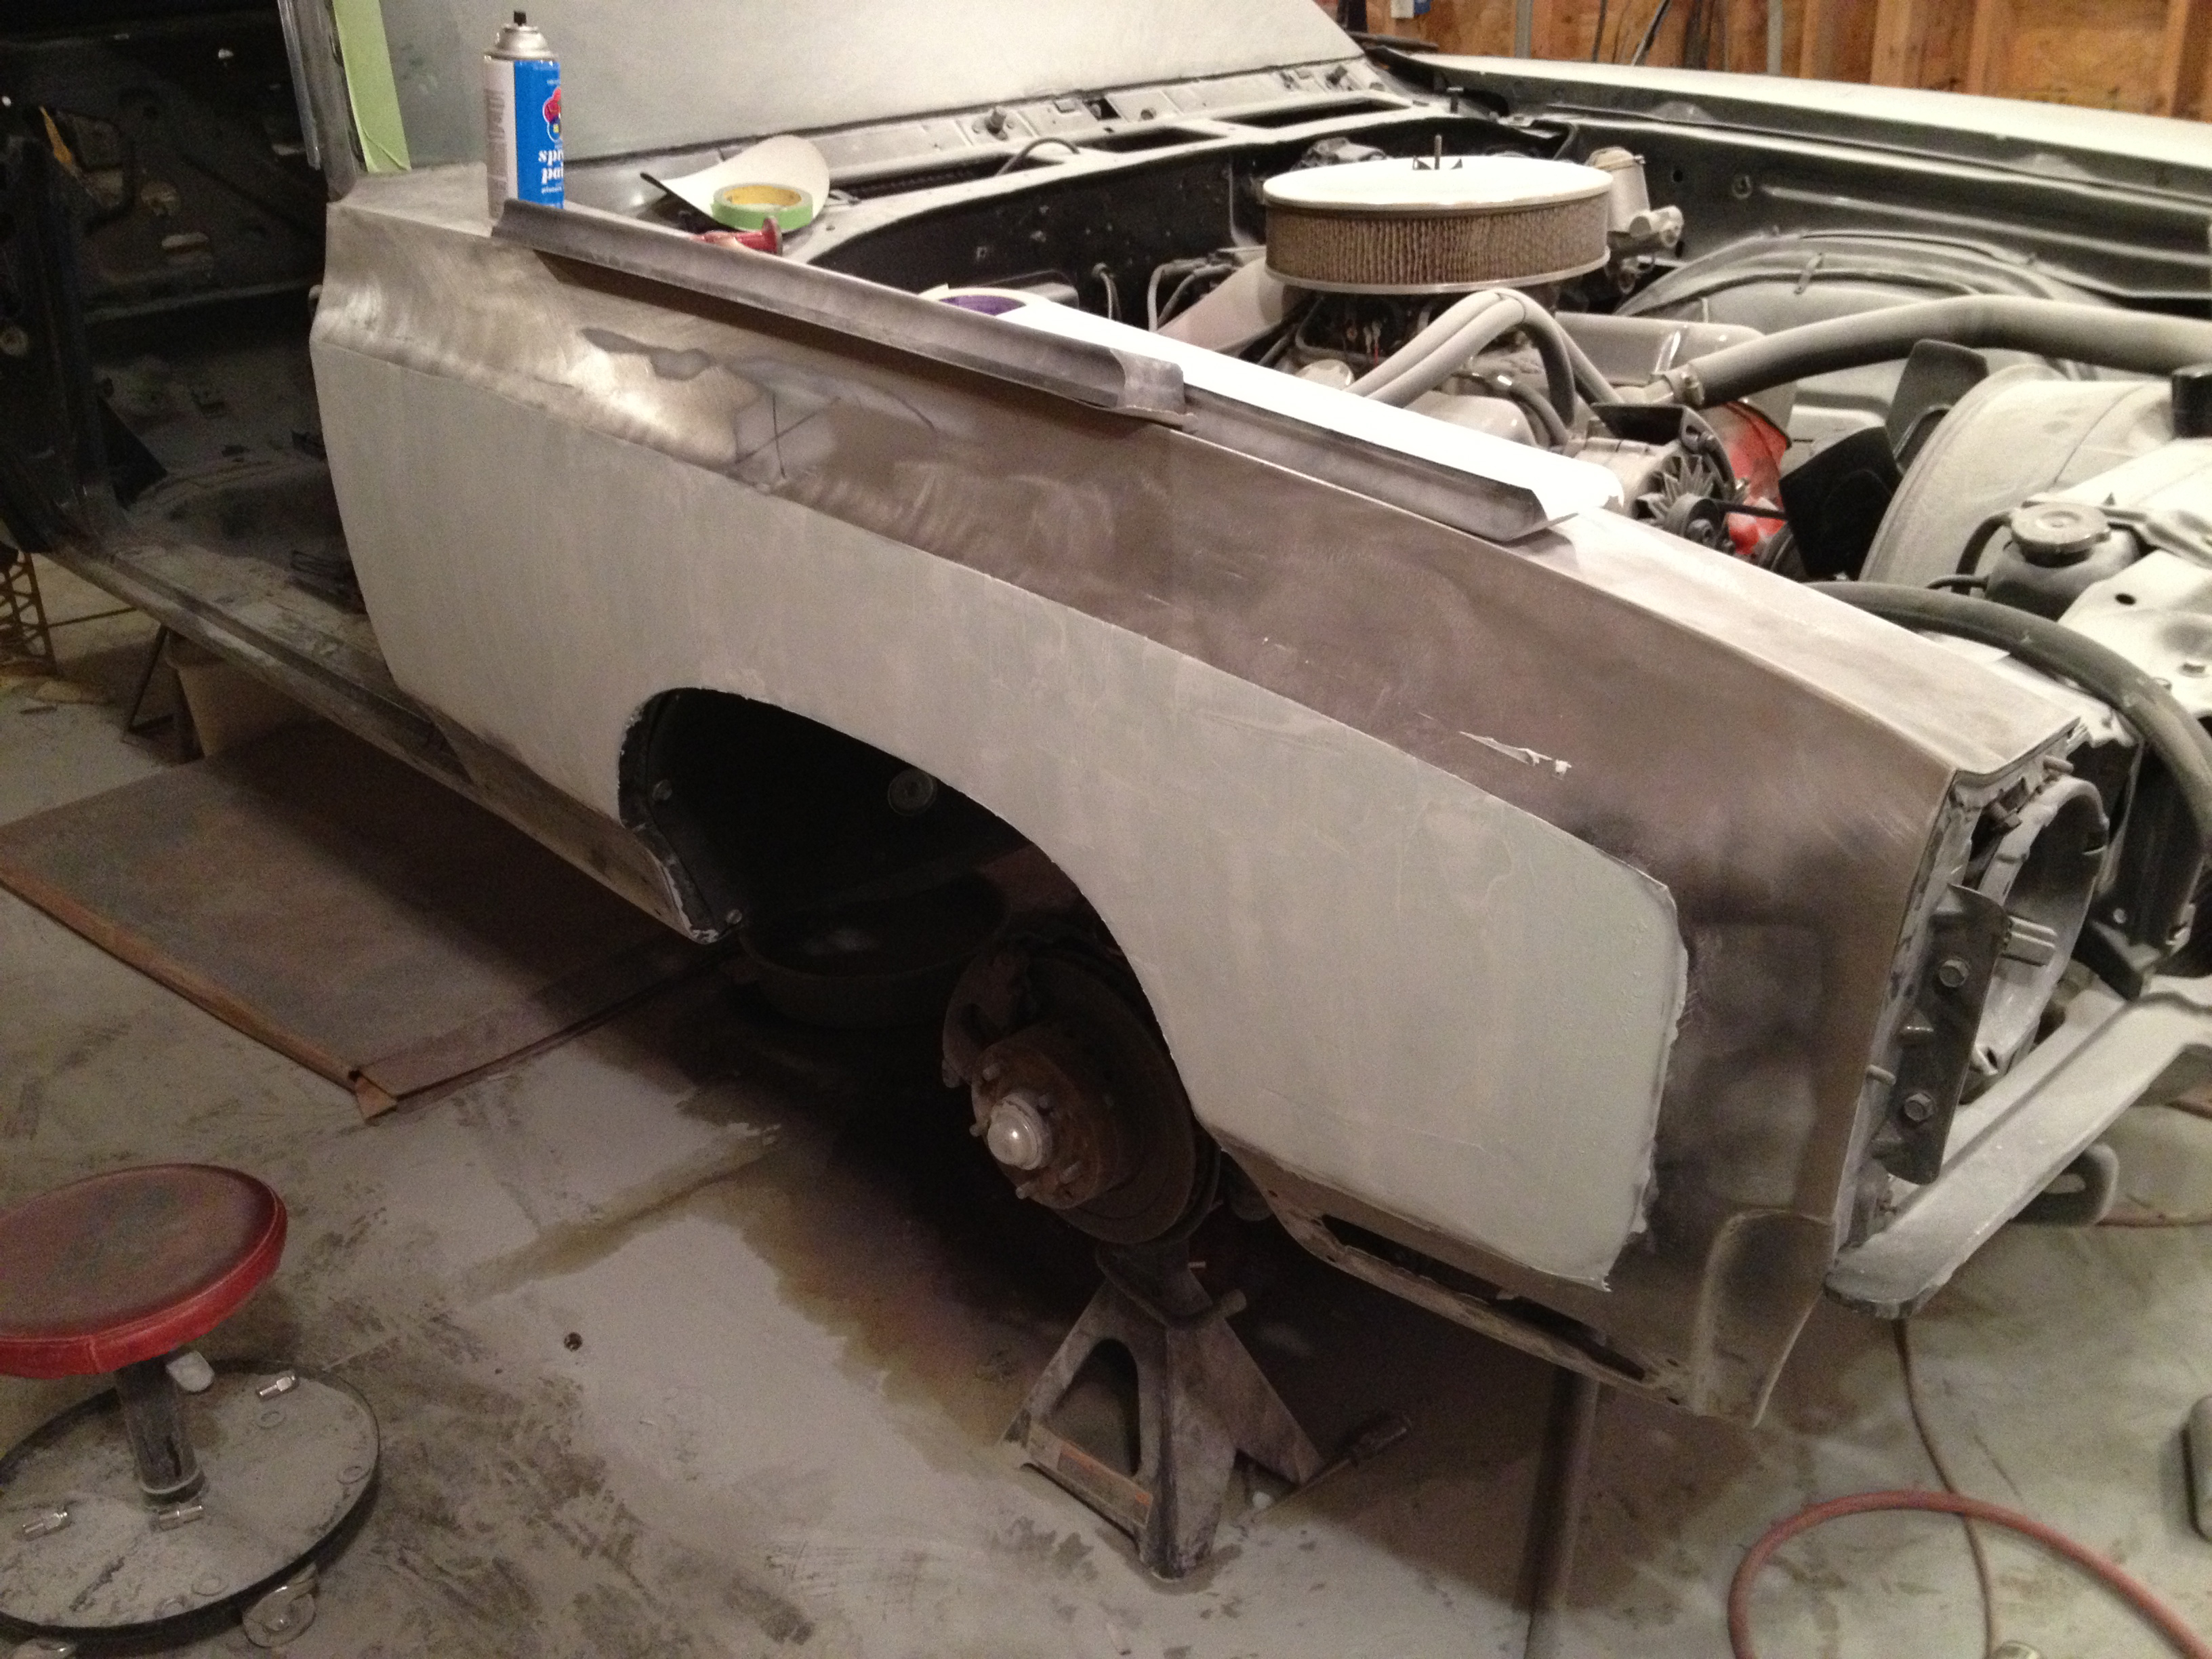
After taking the passenger rear quarter down to metal I uncovered a TERRIBLE patch job behind the wheel opening in the lower quarter.
Someone had simply laid a homemade patch over the rusted metal and spotted it in place. Then a liberal coat of body filler was used to hide the whole mess.
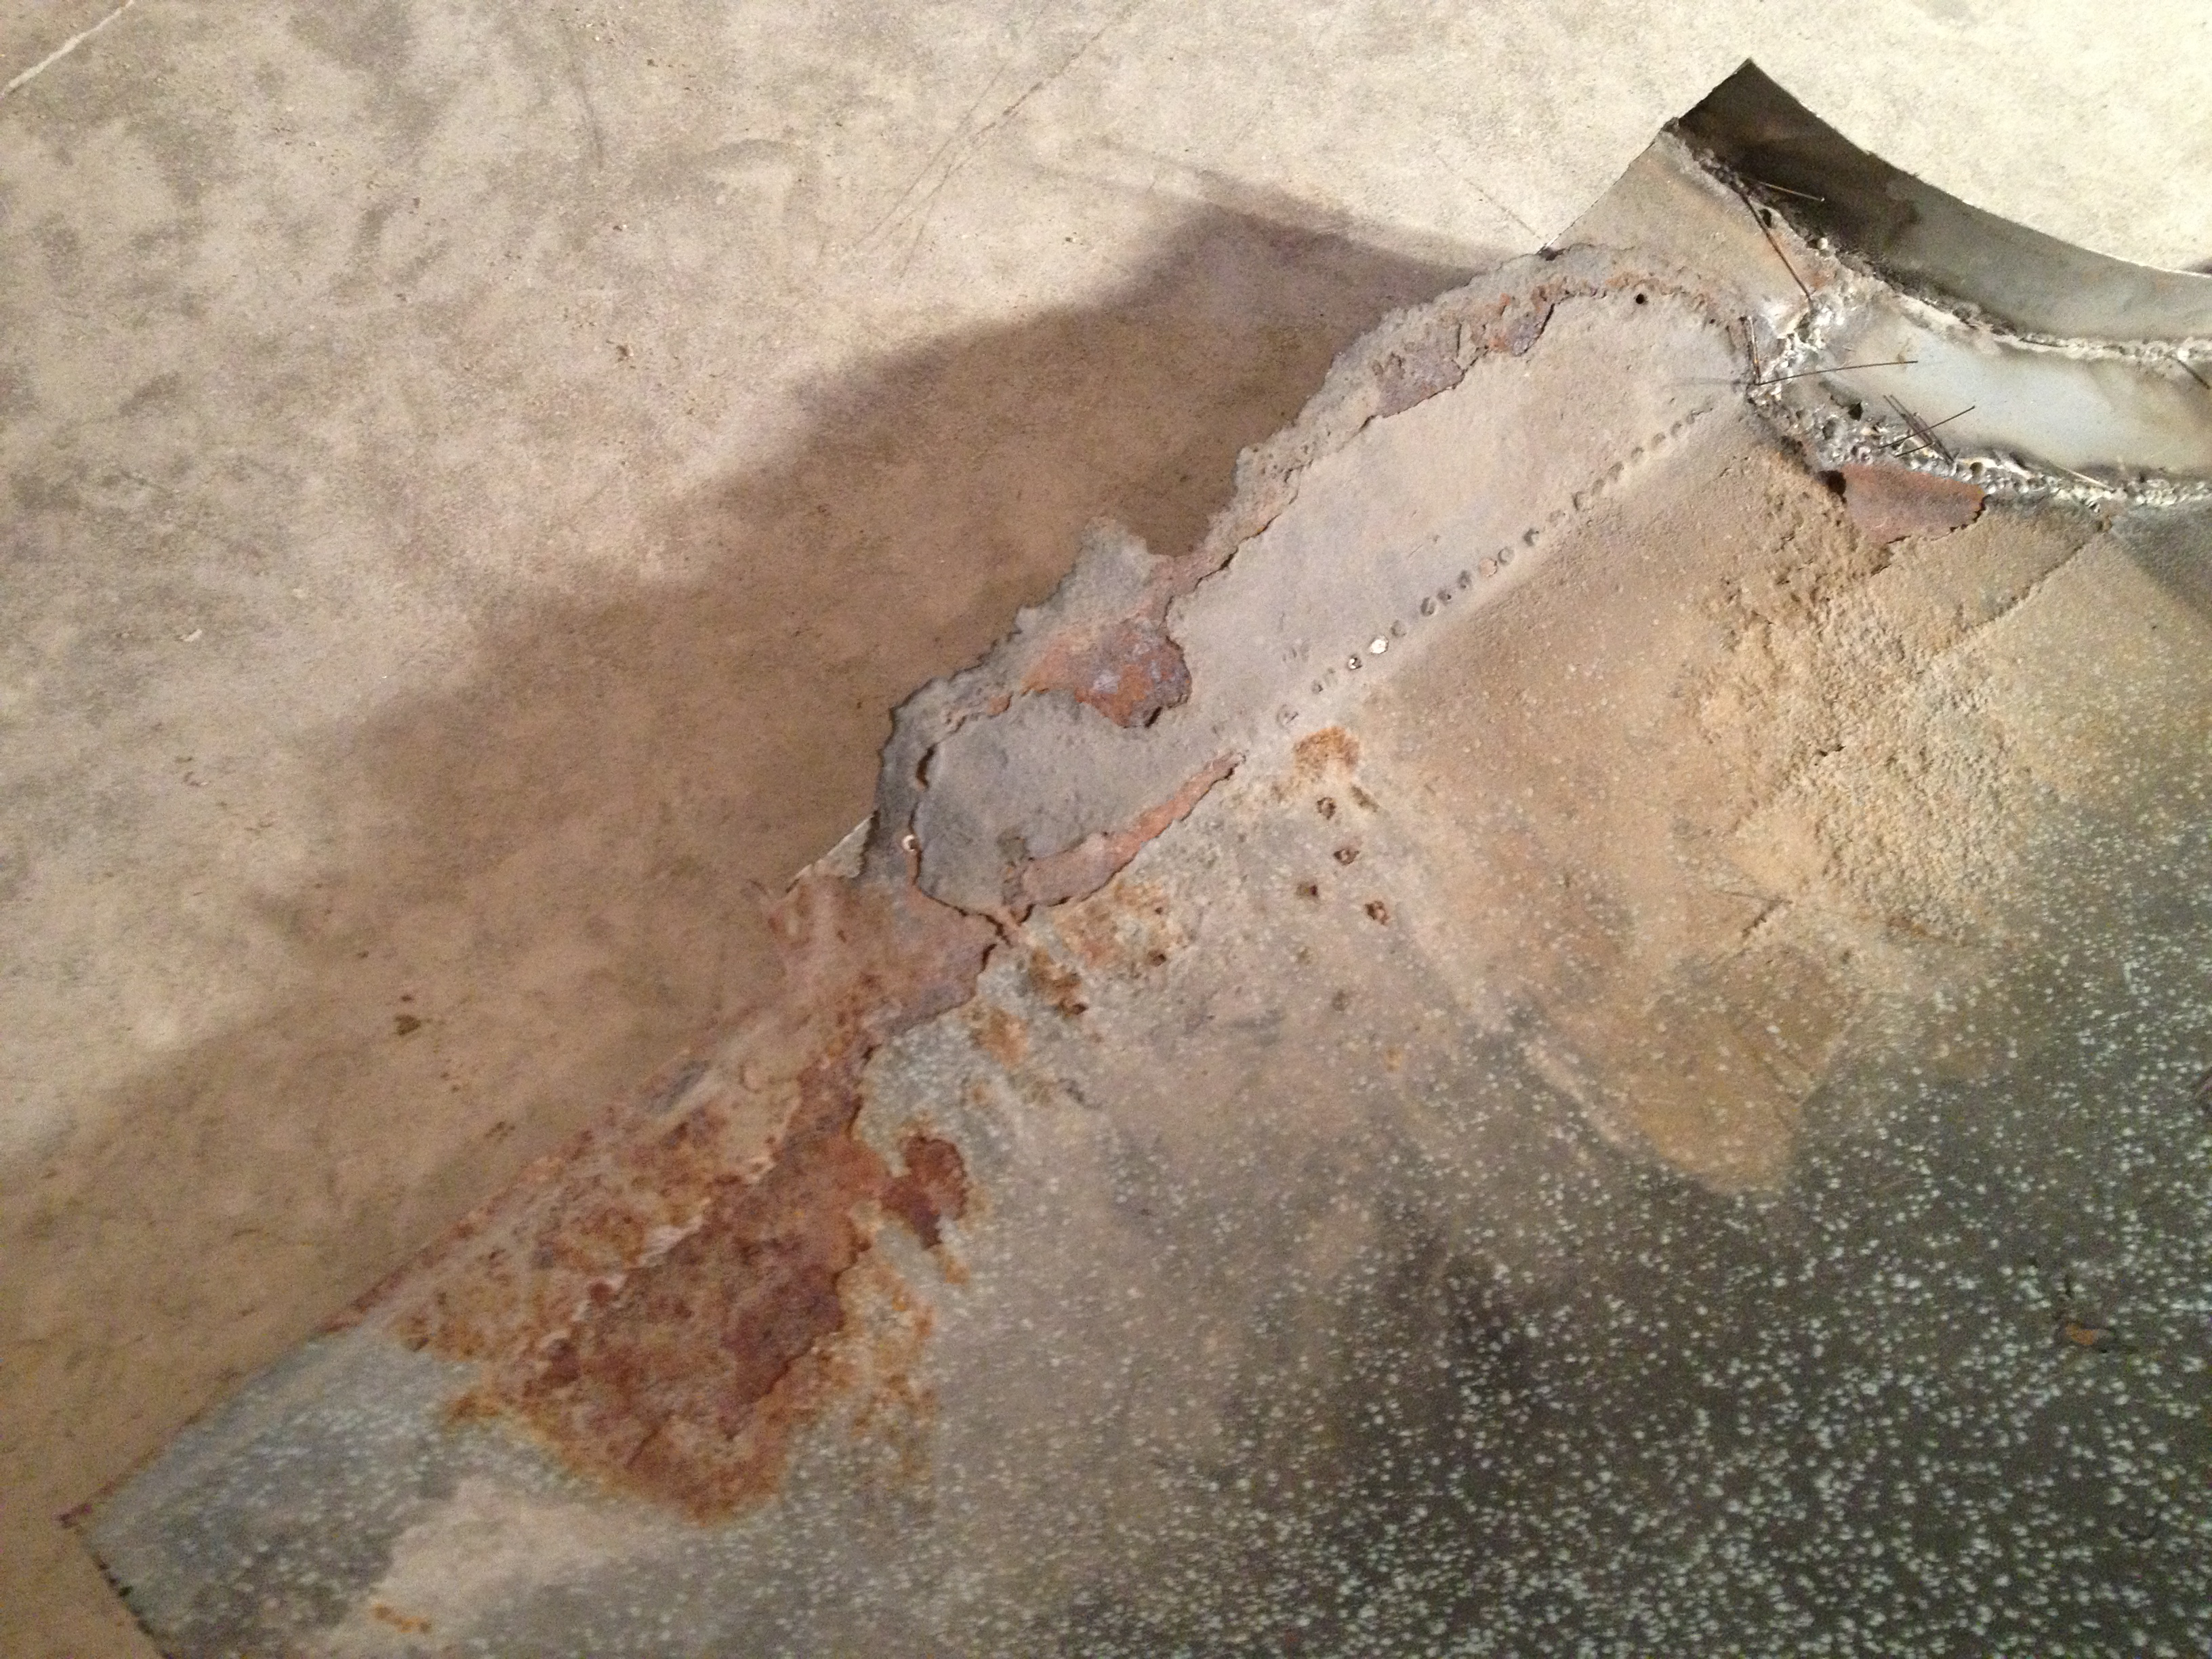
The only proper way to repair this is by replacing the quarter panel.
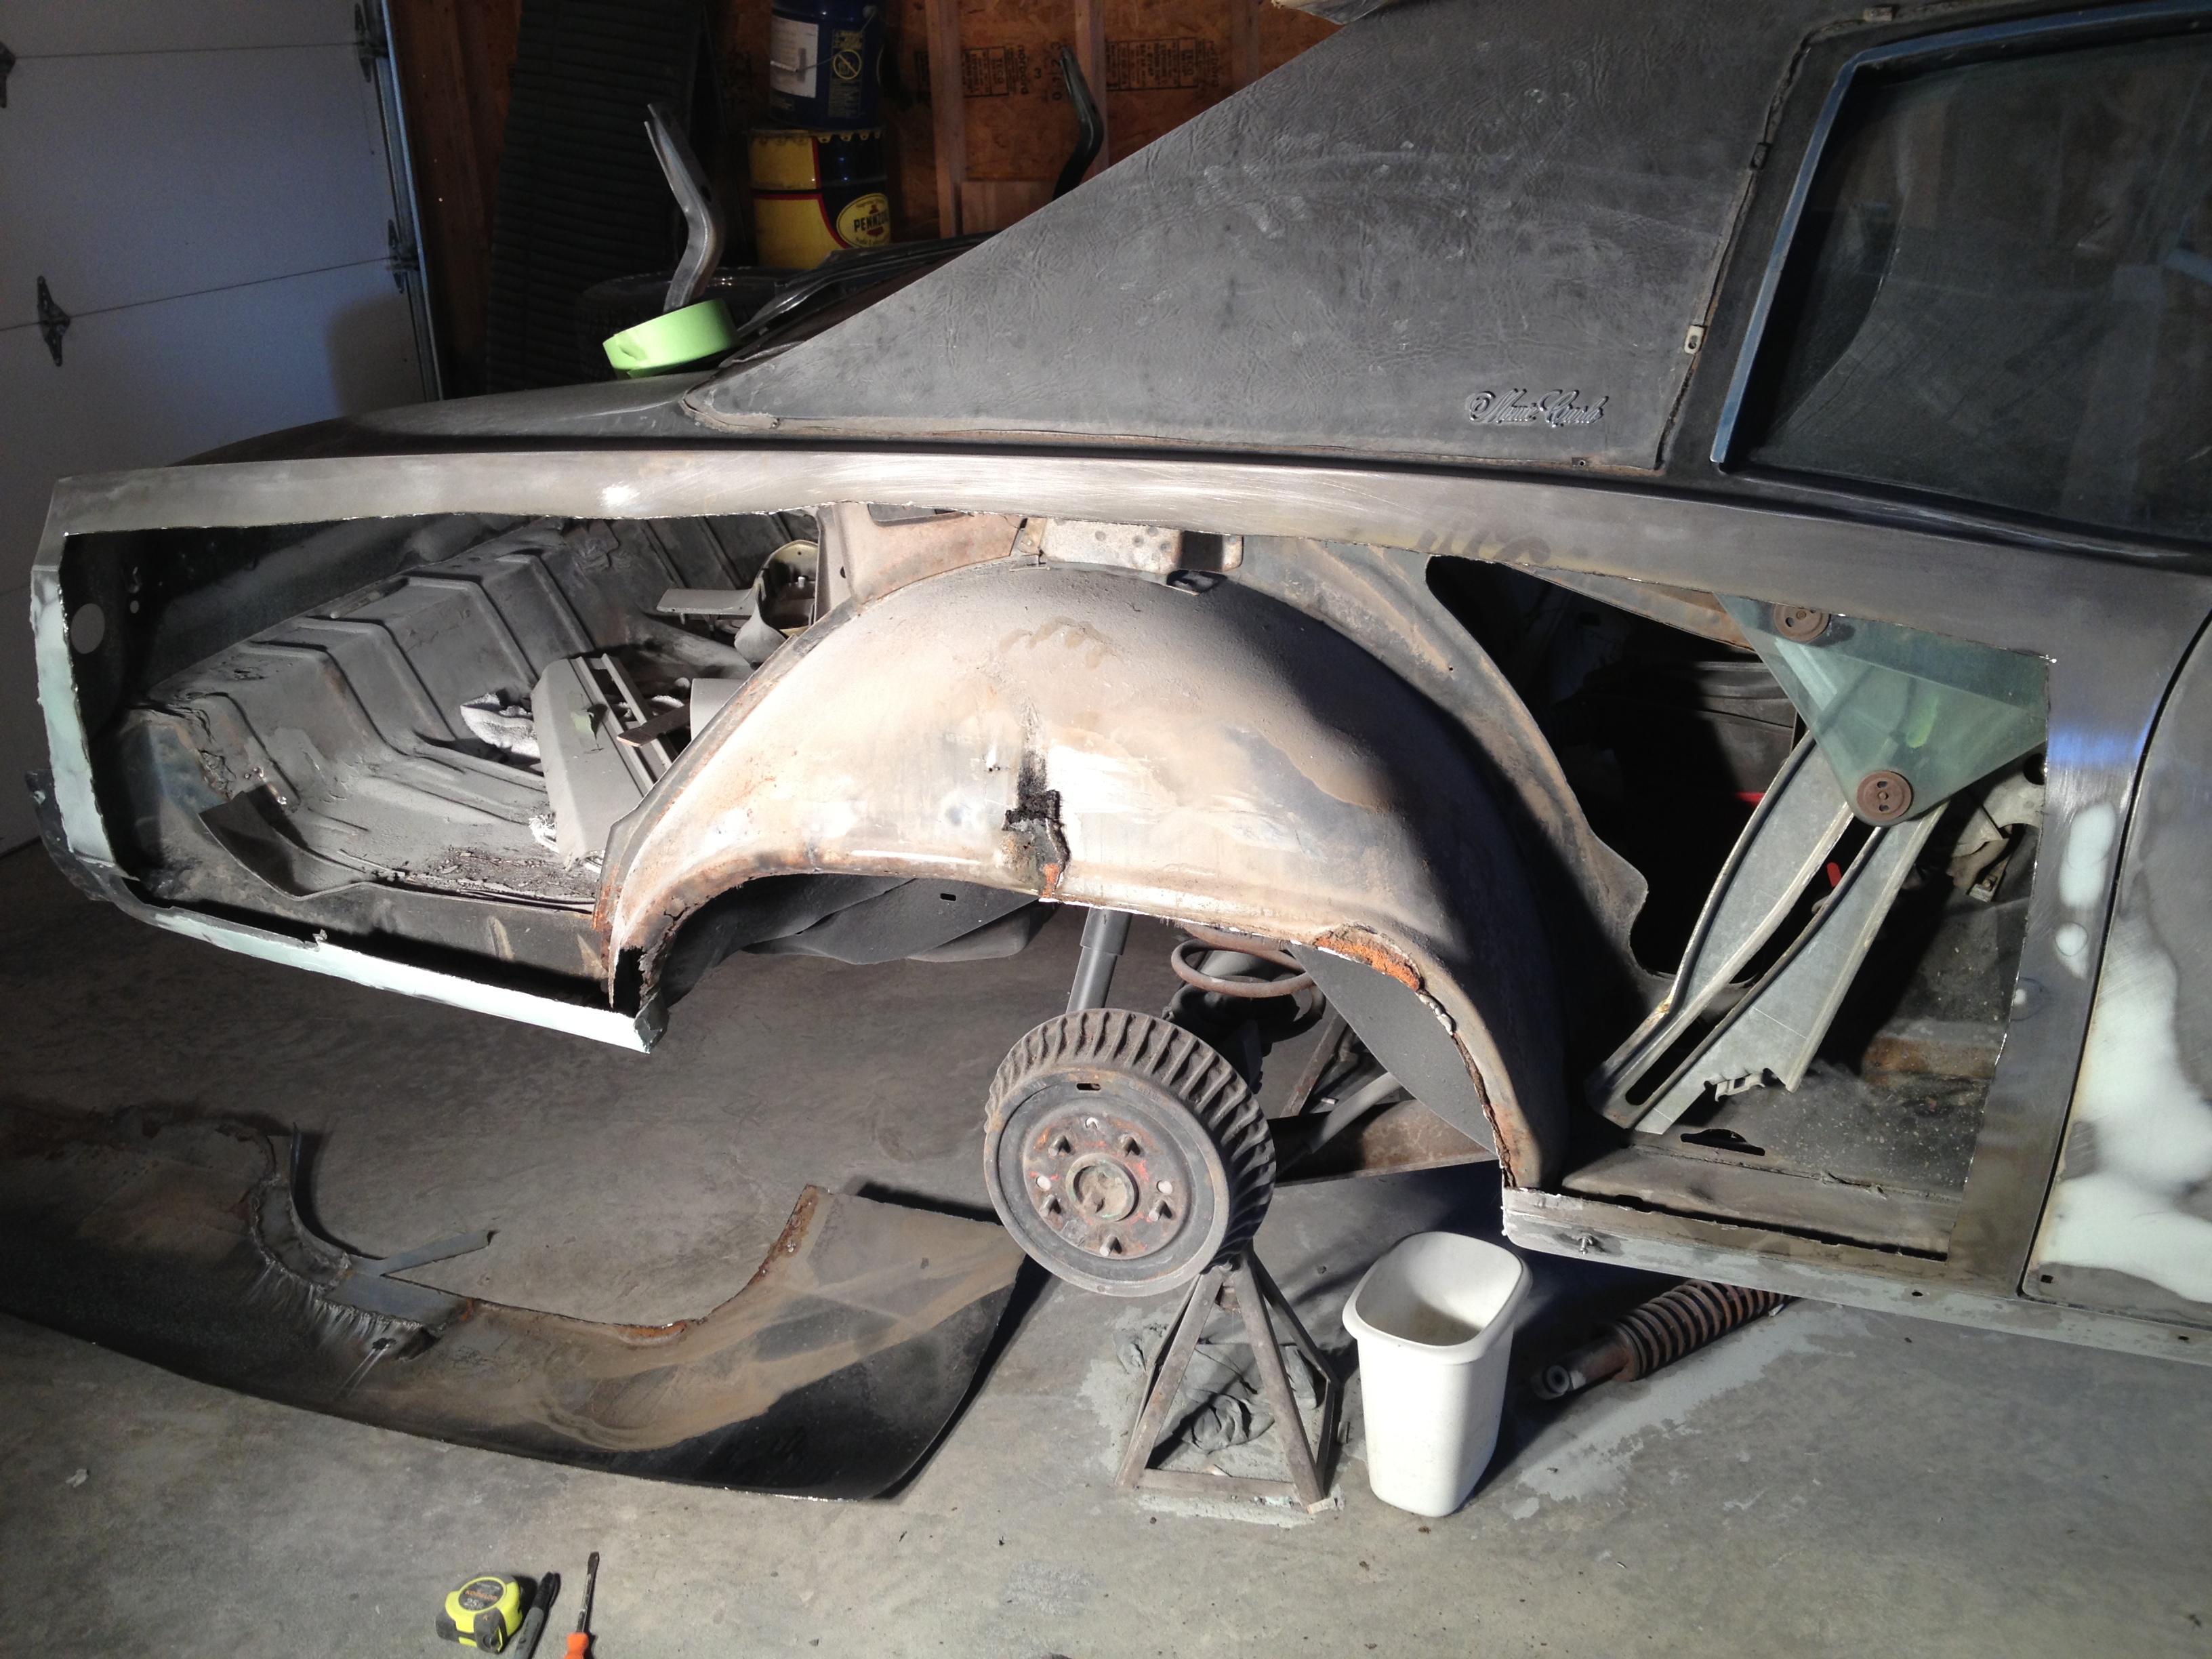
I began by cutting the panel off leaving a healthy margin around the edges.
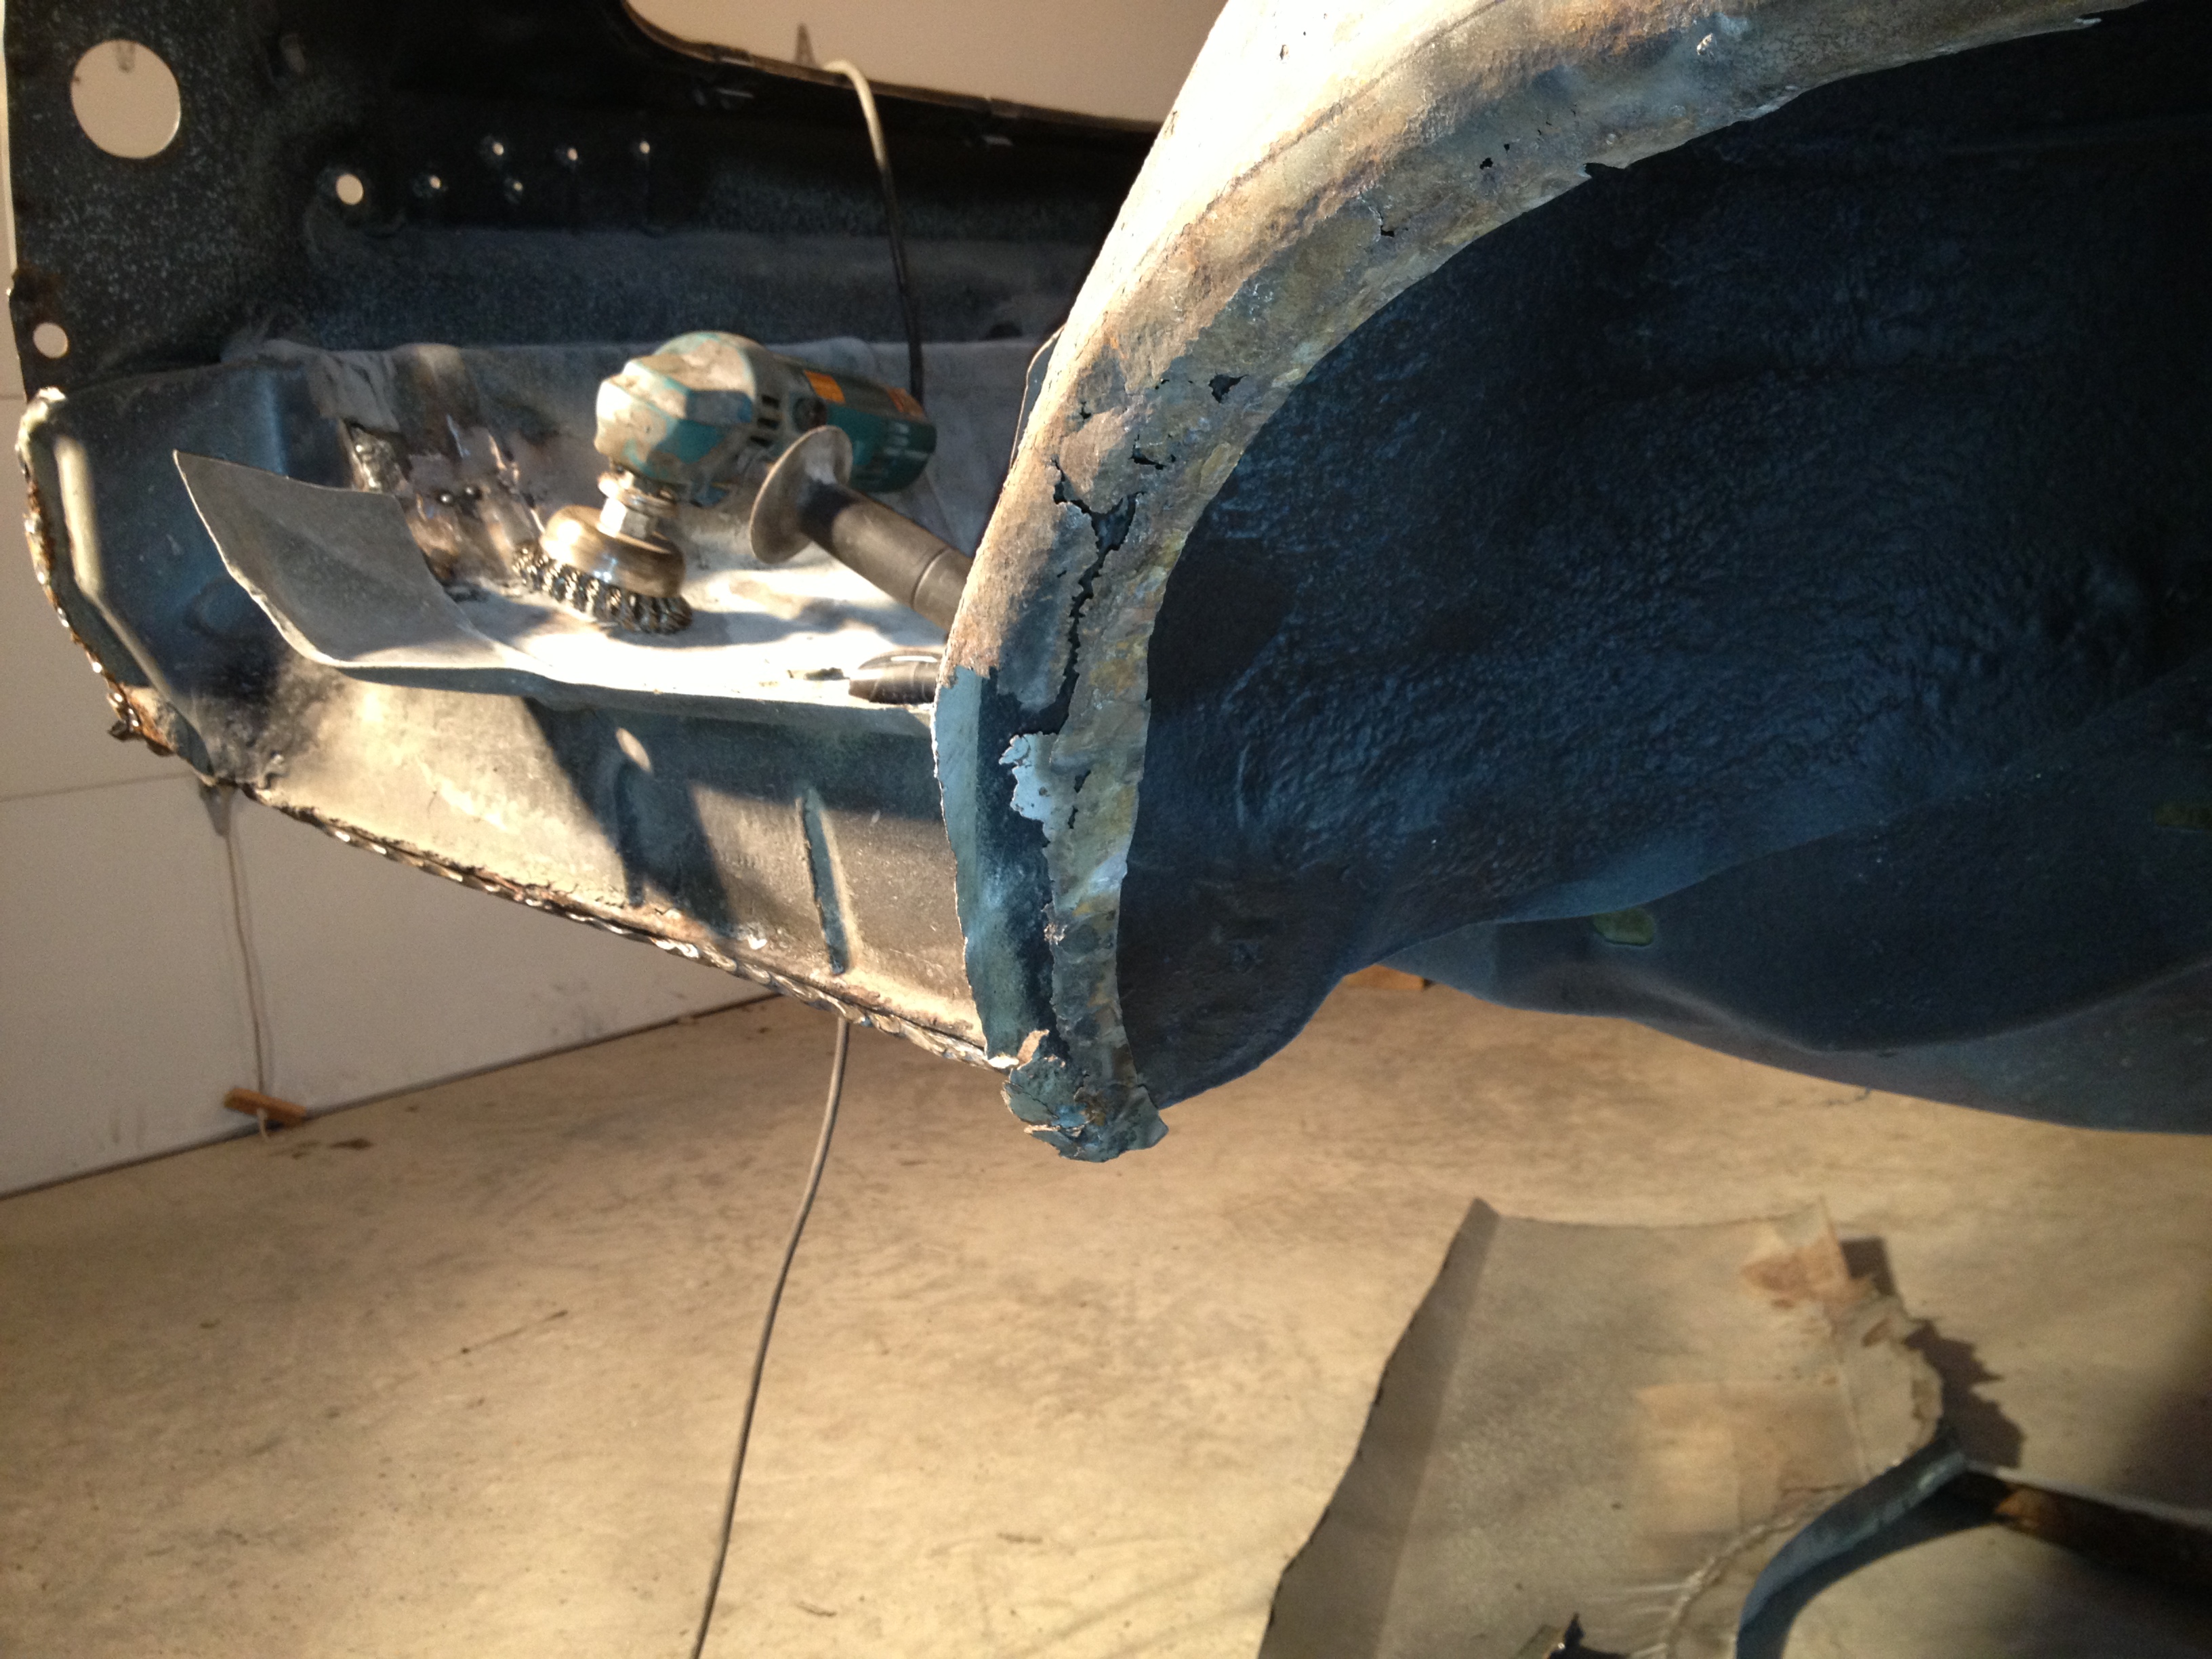
I drilled all the spot welds holding the factory quarter on (there are tons of them!). The outer wheelhouse also will need some repair. This part is not available so I'll need to fabricate what's needed.
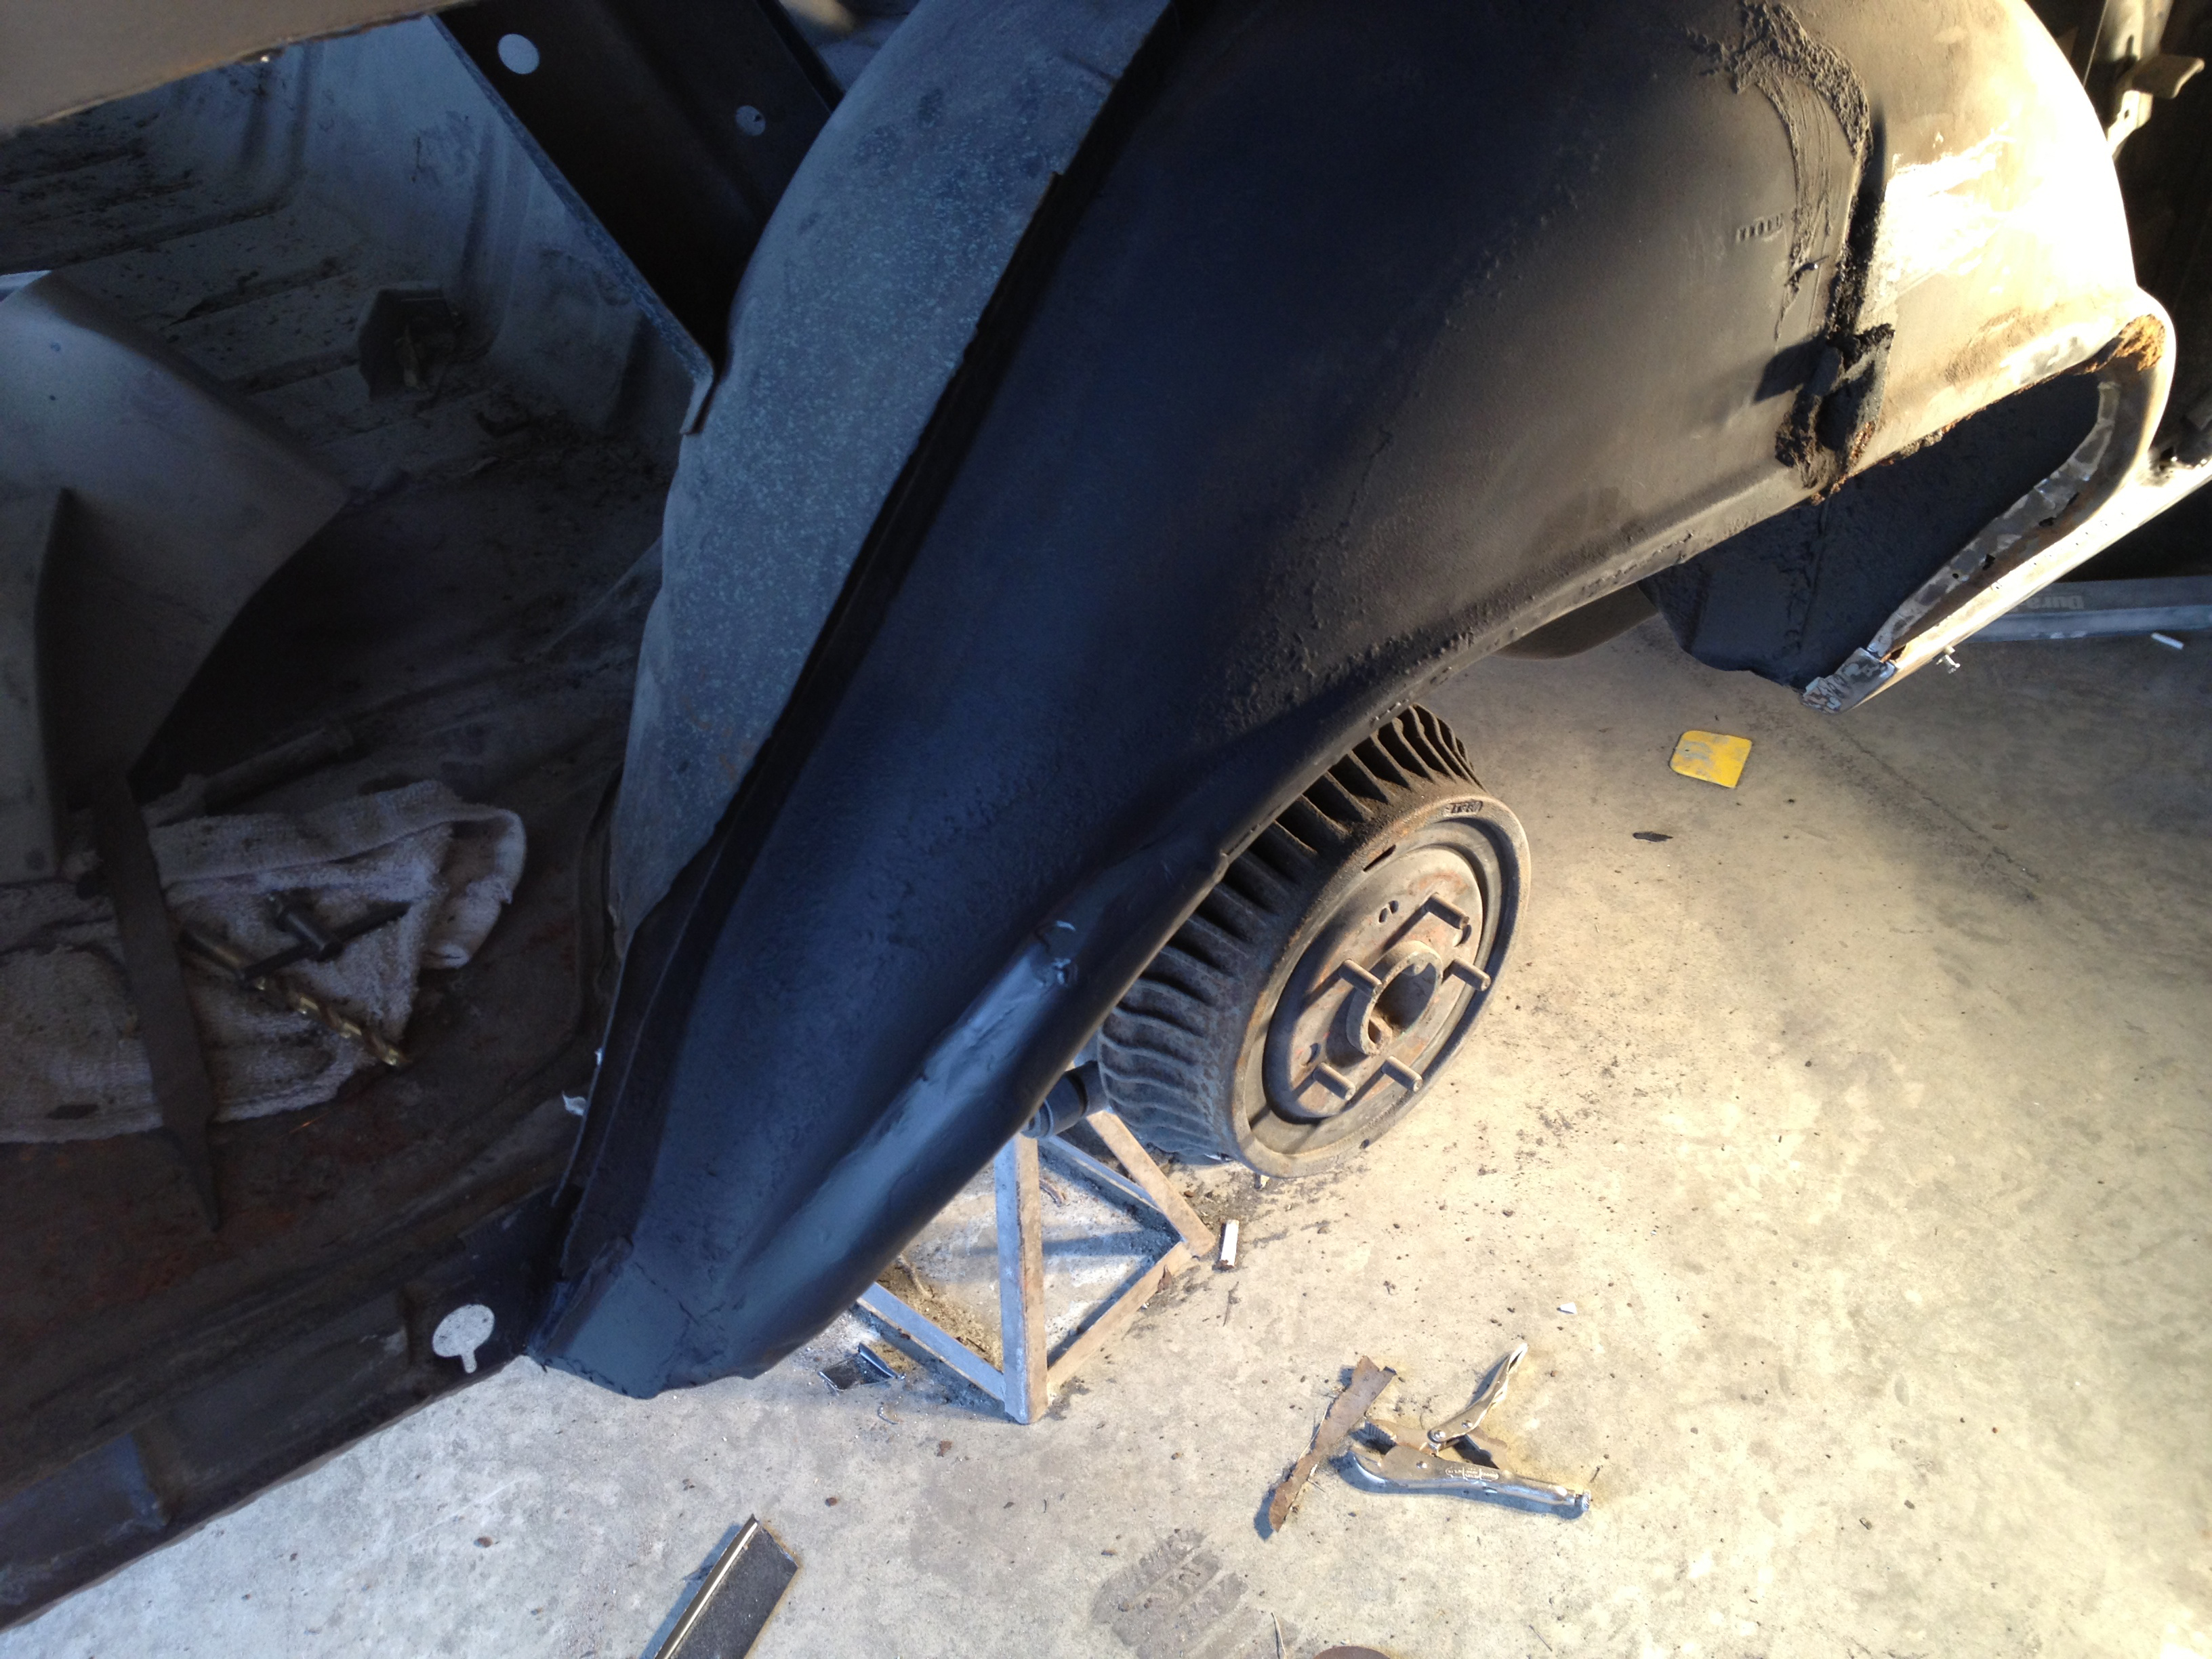
The outer wheelhouse after being repaired. Looks like new.
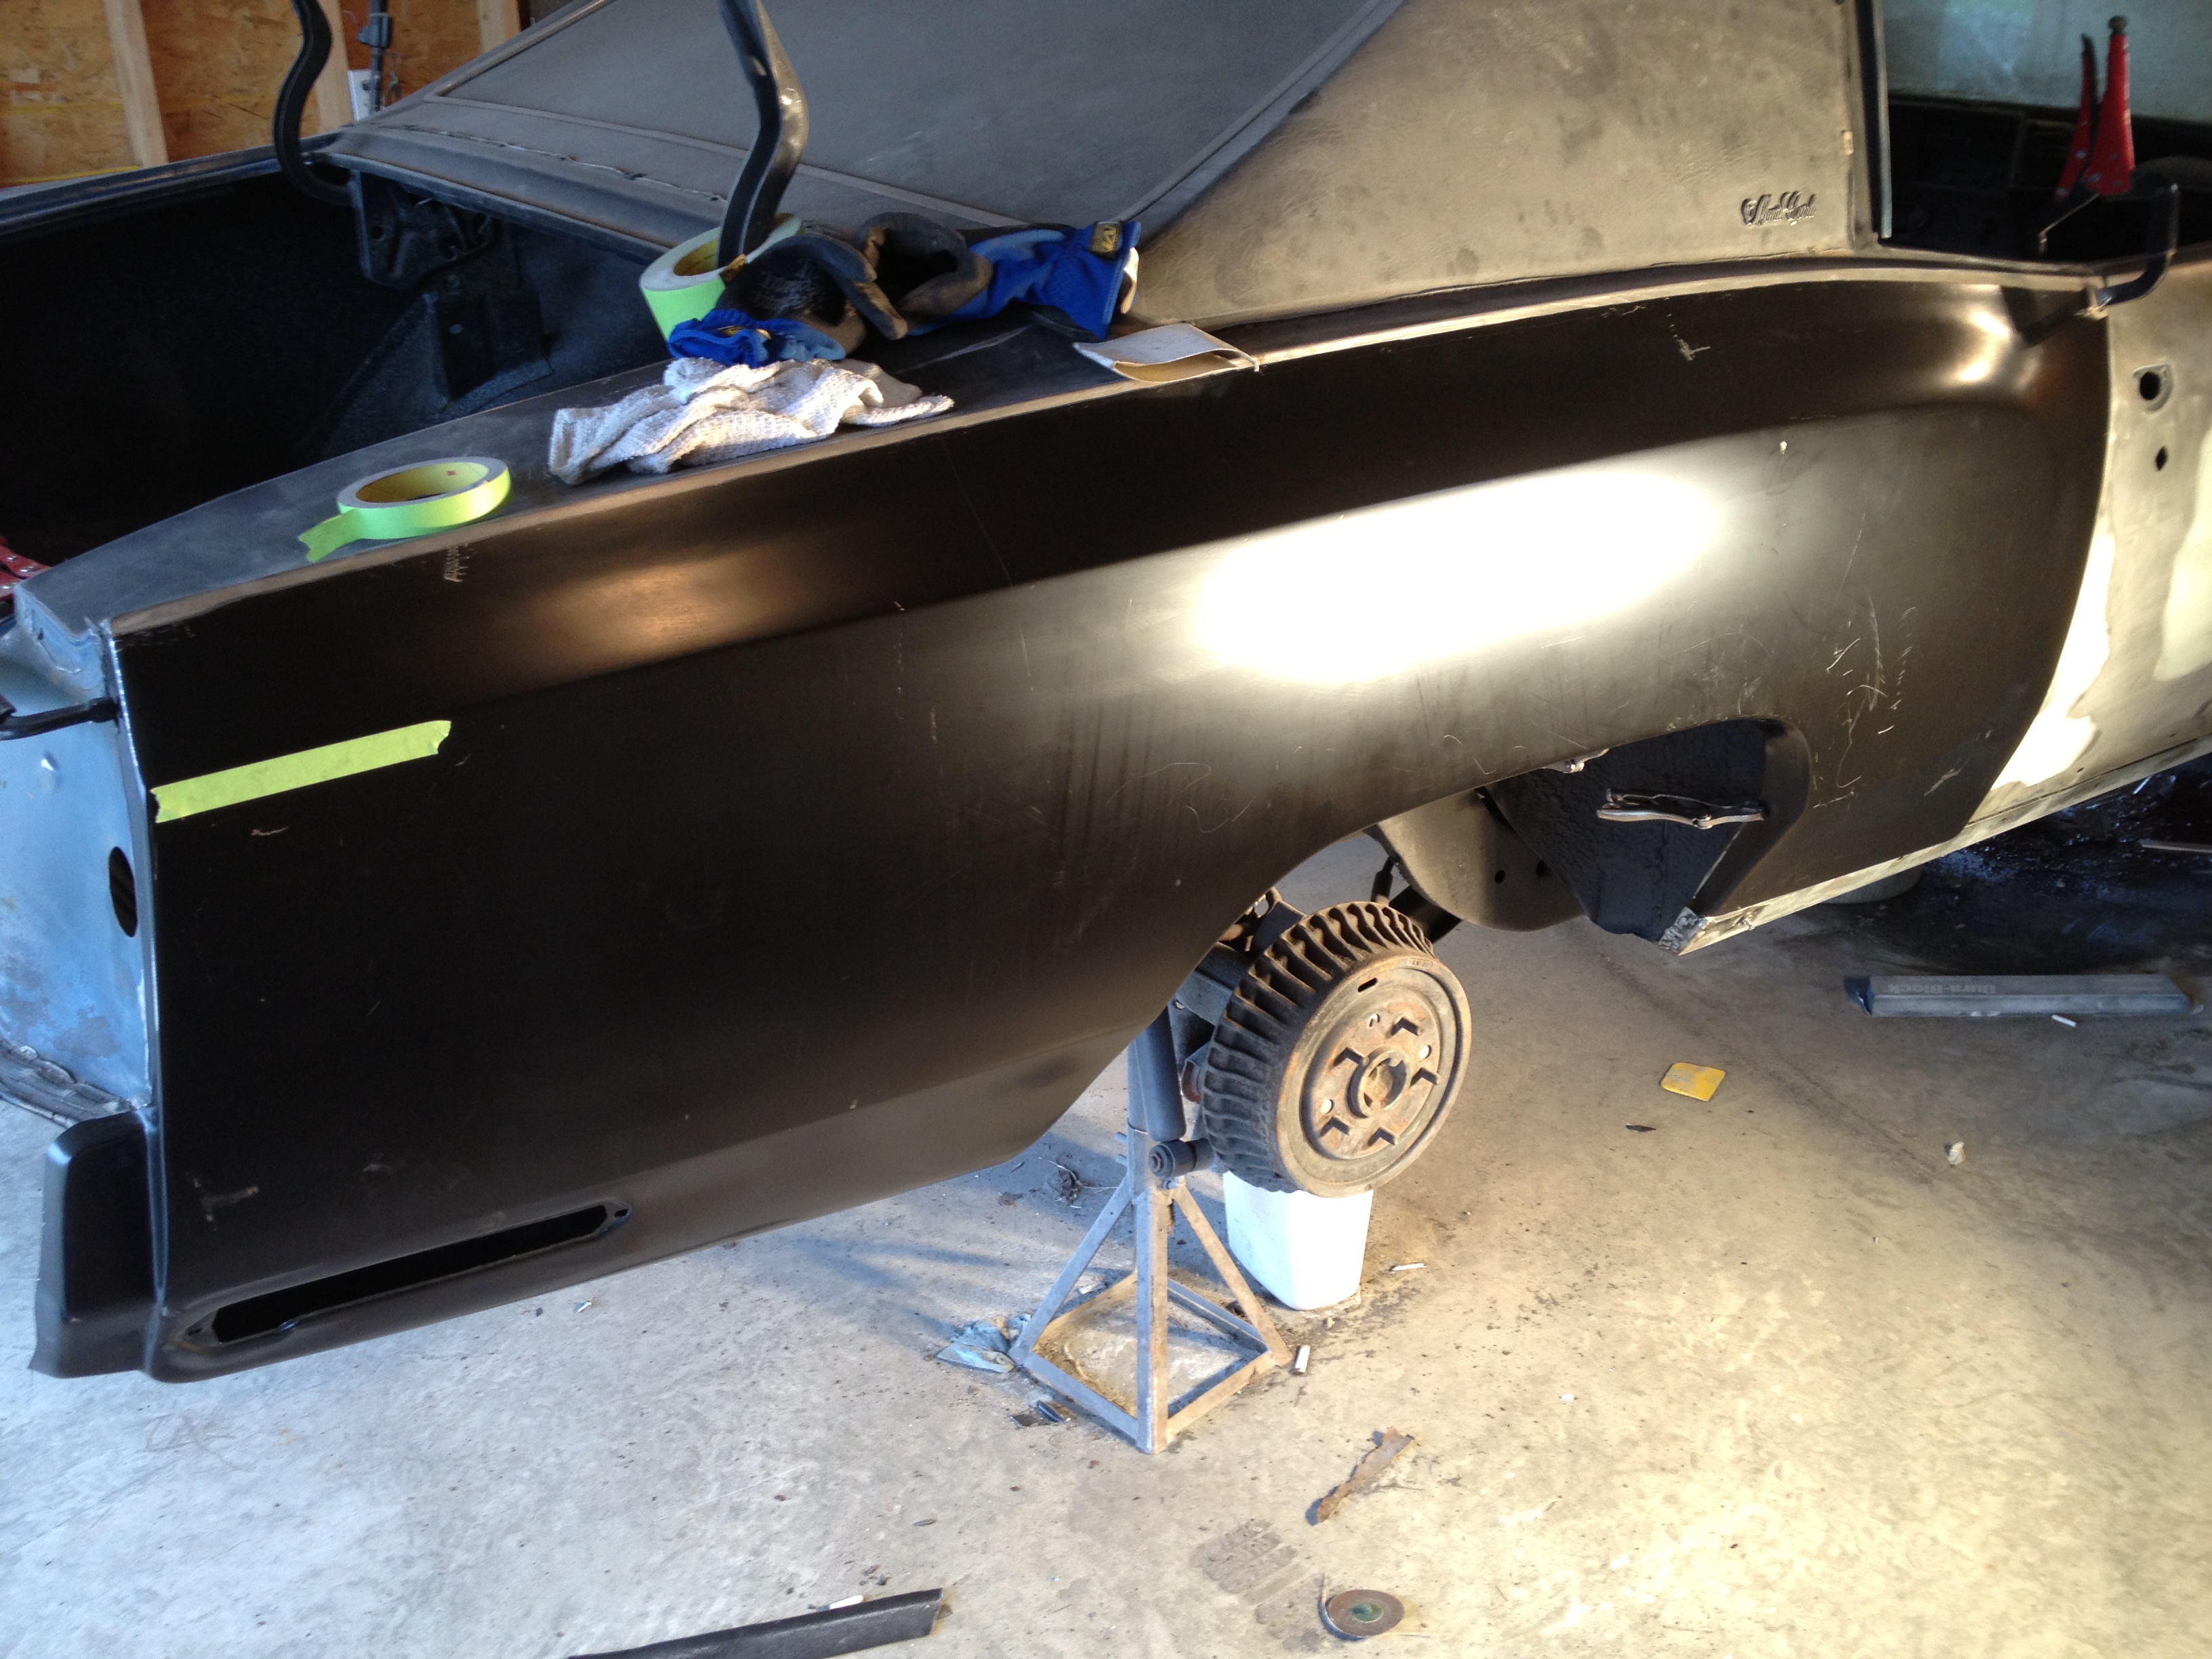
Fitting the new quarter for one of the many dozens of times. There was a lot of trimming, fitting and reworking to get it perfectly correct.
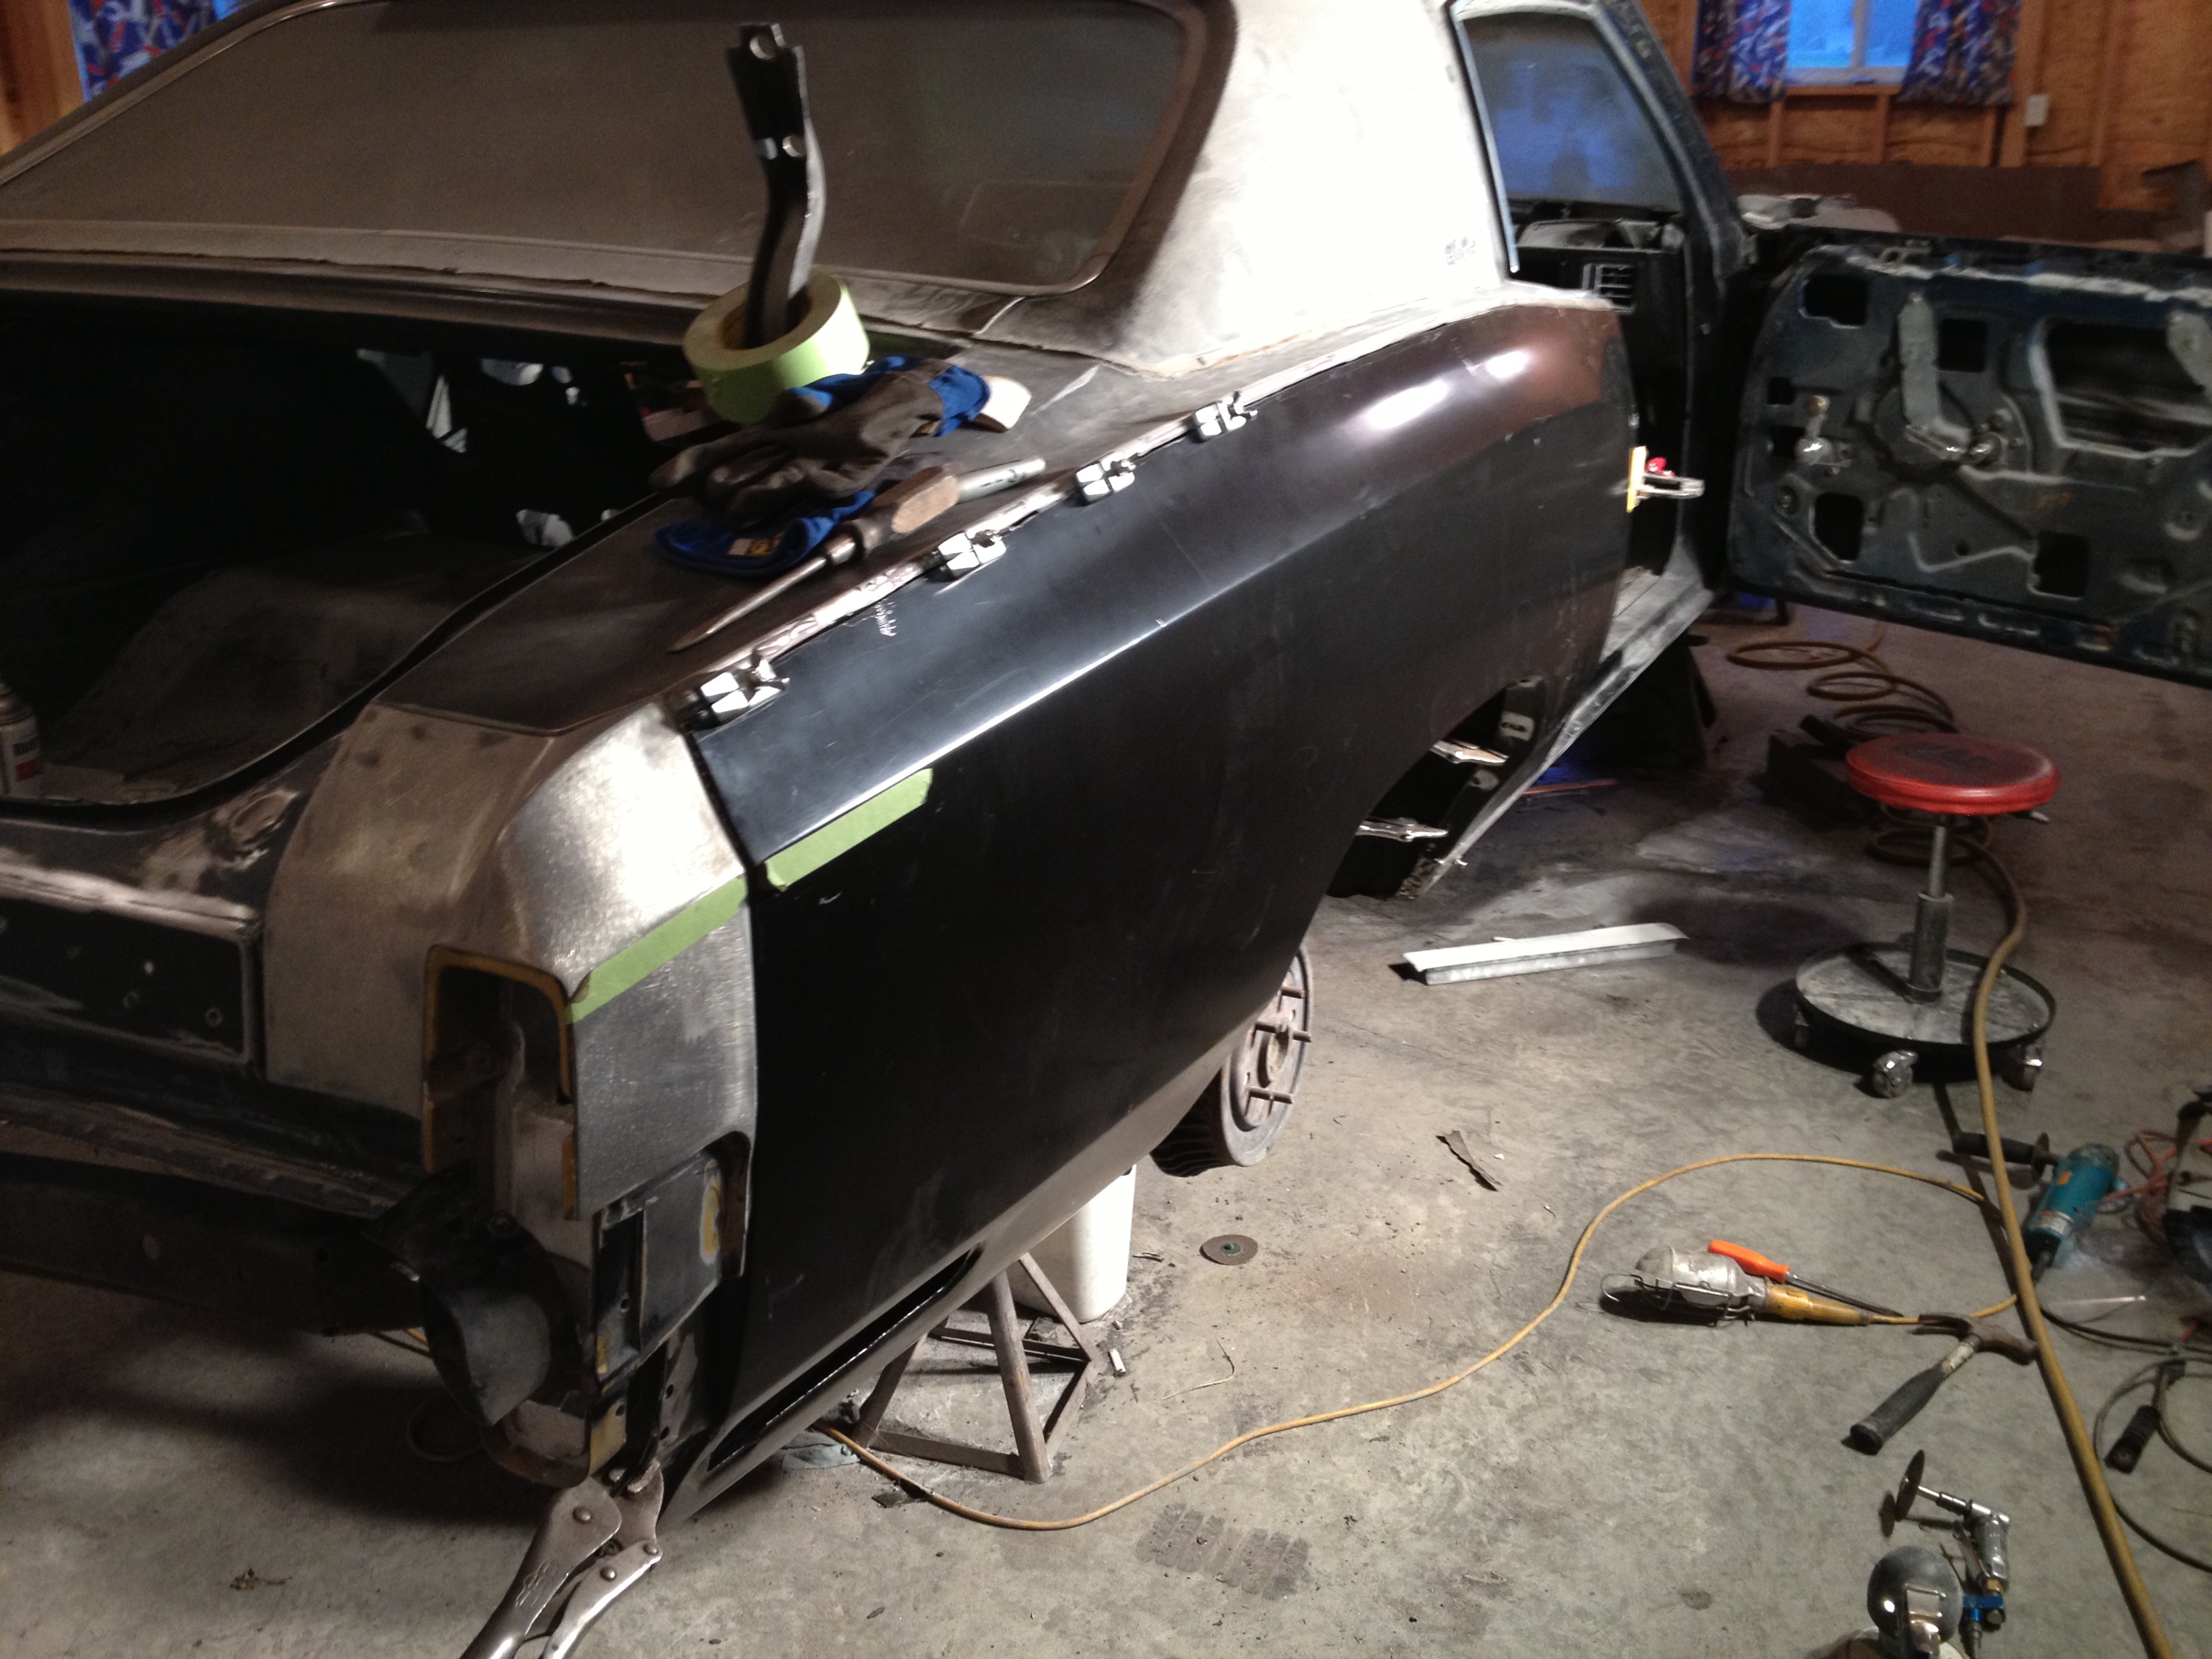
Installing the tail lamp housing enables me to adjust the quarter up, down, forward and backwards to align with the style line and the side of the housing.
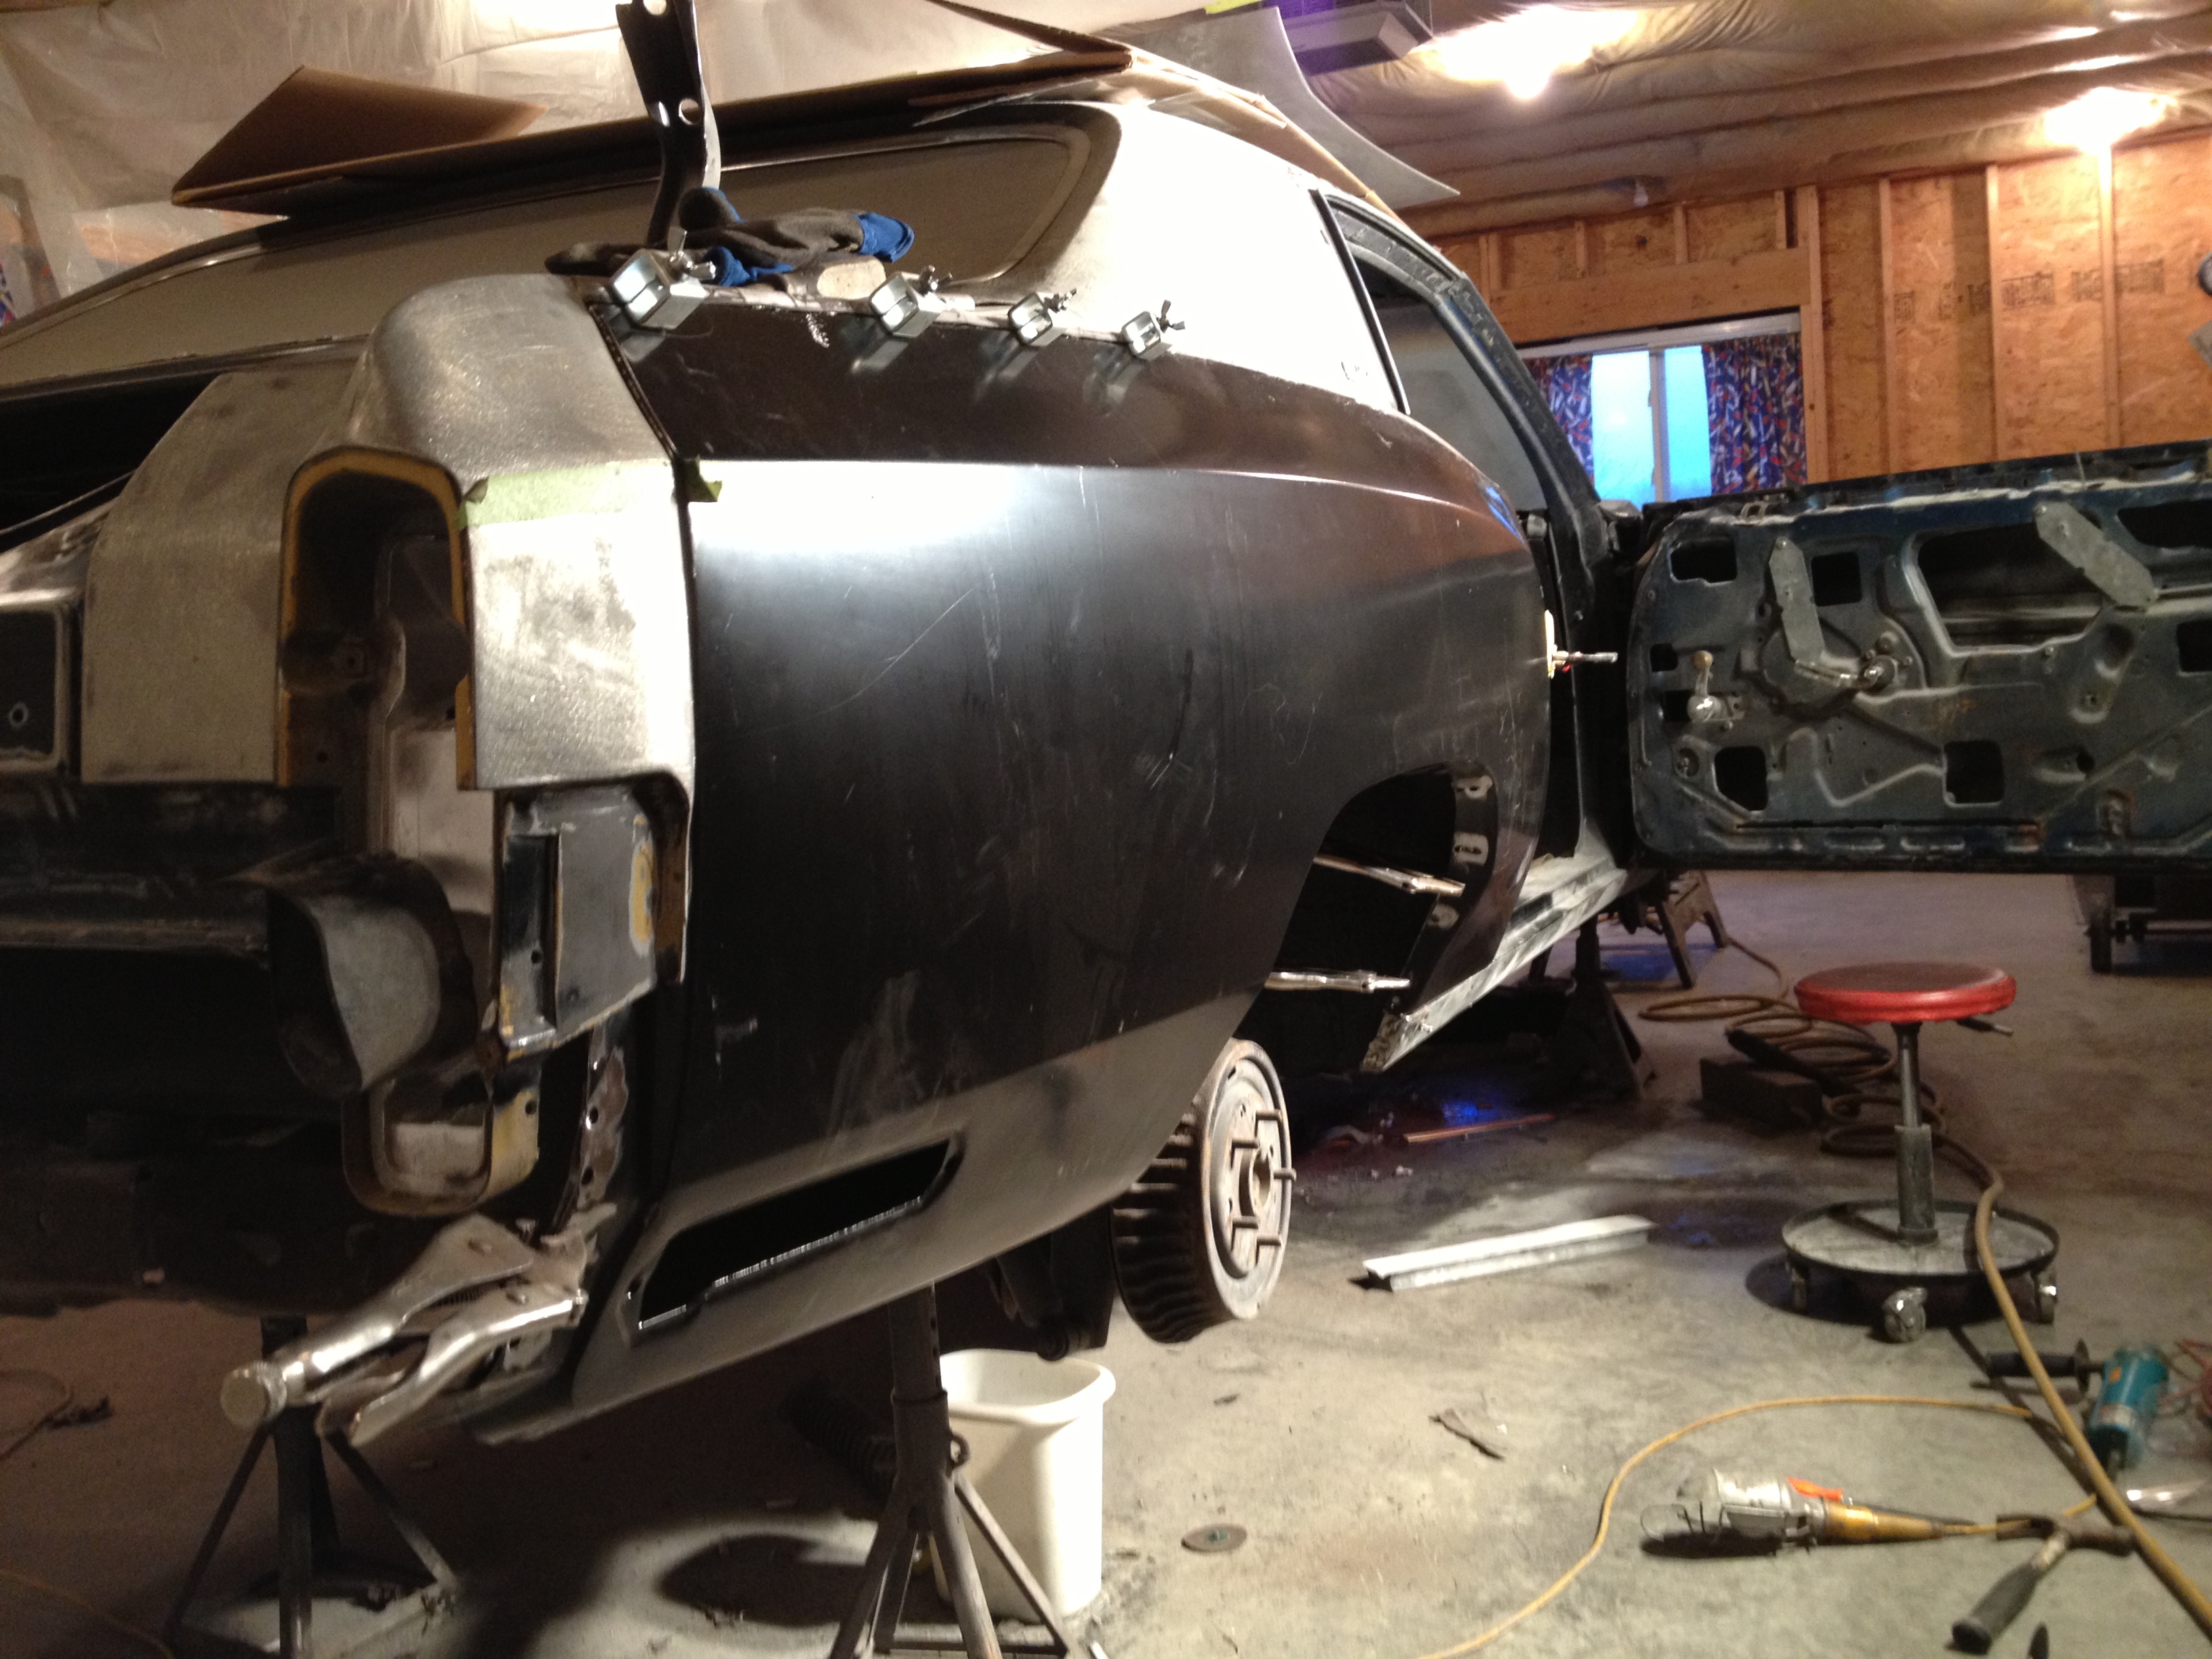
Another view showing the alignment is dead on.
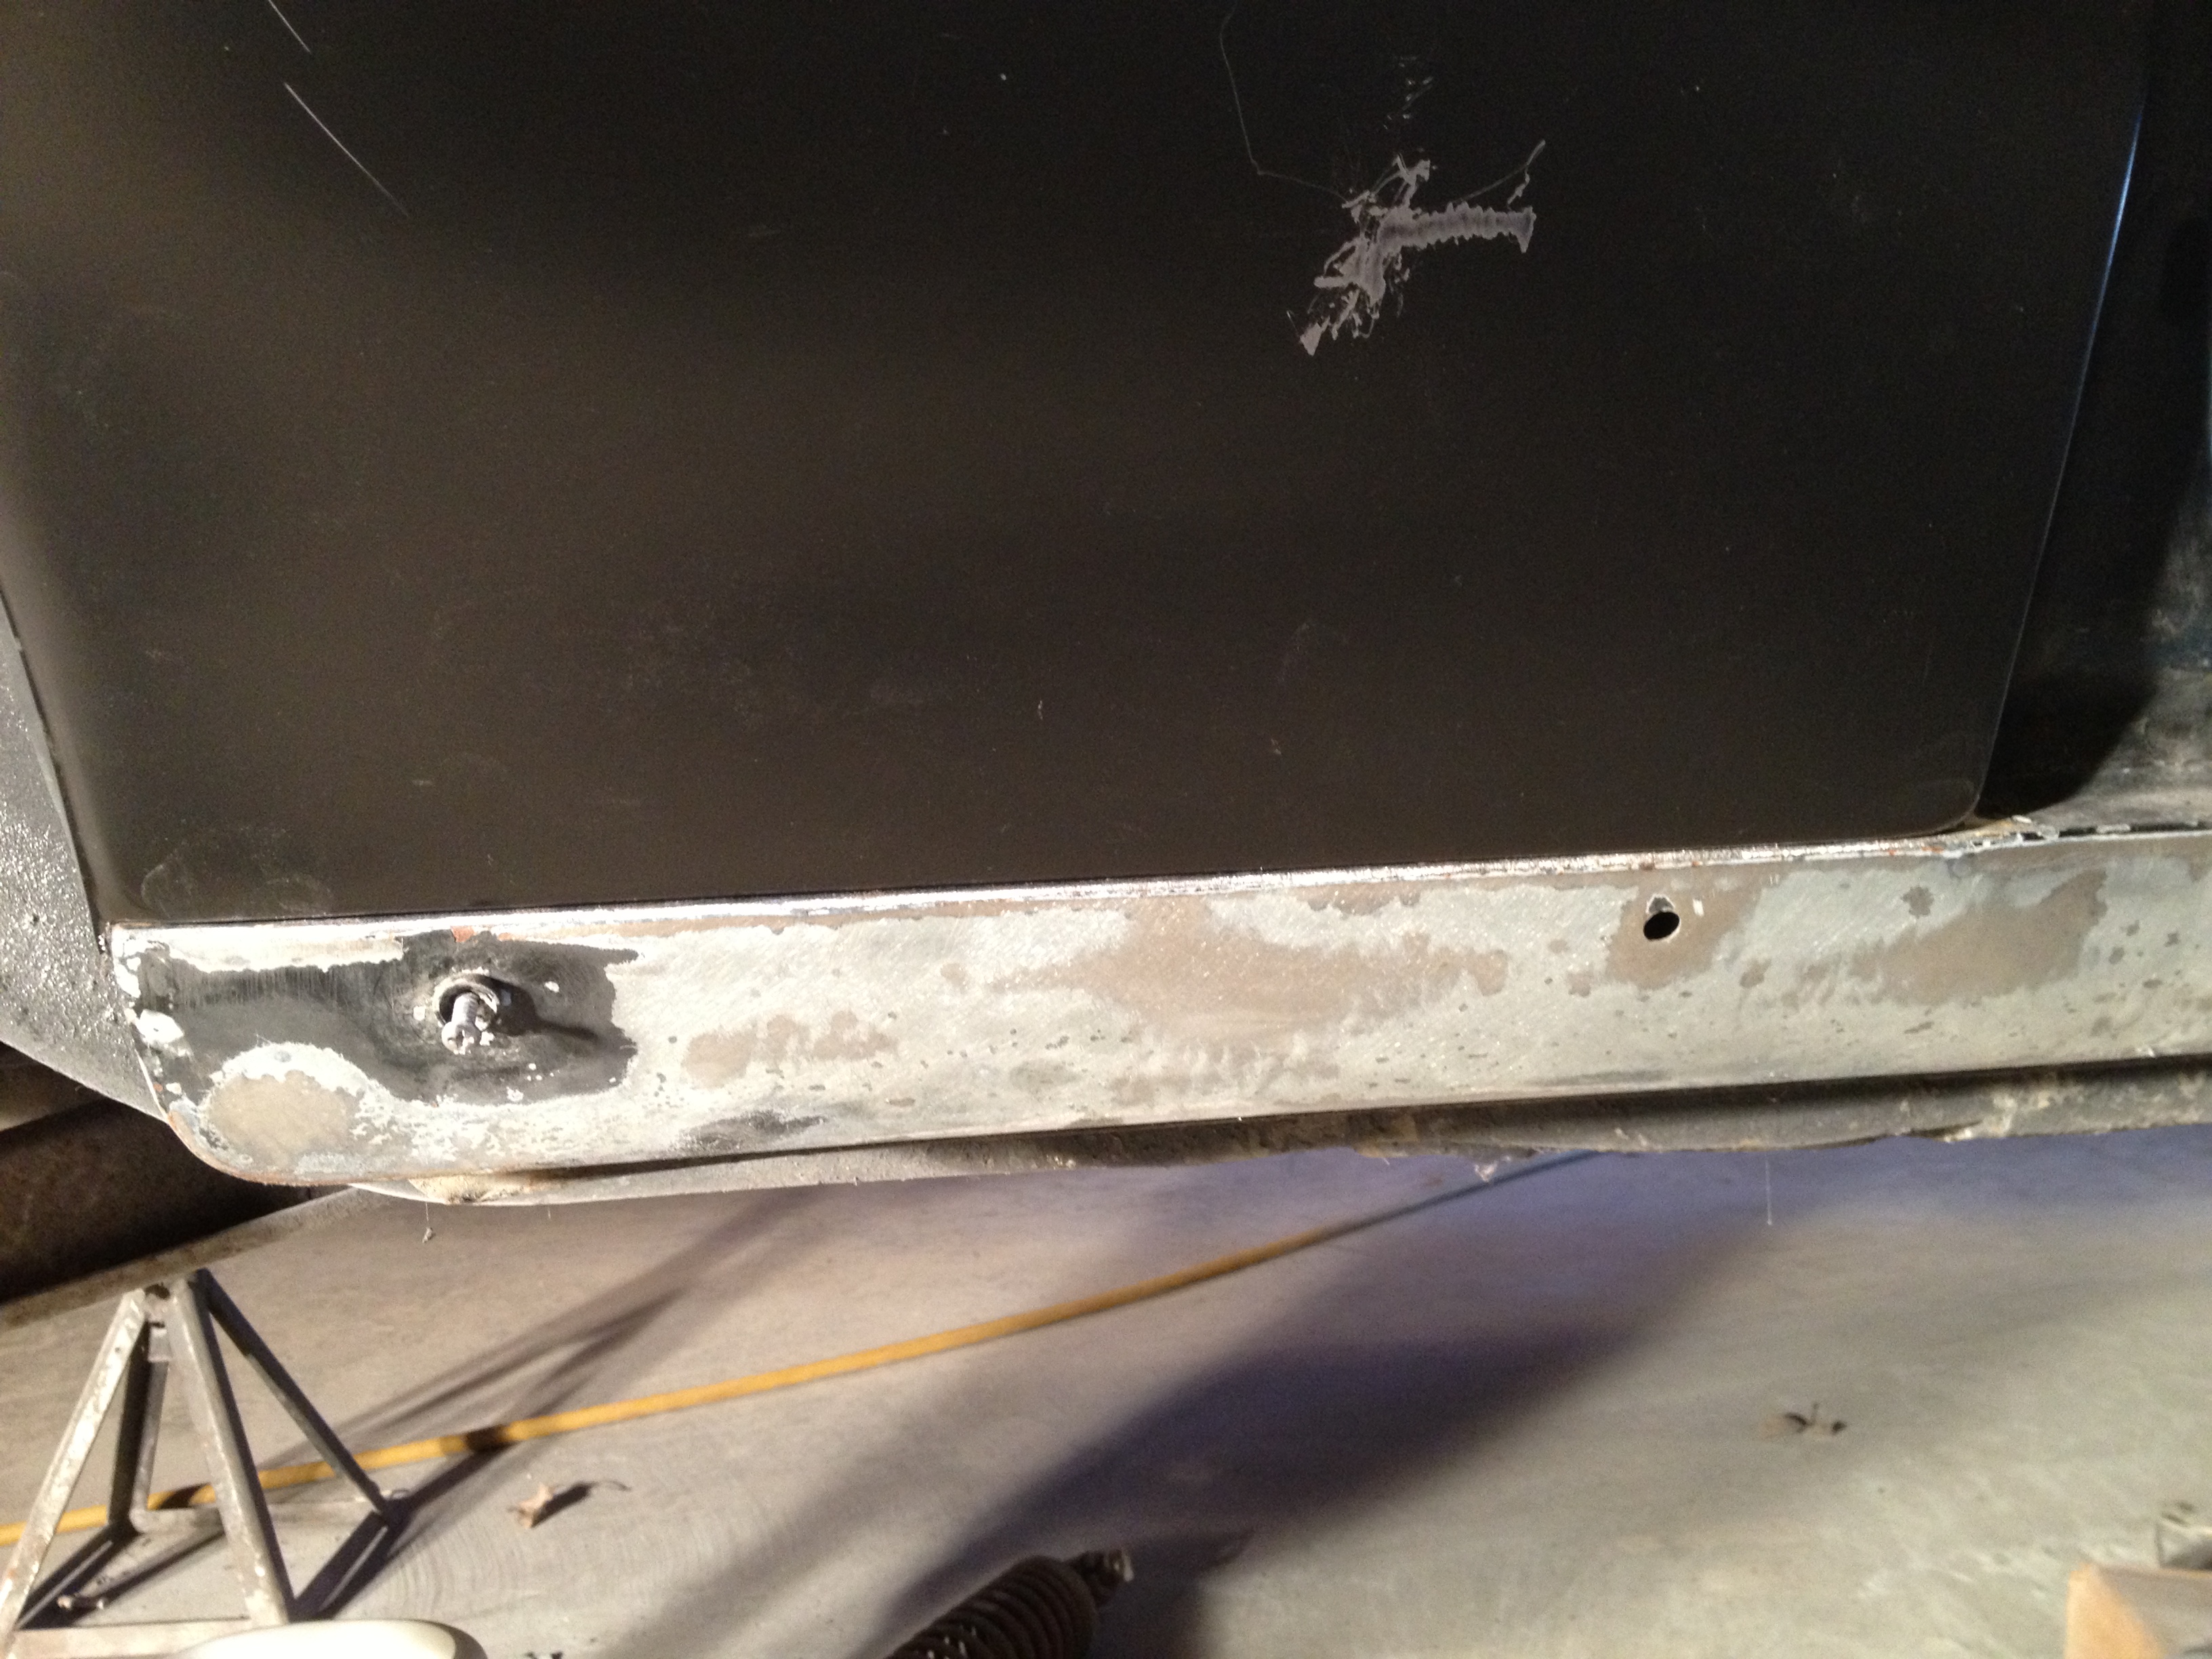
This is a shot of the quarter to the rocker panel behind the passenger door. I worked a long time to get it to fit tight and true to the rocker panel.
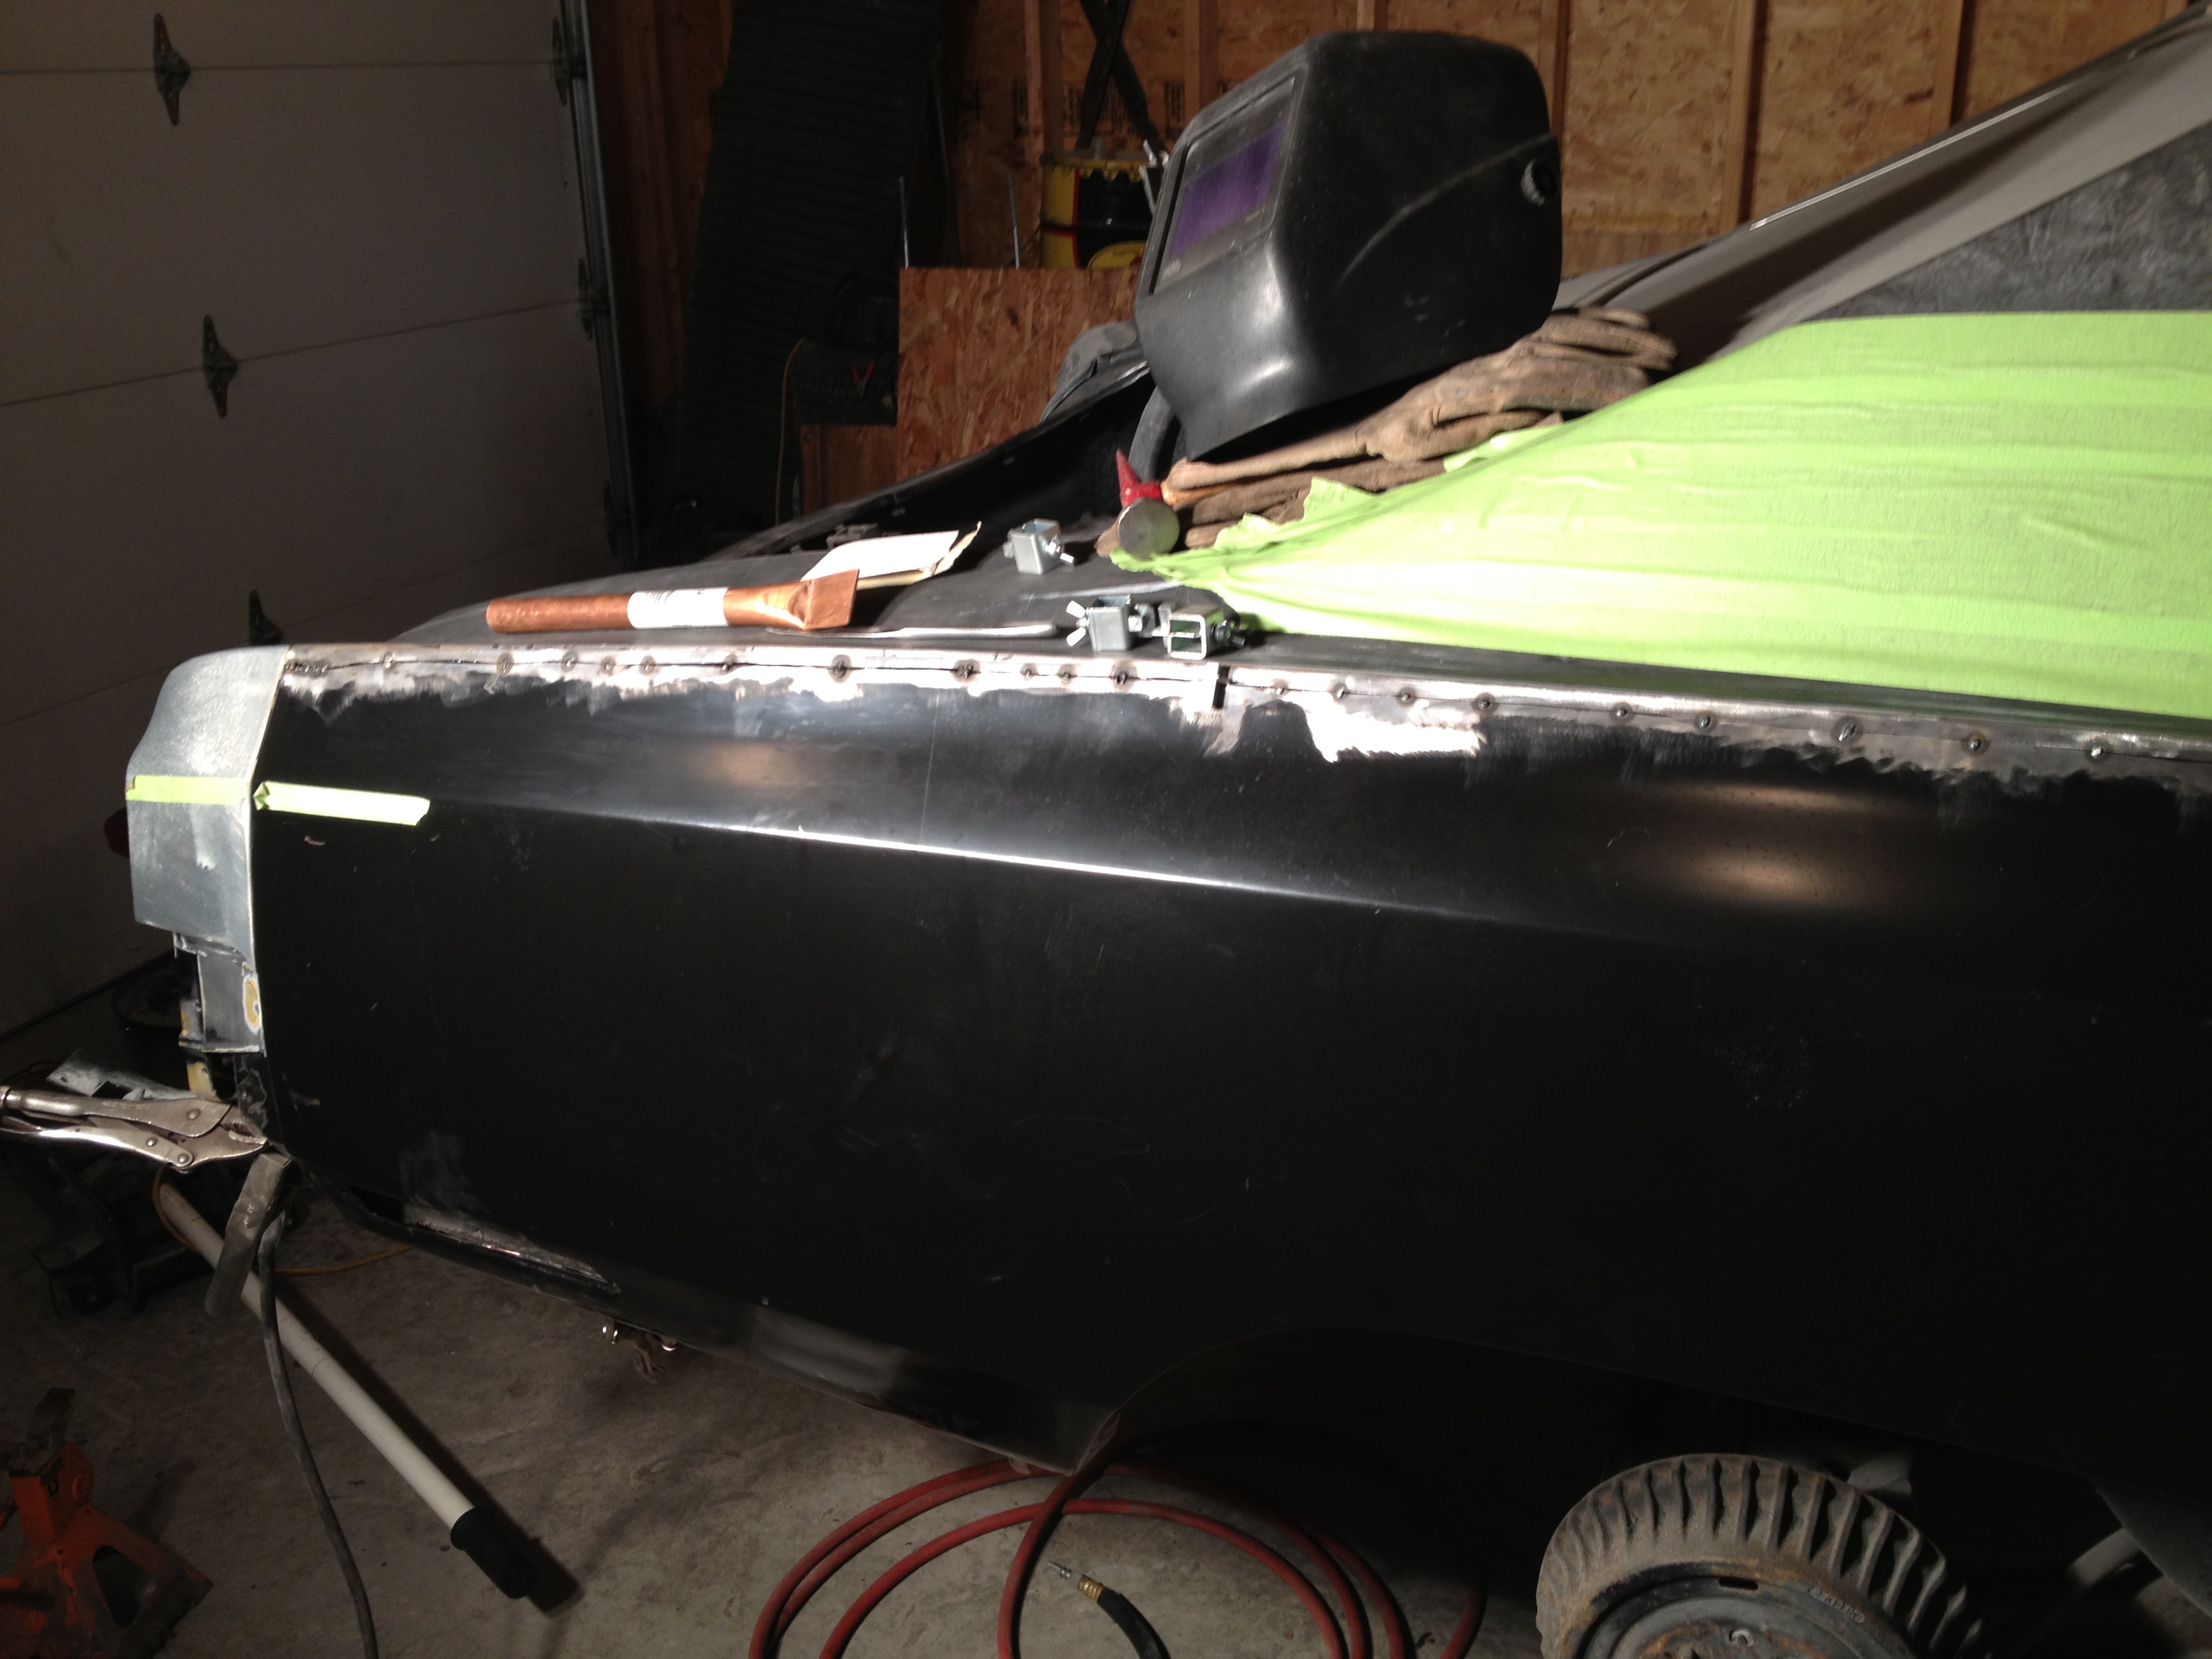
After getting everything fitting properly I began to butt weld the panel to the car along the top.
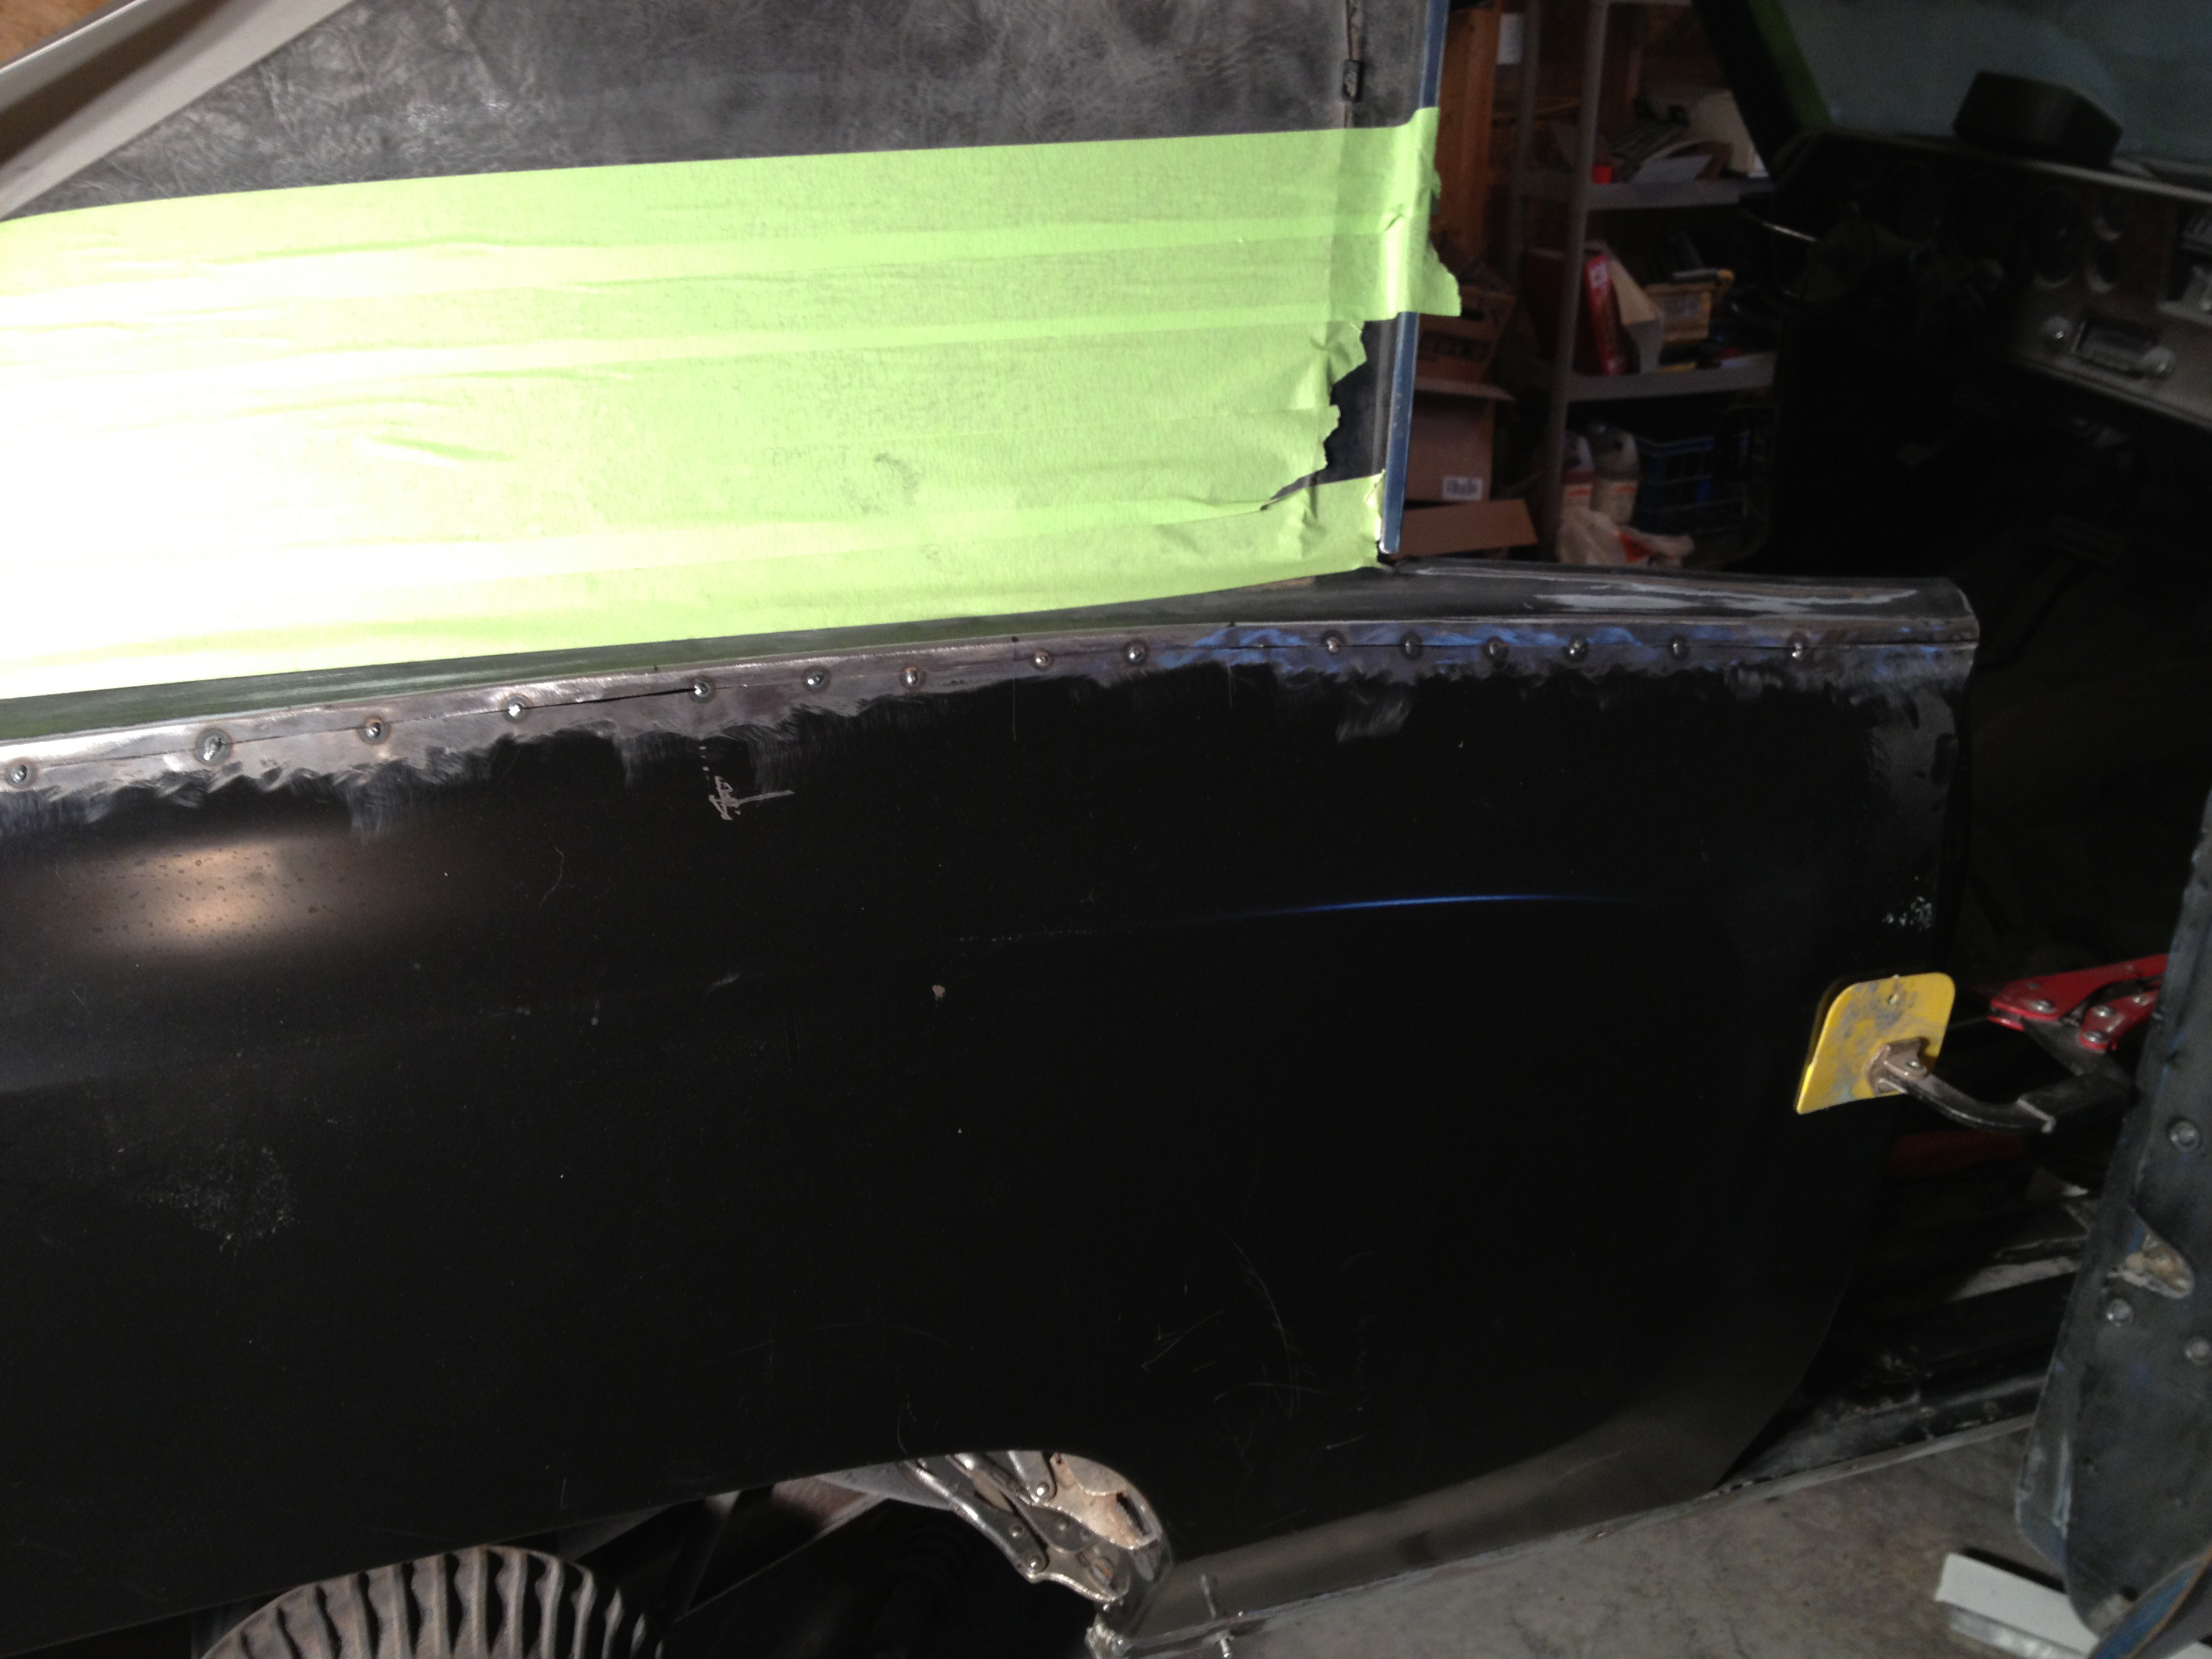
I placed small spot welds along the dime sized gap I left between the quarter and the car. By doing this I can spread the welds apart from each other and allow the metal to cool before coming back and adding another weld.
I continue to do this until there is one continuous weld. Warpage of the panel from heat is greatly minimized by doing this.
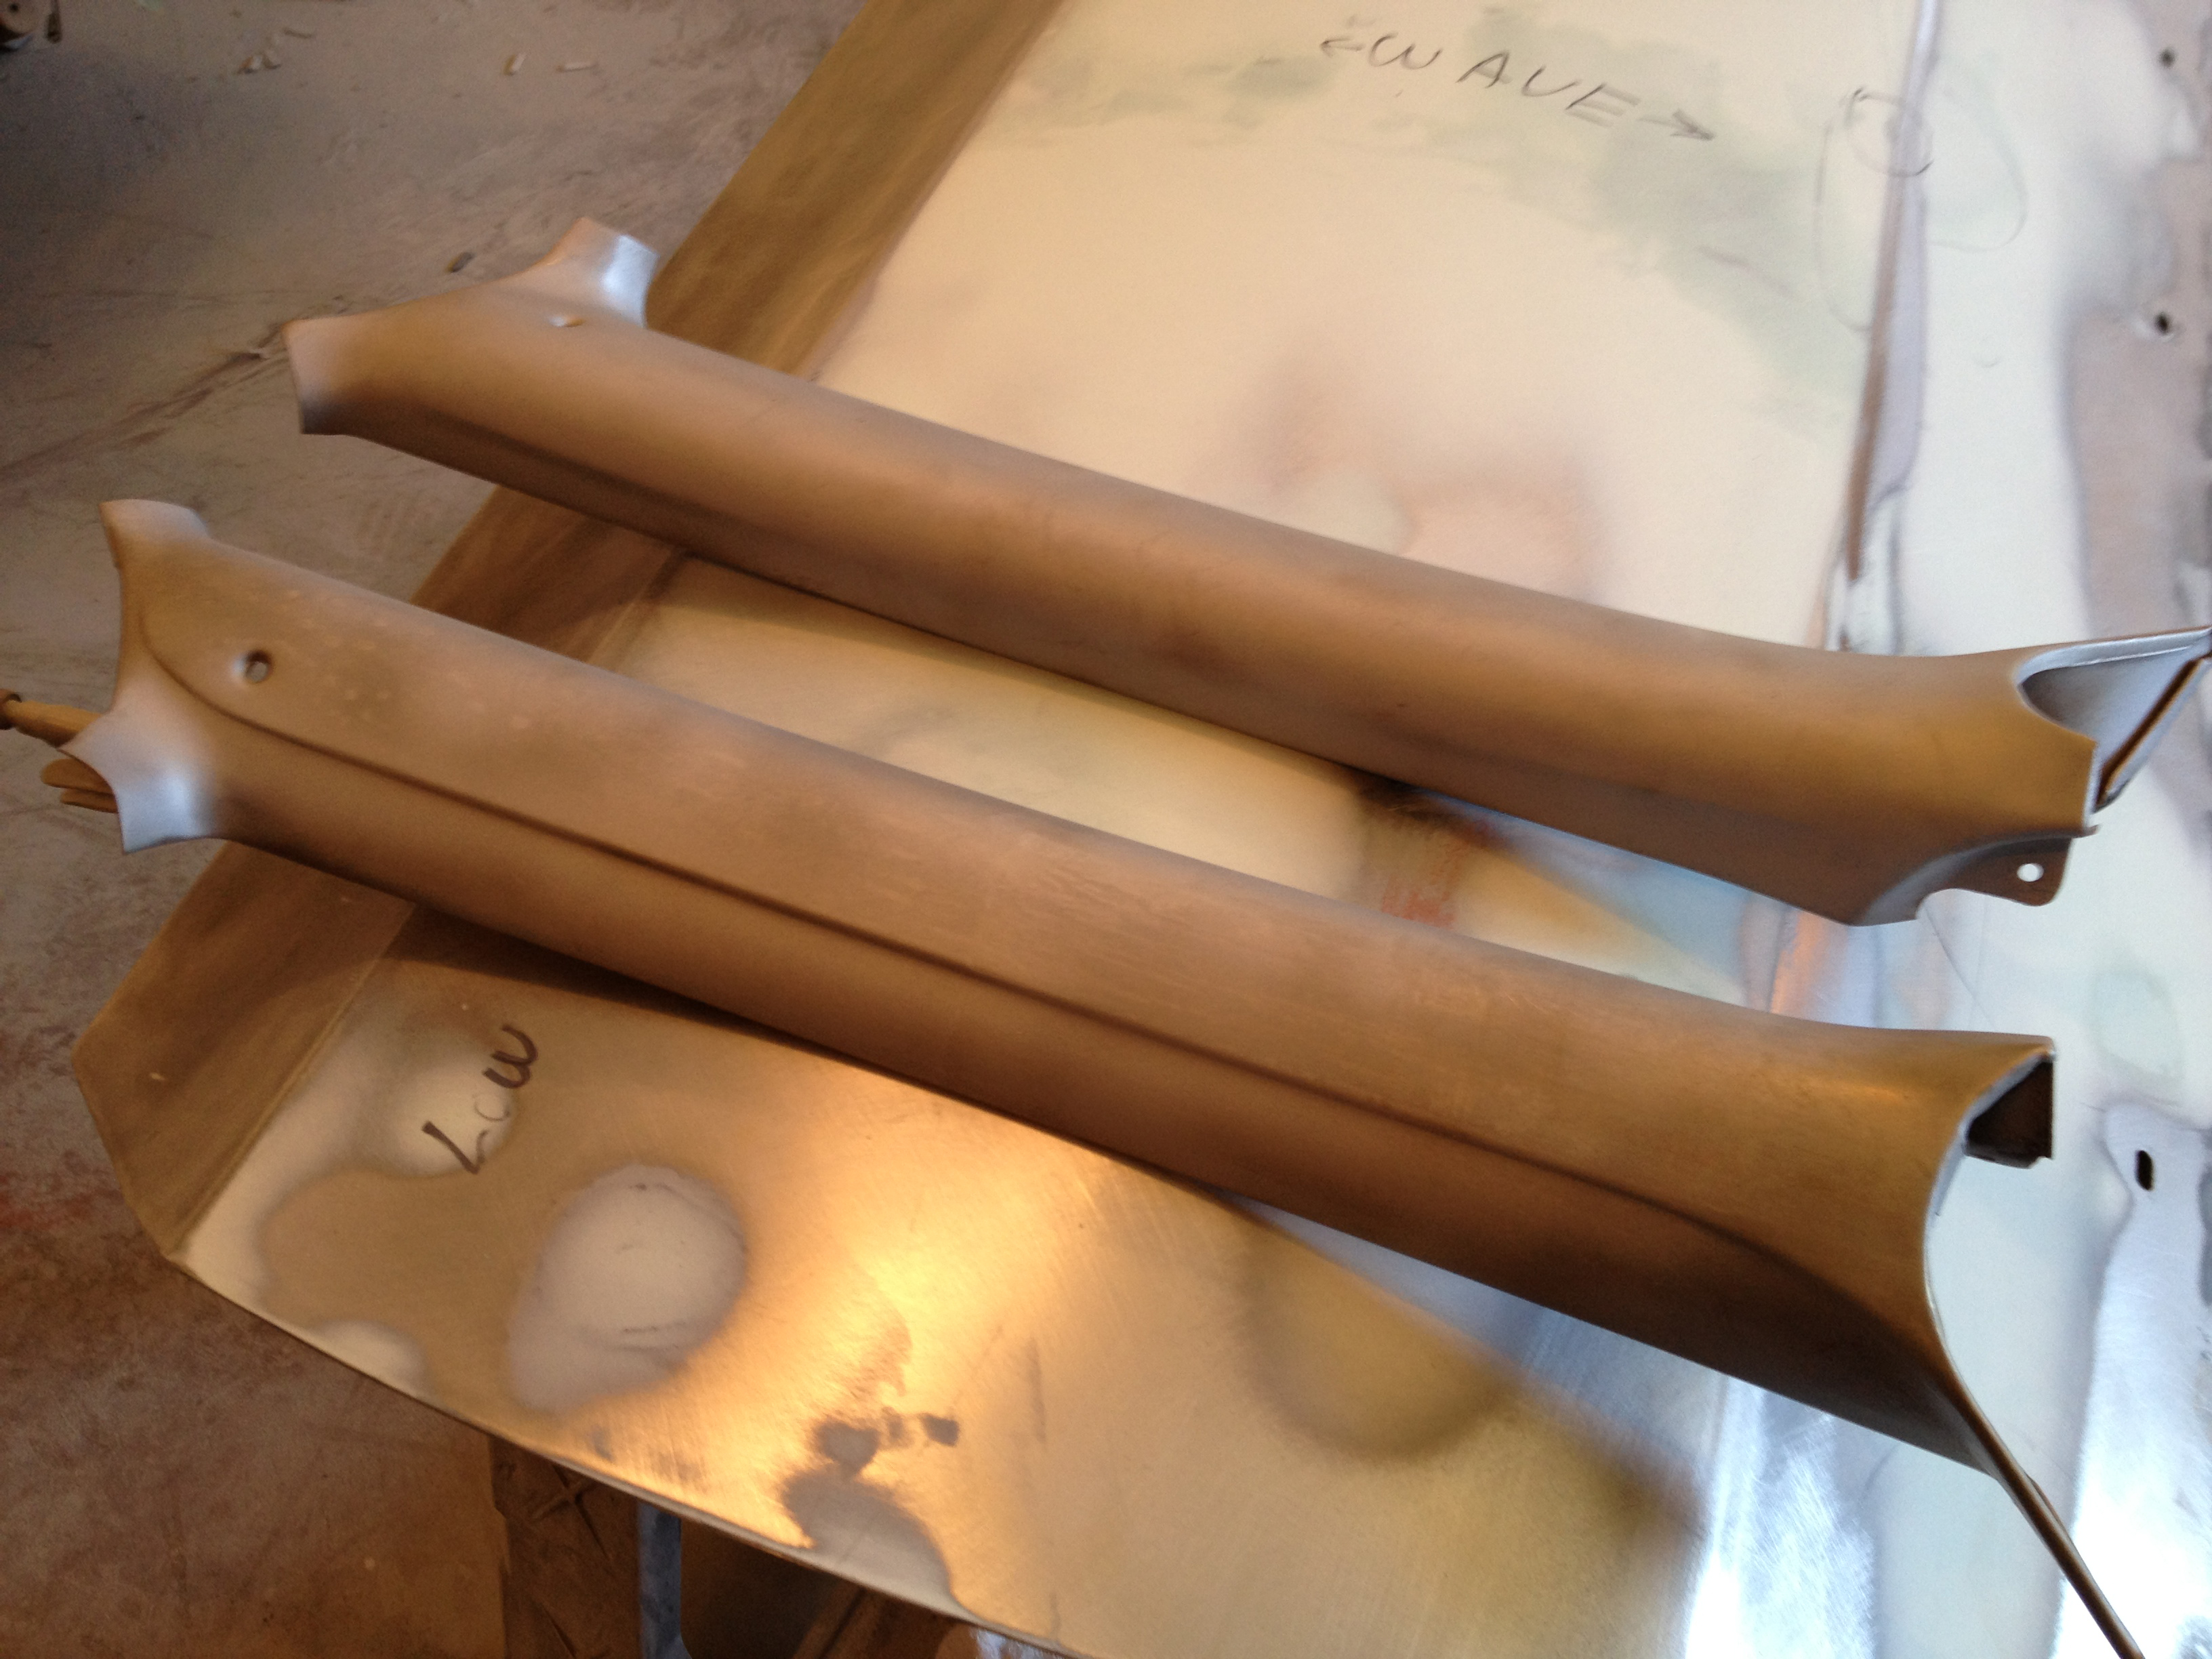
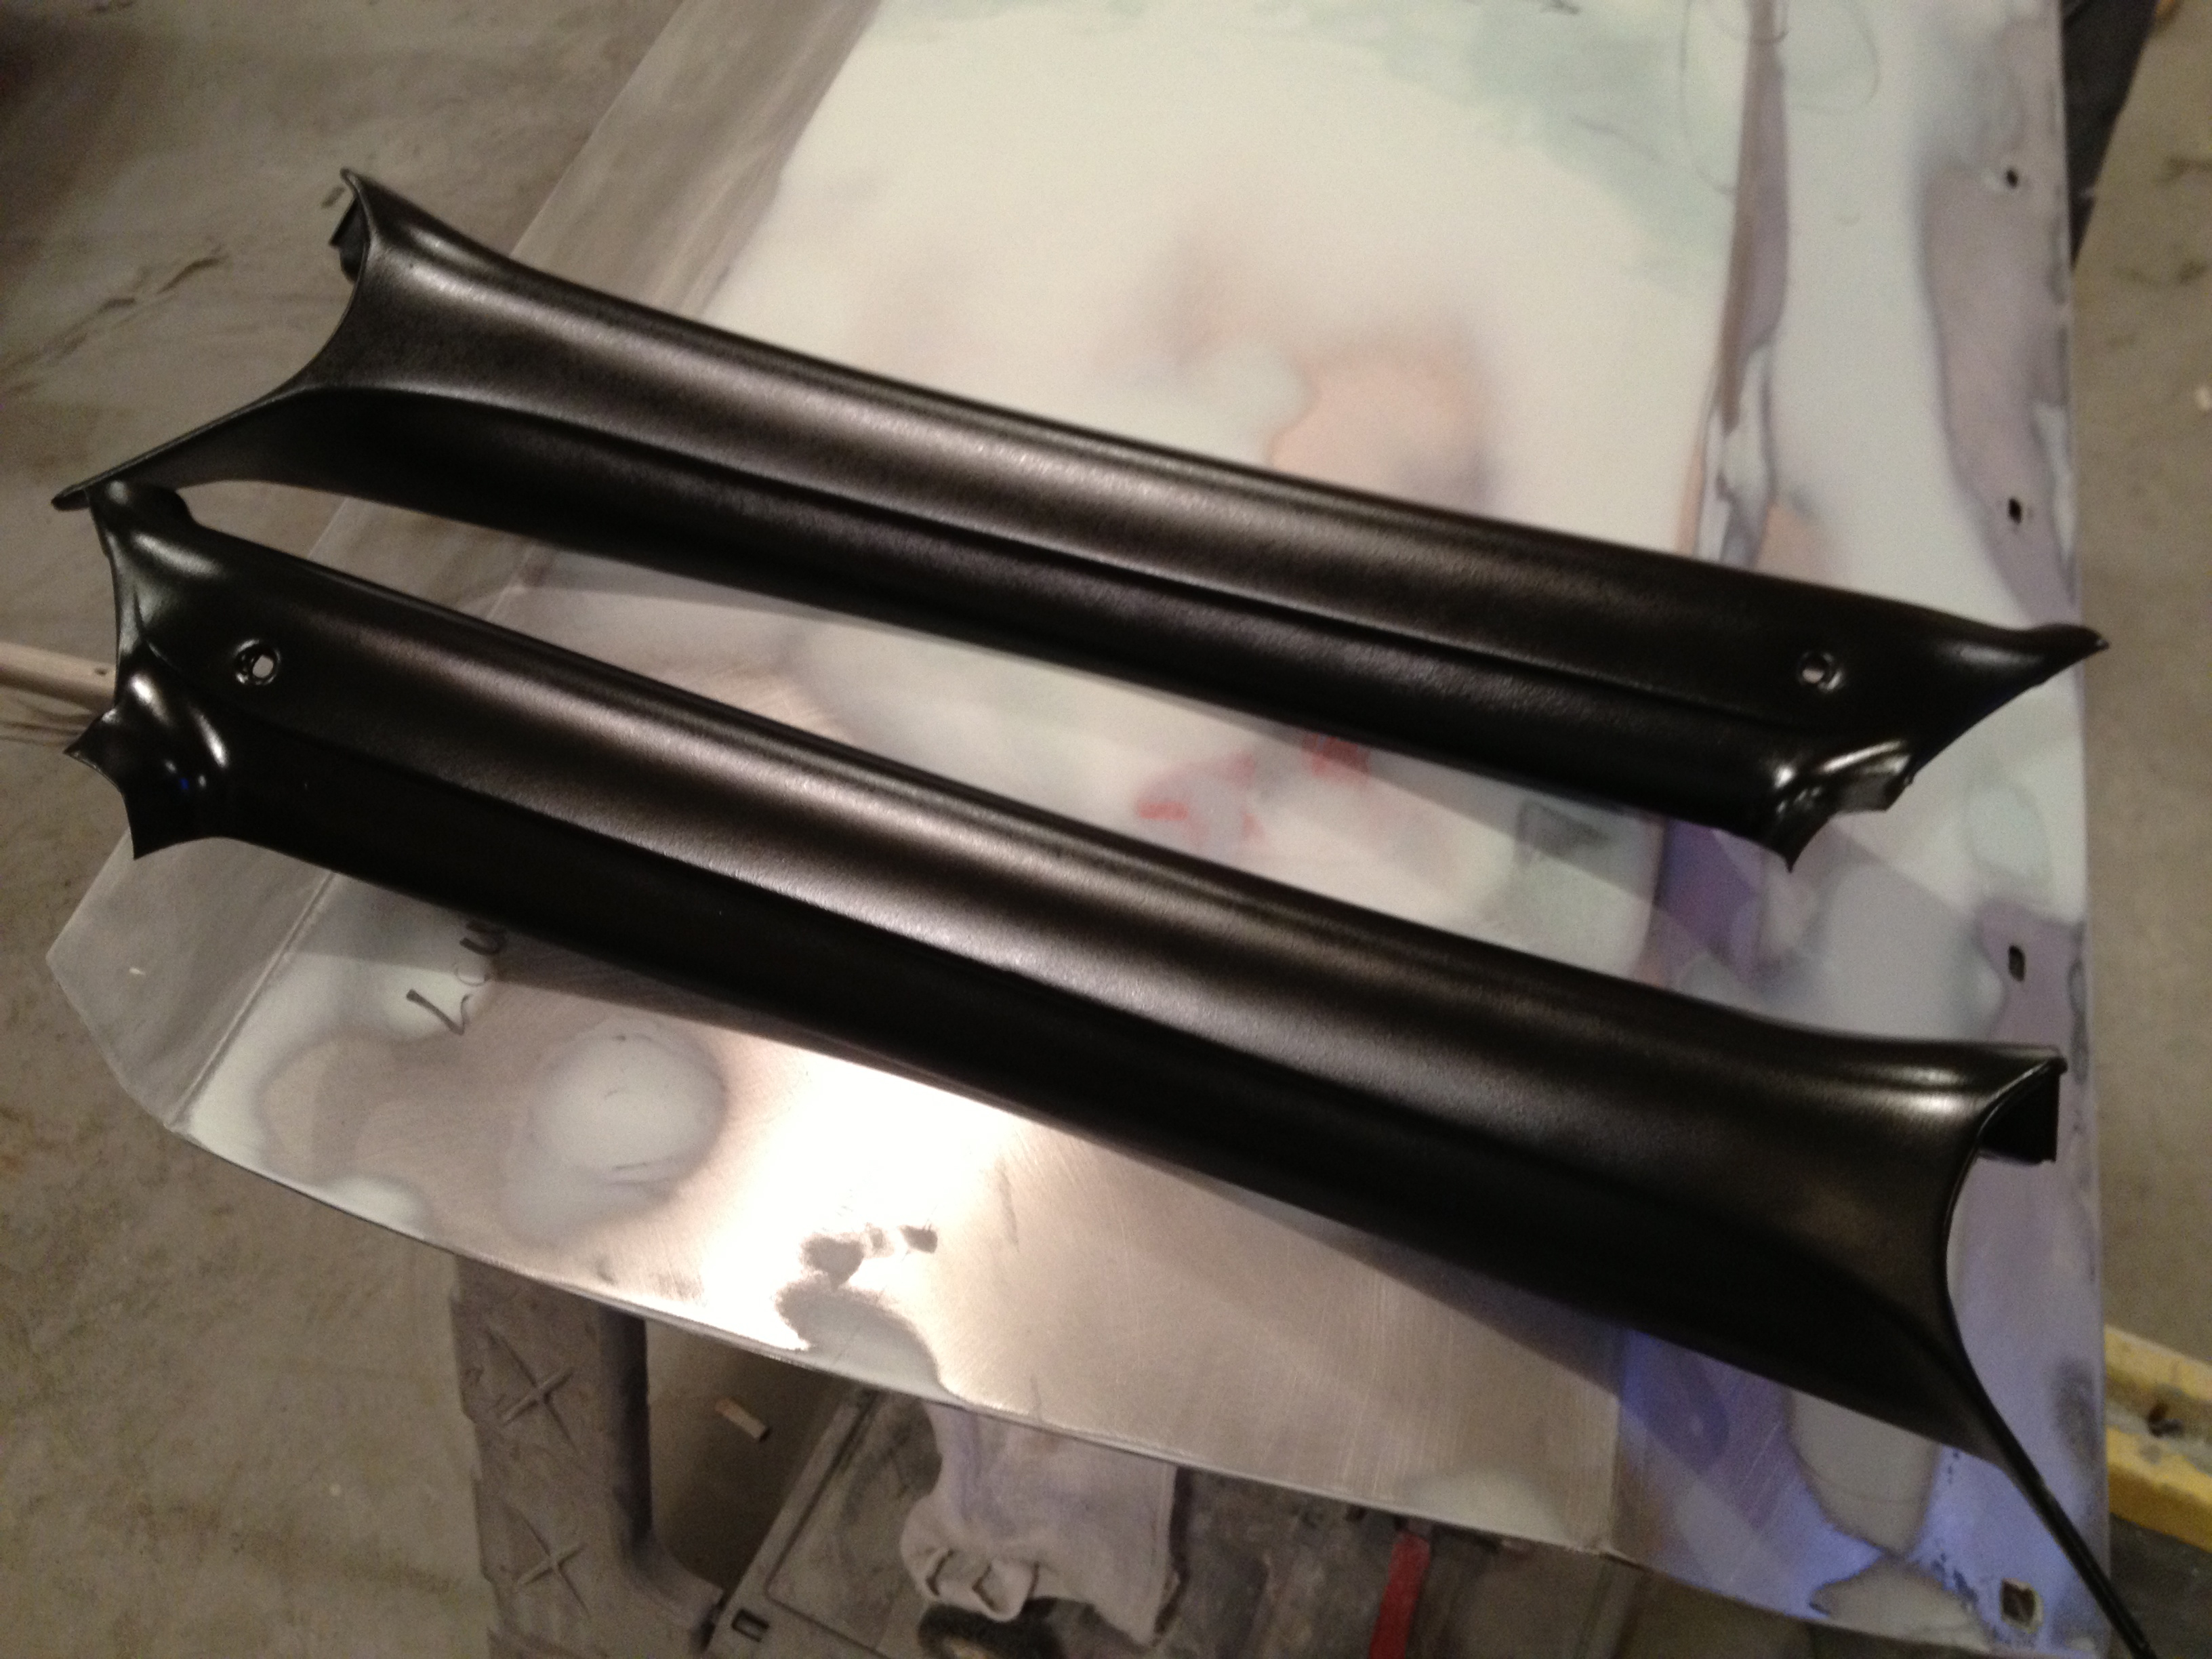
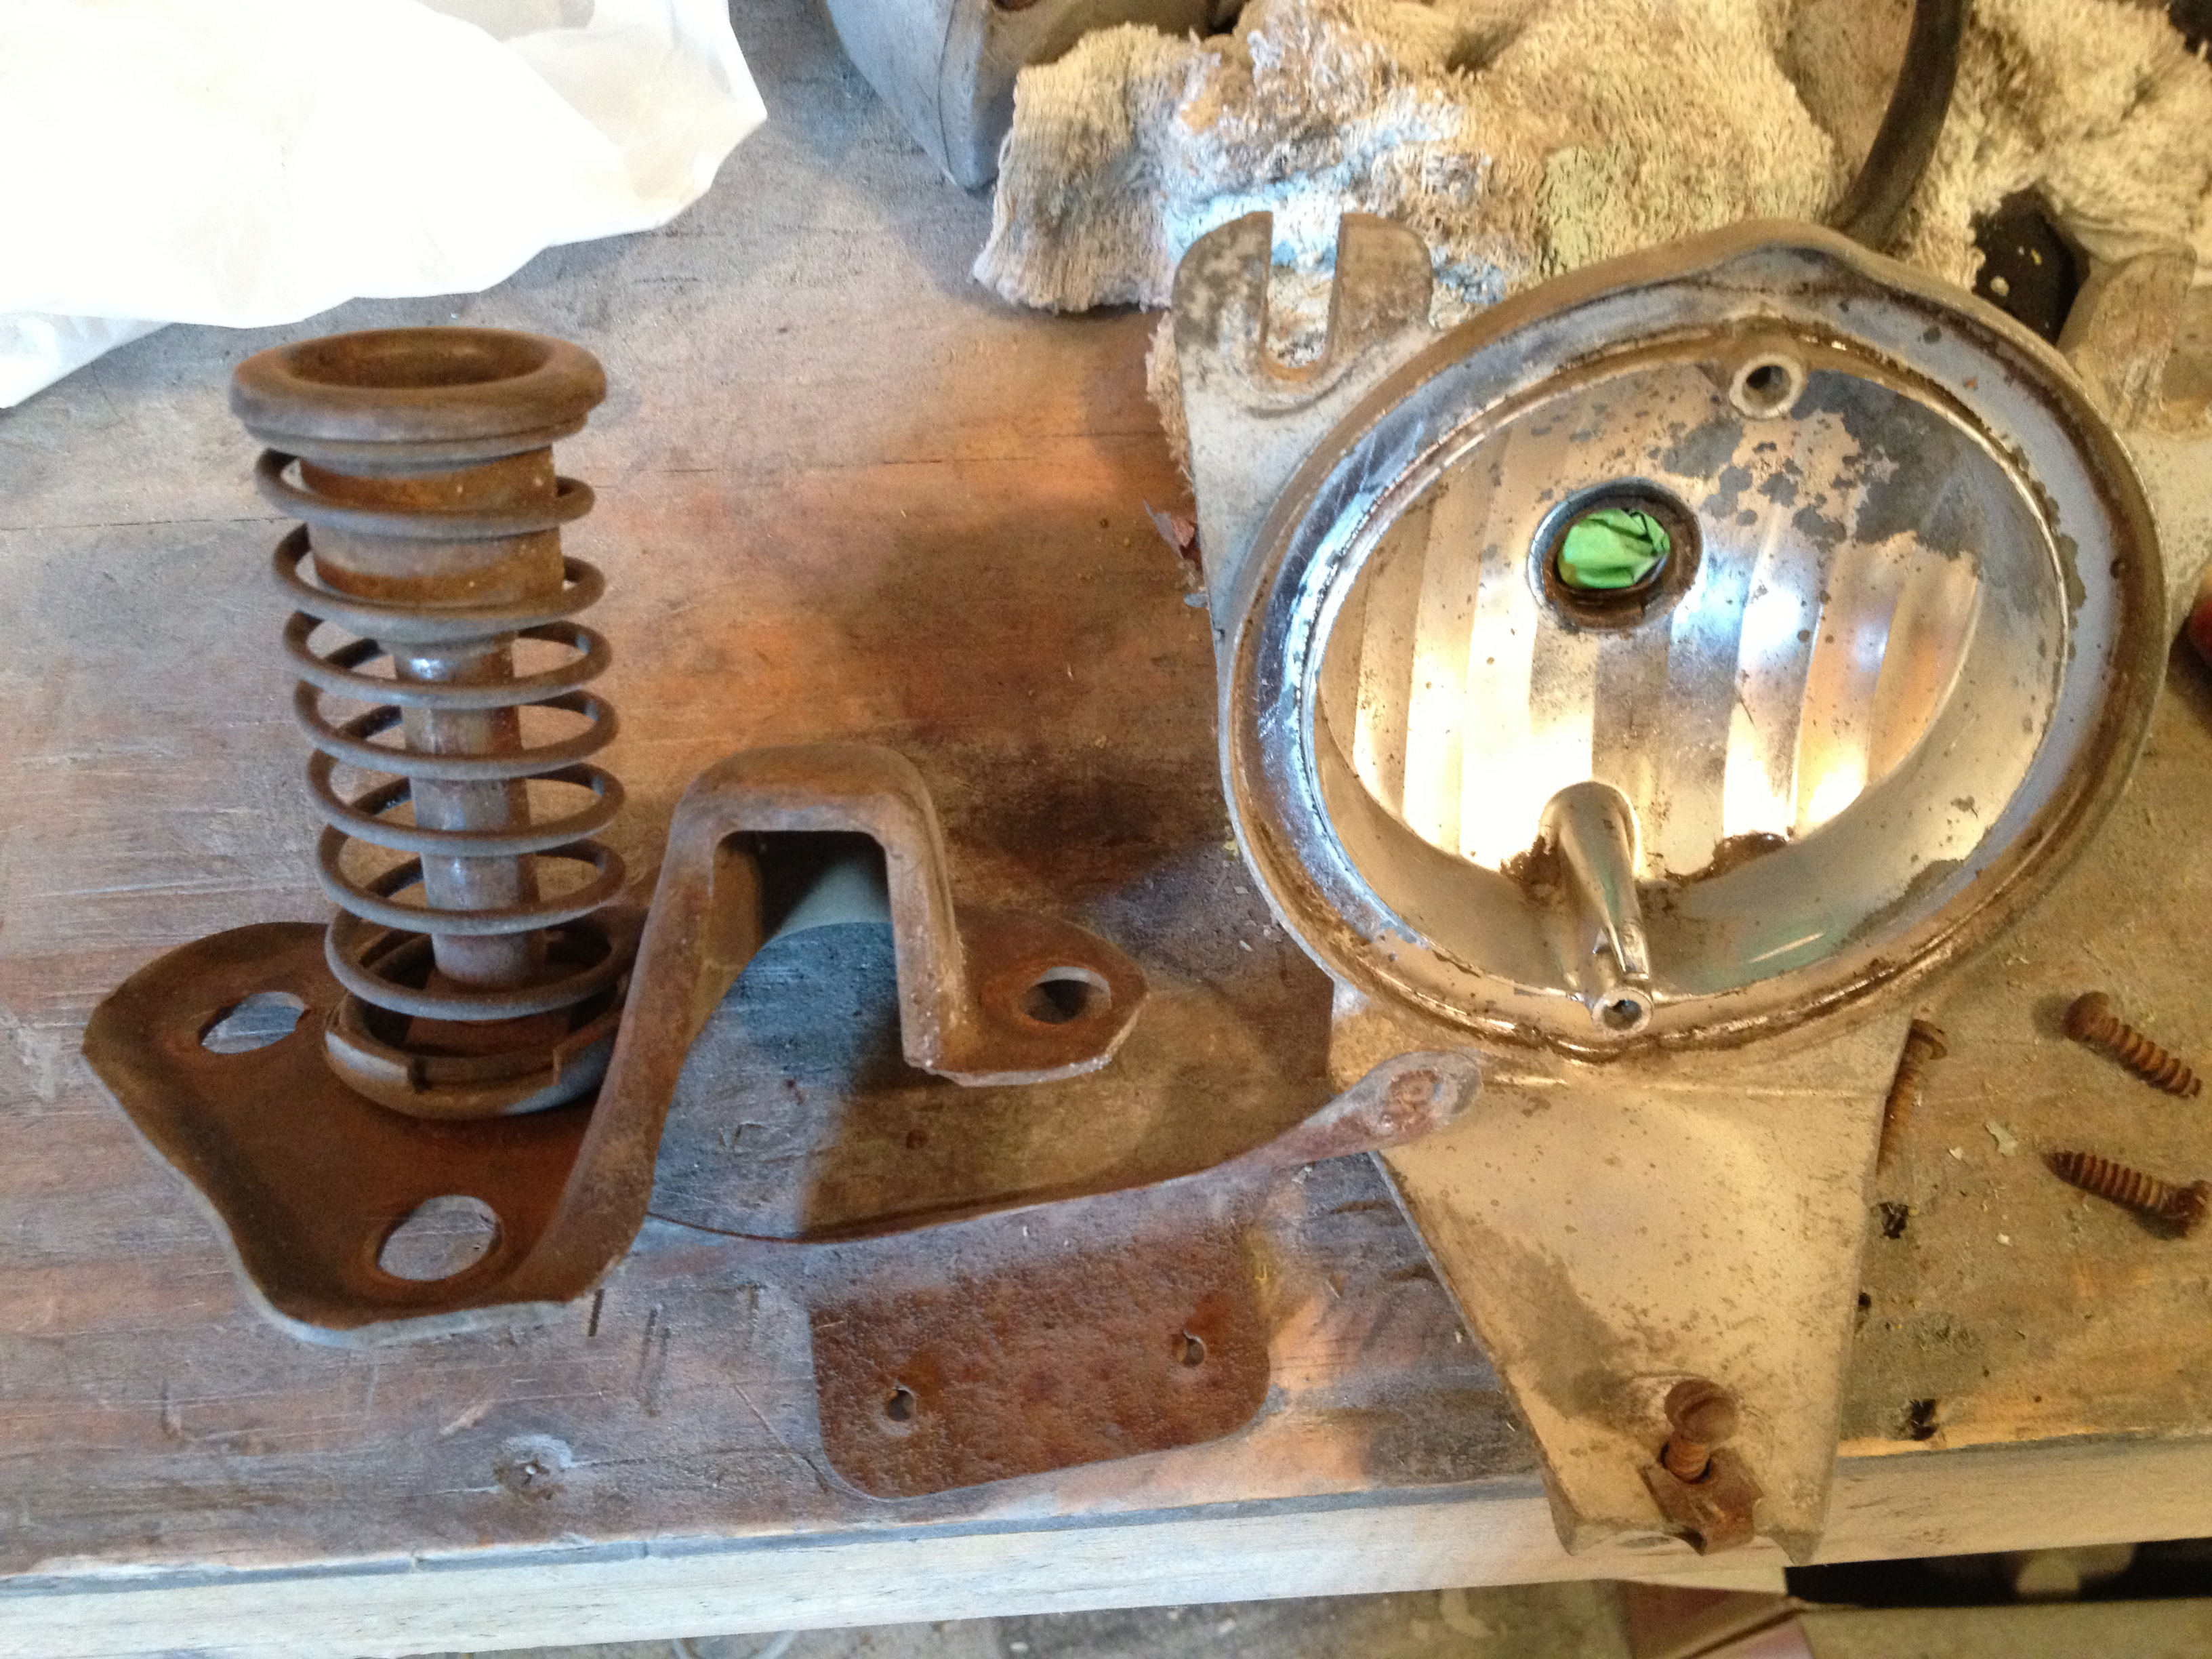
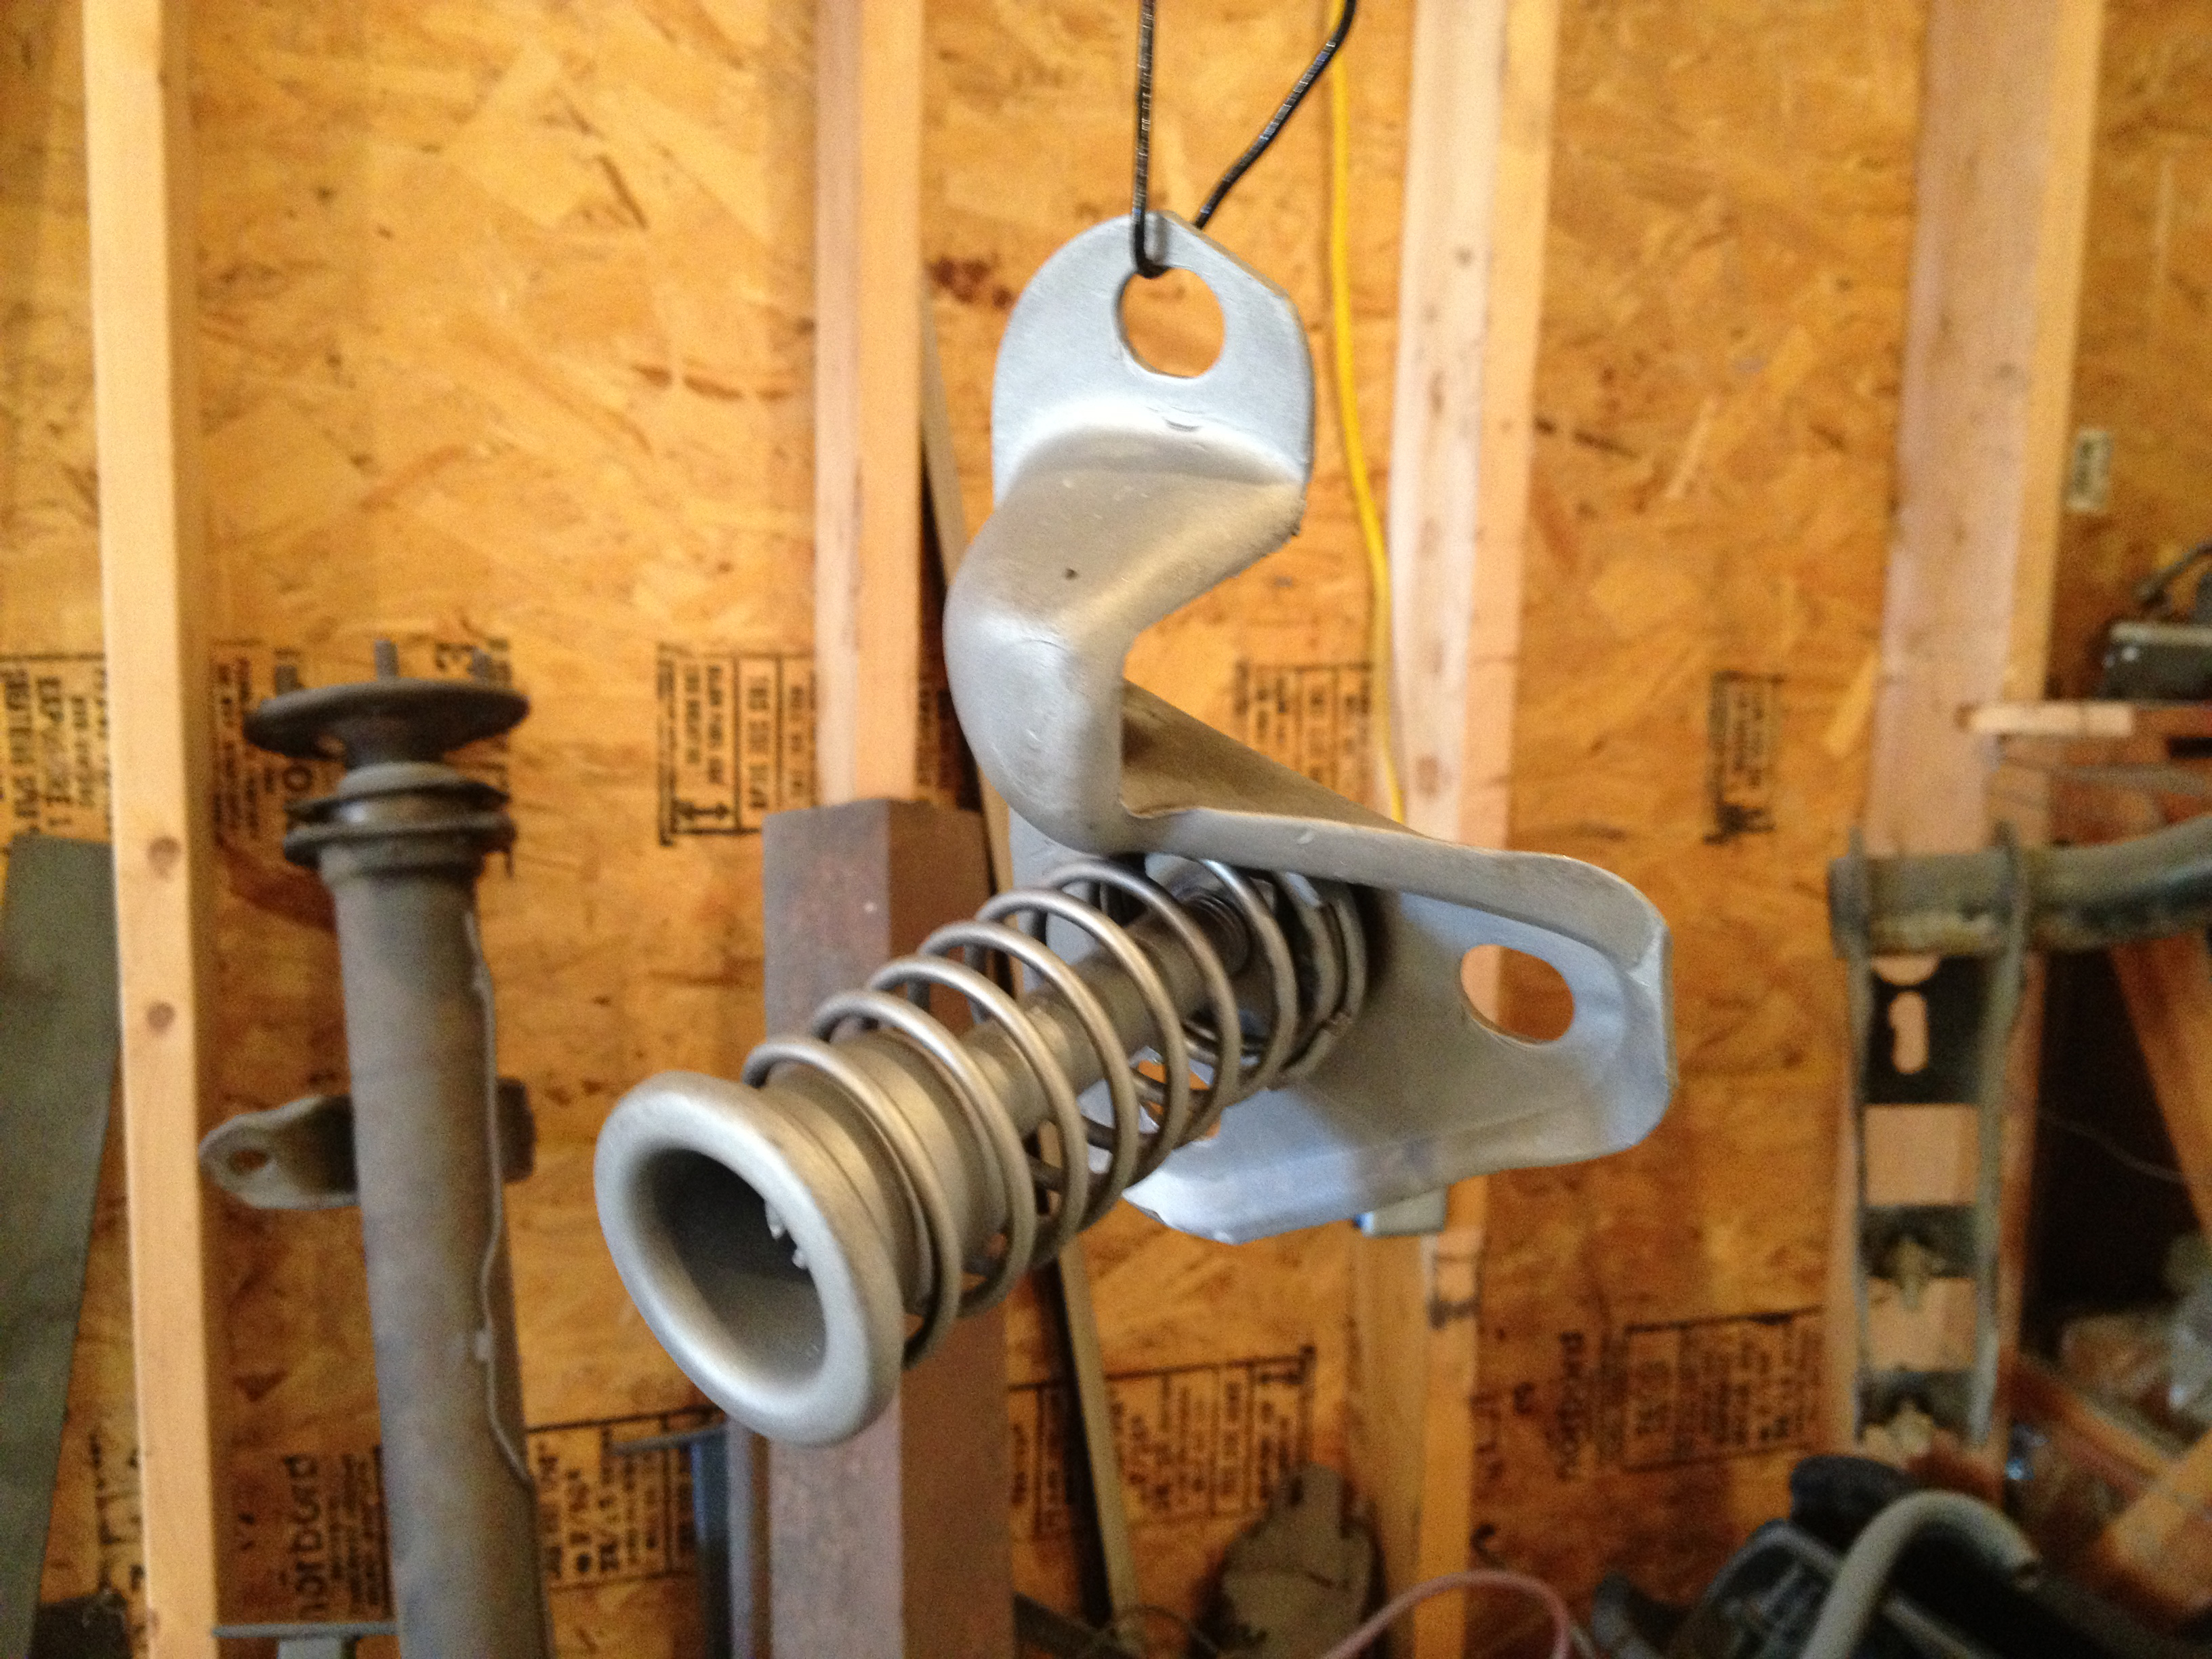
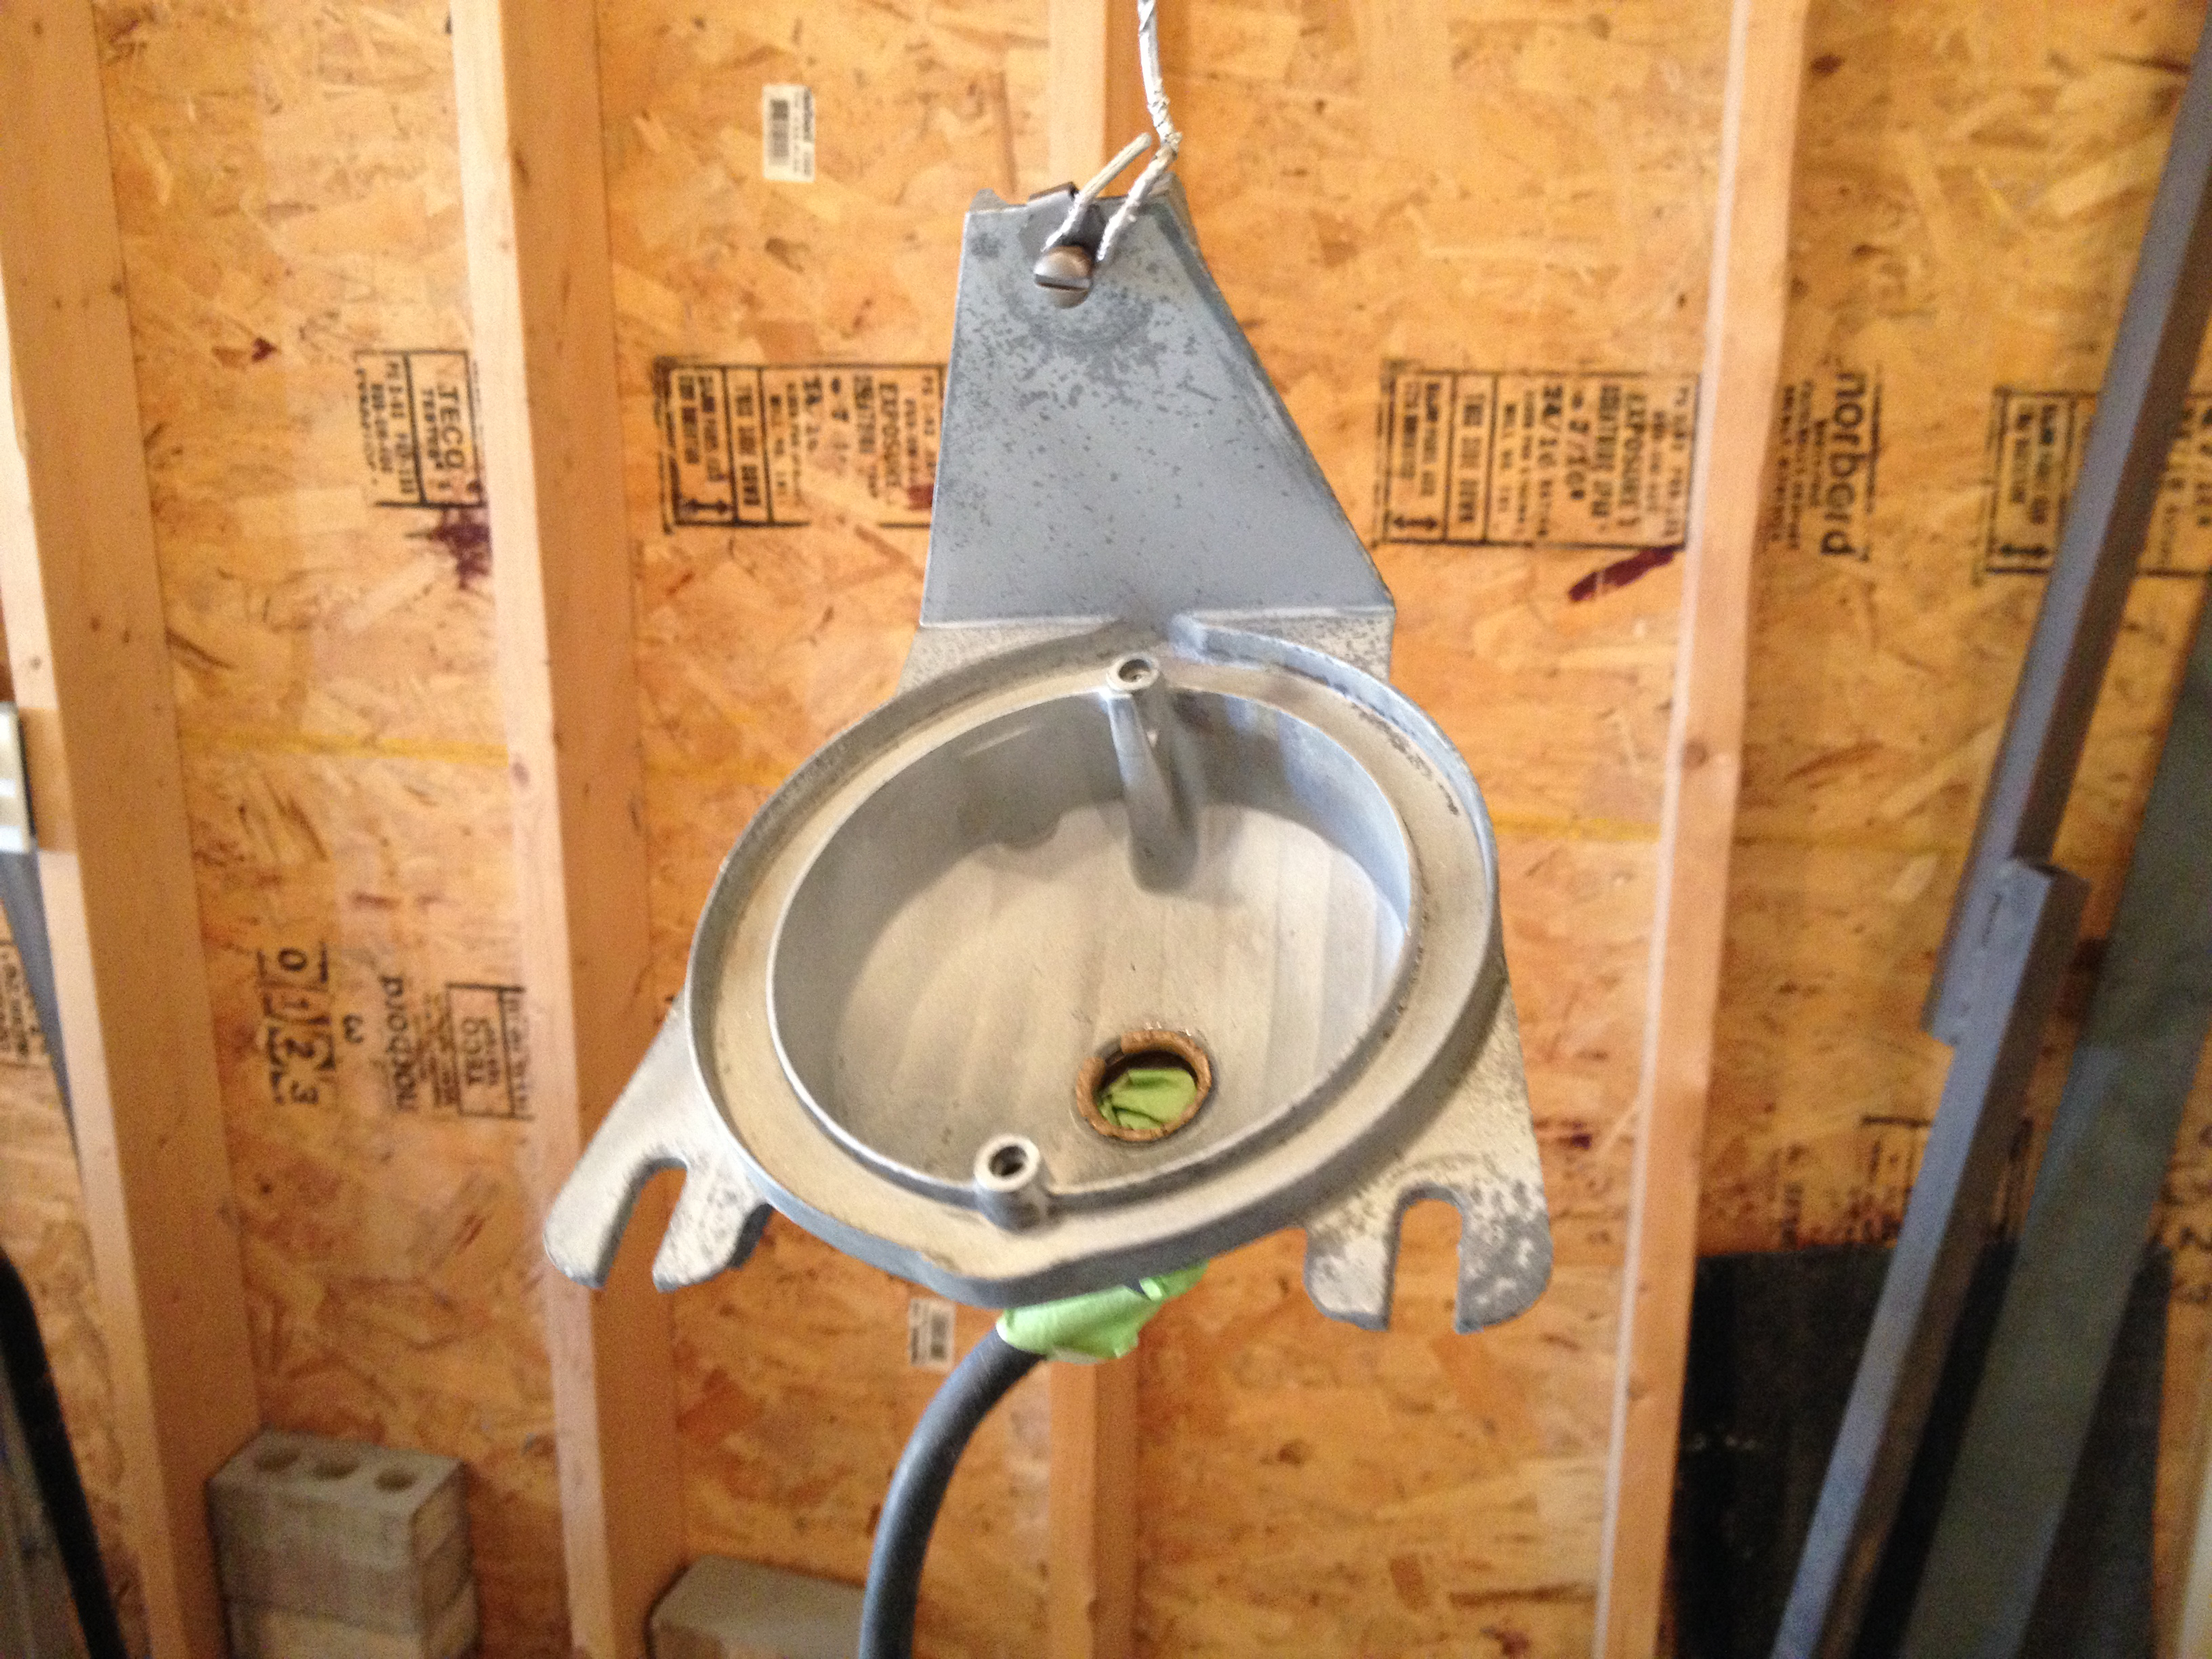
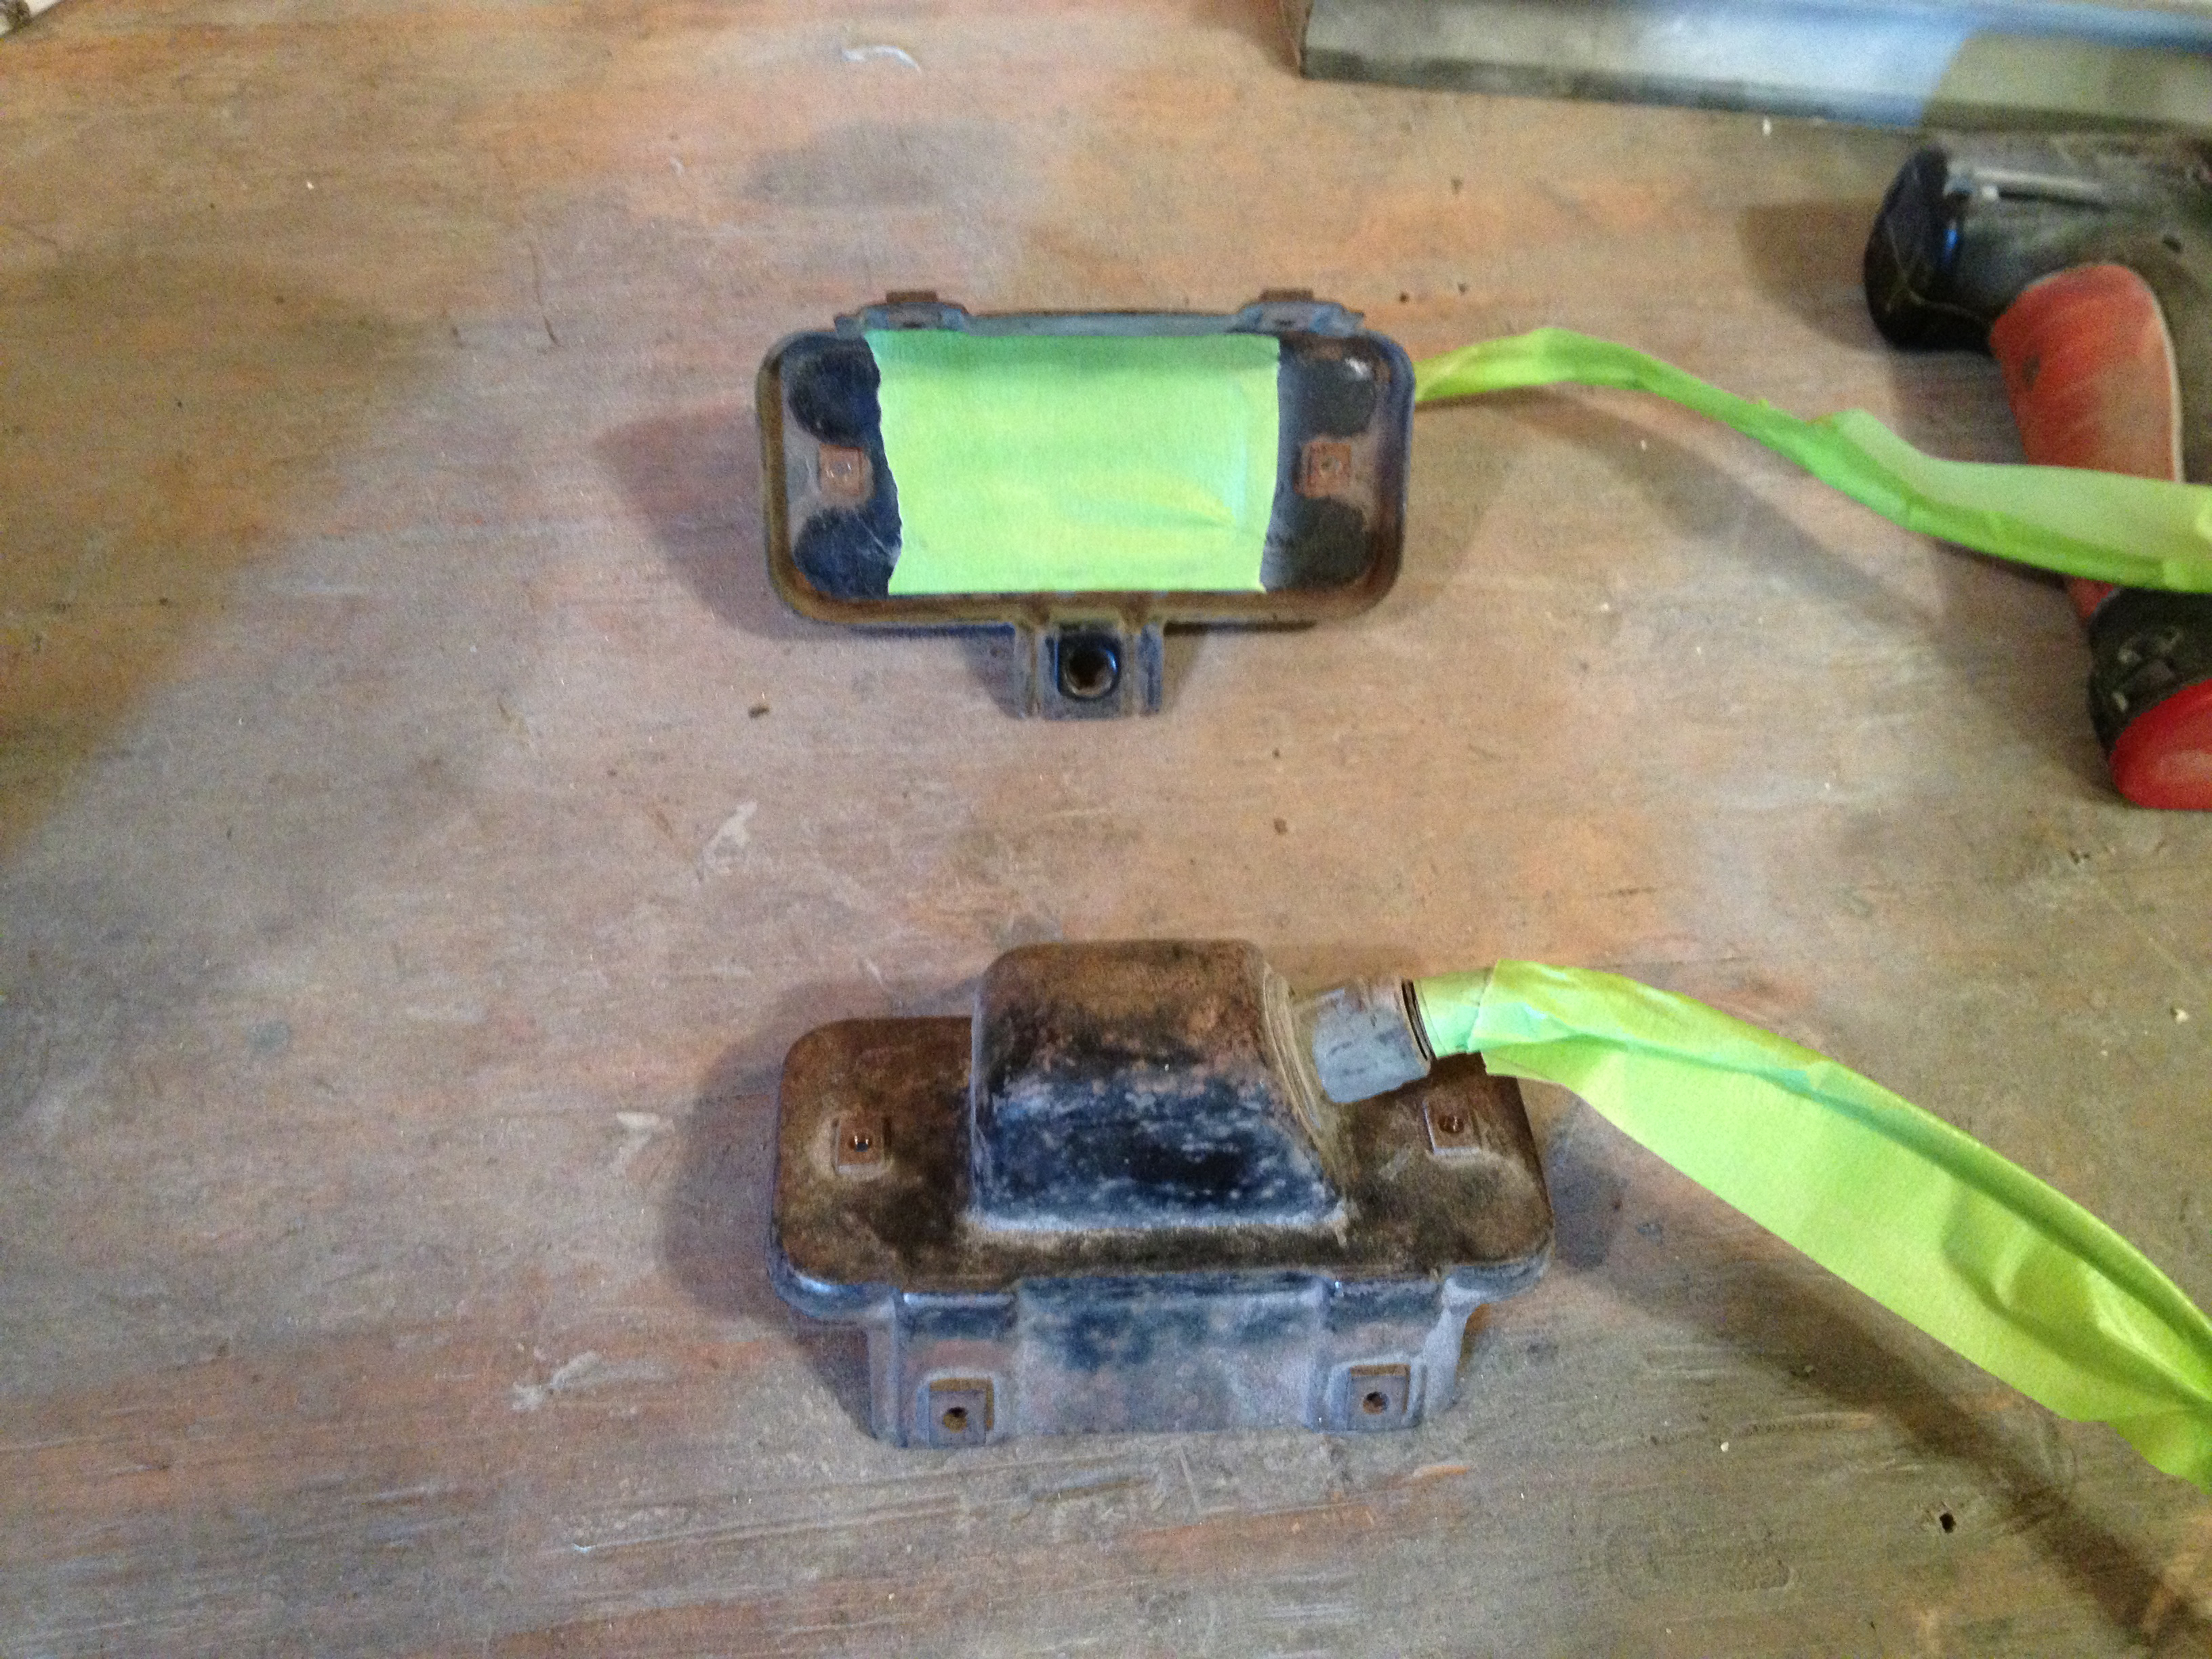
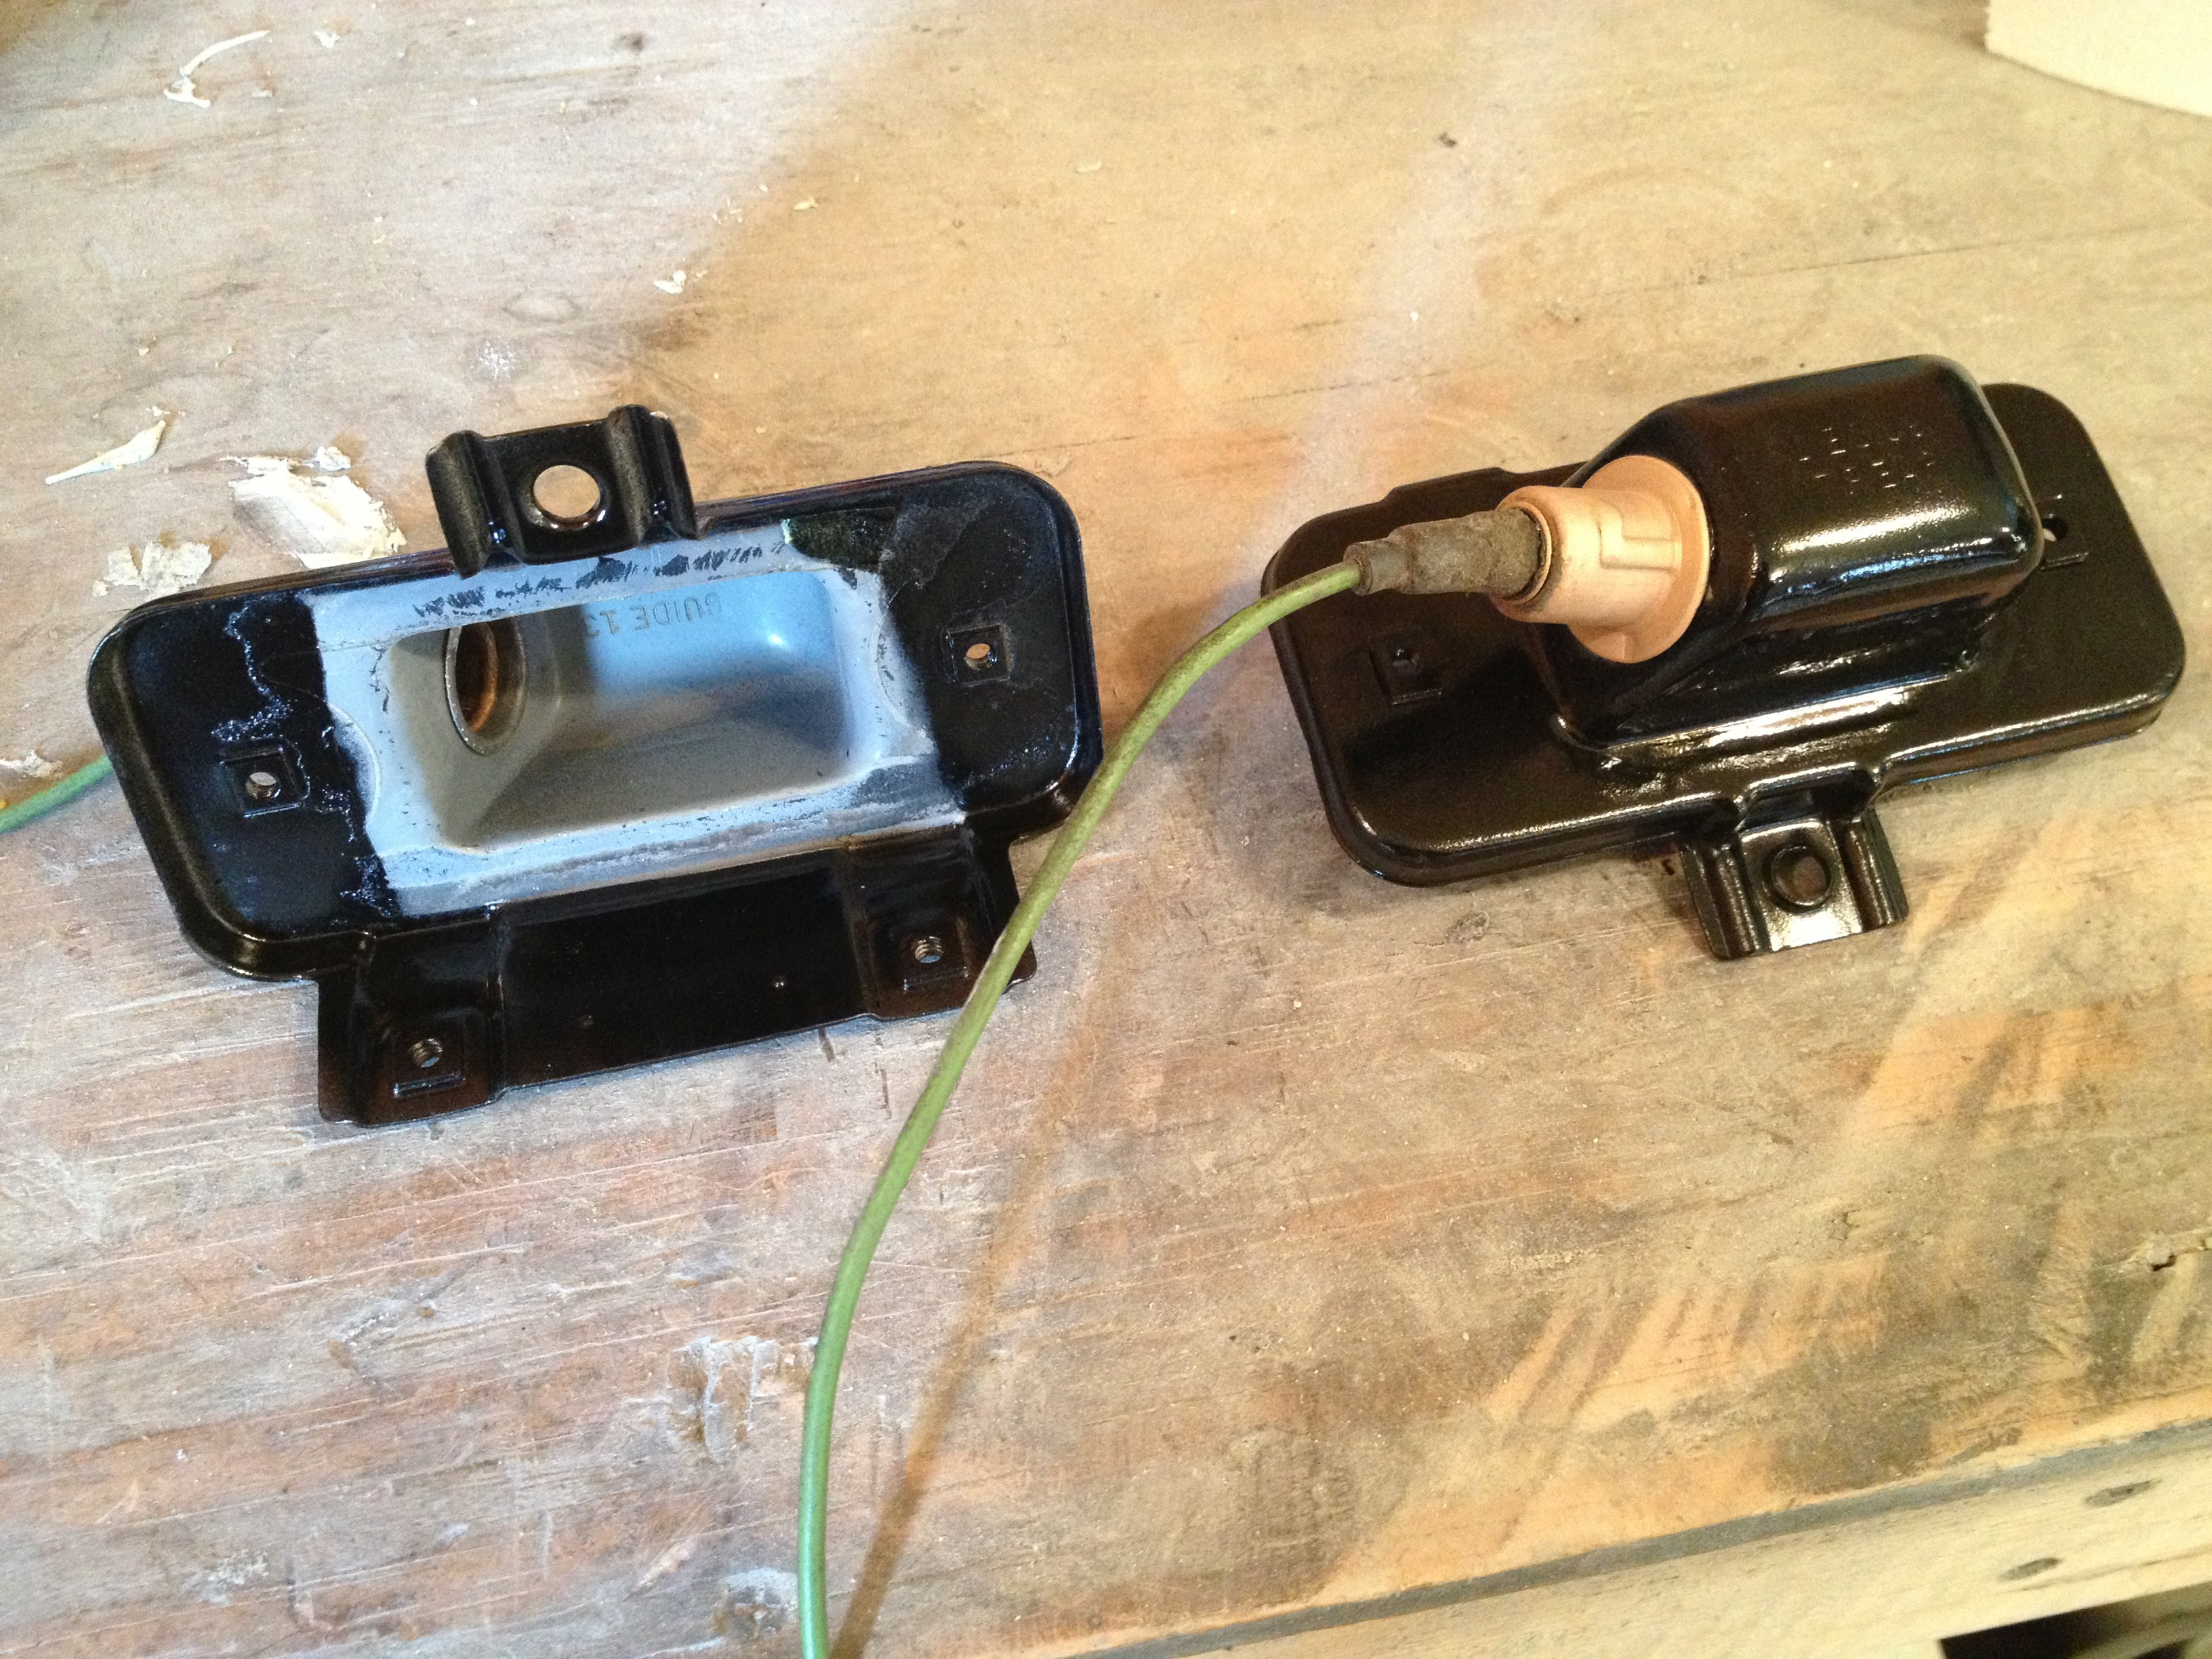
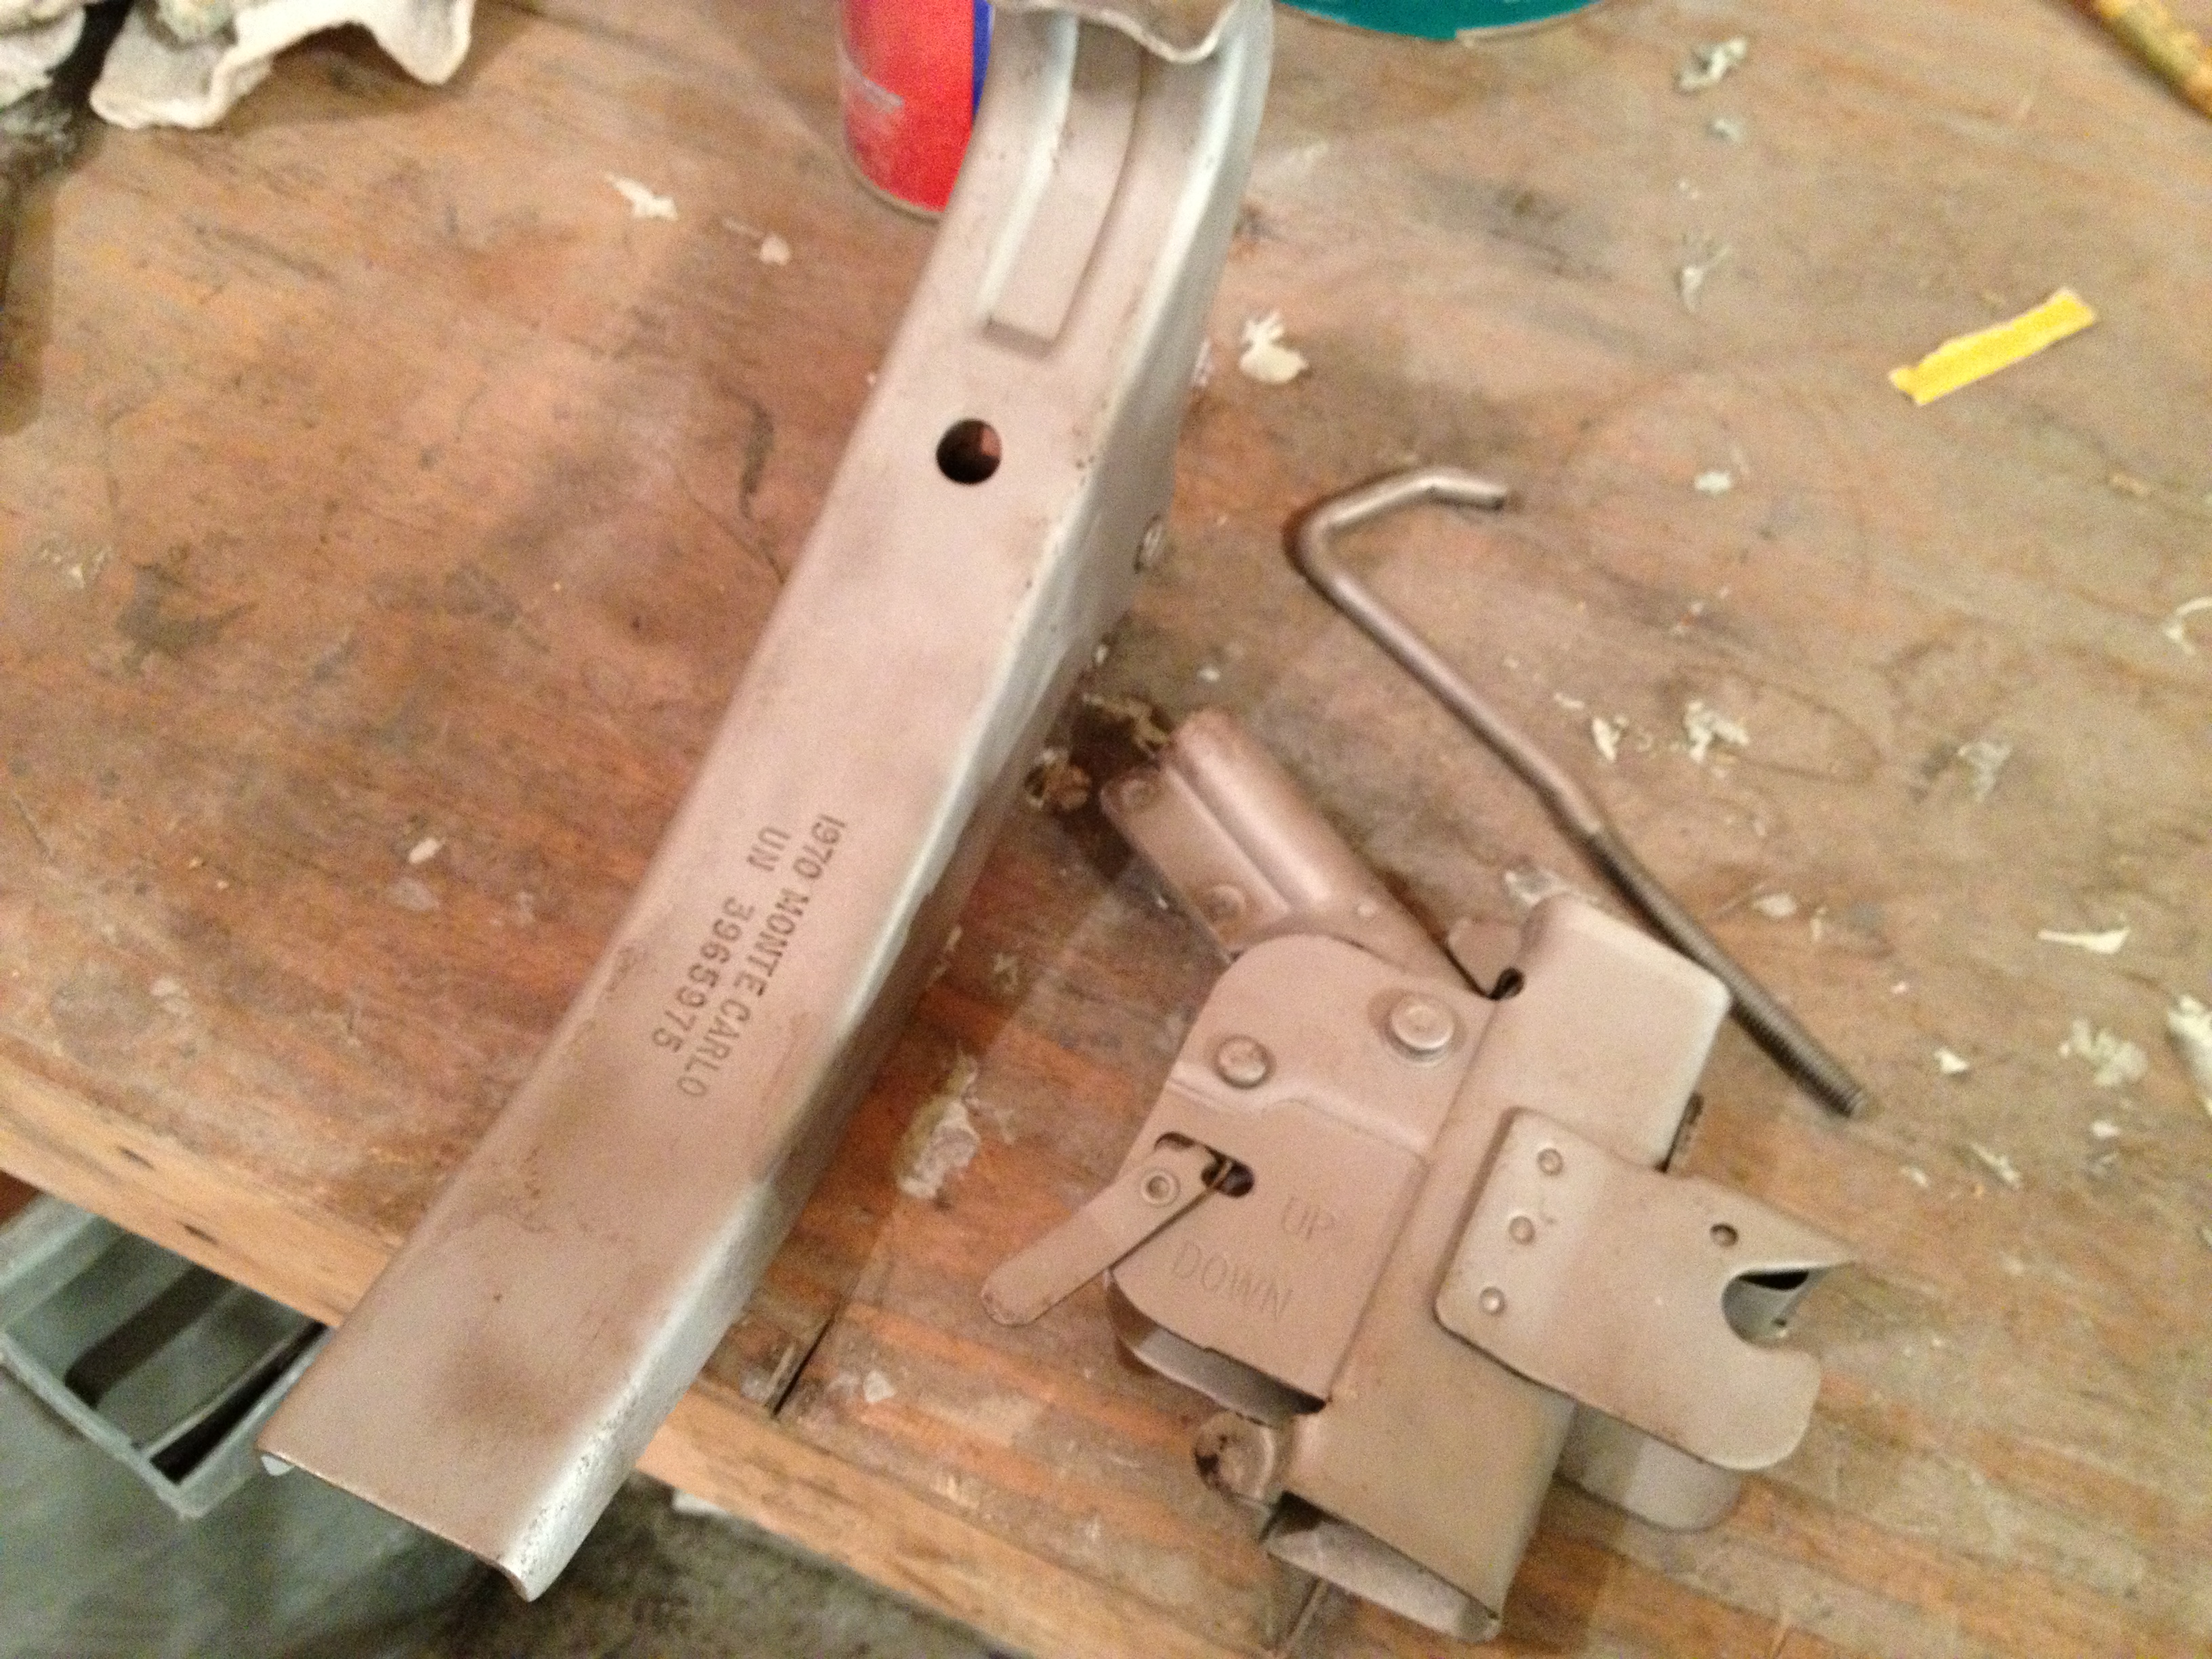
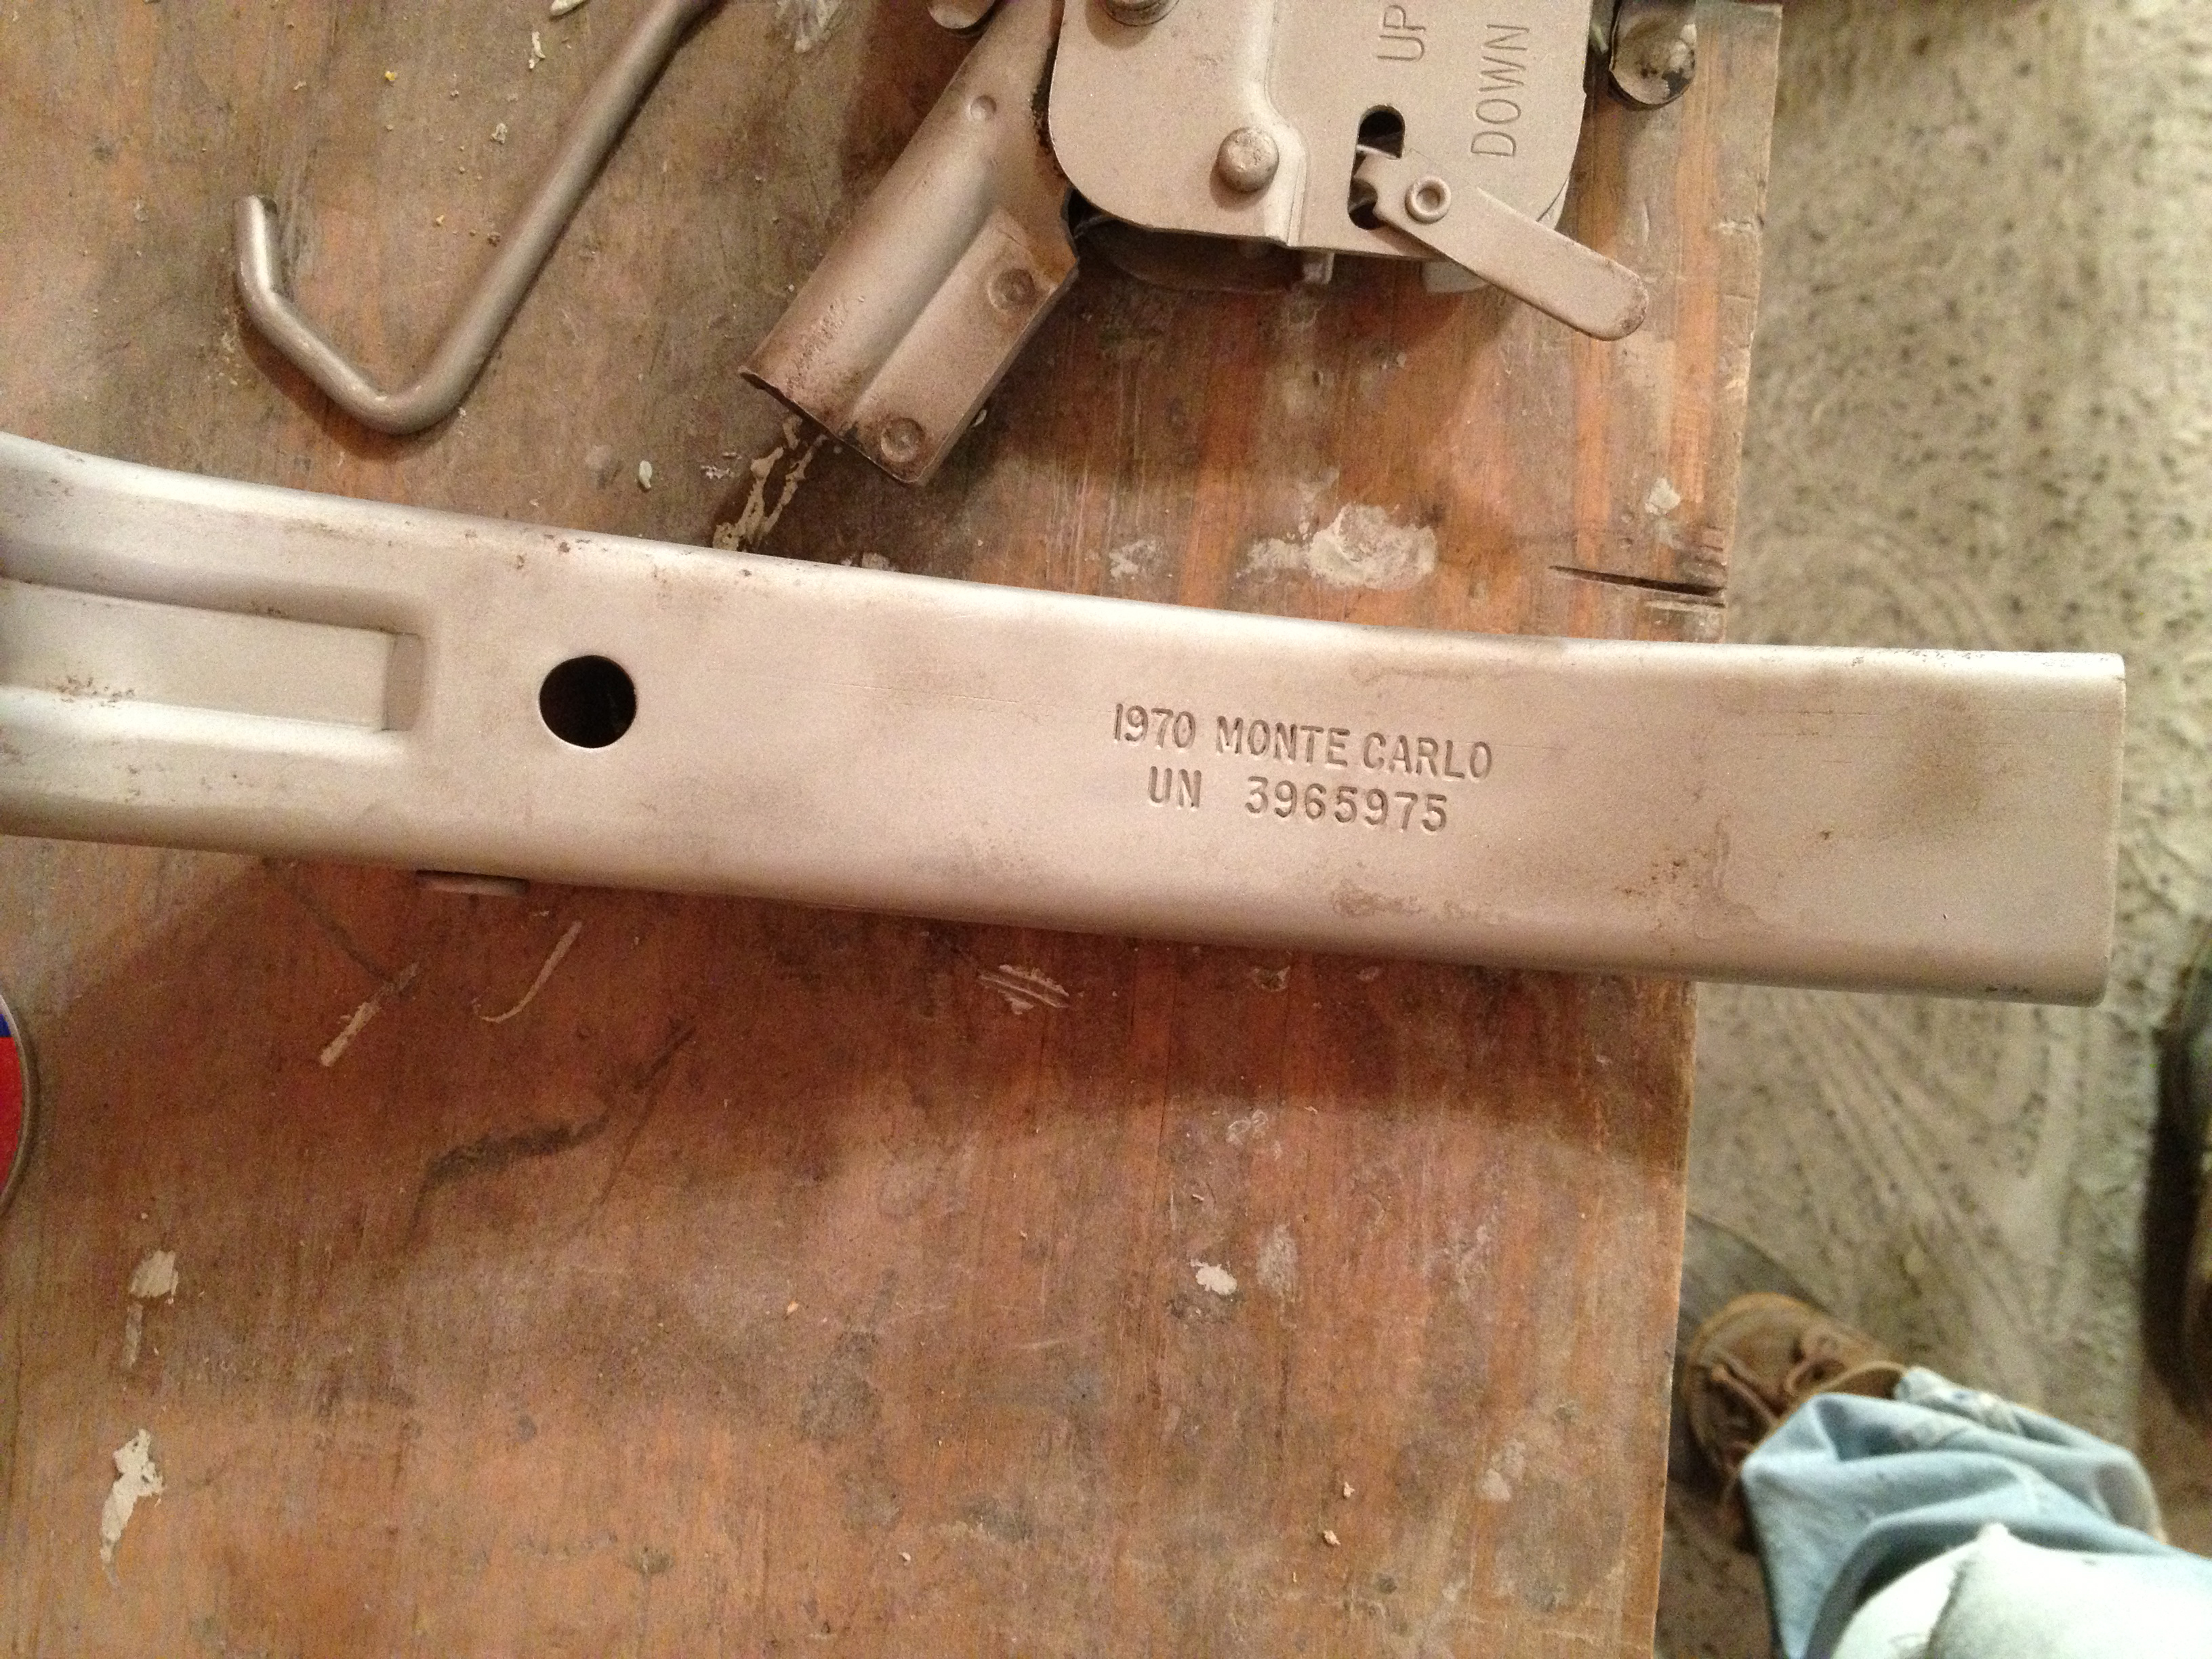
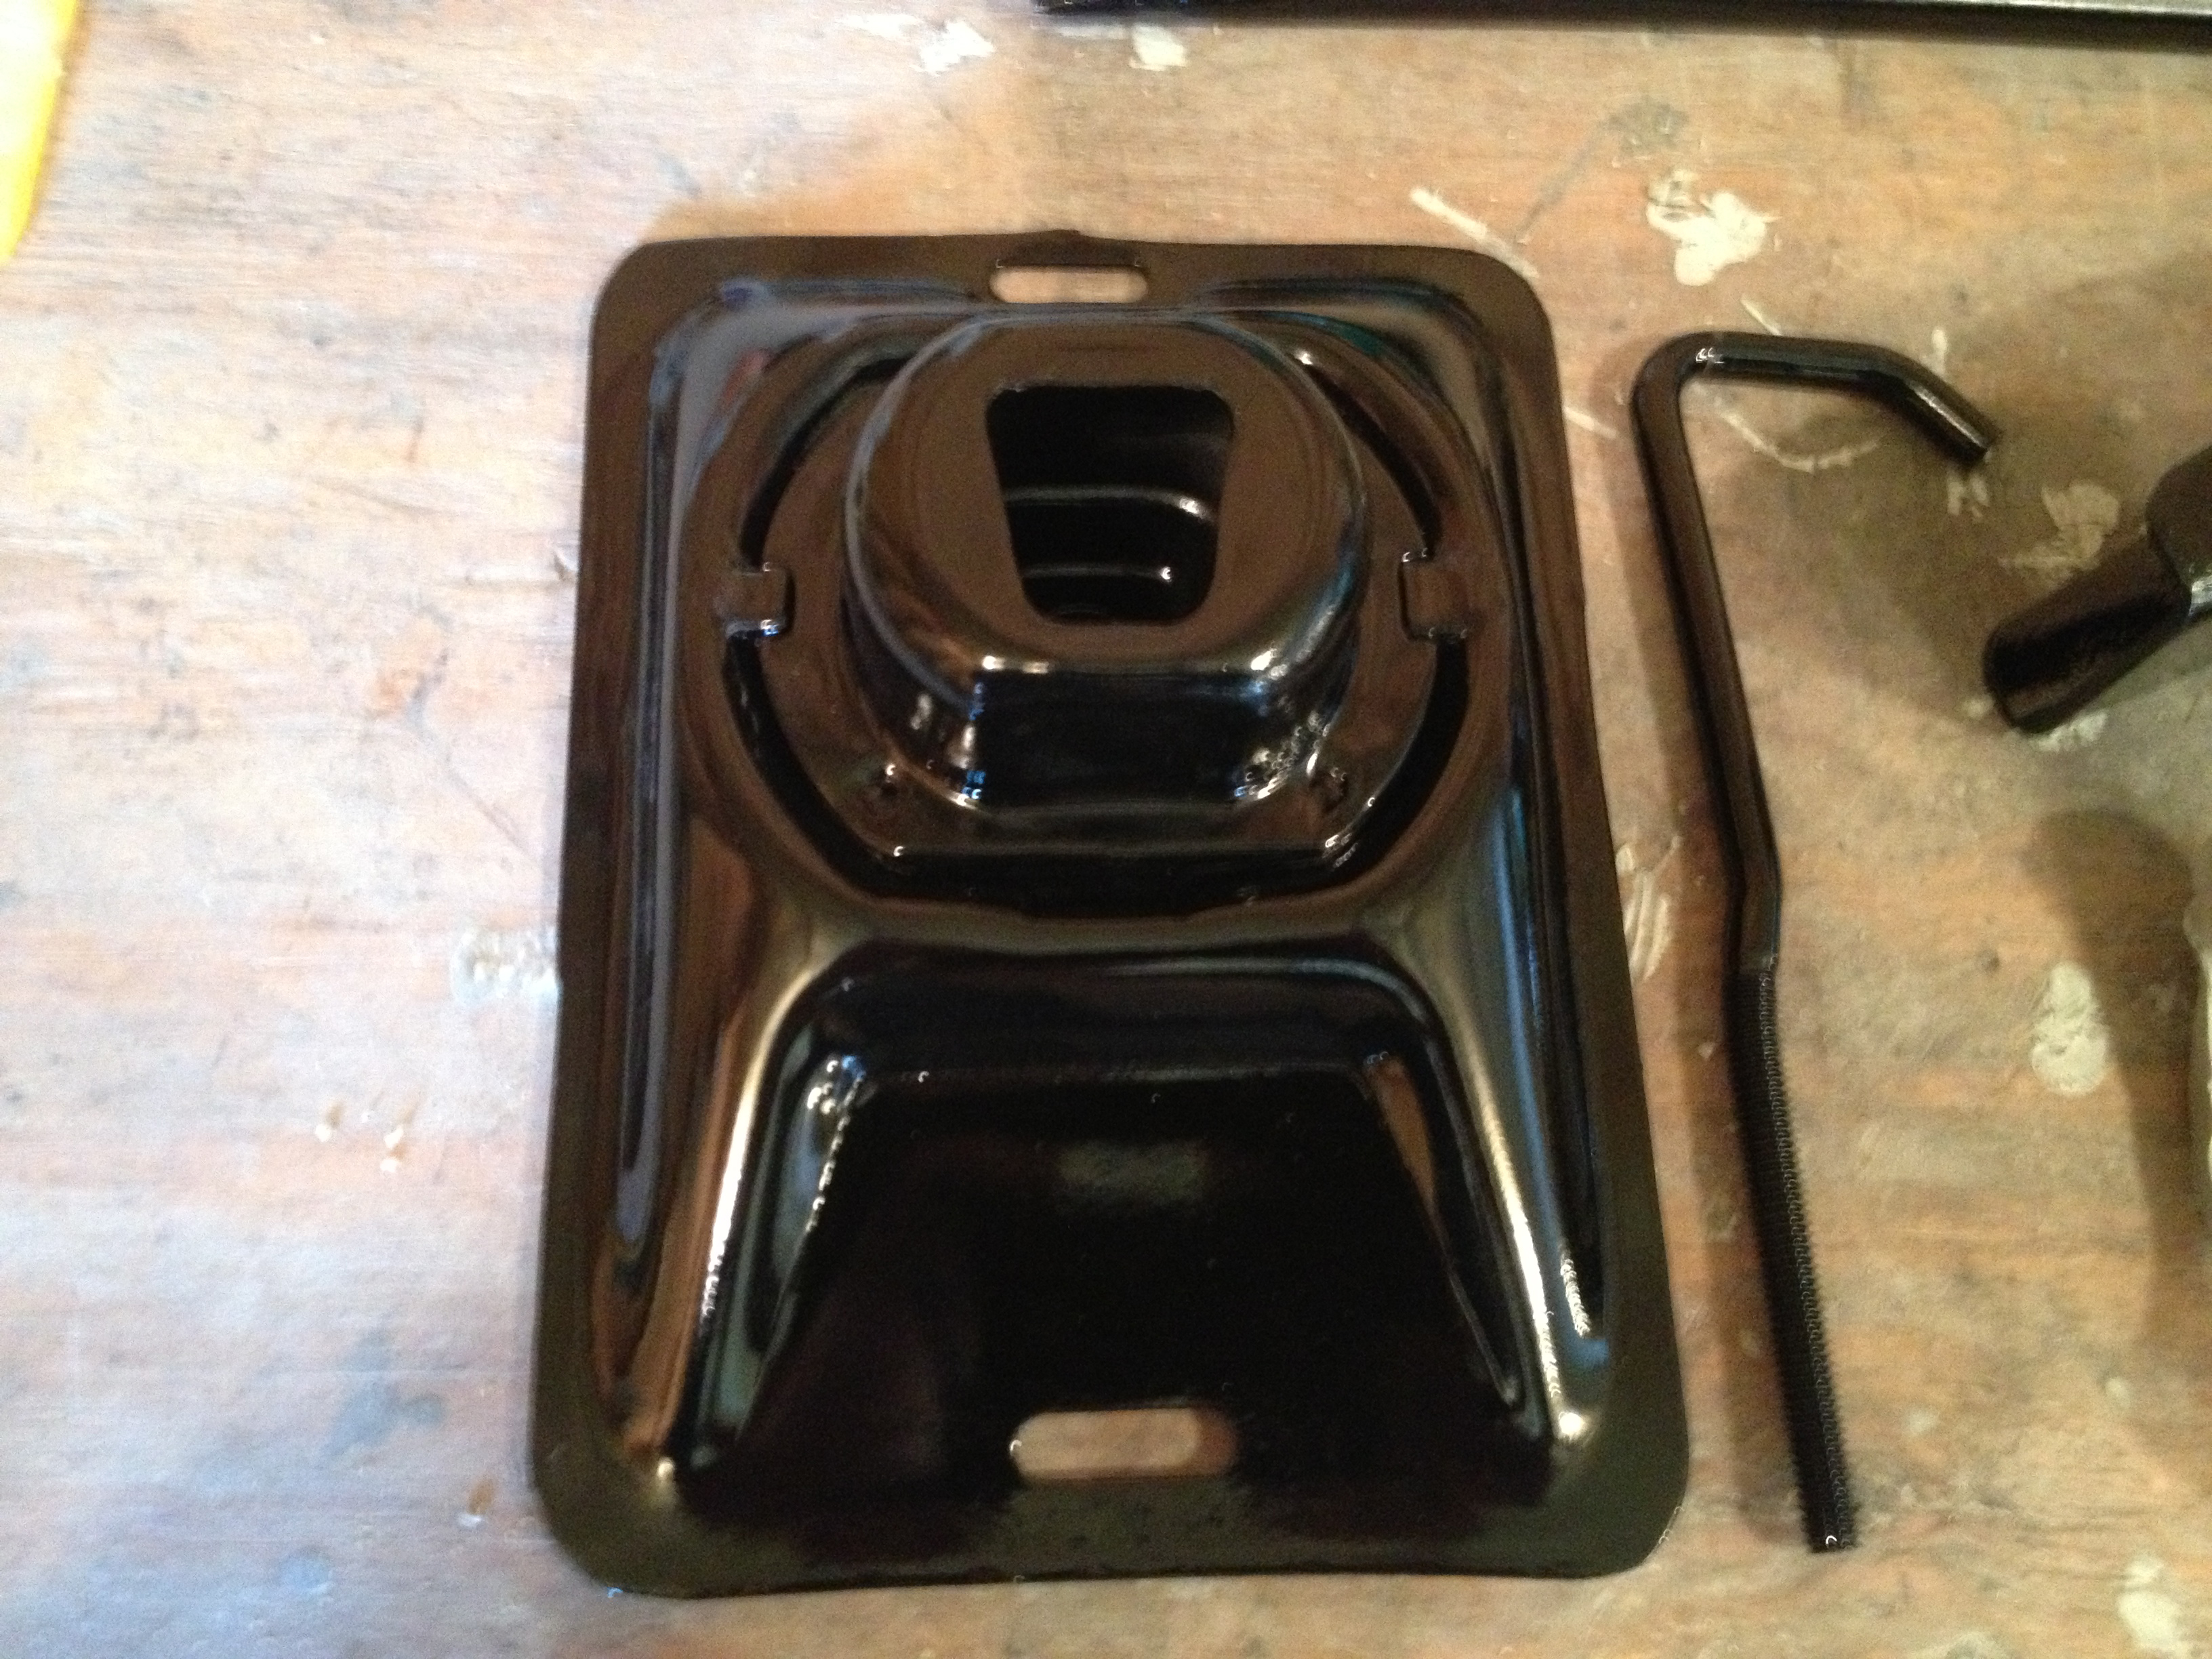
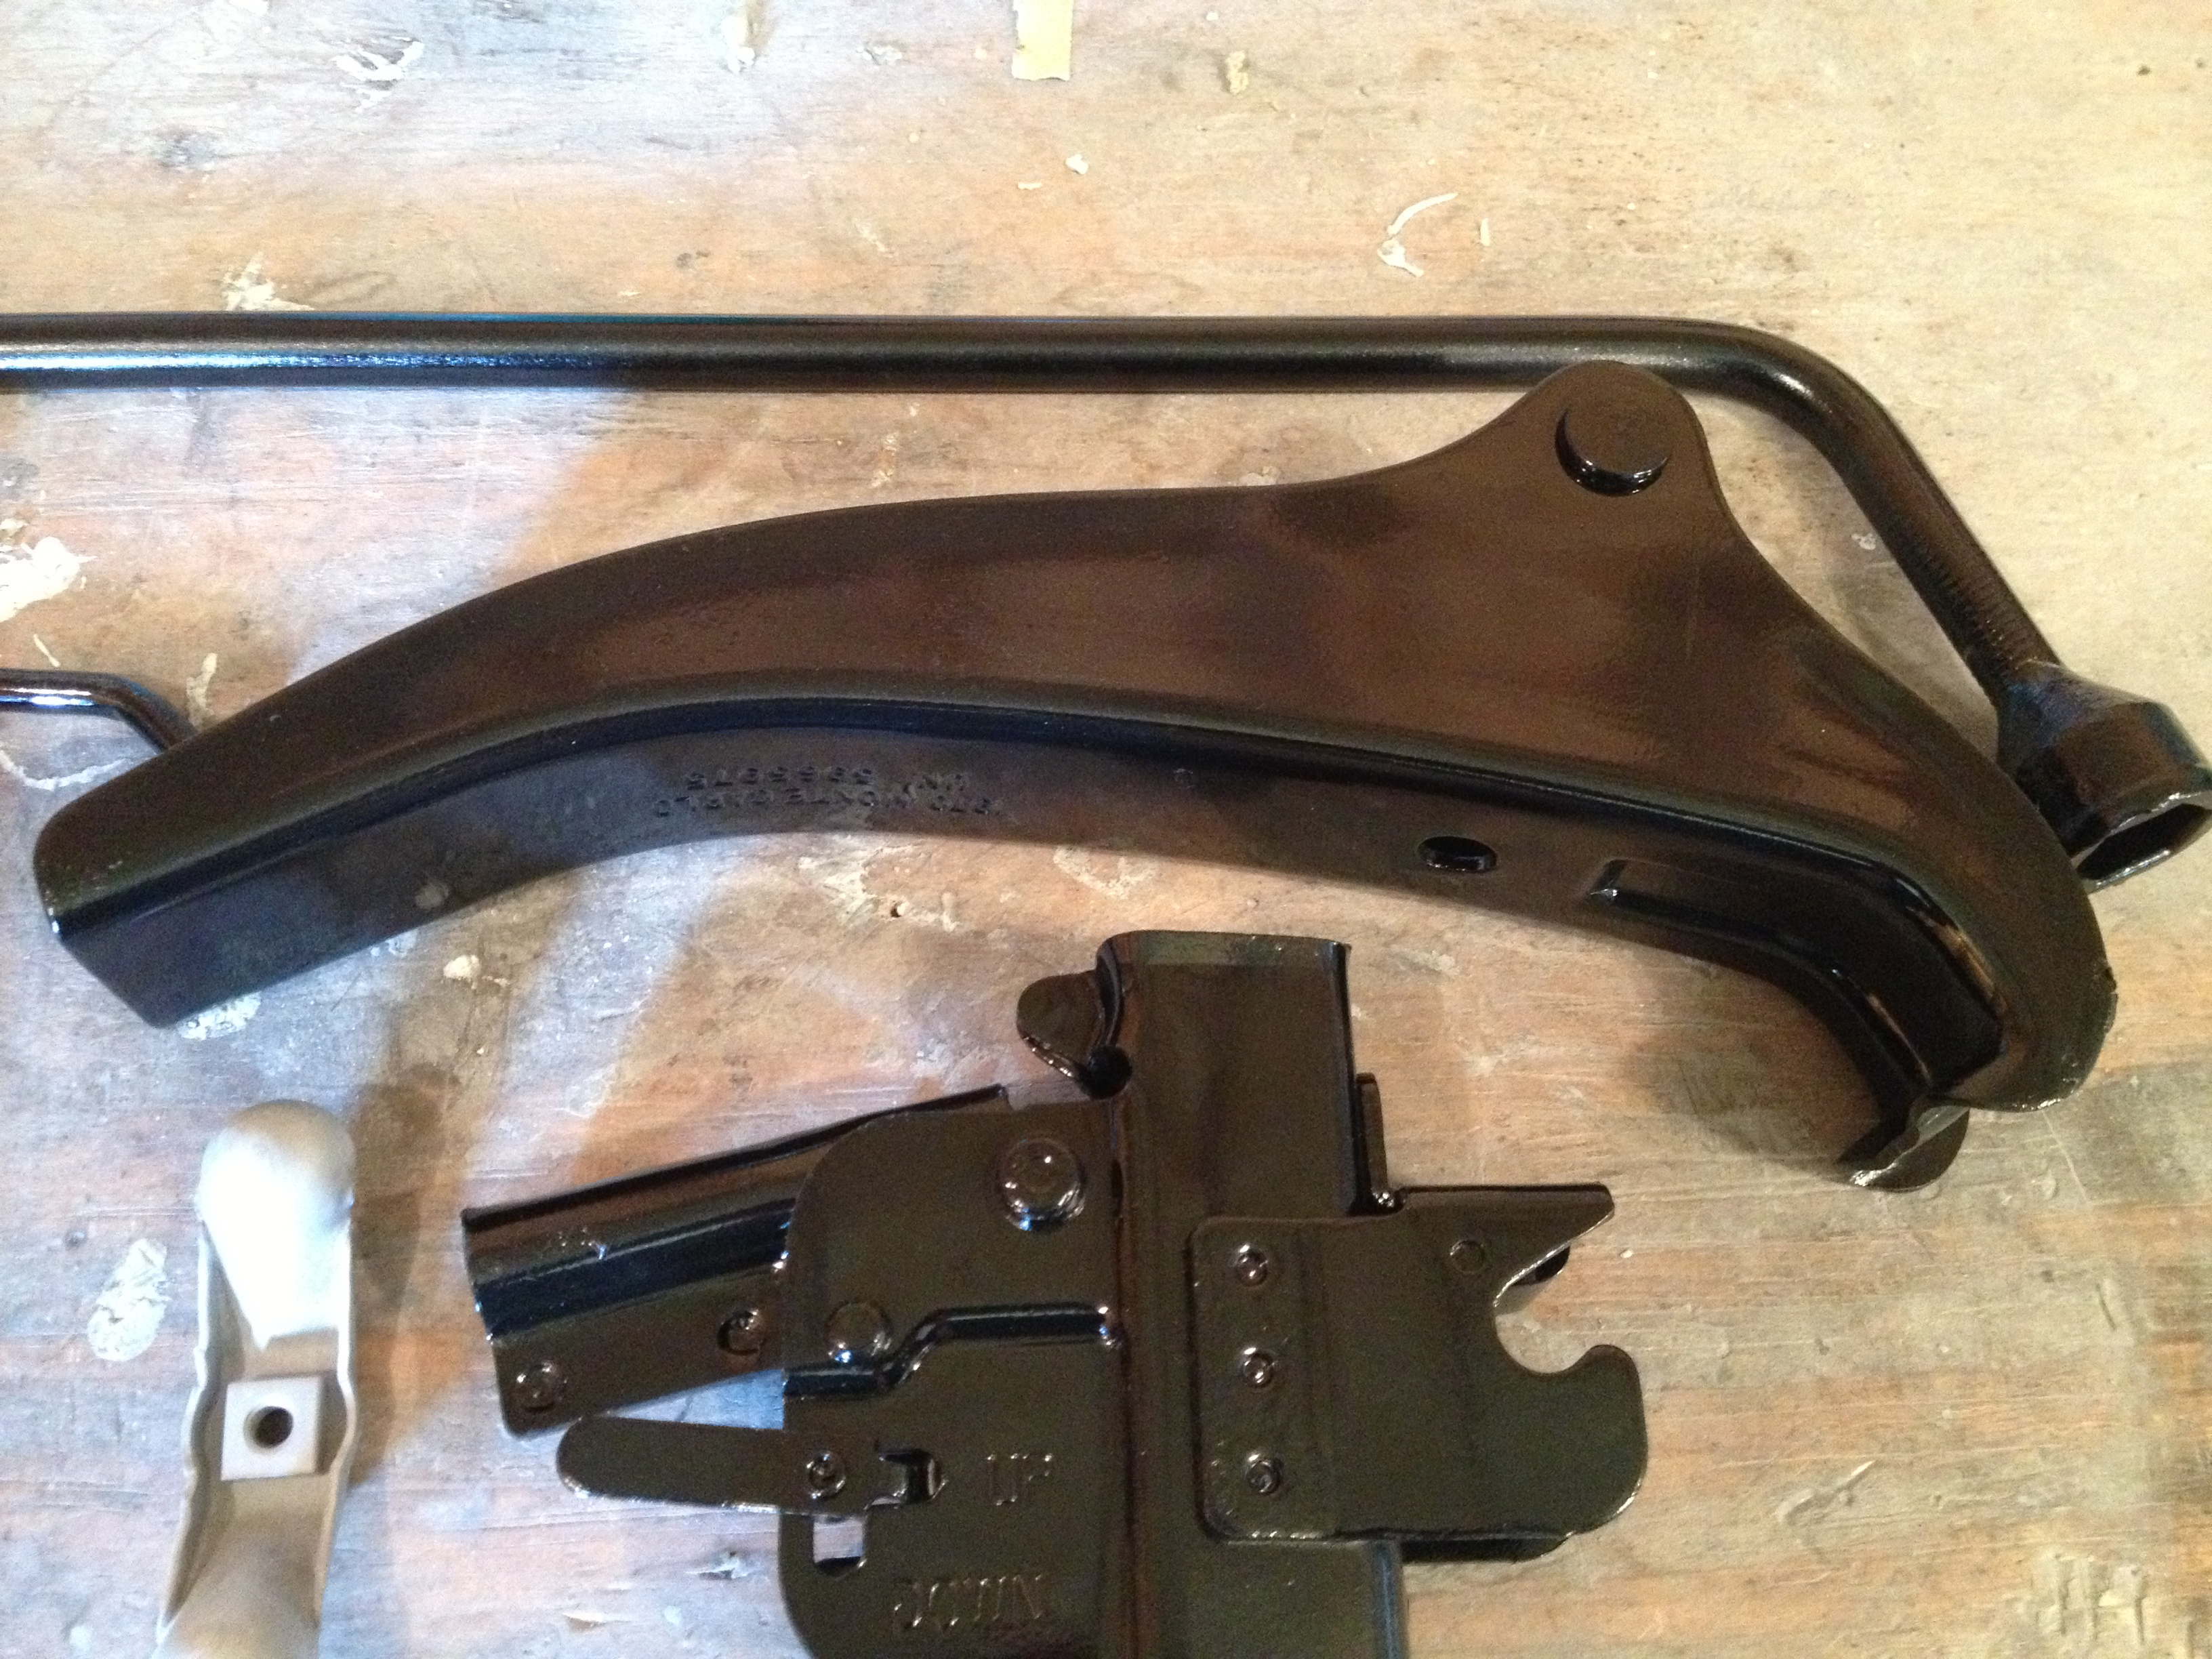
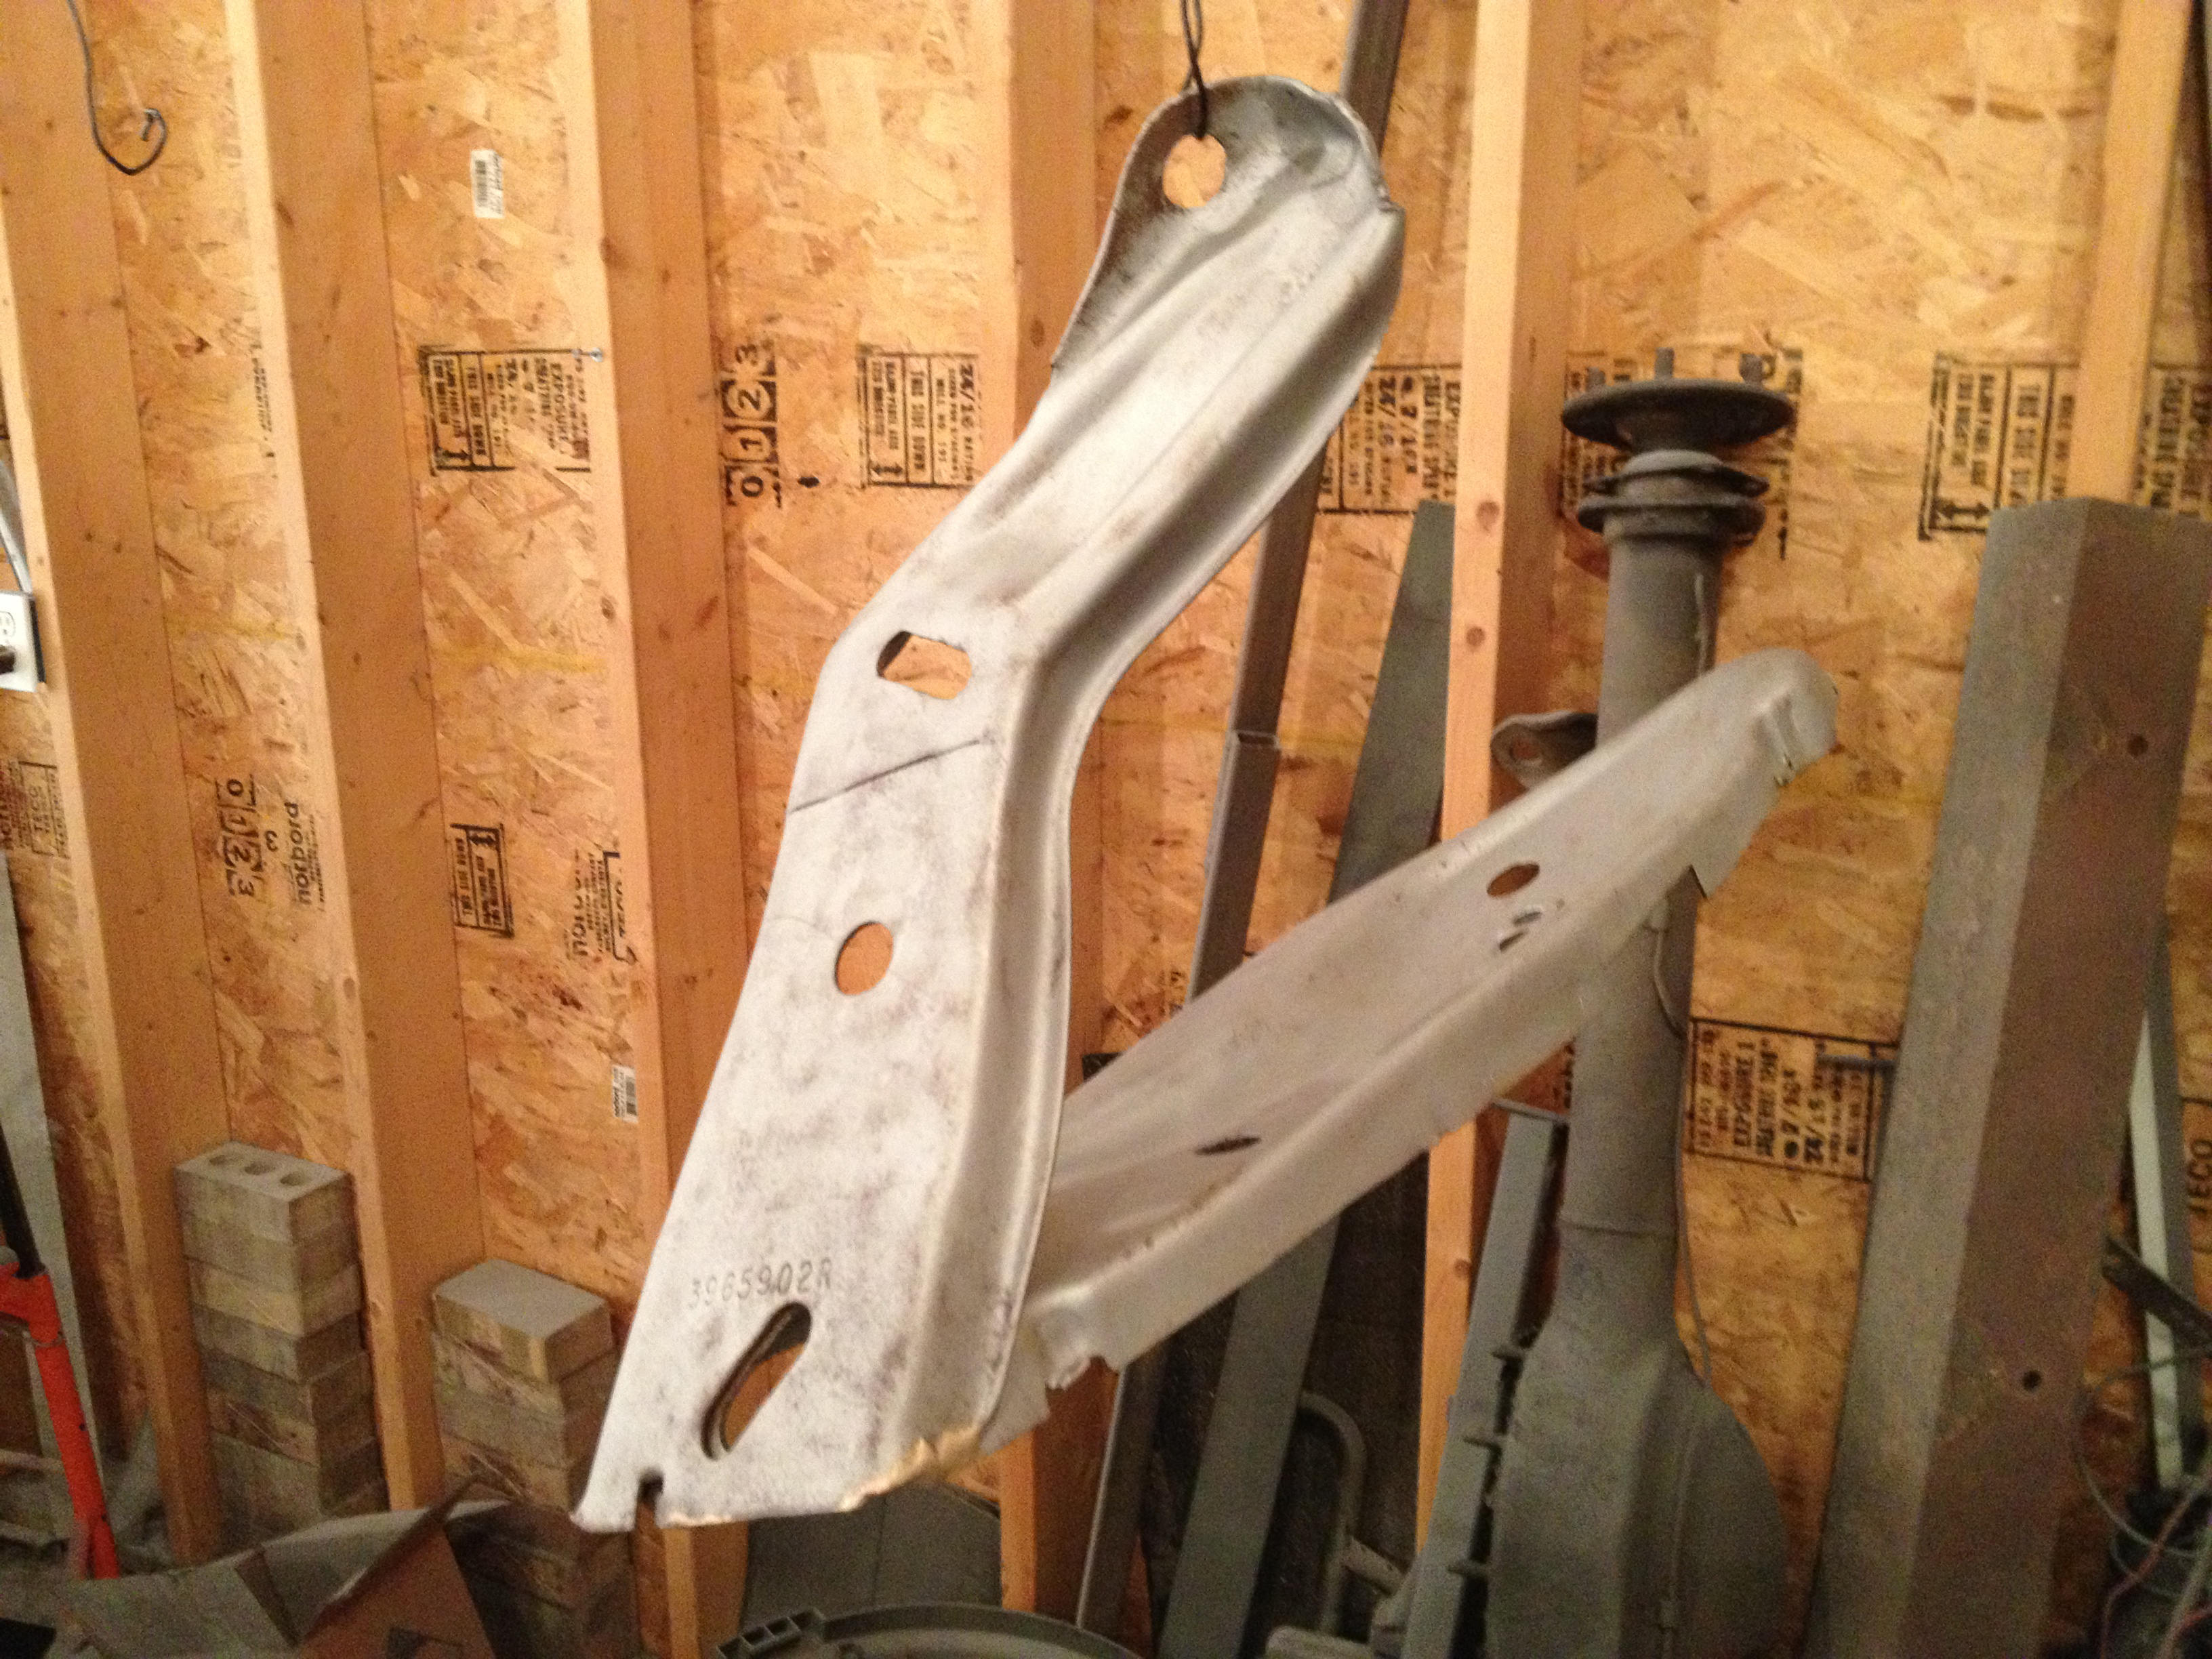
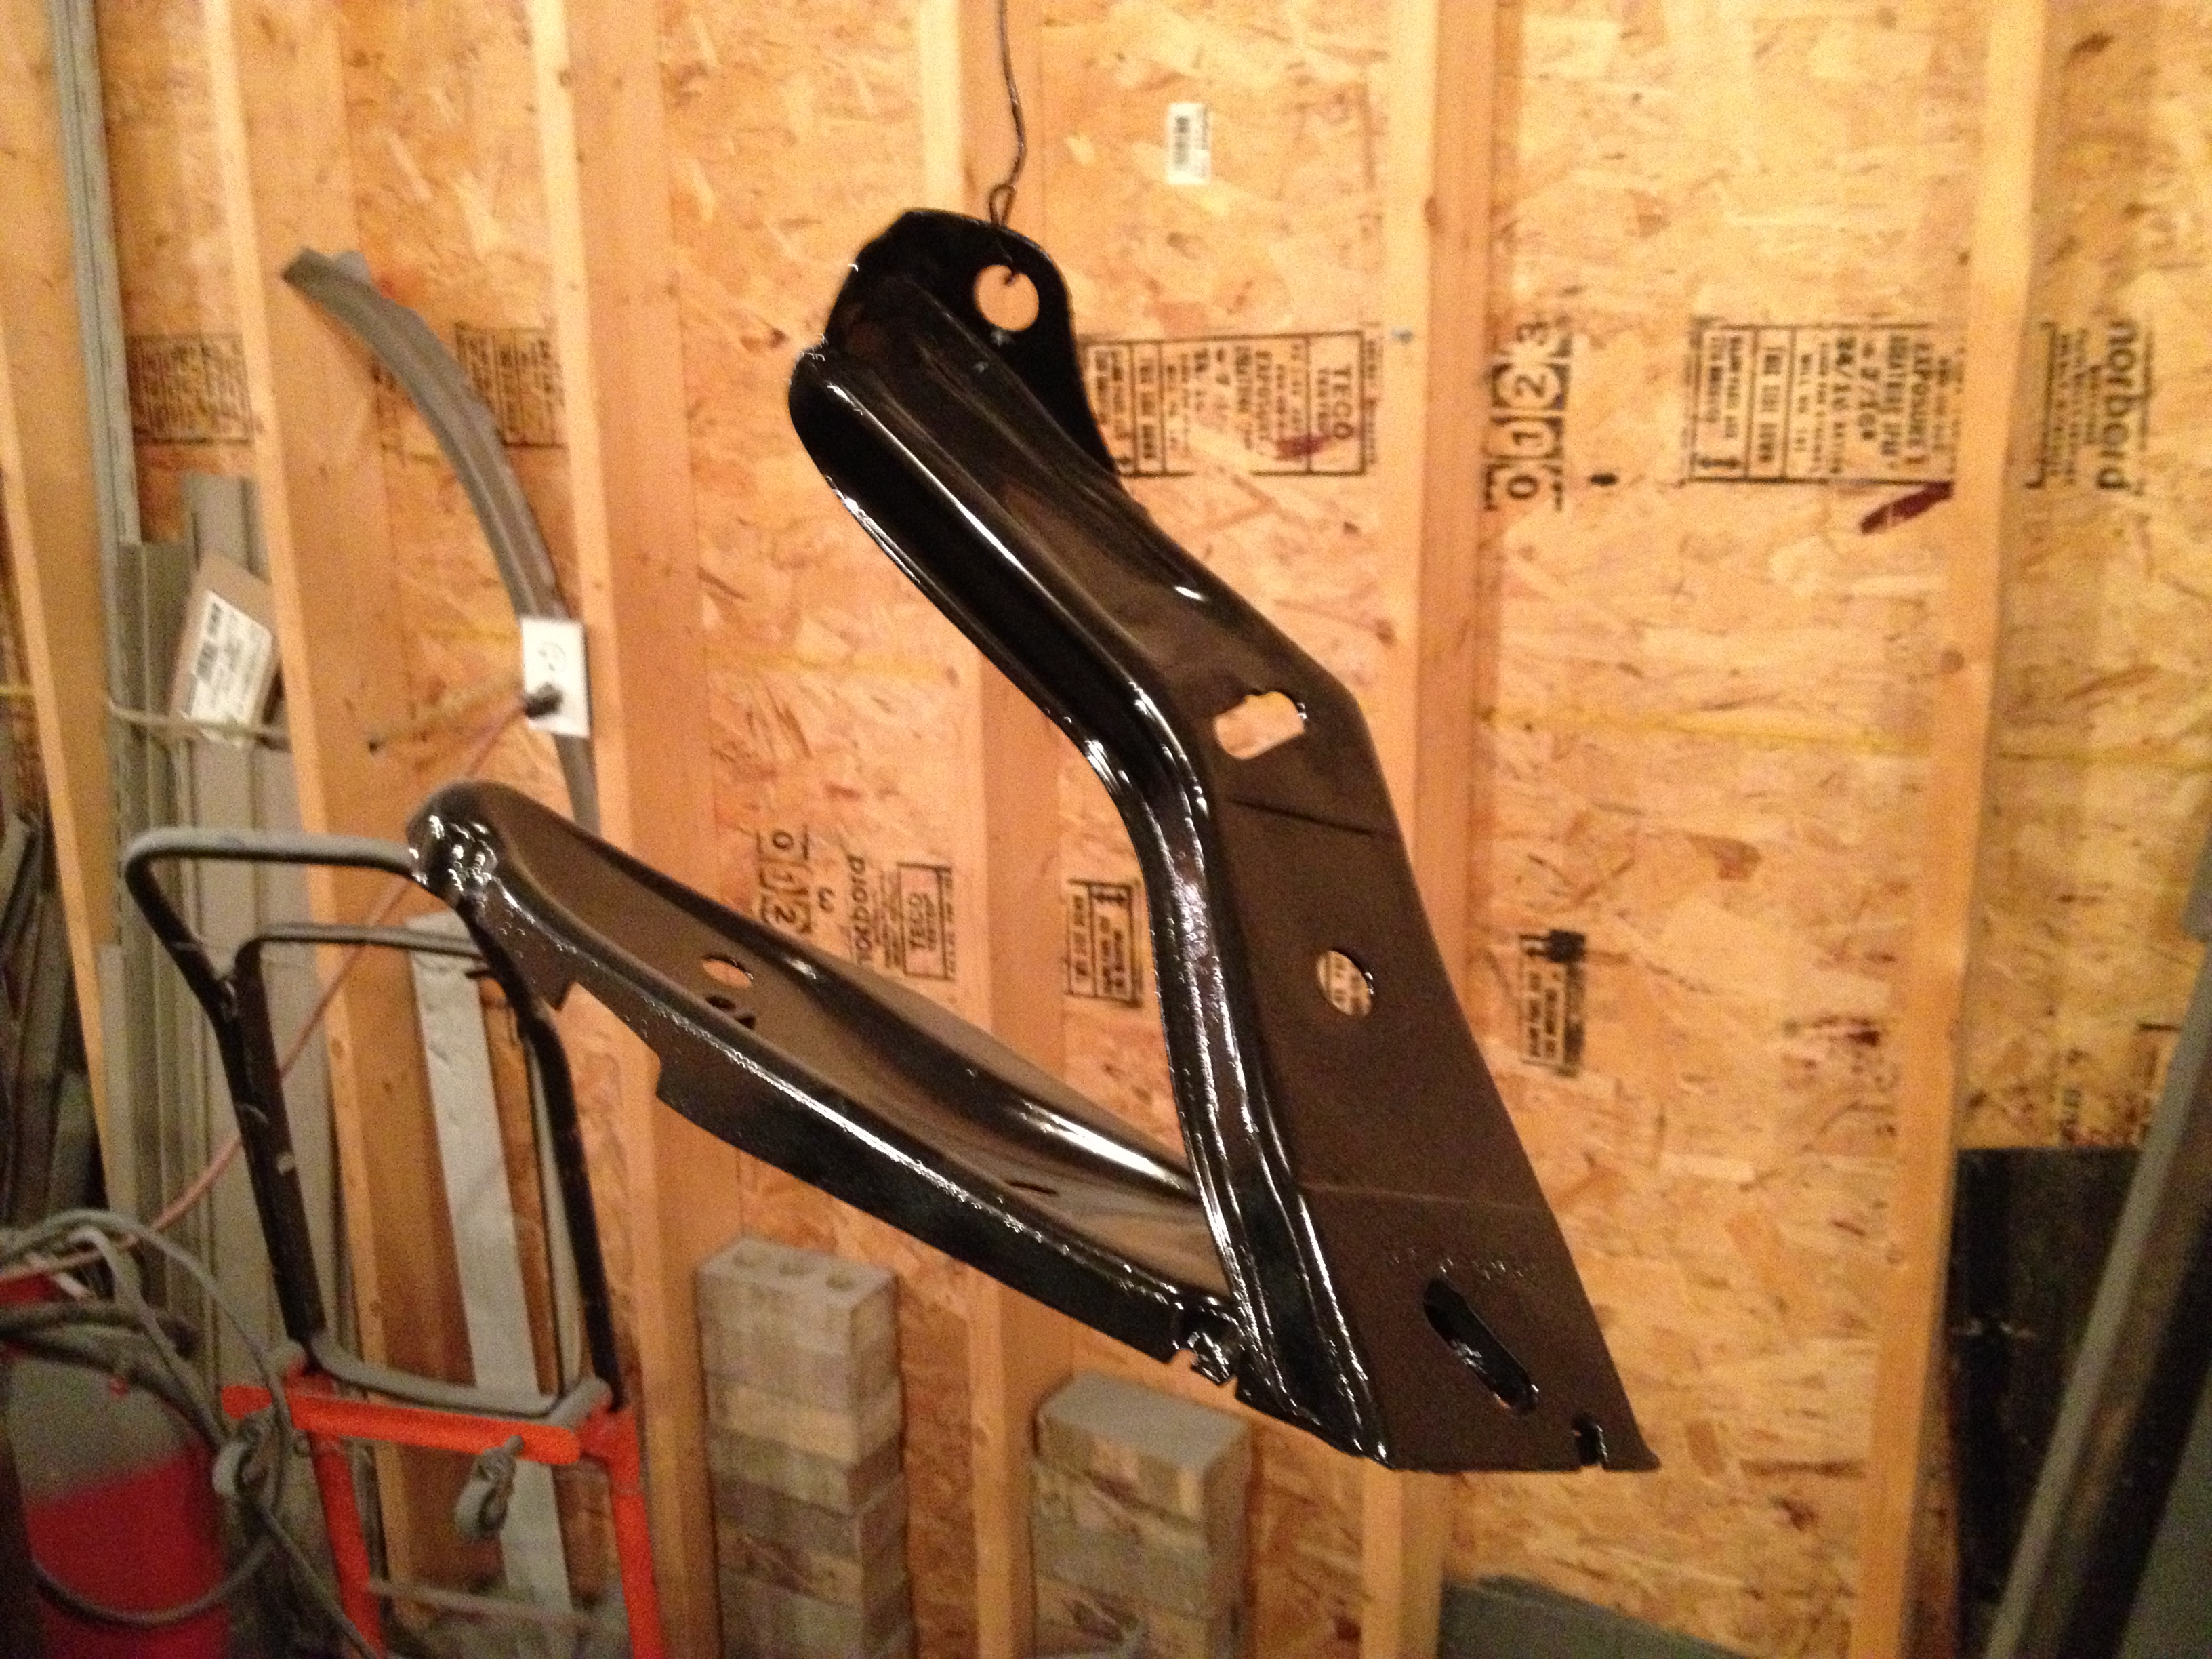
I've also been cleaning, blasting and painting a never ending amount of small separate parts.
Here are a few before, during and after pics of just a handful of them.
To the right are the interior A pillar moldings. Original on top, sandblasted and painted below.
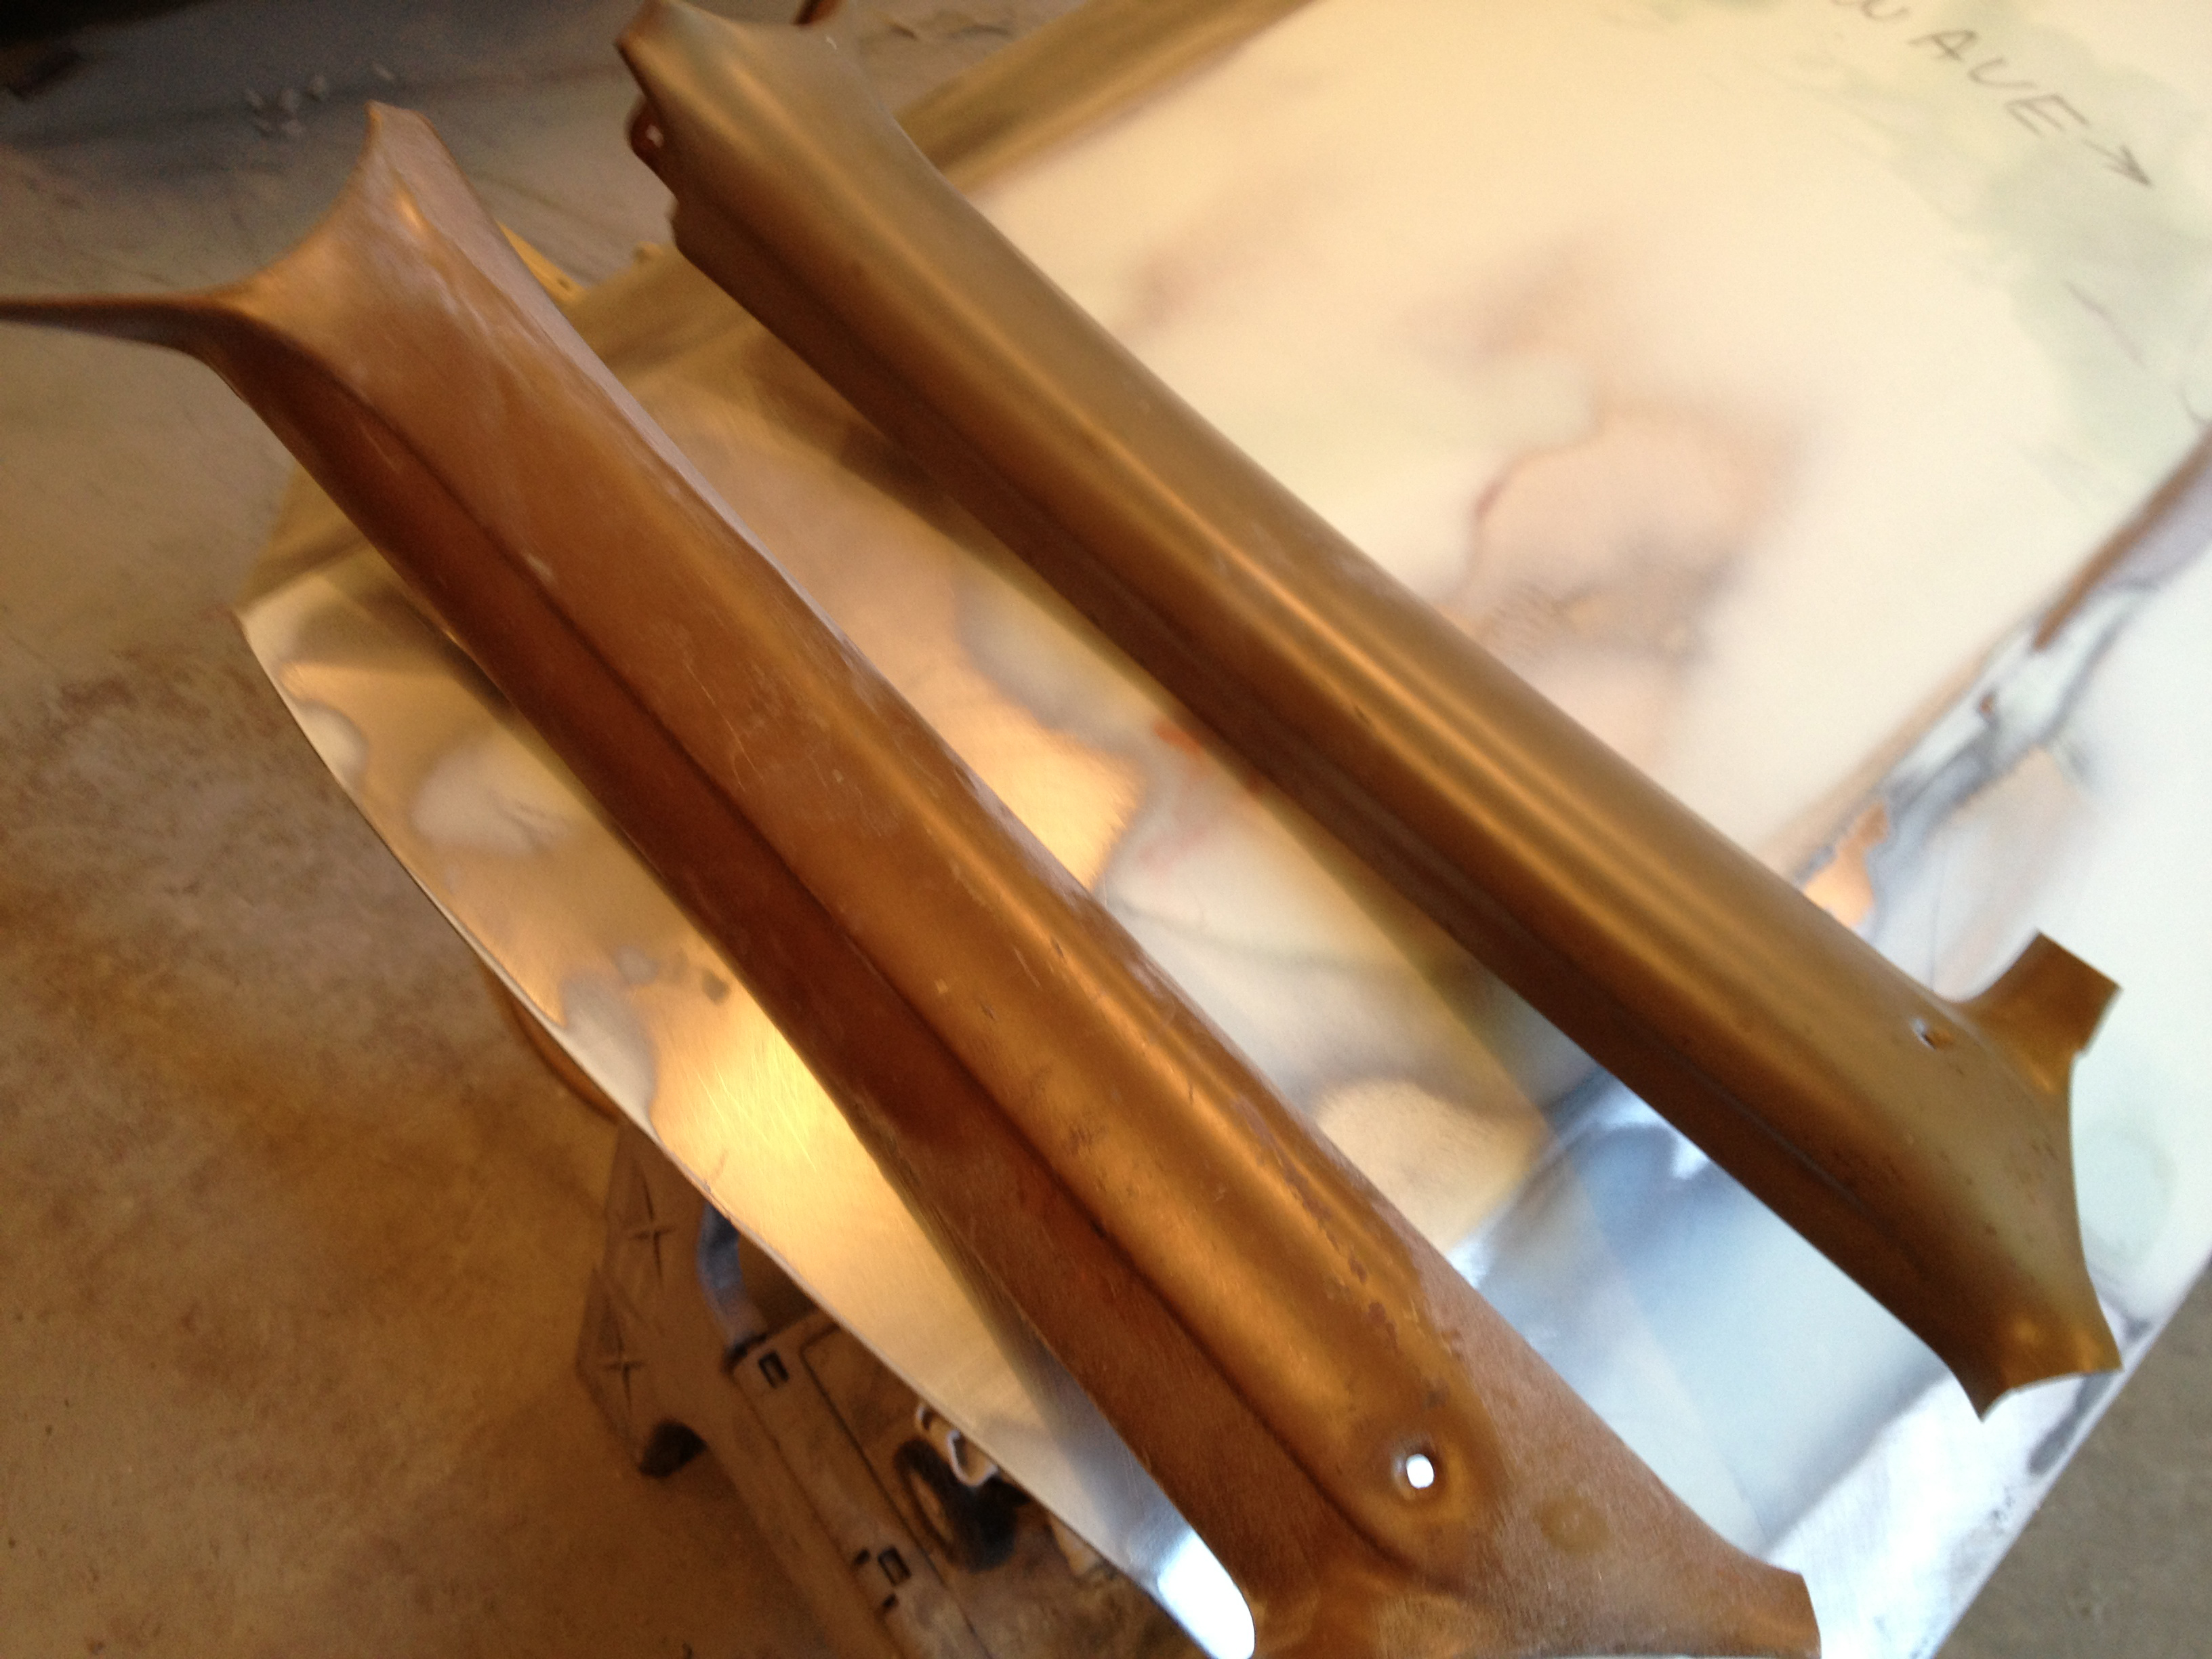
One of the parking light housings and the striker for the hood latch.
Backup light housings.
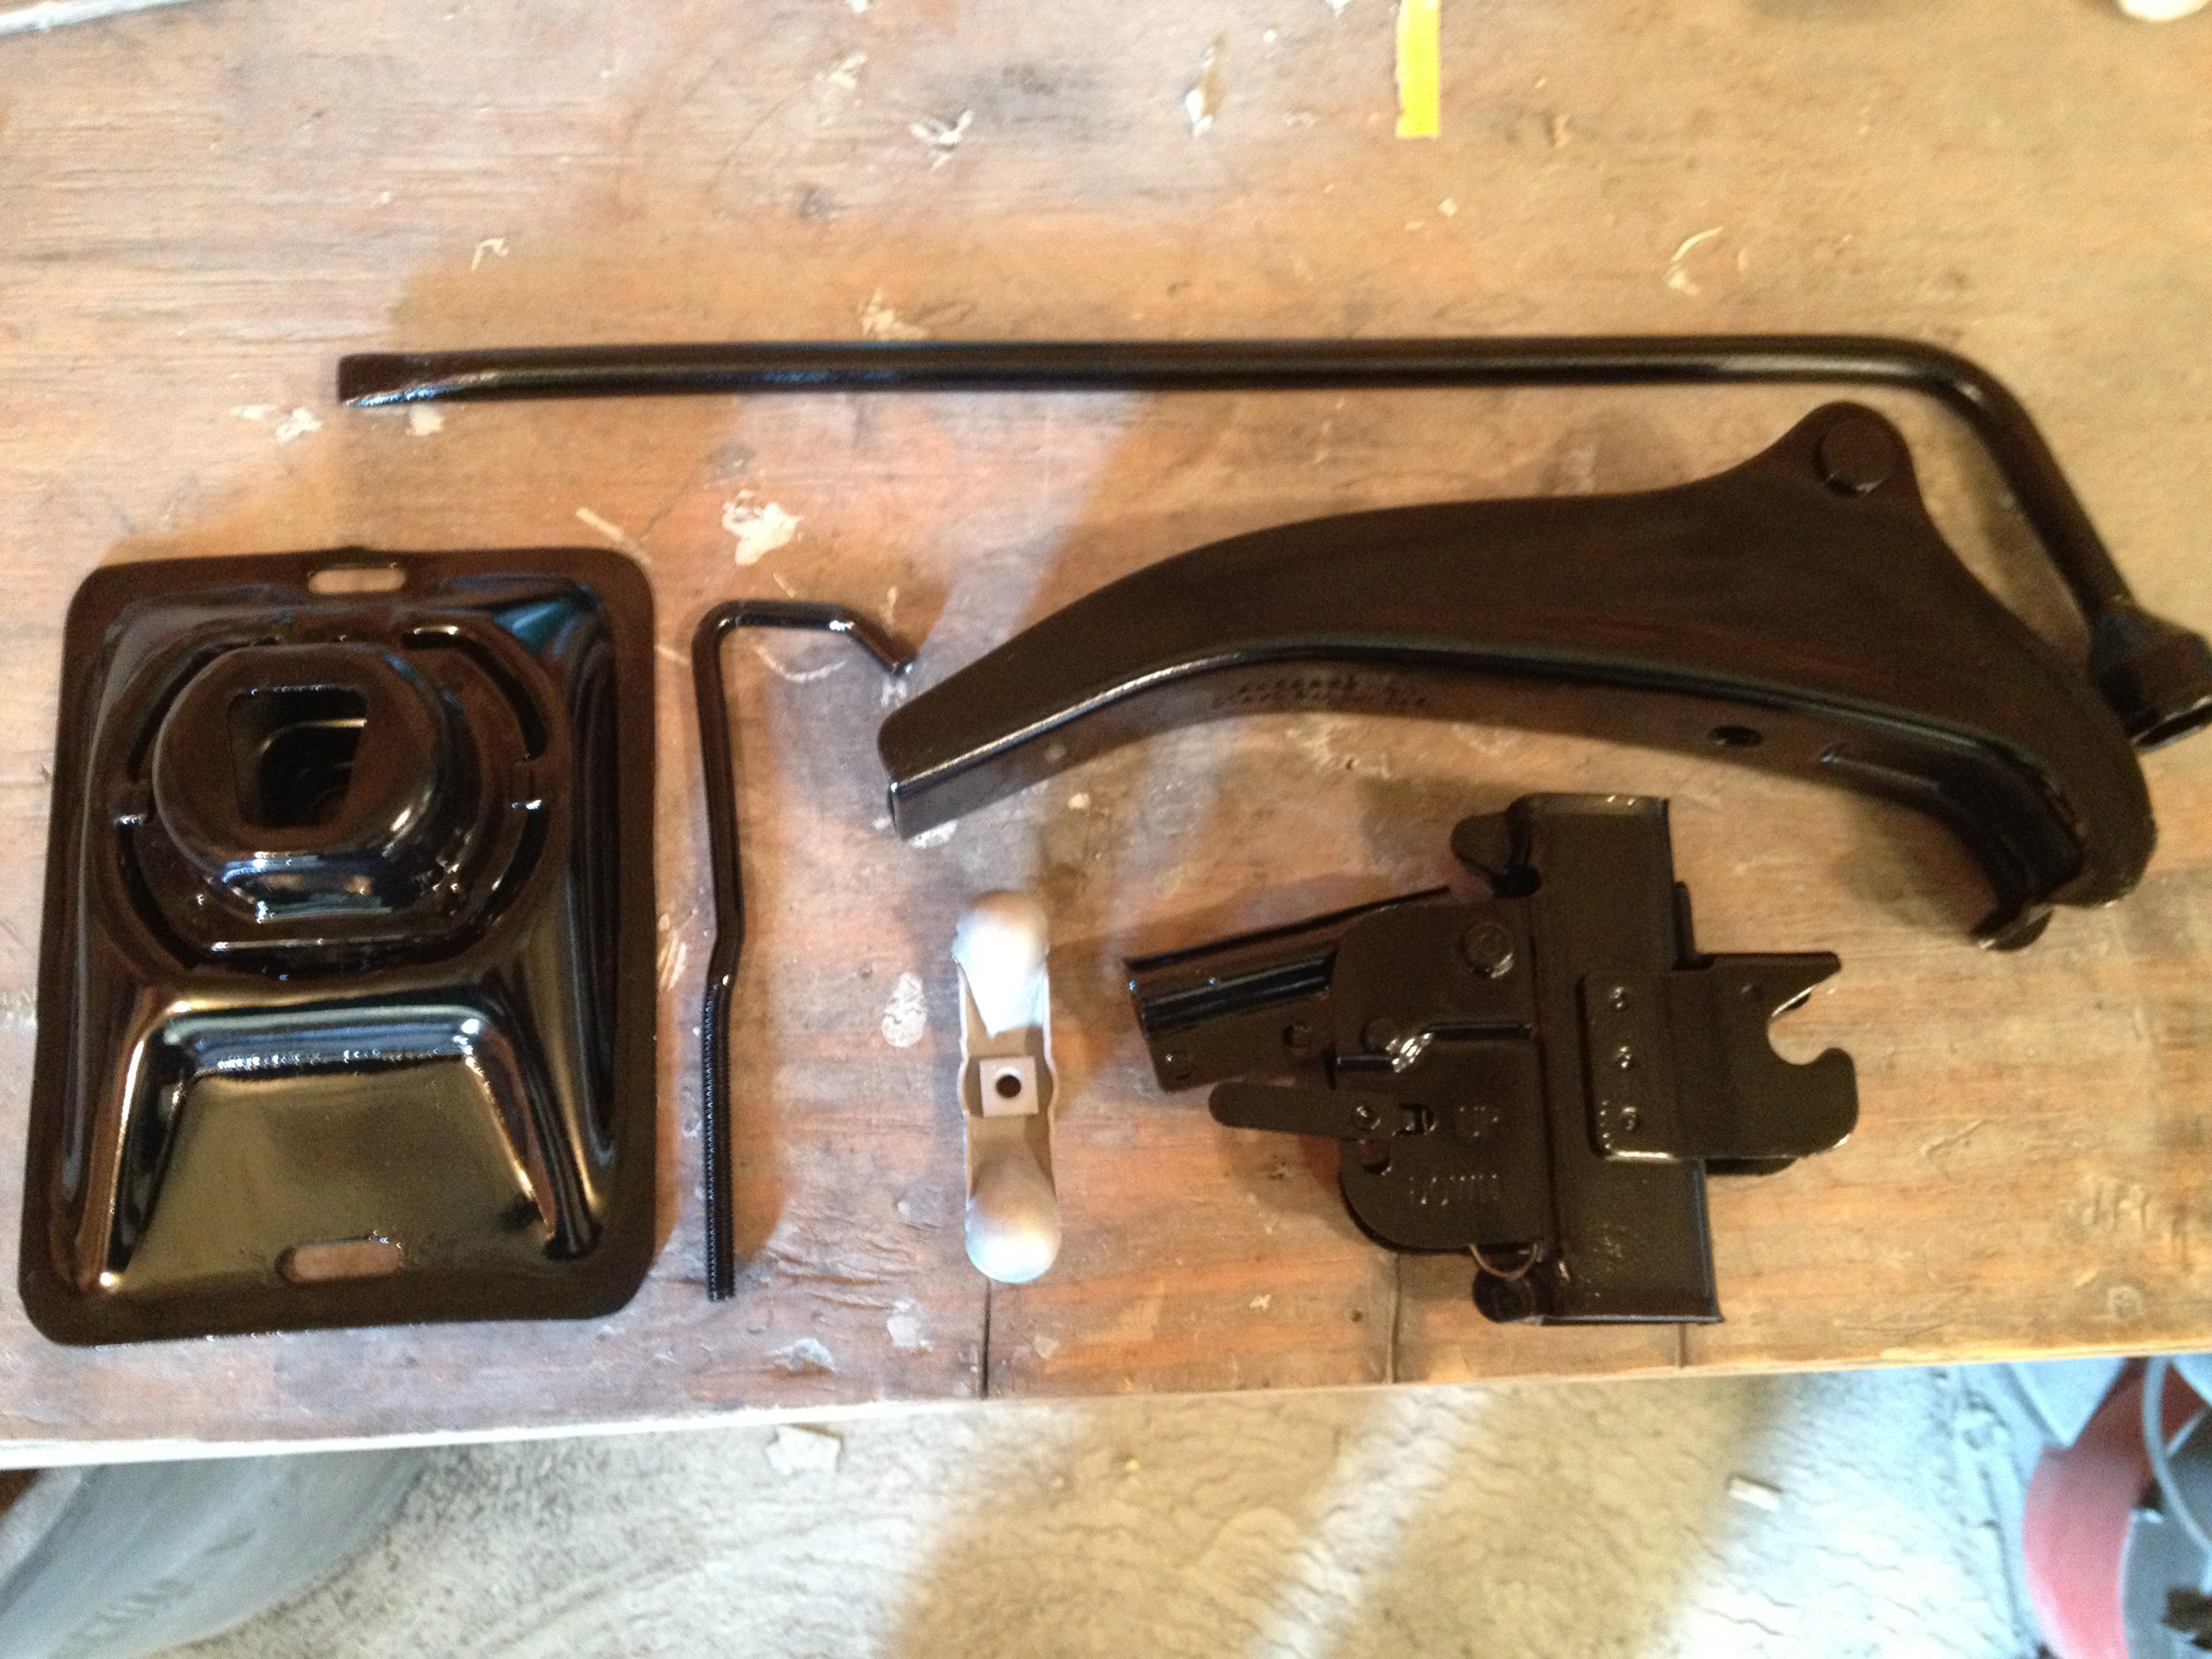
I located an original bumper jack.
It cleaned up really nice!
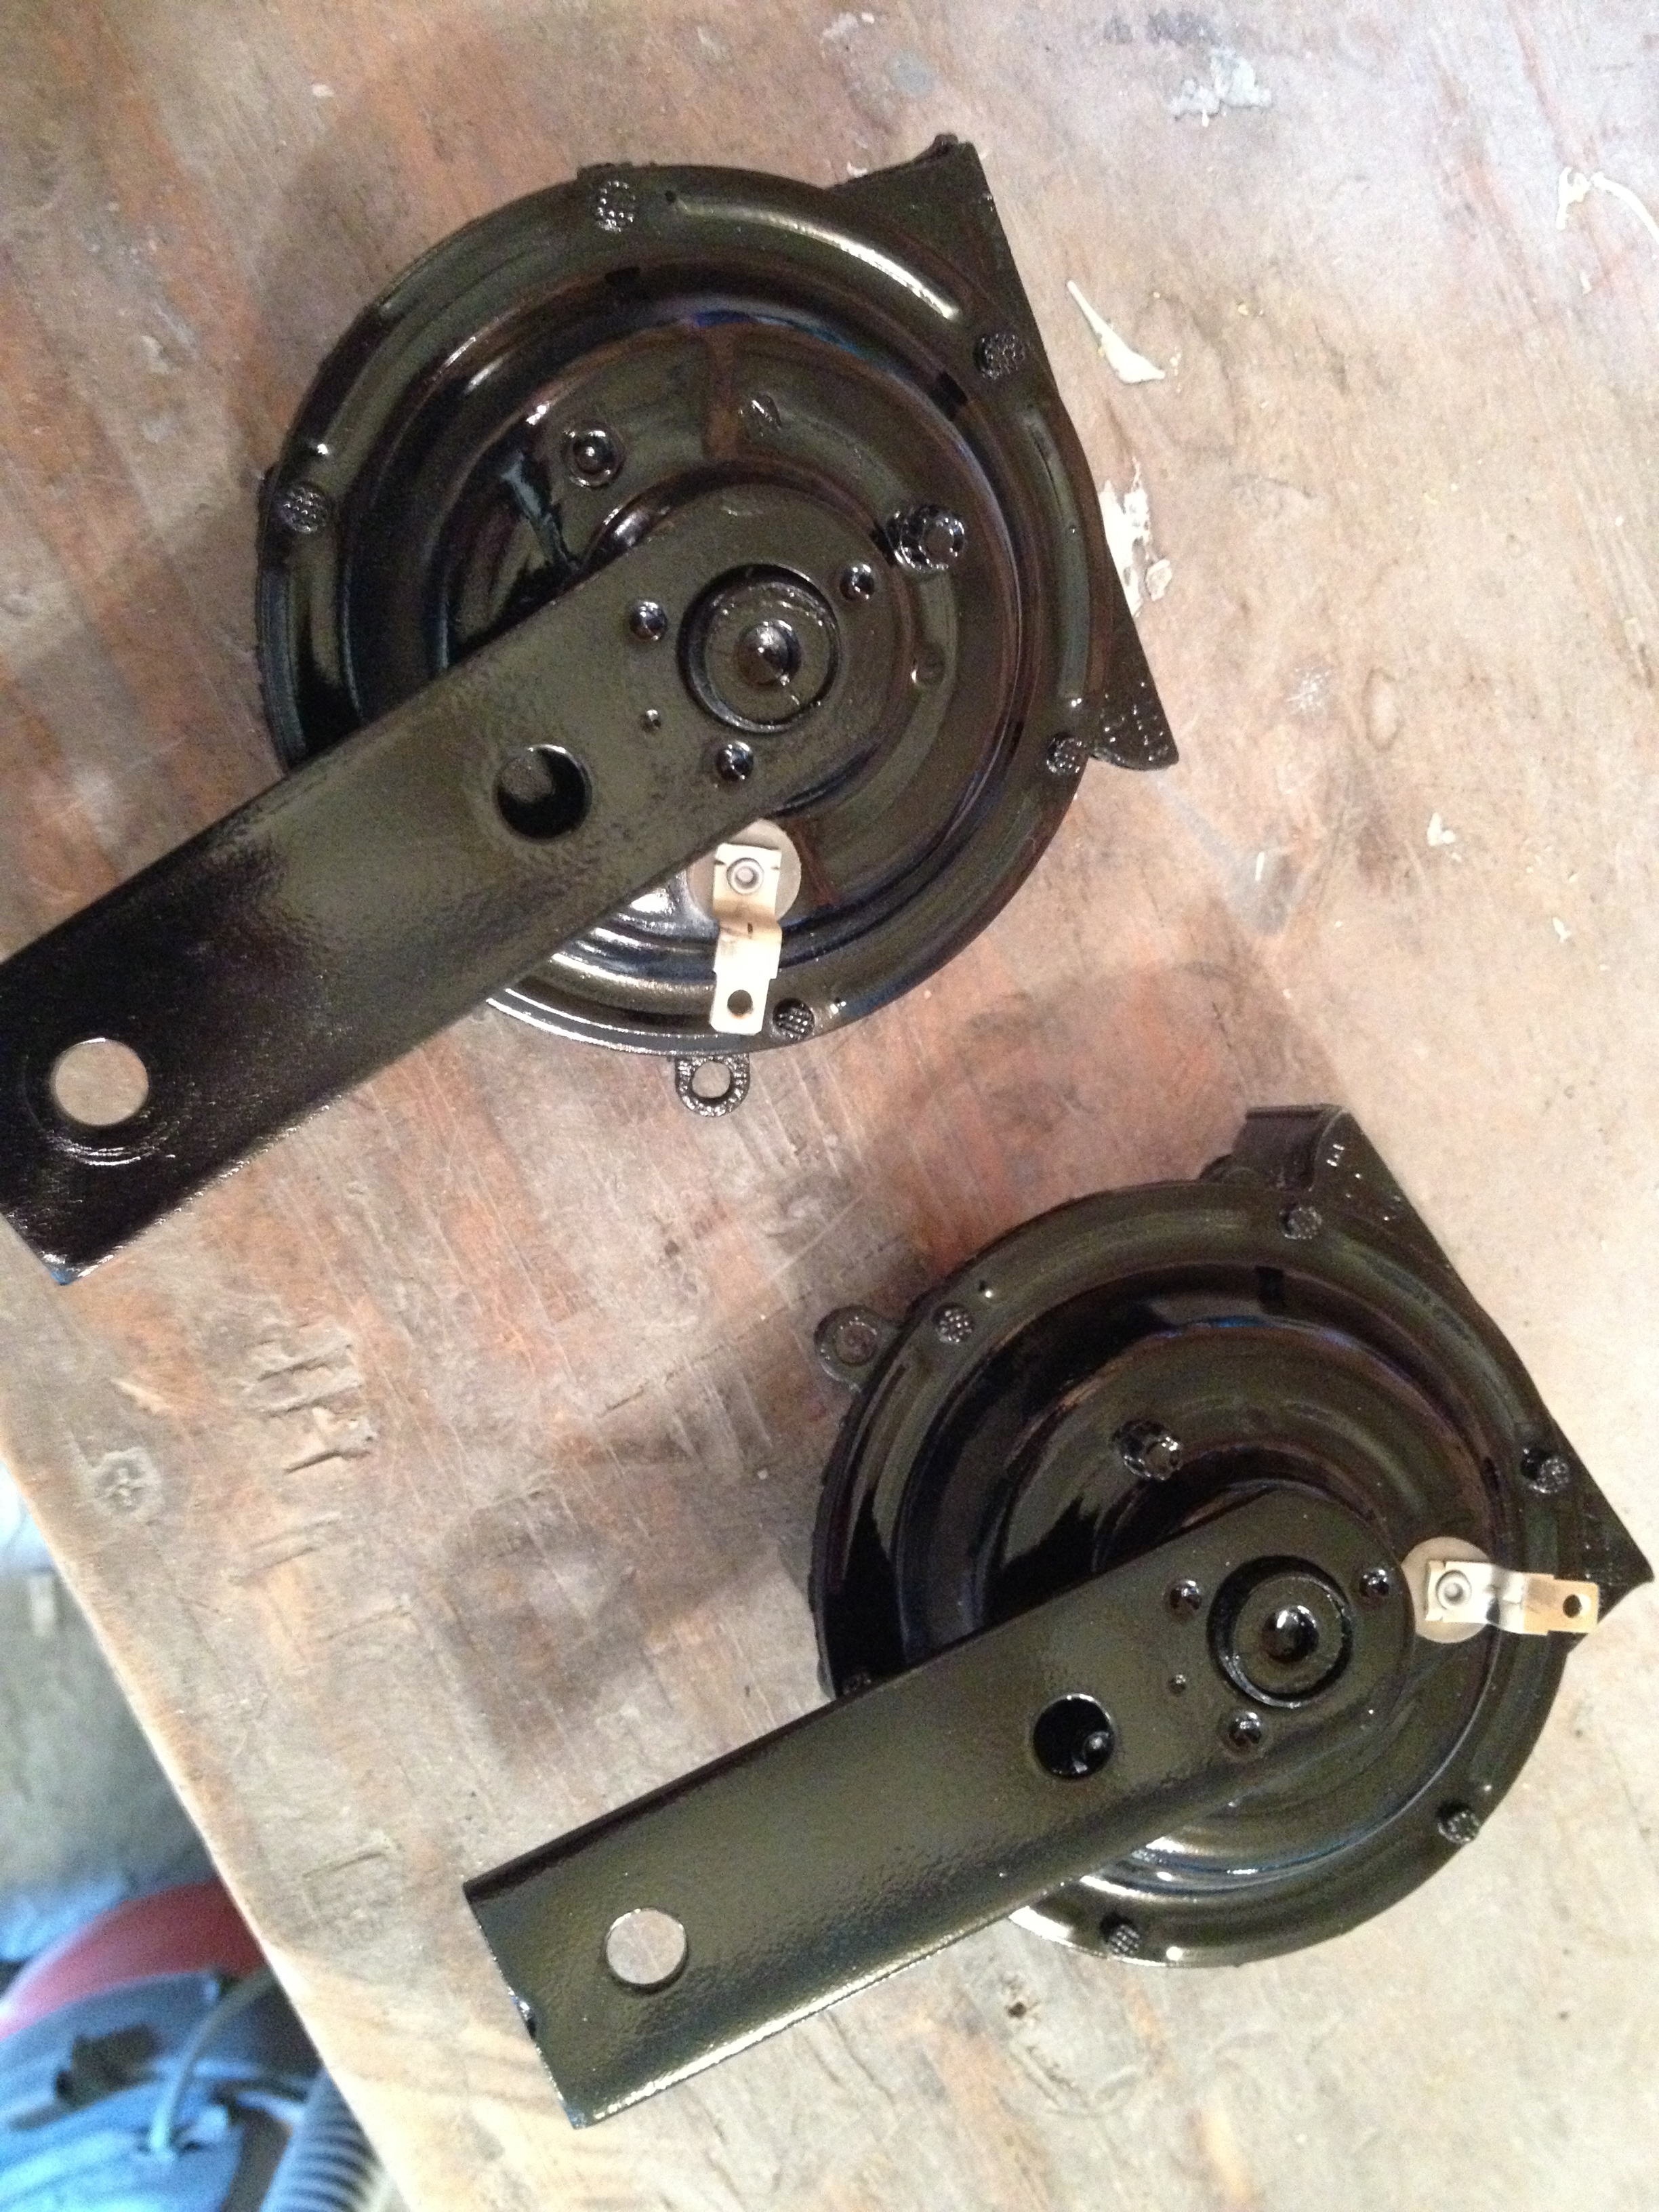
The Horns came out looking factory fresh!
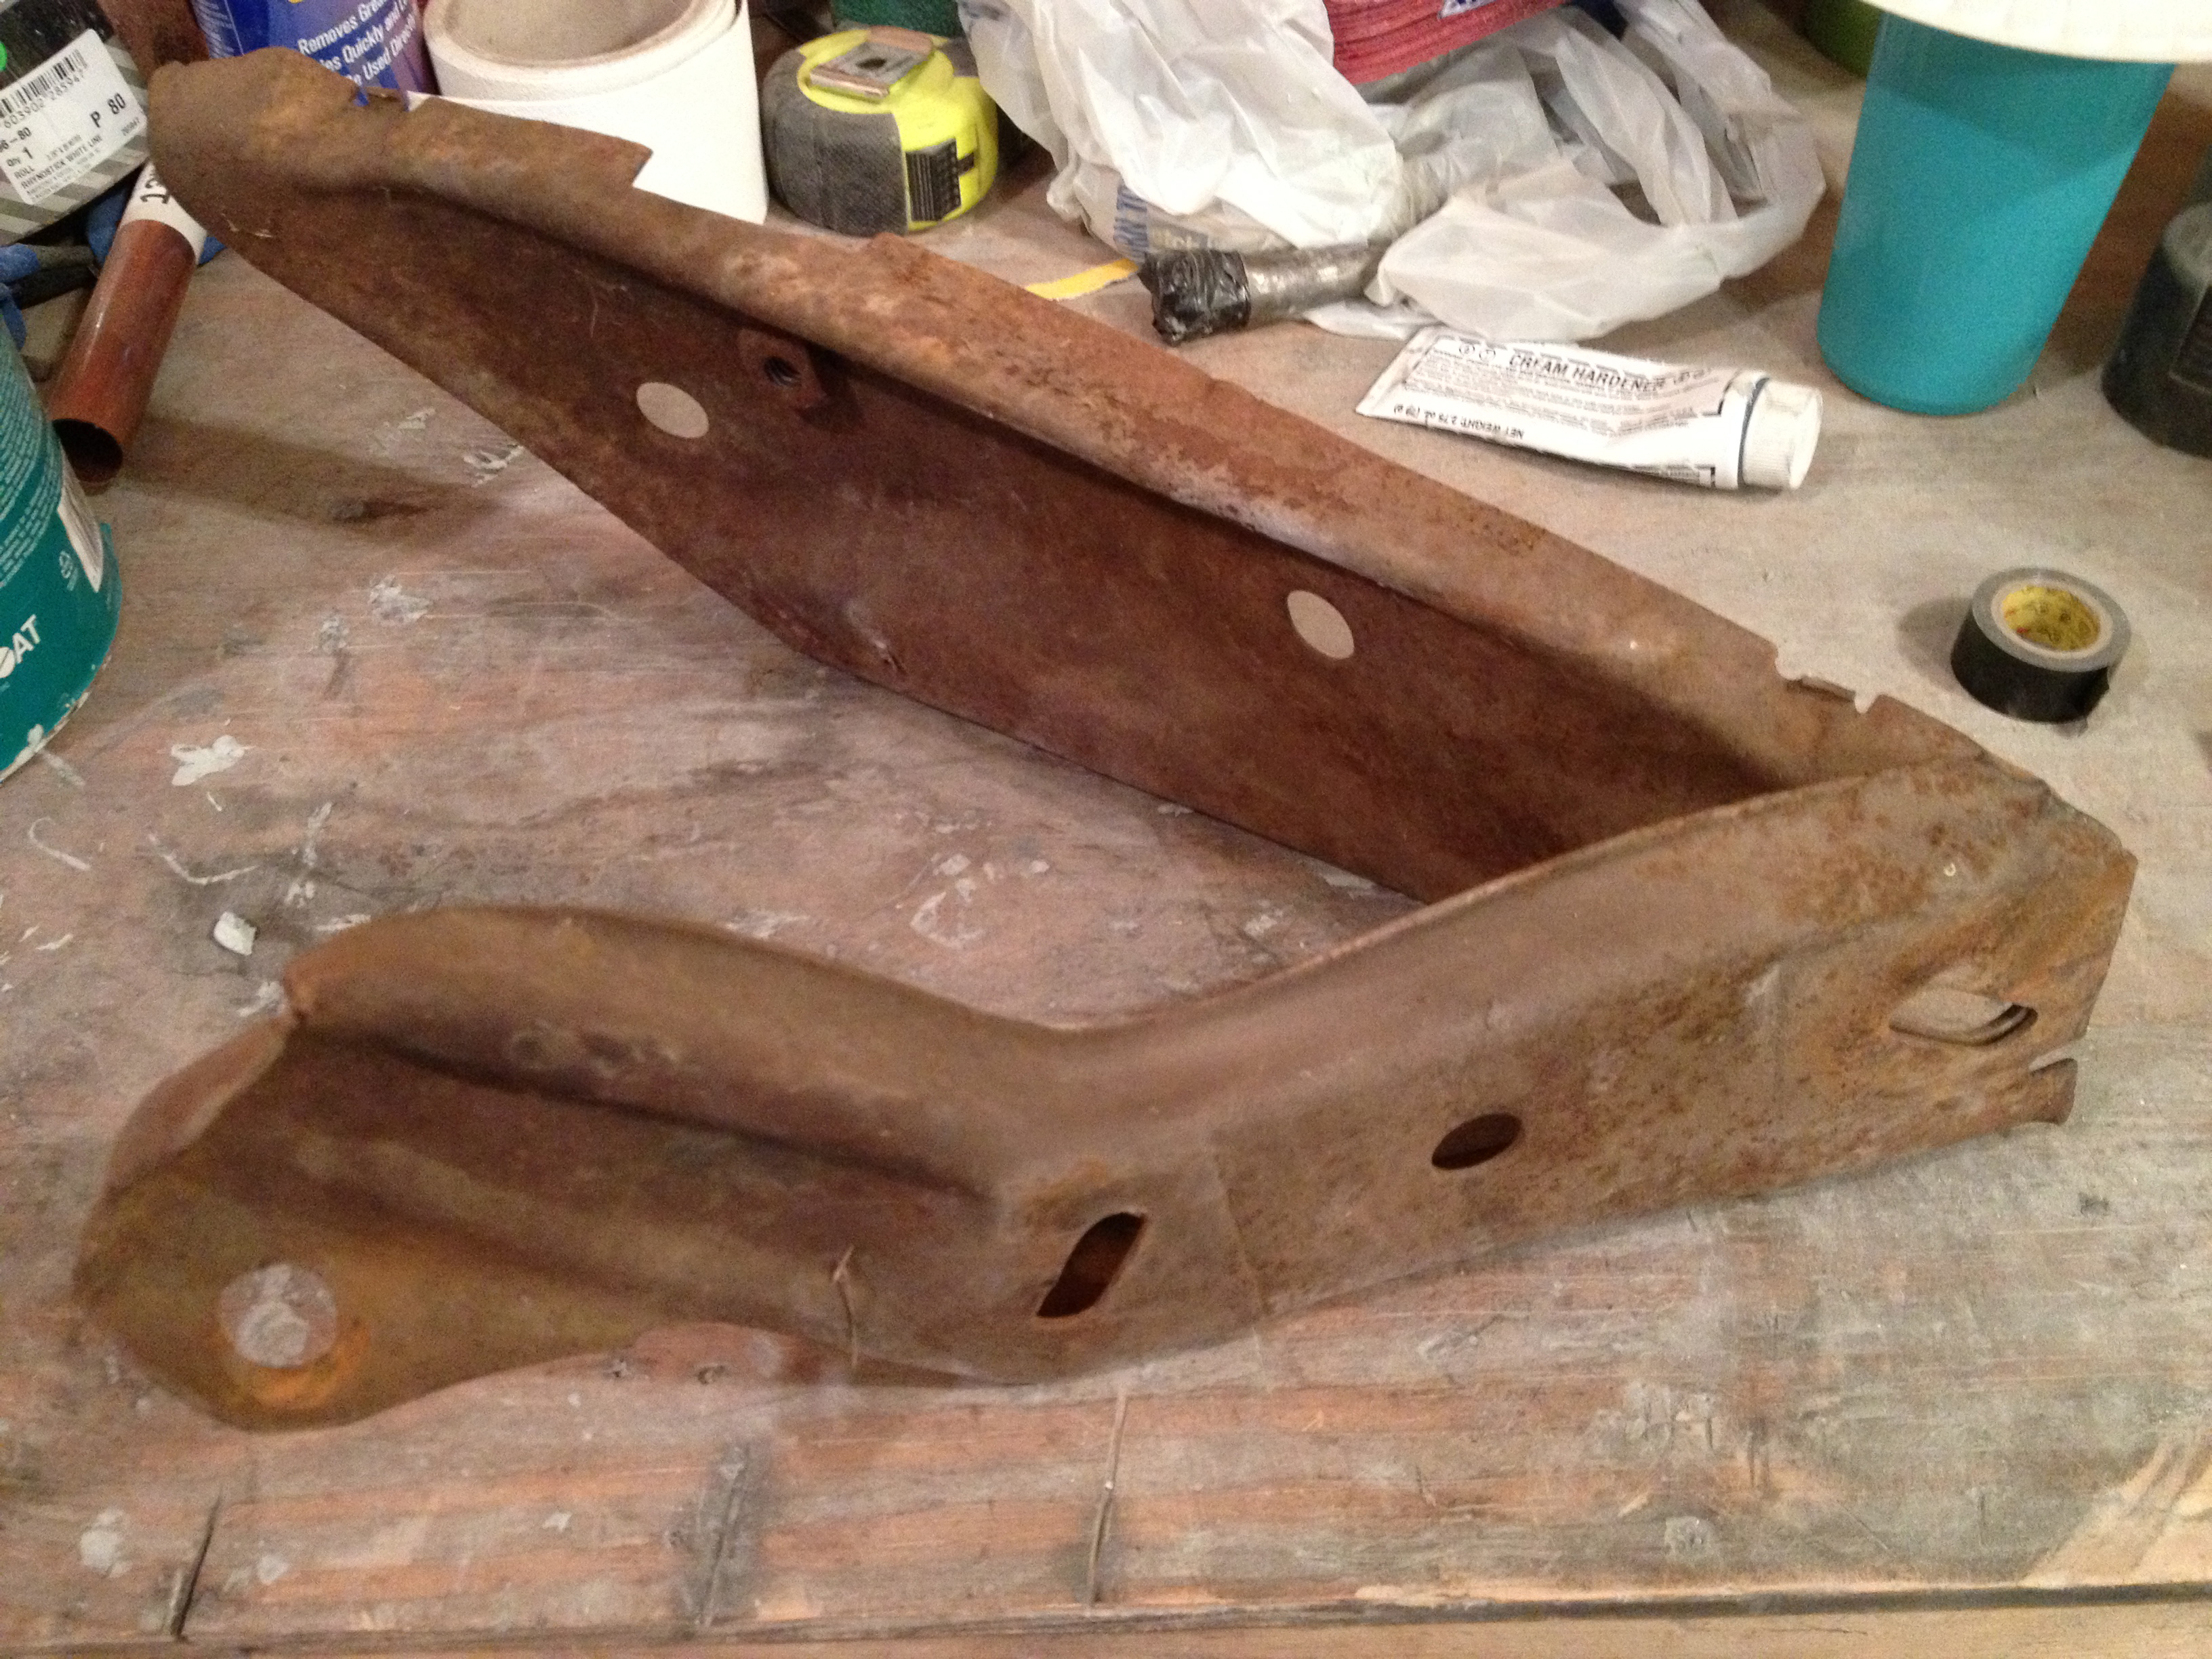
This is one of the front bumper brackets, all were sandblasted and repainted.
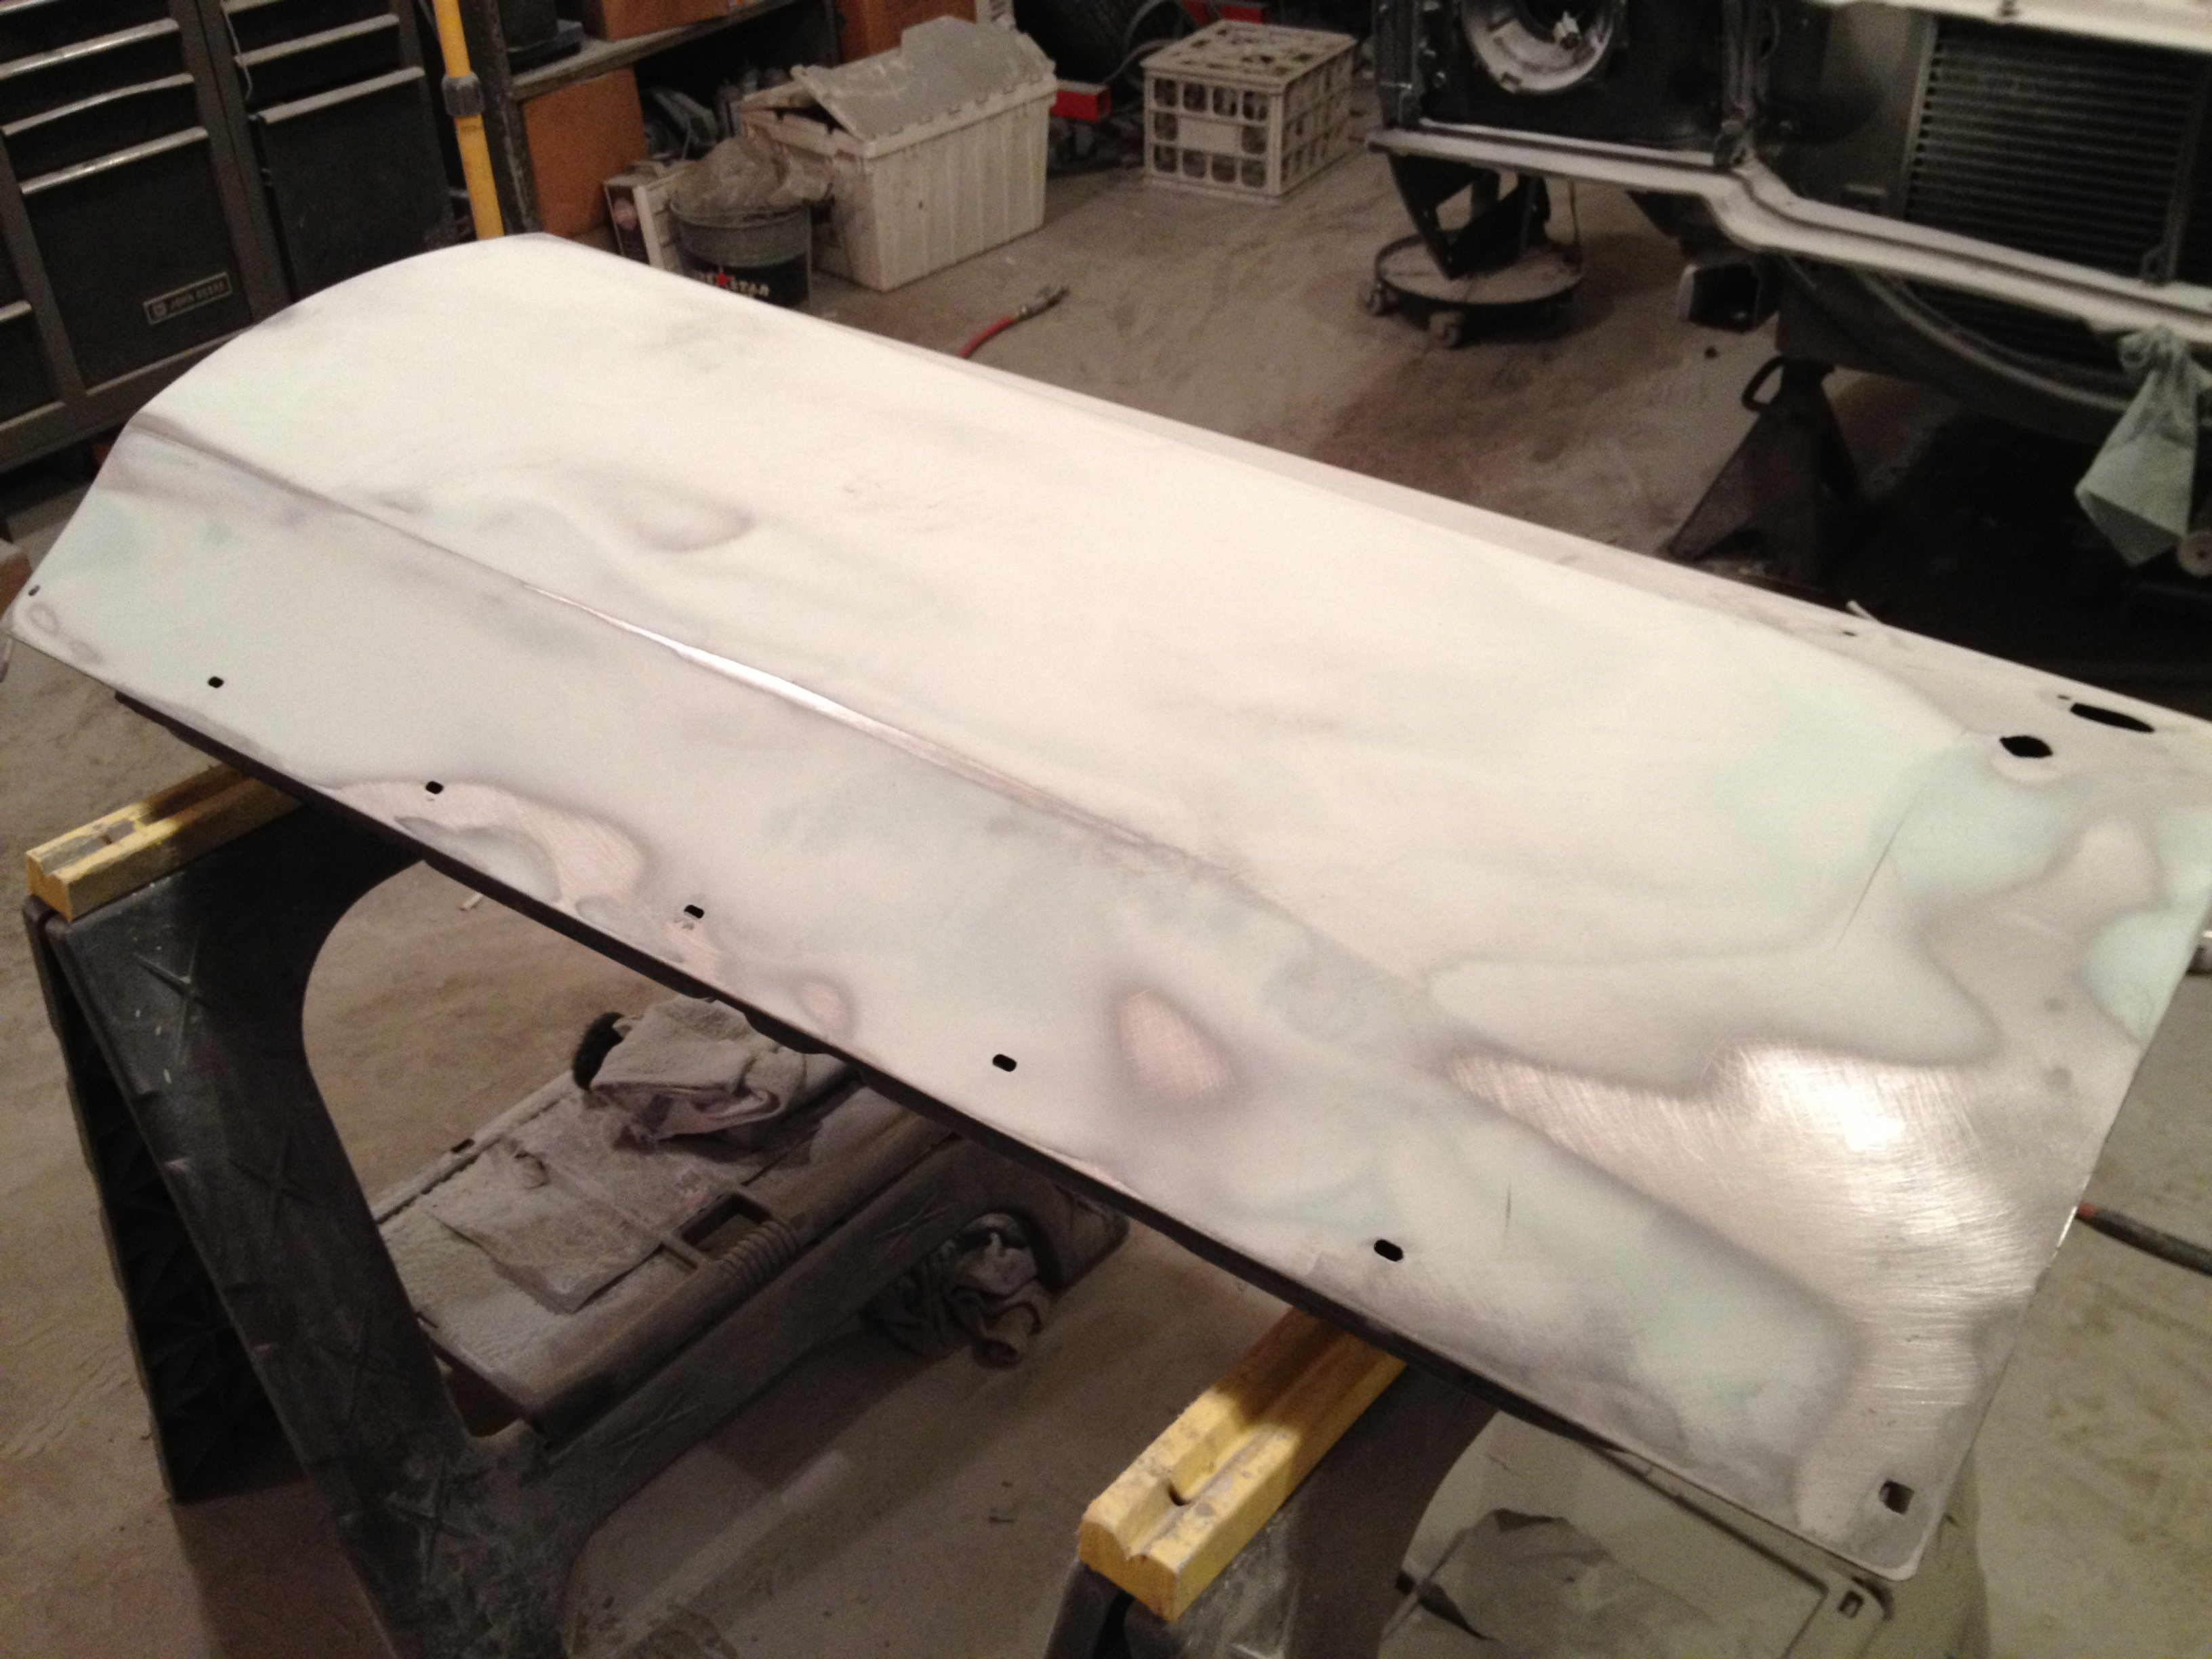
And of course the arduous work of skimming and sanding each panel to achieve a mirror like finish continues.