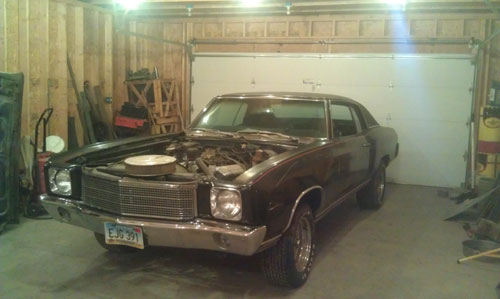
1970 Triple Black 402 Big Block Monte Carlo Page 8
December 27th 2013
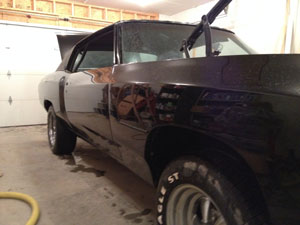
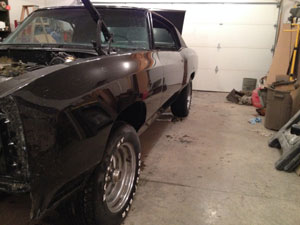
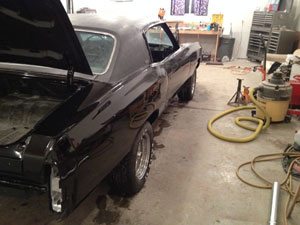
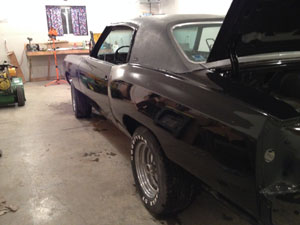
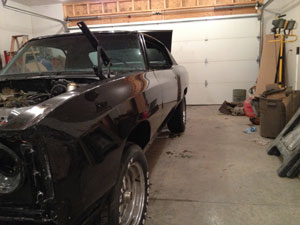
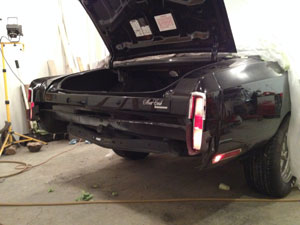
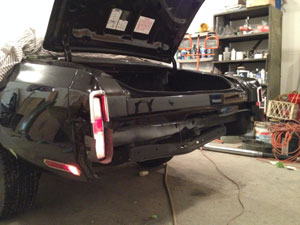
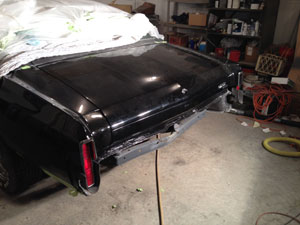
Fresh off the trailer after picking it up from the paint shop!
All I can say is WOW!
It's magnificent!
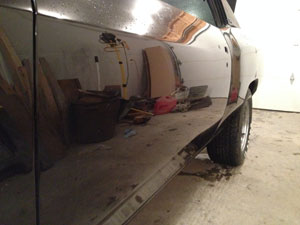
Every panel is like a mirror!
From front to rear it's as straight as a laser!
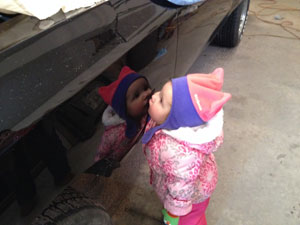
I even had an unscheduled visit from quality control.
She applied her stamp of approval.
One last bit of cleaning and sanding left.
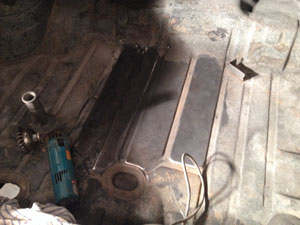
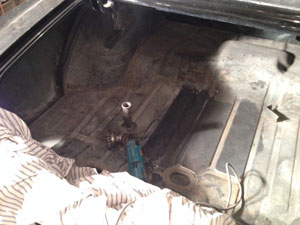
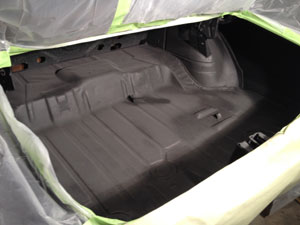
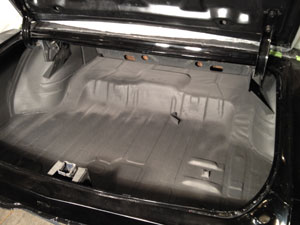
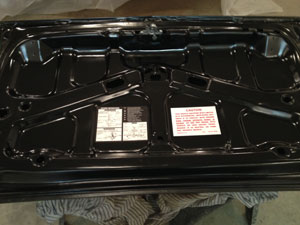
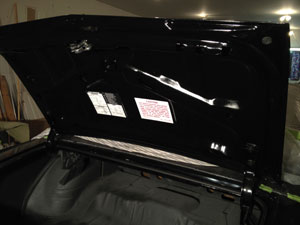
The trunk pan is rust free and solid just like the floor pan. All it required was some wire brushing, a little sanding. After painted with the splatter paint it's just like new.
I removed the deck lid to detail the inside of it and install the latch and lock assembly.
I also installed the bumper jack instructions and the warning sticker for the positraction rear differential.
The tail lights, Monte Carlo emblem, trunk weatherstrip and rear marker lights!
Yes!!!!
After some adjustments the deck lid gaps are PERFECT!
This really looks great.
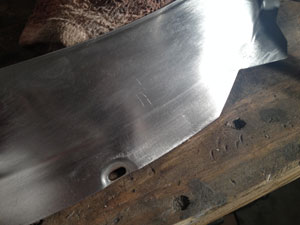
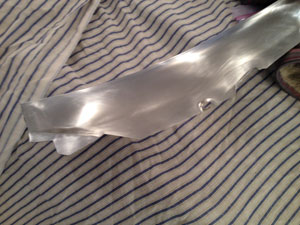
All the stainless steel trim needs to be repaired where needed and polished. This is a very time consuming but very satisfying job.
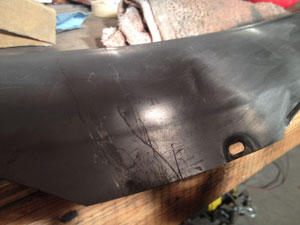
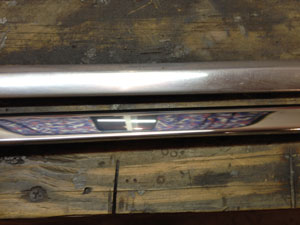
On the left is the trim piece that goes on the bottom of the windshield. It's got some dents and deep scratches.
Using progressively finer sand paper the scratches are slowly sanded out.
Dents are gently tapped back into position from the back and filed and sanded back to level.
After working down to 1500 grit sandpaper the piece is straight and ready to be buffed.
This is really hard on your arms and fingers!
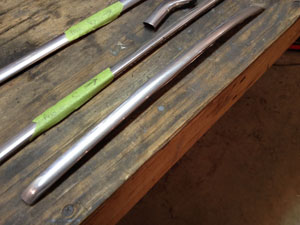
There are several dozen pieces of stainless steel trim parts that need to be restored.
They were all tagged and bagged together upon removal to avoid any confusion as to where they go back on.
Many required small dent repair from years of use.
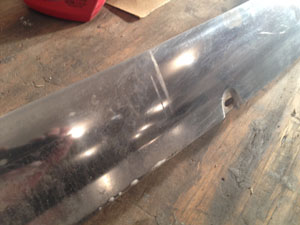
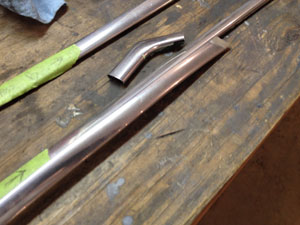
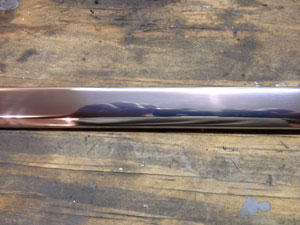
The left picture is a before and after shot. You can see my window and curtains in the reflection.
On the right you can clearly see my hand and camera.
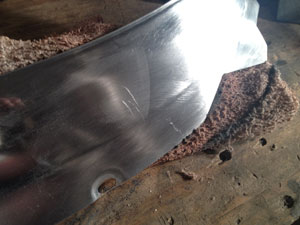
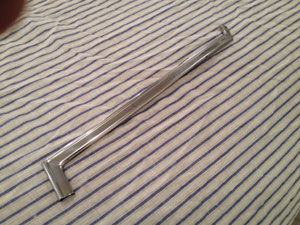
Another piece after hours of restoration and buffing.