
FOR SALE
June 8, 2016
Big update!
A lot to report on.
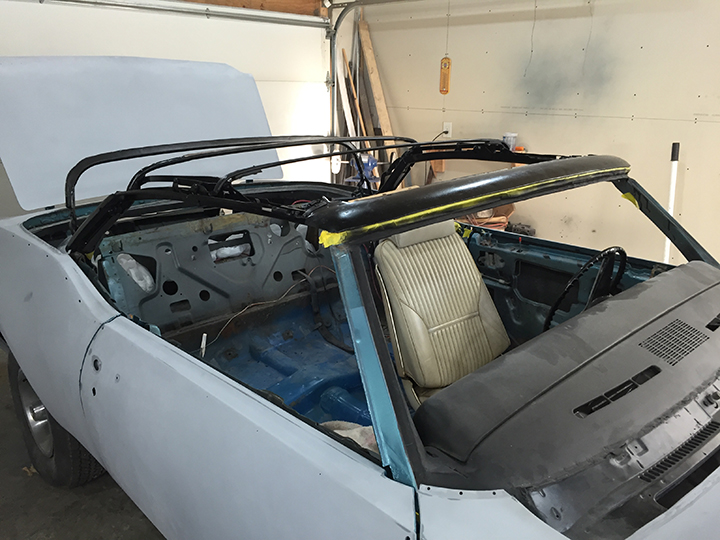
I did a lot of final adjusting on the convertible top frame. When it goes up it falls perfectly in place and latches correctly.
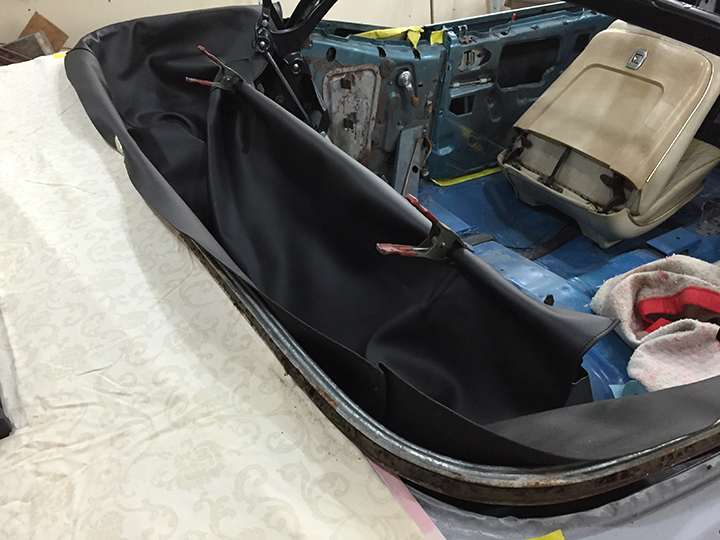
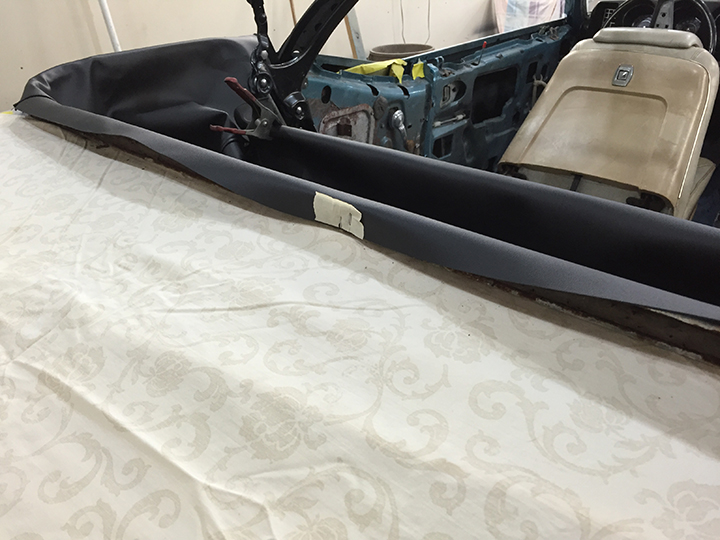
I began with installing the bag the top folds into.
Nearly everything about putting this top on is finding the center of each component and matching it to the center of the car. I measured carefully and used masking tape to mark the centers.
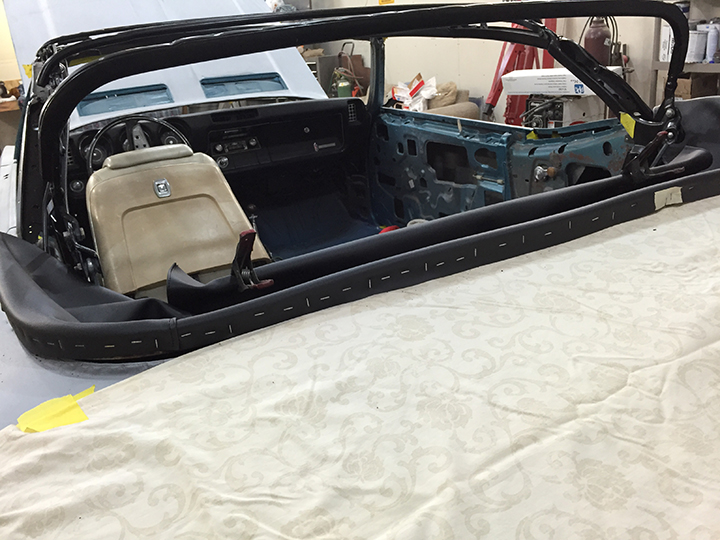
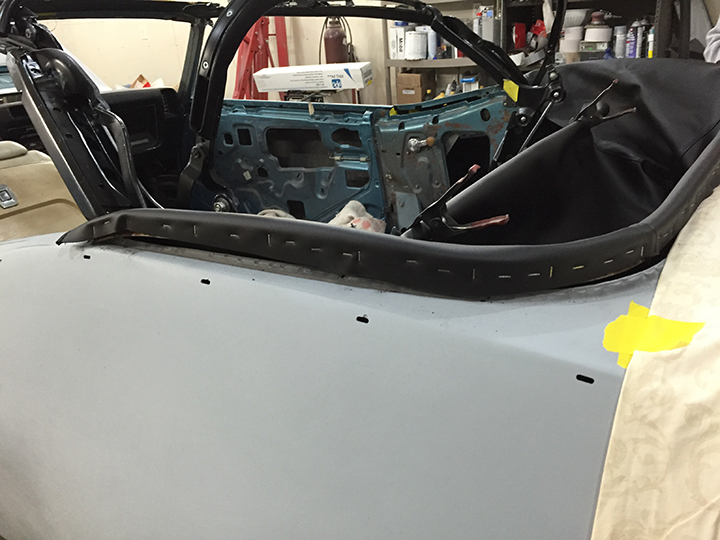
The rear edge was stapled to what's referred to as a floating bow. It actually sits below the sheet metal at the rear.
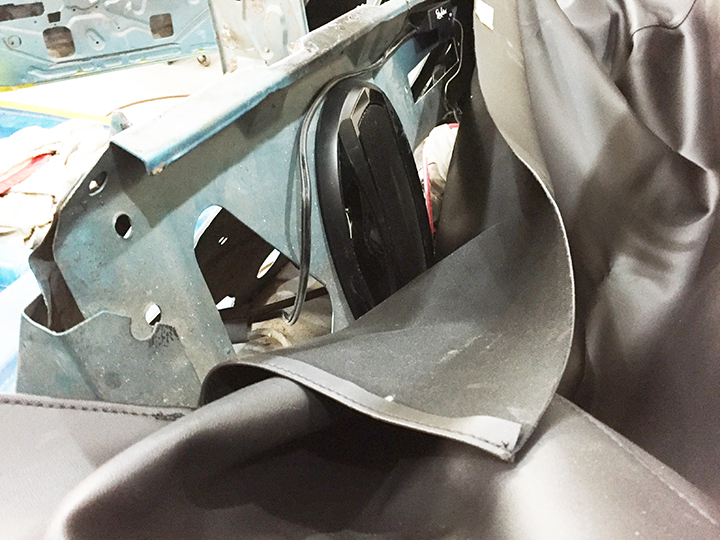
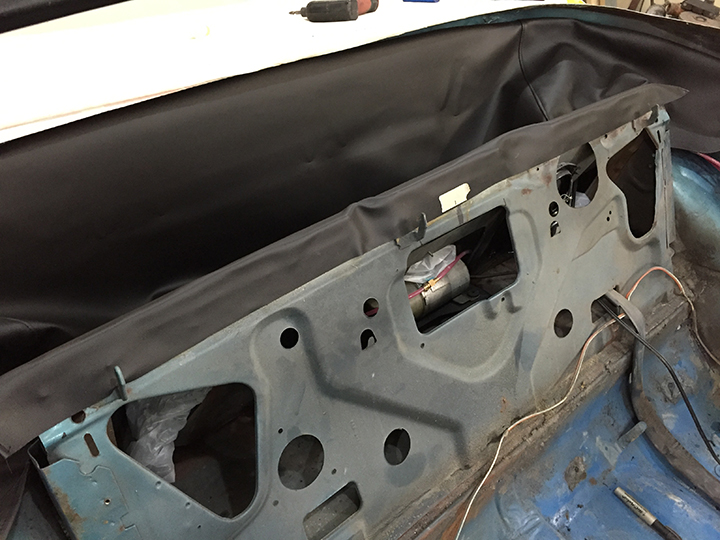
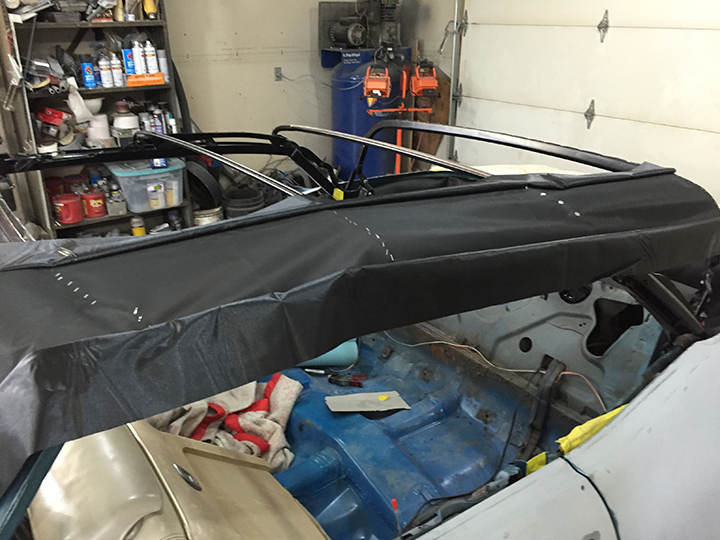
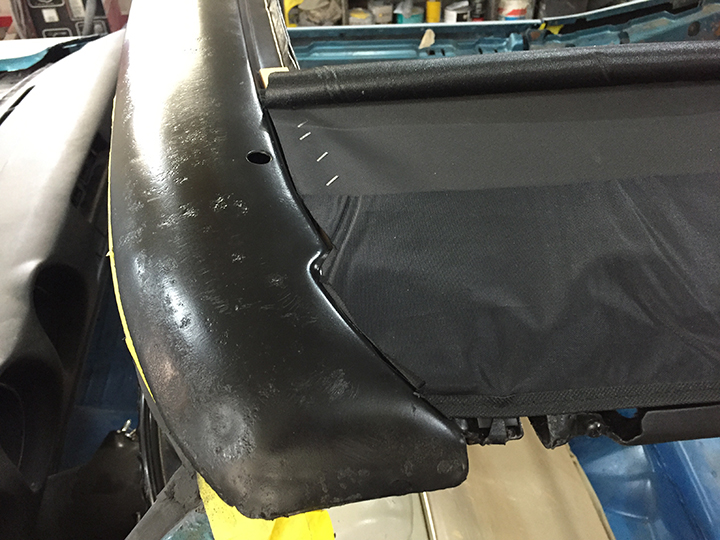
Pads are placed on each side that go between the convertible top and the frame. They are stapled into new tack strips I installed in the bows. The front is trimmed to fit the header bow.
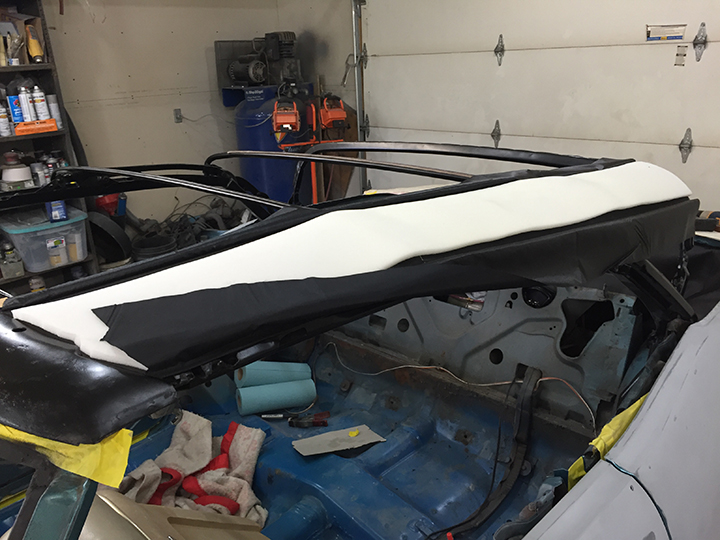
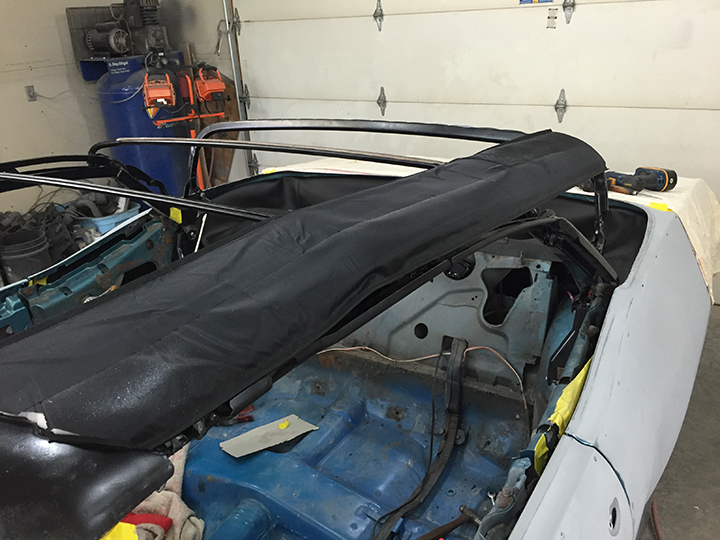
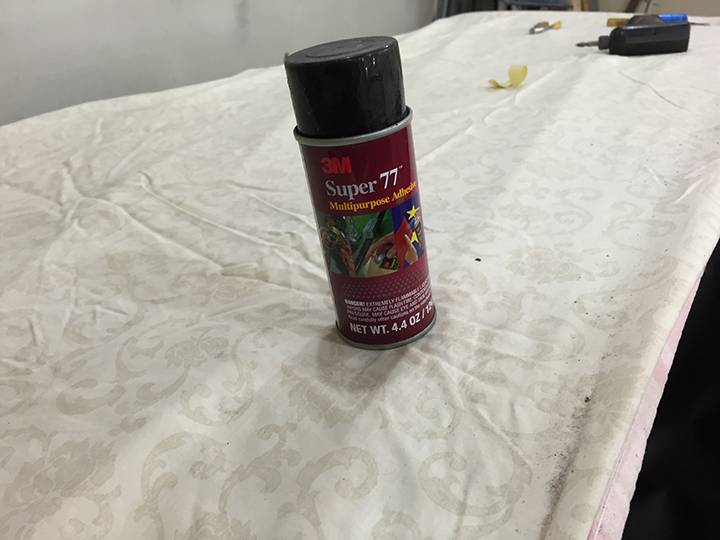
Foam is inserted in the center and the two side flaps are folded over and glued down.
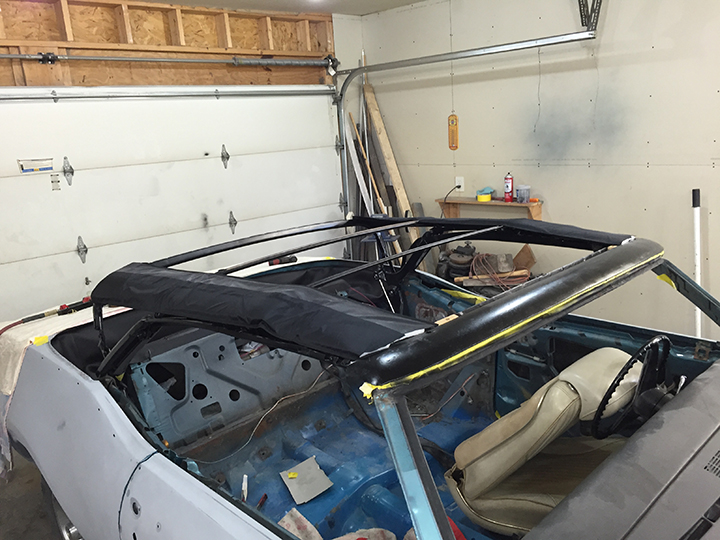
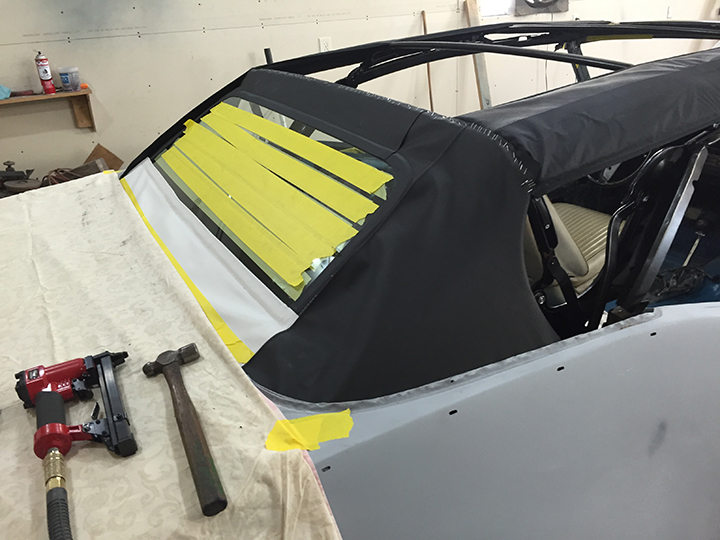
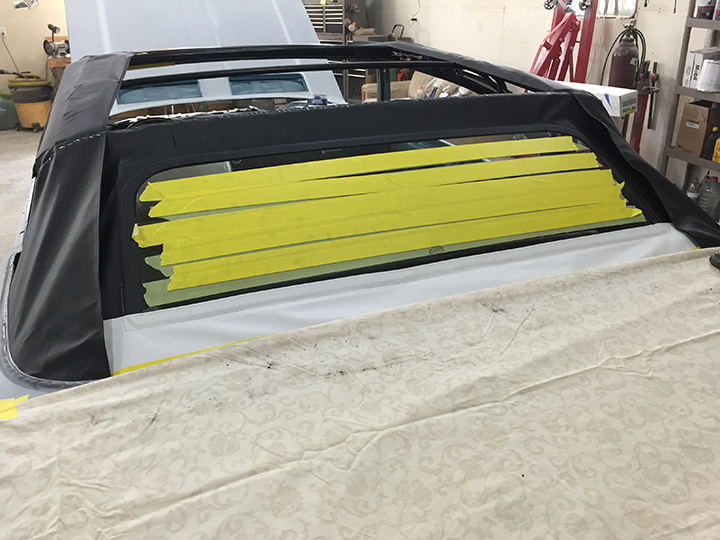
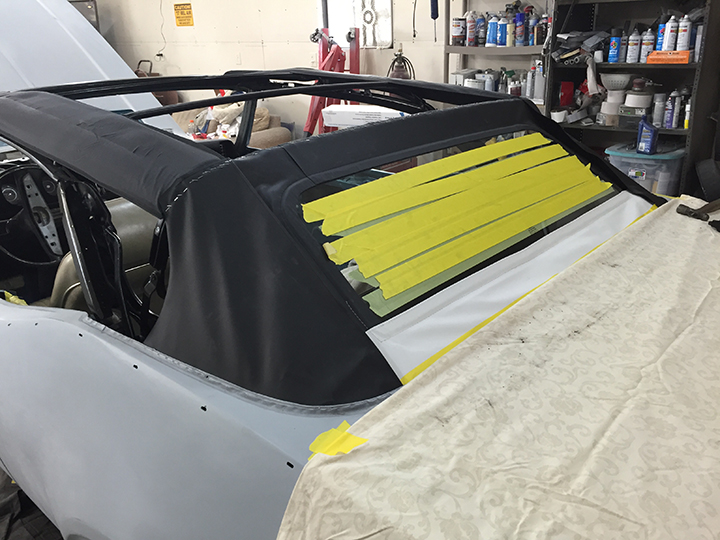
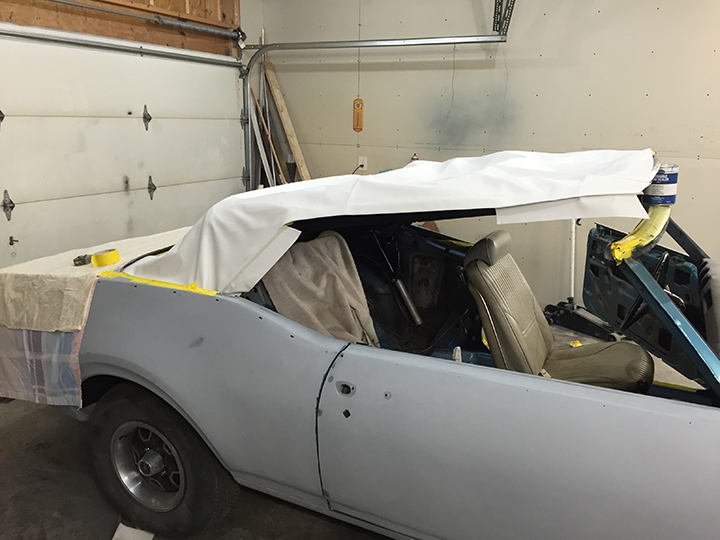
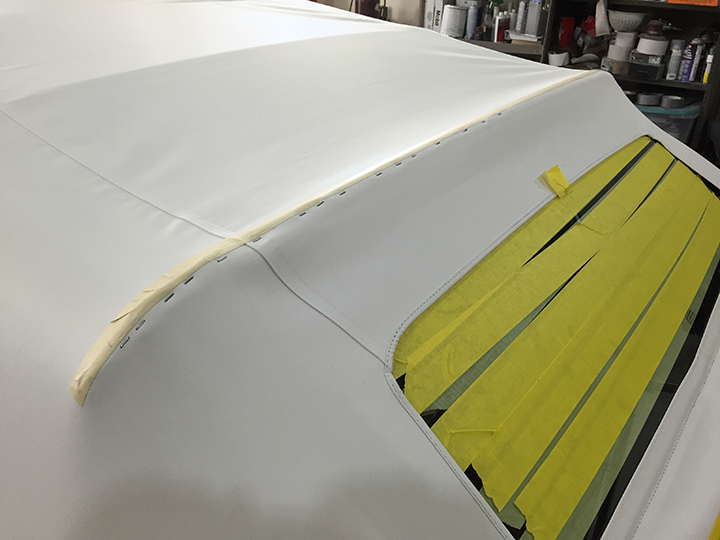
The top was set outside to warm in the sun and then placed over the frame. After assuring it was centered a ton of measurements were made and eventually it was stapled to the floating bow.
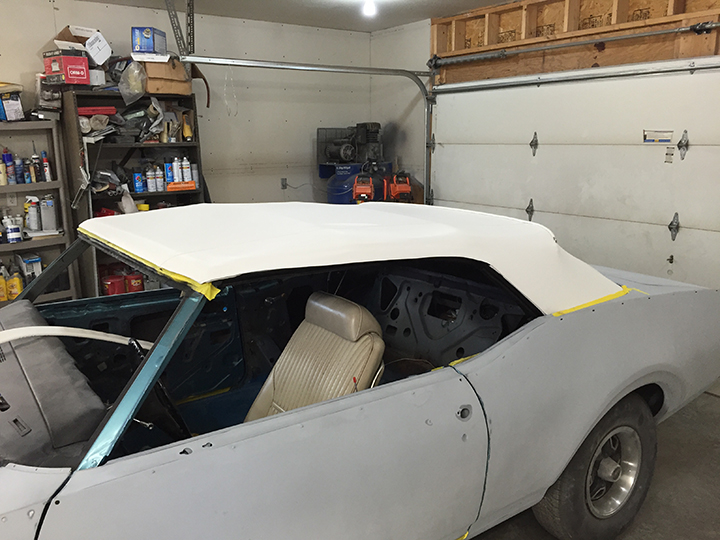
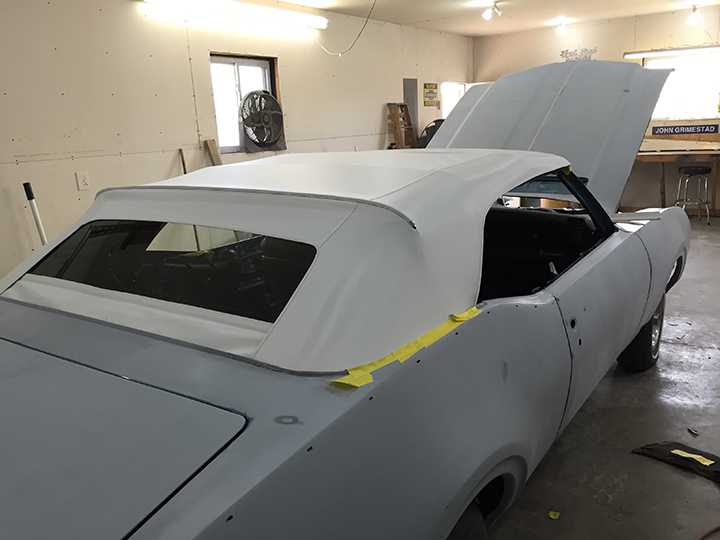
A lot of pulling stretching adjusting and stapling and she's got a new top.
Any minor wrinkles or draws should disappear once it sits in the sun for a while.
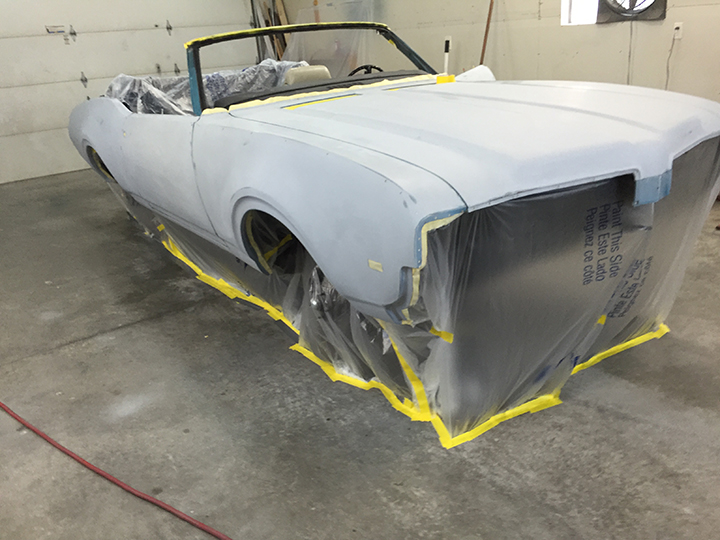
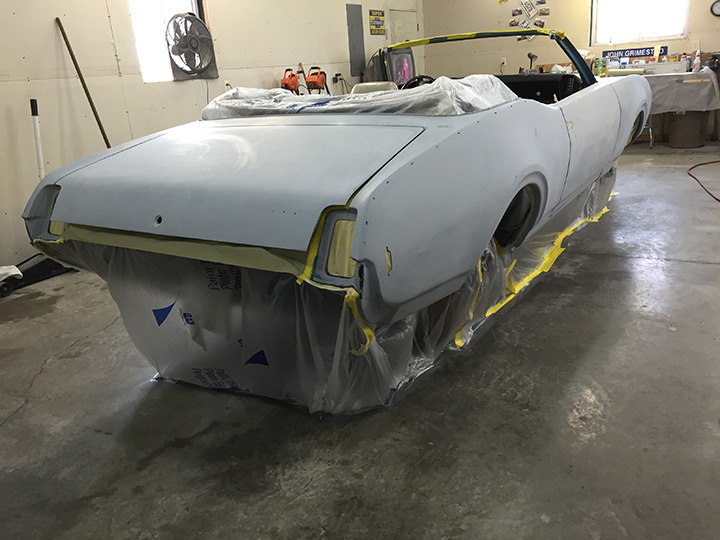
I spent many hours cleaning the shop from top to bottom. The floor and walls were scrubbed several times and anything I didn't need was removed from the shop.
I began masking in preparation for paint.
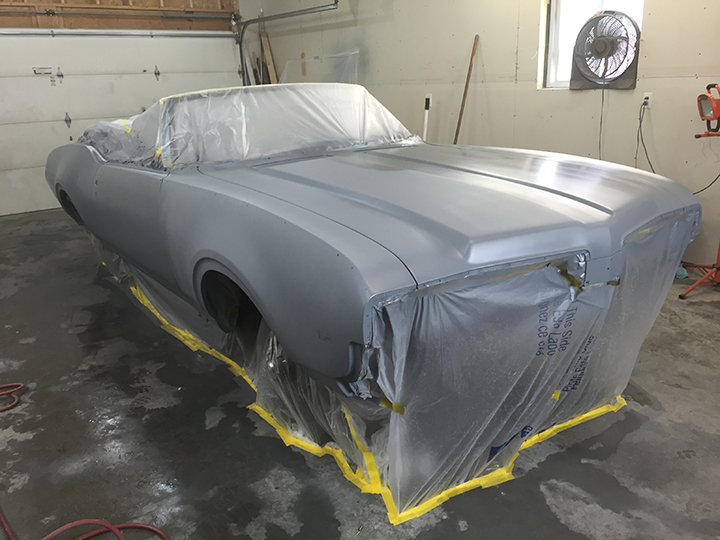
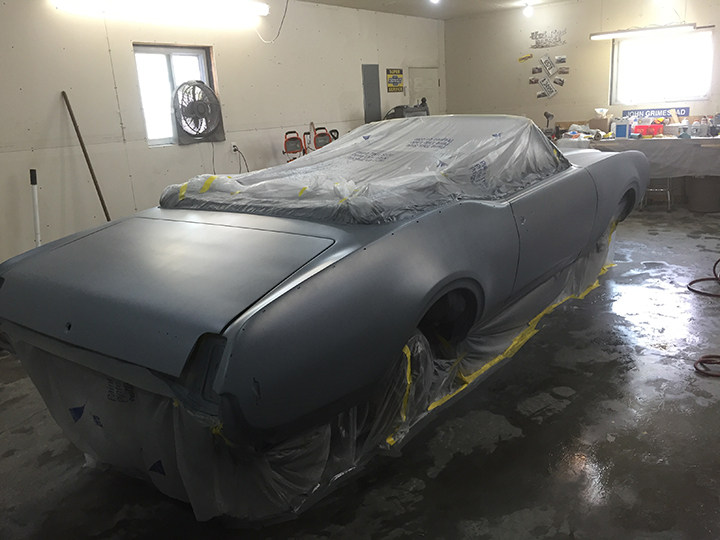
After a thorough cleaning with wax and grease remover and wiping it down with a tack rag 3 coats of slightly thinned epoxy primer was applied to seal and provide a consistent base color for the paint.
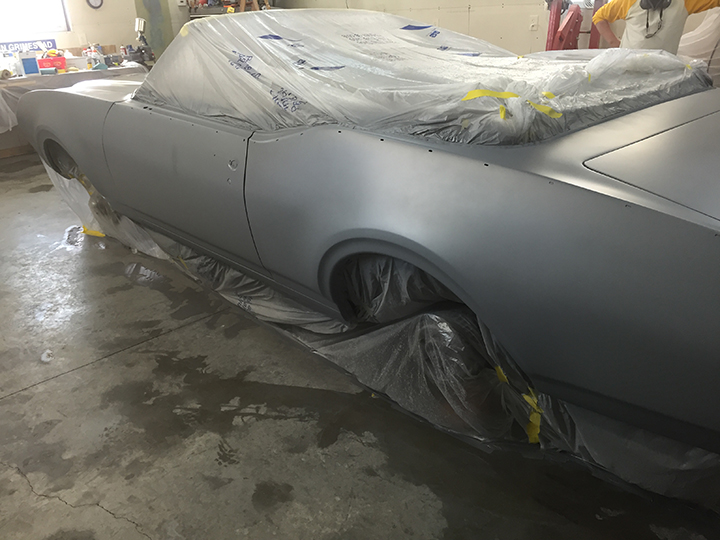
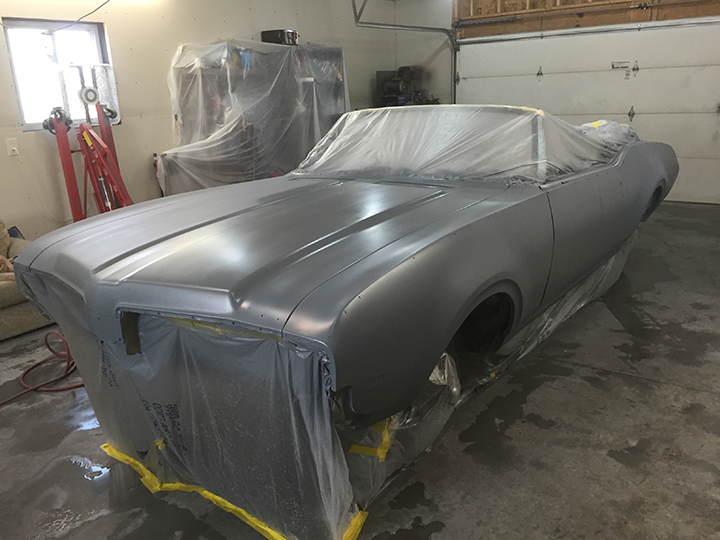
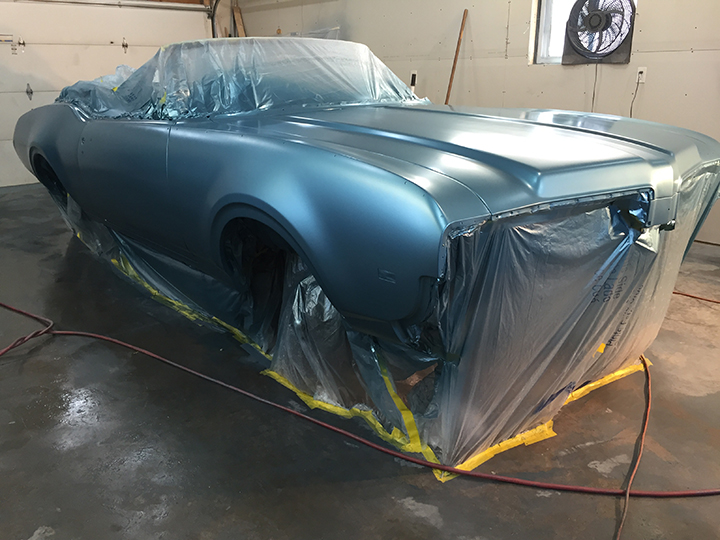
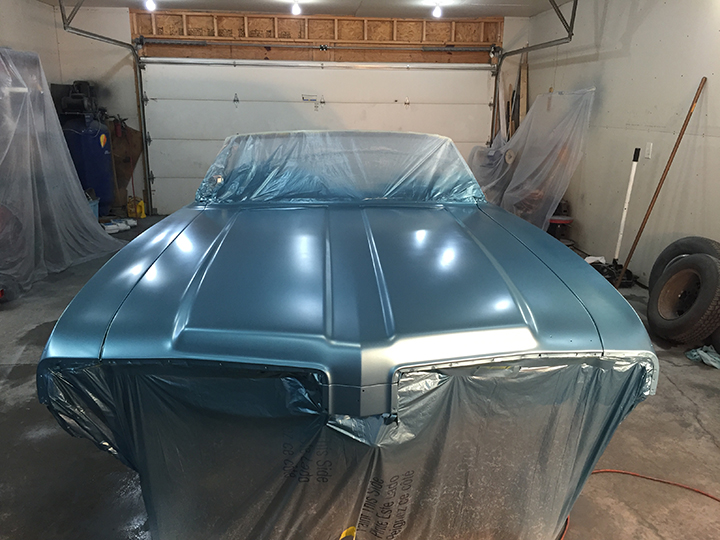
Then three coats of base coat. WOW!
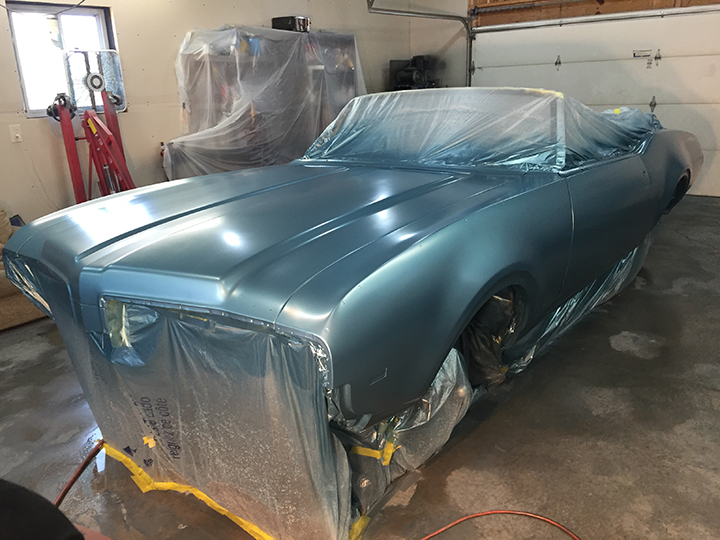
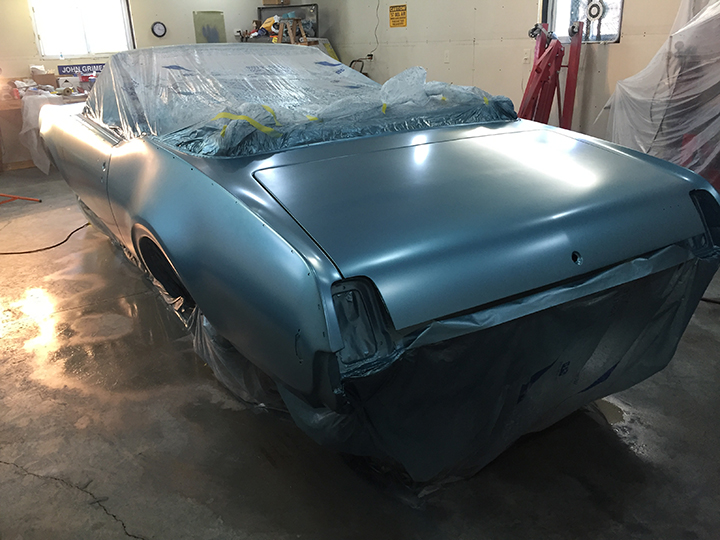
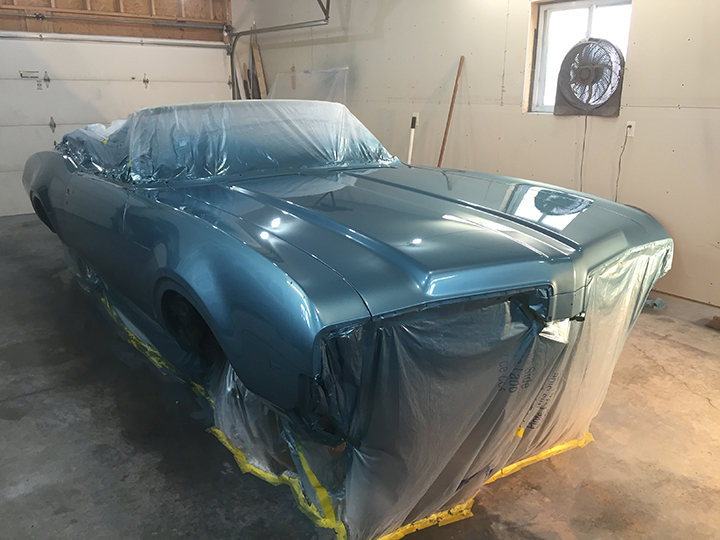
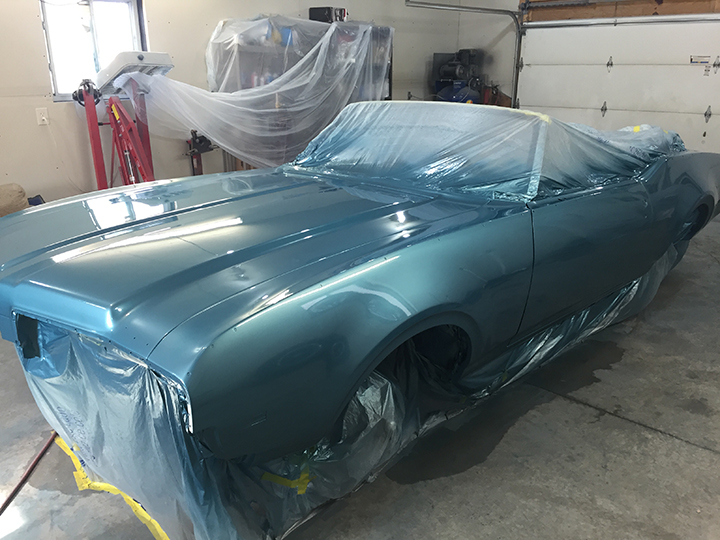
Three coats of clear and it shines like new!
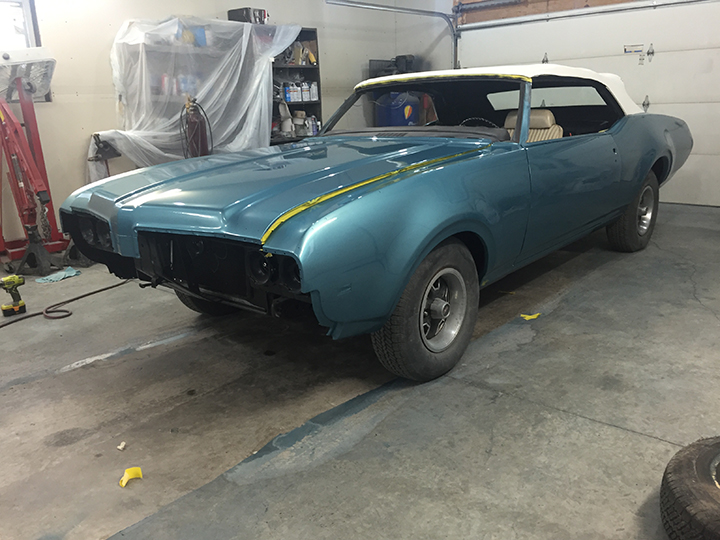
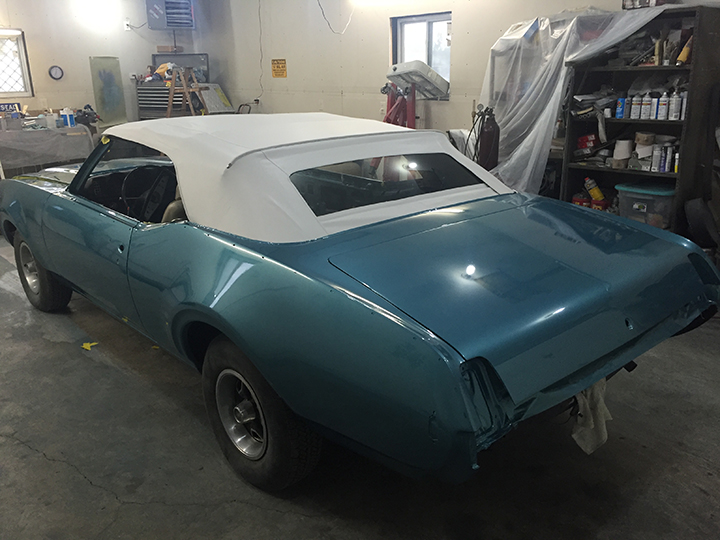
After unmasking, getting the wheels back on and putting the top up. She has come a long way.
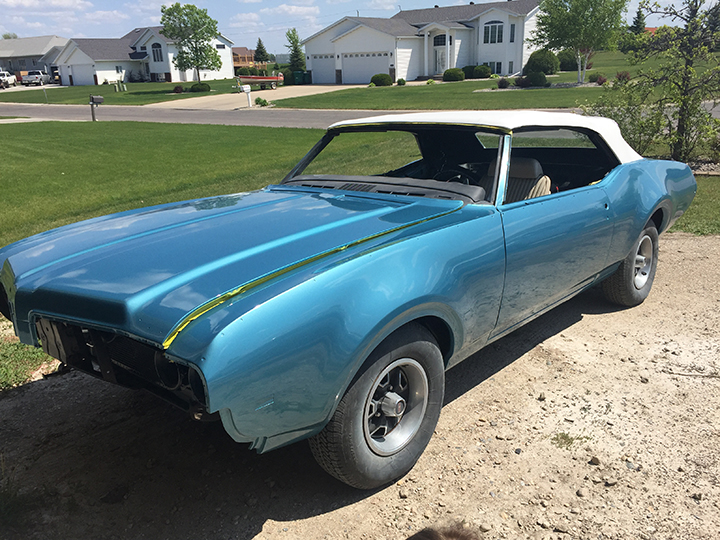
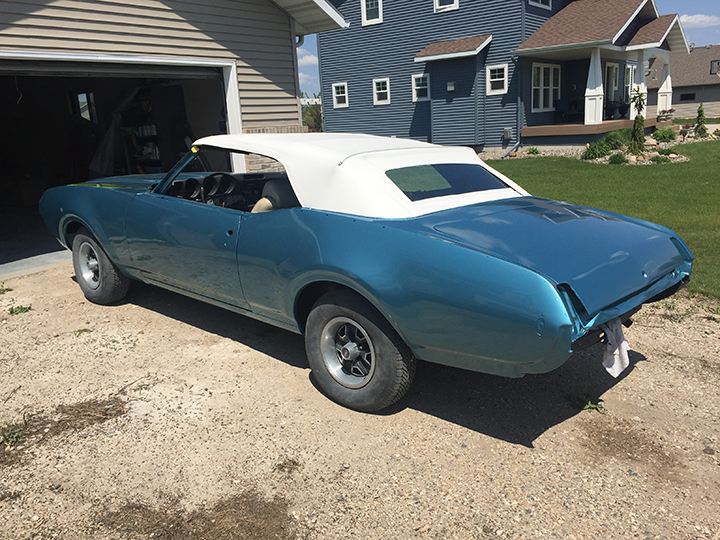
Out in the sun she just shines!
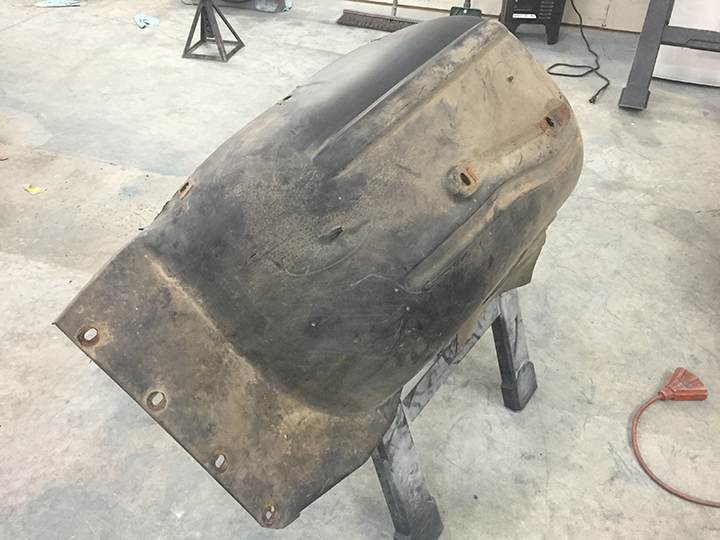
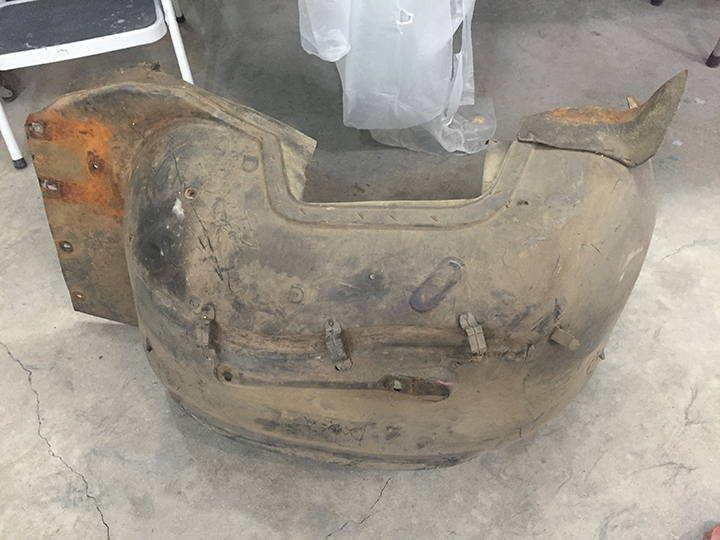
While the paint cures I turned to a little less glamorous project. The inner wheel wells and air dam need to be restored.
I'm really fortunate that the originals are in very good condition. No cracks or ripped out mounting holes.
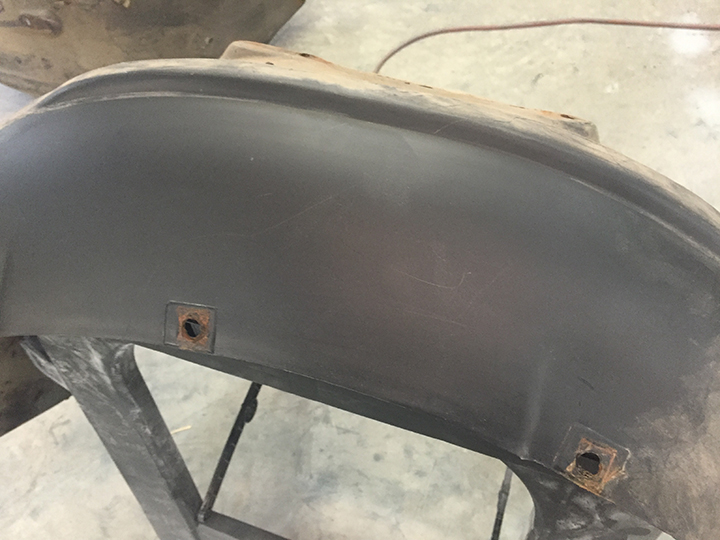
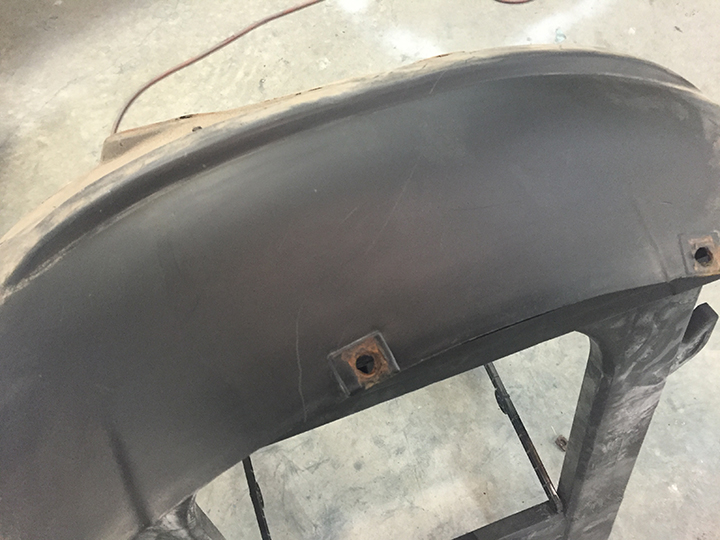
A good old soap and water cleaning and a little oven cleaner to remove some undercoating and gunk on the underside. Looks pretty good.
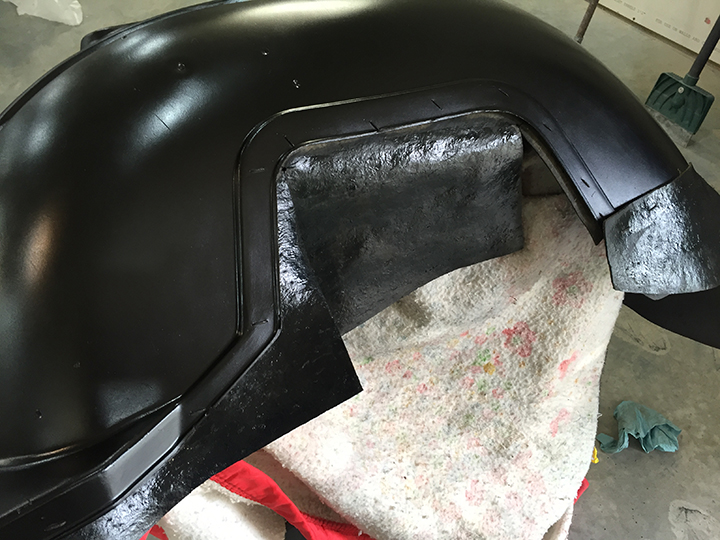
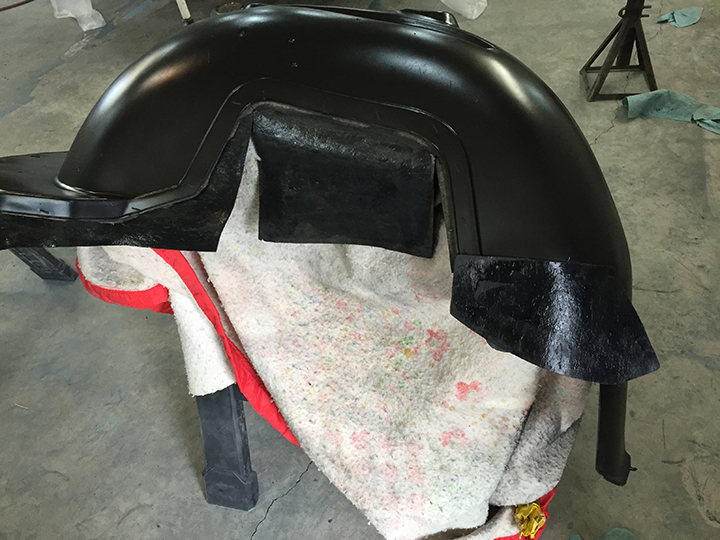
Following all the proper procedures for painting plastic I applied a satin black finish.
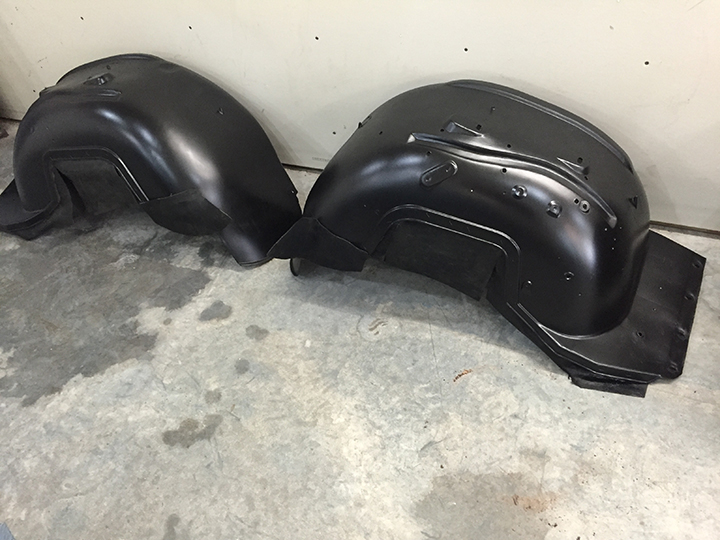
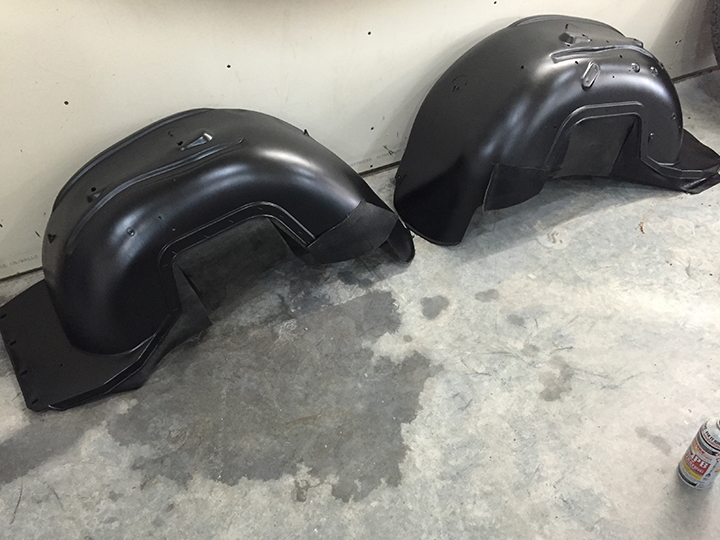
I used black shoe polish on the flaps. They look and fit much better than the repros.
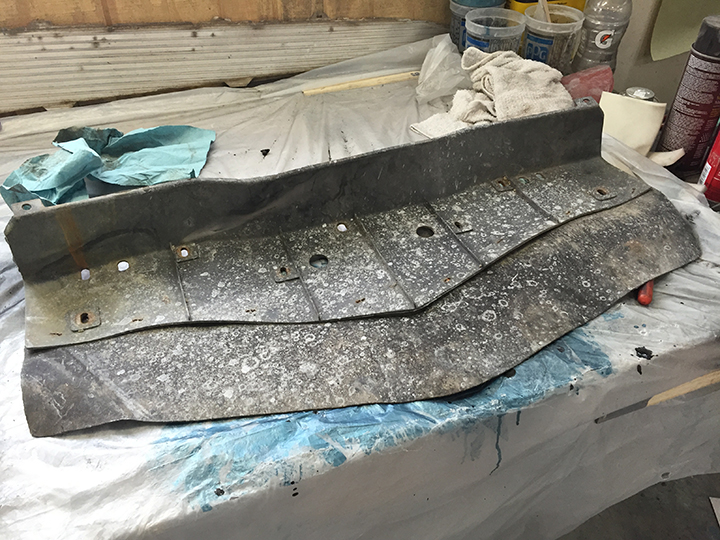
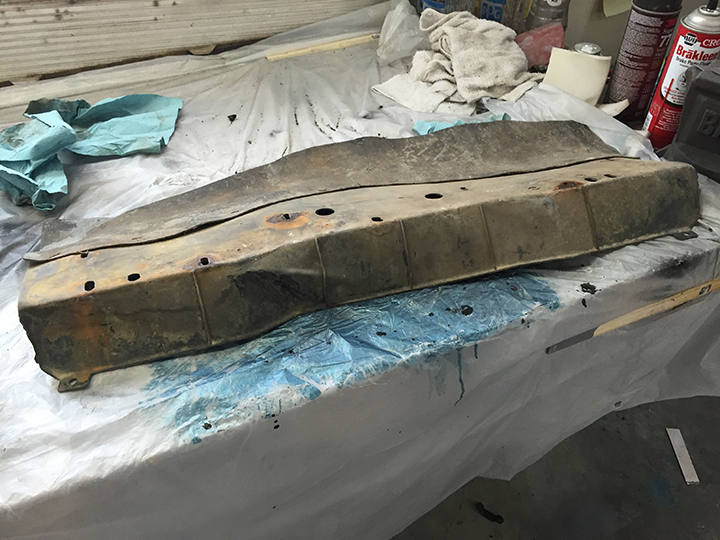
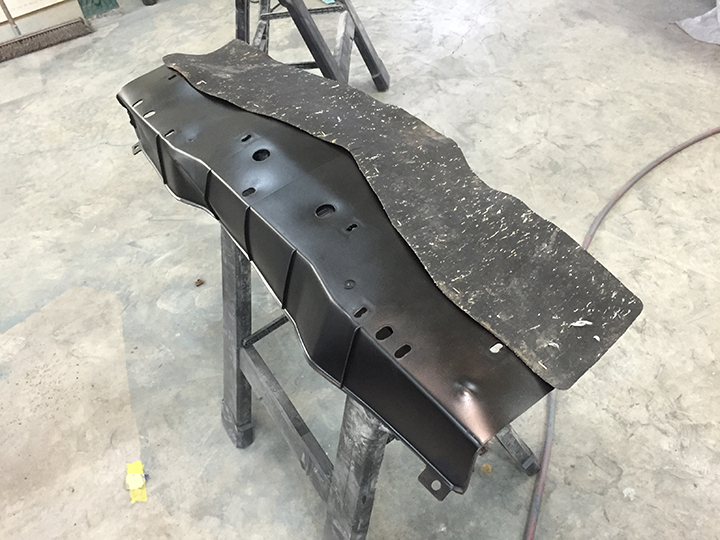
The air dam is also in terrific condition.
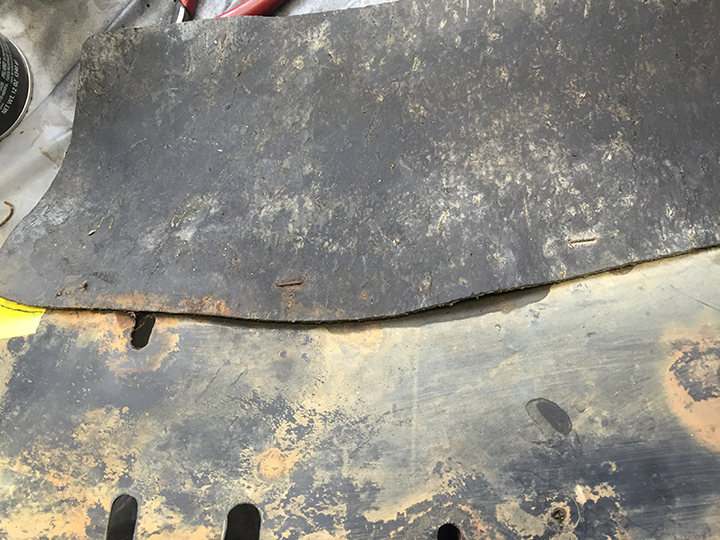
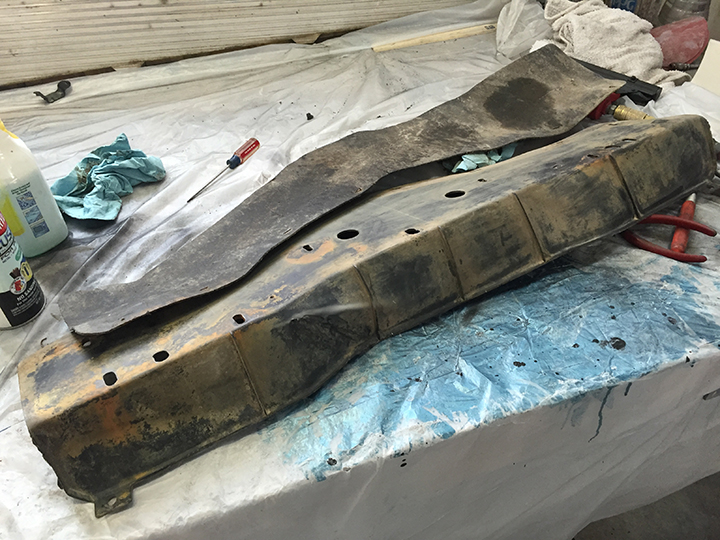
I removed the staples and like the inner fenders cleaned and painted the plastic.
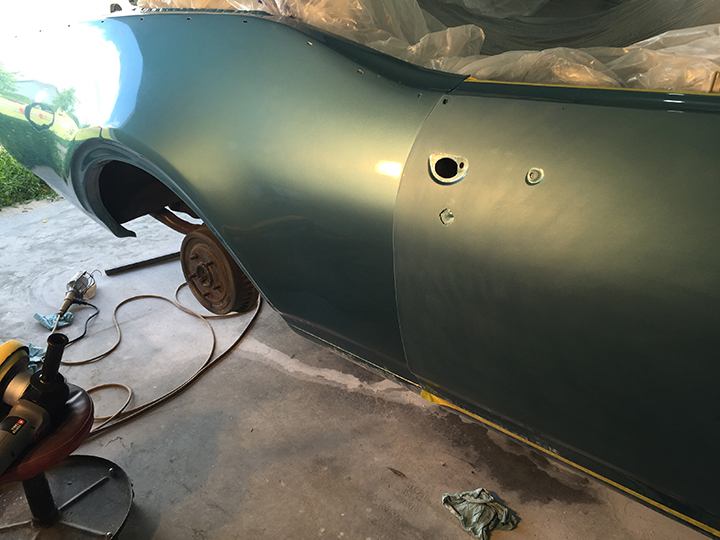
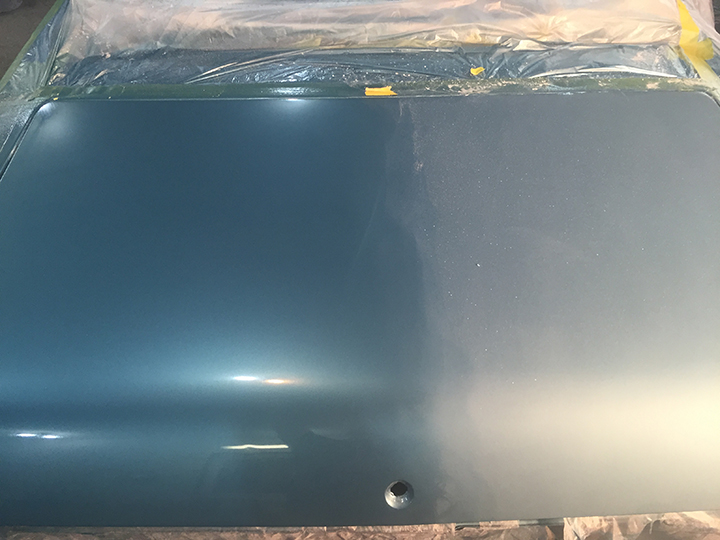
After allowing the clear to dry completely it's time to knock the shine off of it!
After sanding down some sags and runs in the clear I have begun wet sanding. You can see the contrast between the door and front fender.
I'm using 800 grit sandpaper to remove any orange peel, dirt or any other imperfections in the clear. That's followed with progressively finer sand paper (1000, 1500, and 2000 grit) this will assure a near perfectly flat surface. After buffing it should assure a mirror like finish.
A lot of work but it will look so much better.
Lots more to come!
Check back often.