

FOR SALE
November 12, 2015
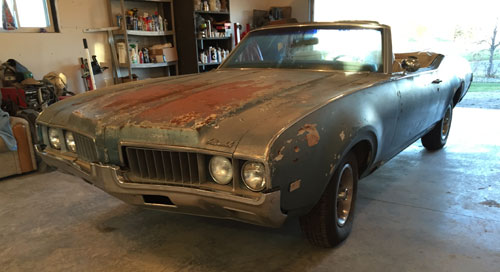
It's time to move on to the body work and paint. I'm not sure what I'm going to find here.
I contacted the original owner and he gave me some clues of what to expect. He told me the passenger side had been sideswiped and after having it repaired he repainted it yellow. Someone since then did a terrible job of painting it blue, I can peel most of it off with my fingers.
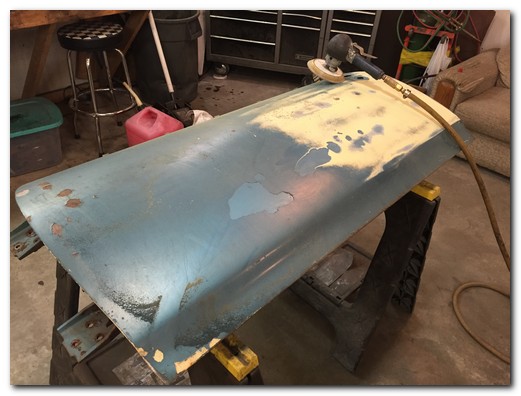
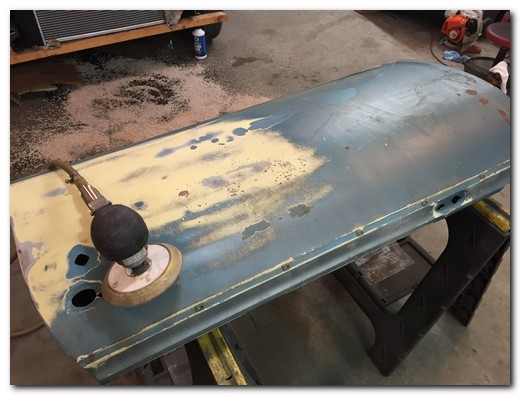
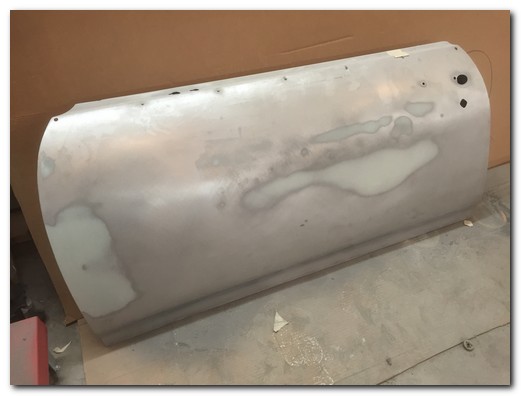
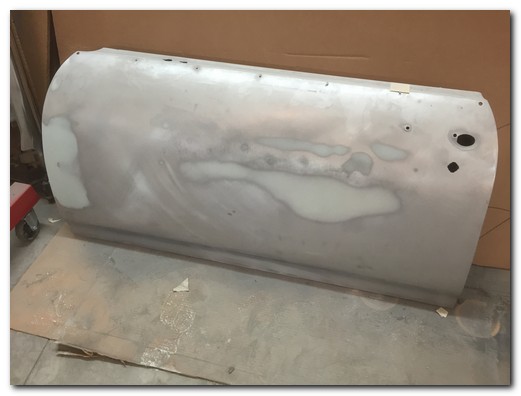
Starting to strip the drivers door I can see the different color changes. The top coat of blue and the yellow come off pretty easily, but the original paint puts up a pretty good fight.
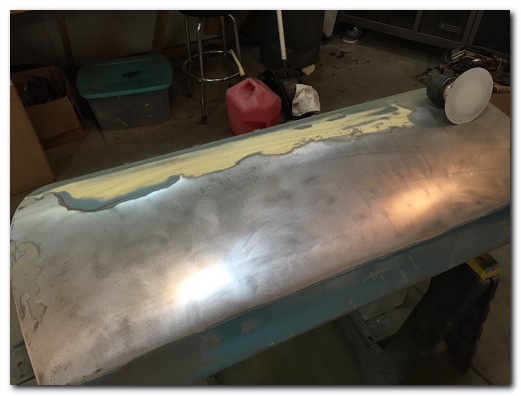
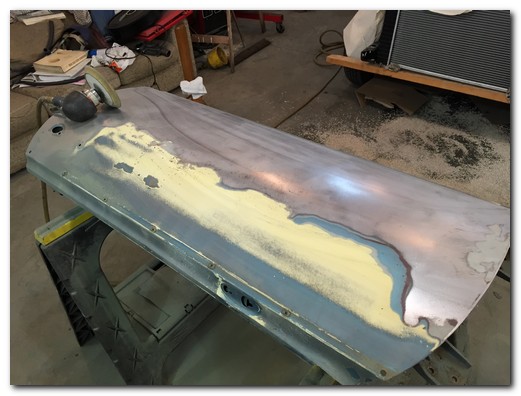
Slowly but surely the bare metal shows up. I am very happy to see nice straight metal with a minimum of previous repair.
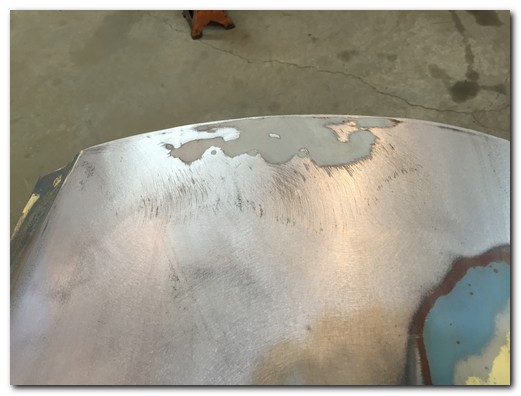
Below is the only small area on the leading edge of the door that contained any body filler.
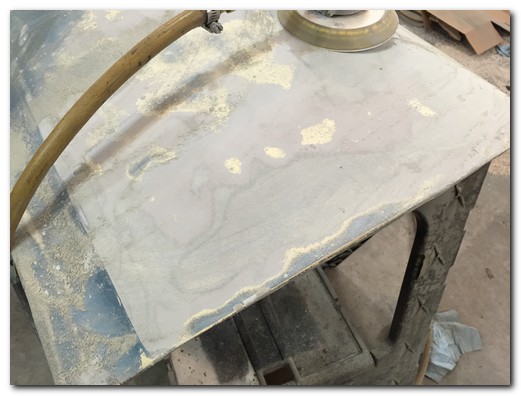

Unfortunately the passenger side door was not a happy story. This was the side that had been sideswiped. The amount of body filler on the front edge of the door looks to be a quarter inch thick in places.
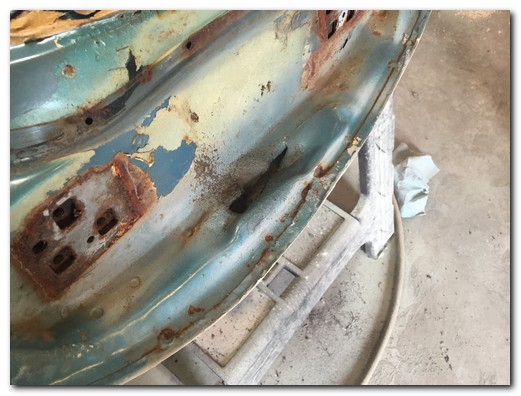
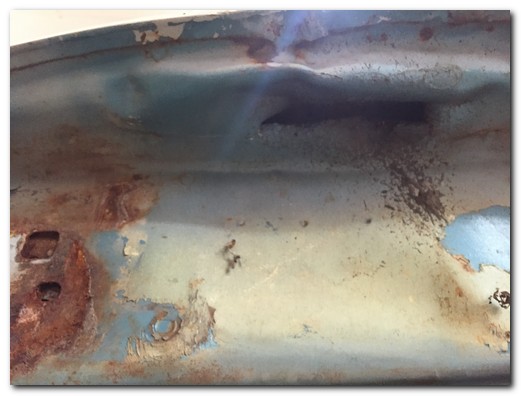
On the inside of the door jam you can see the bodyman cut a slit in the door jamb and tried to work the damaged area out from behind, pretty ugly.
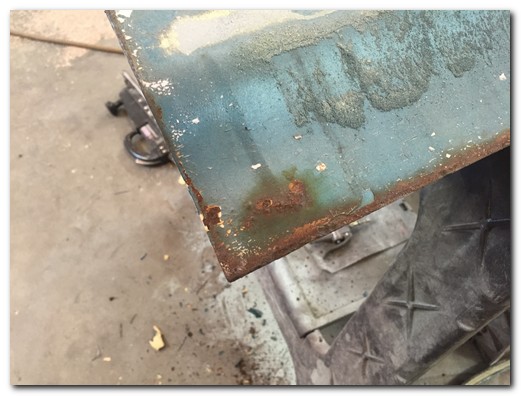
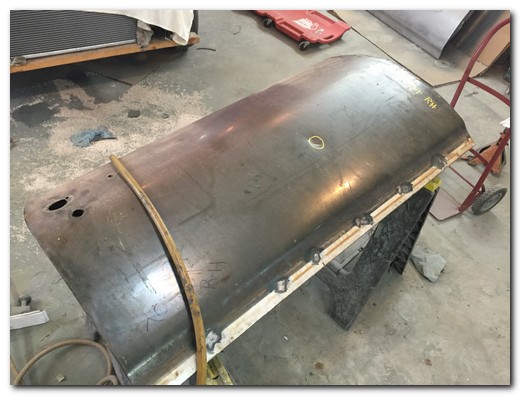
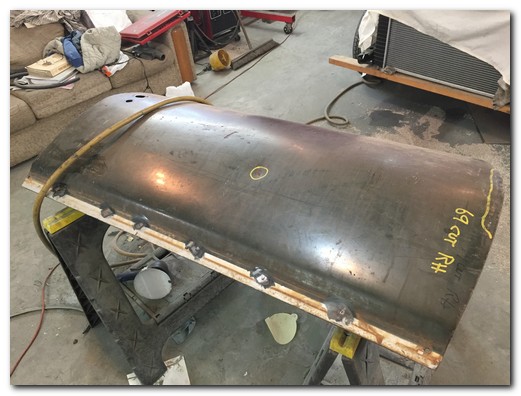
After a short search I found a very solid used door. It has some small dents and a damaged leading edge but ZERO rust.
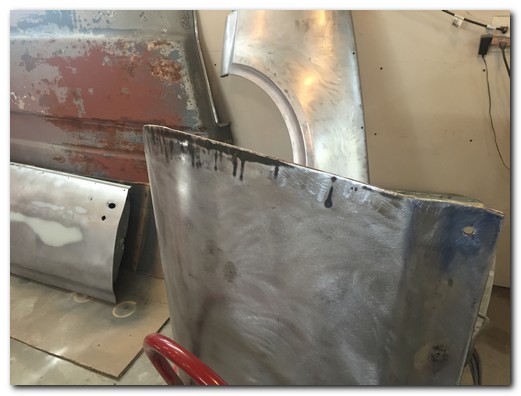
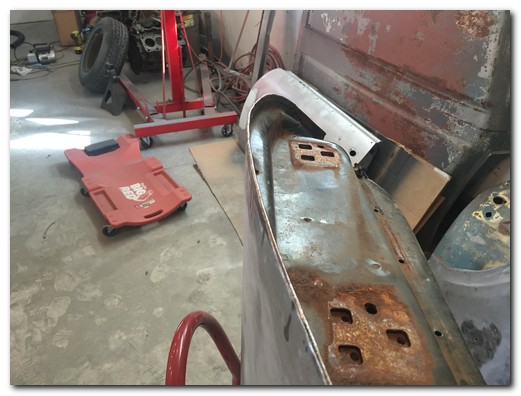
Some basic hammer and dolly work brought the edge back into position. It was surprisingly easy to bring it back to where it belonged.
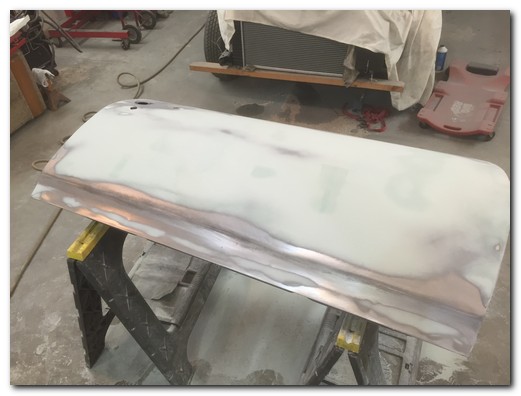
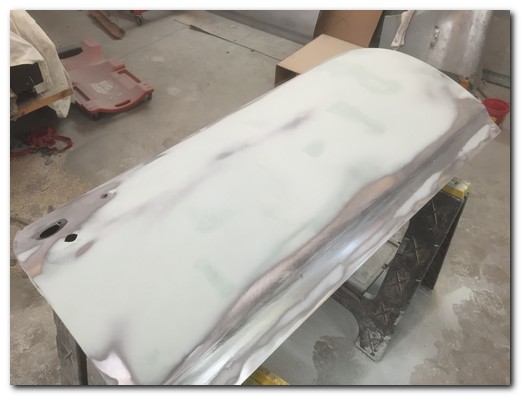
After a skim coat of filler the new passenger door above and drivers door below are straighter than when they were new.
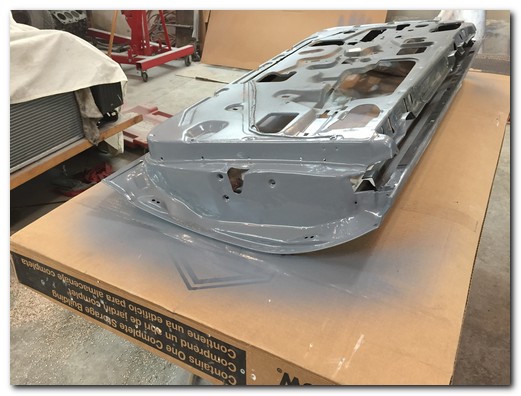
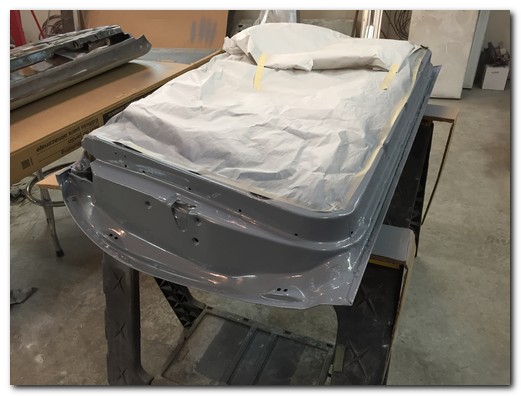
After sandblasting the jamb area I applied a couple nice wet coats of epoxy primer.
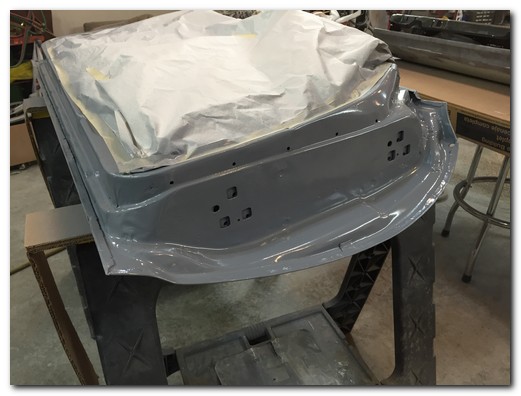
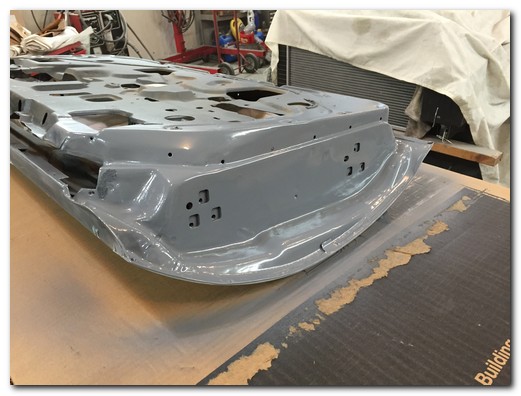
It's really nice to see them looking like this. It took a lot of work to get them to this point.
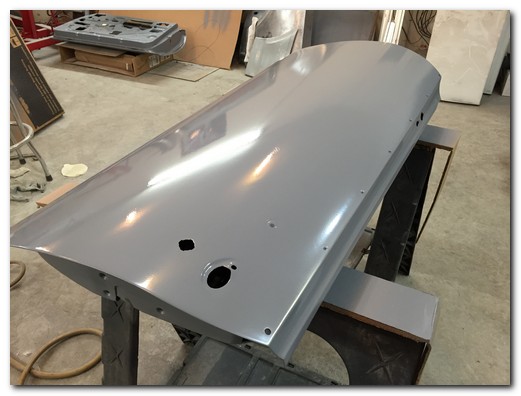
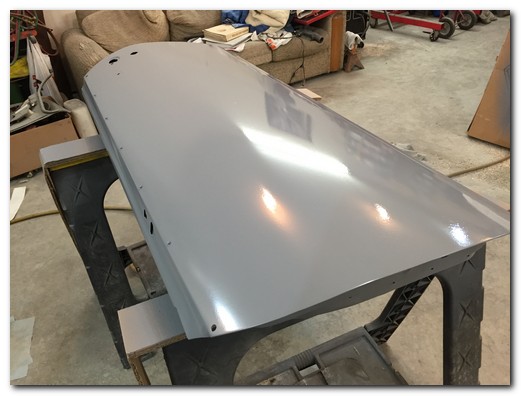
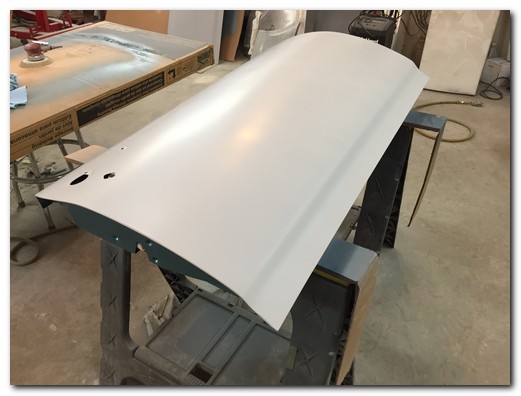
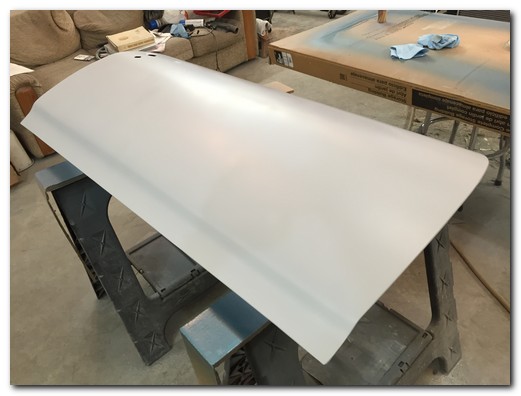
I then sprayed 4 heavy coats of high build primer over the epoxy. I'll let this cure for a few days and then I'll block sand it out to allow for a mirror flat surface.
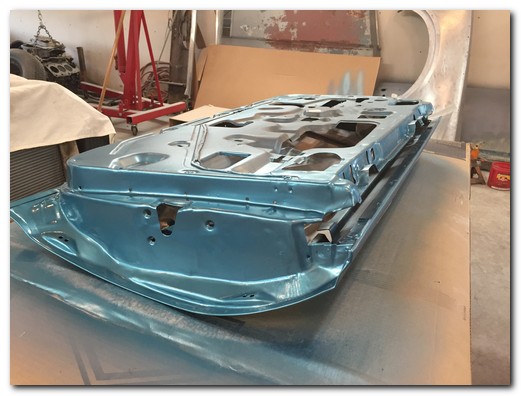
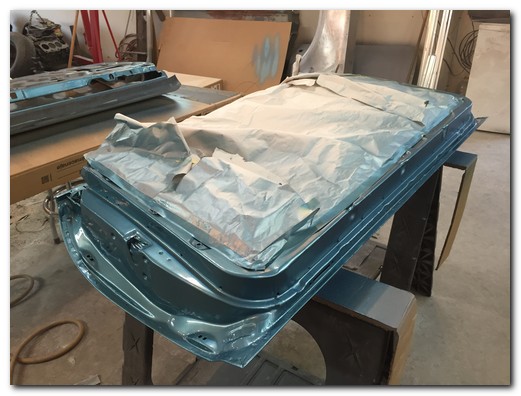
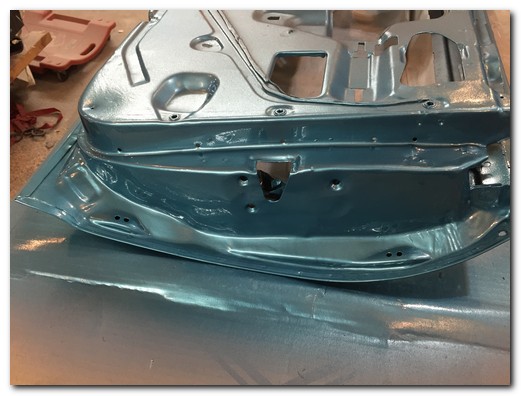
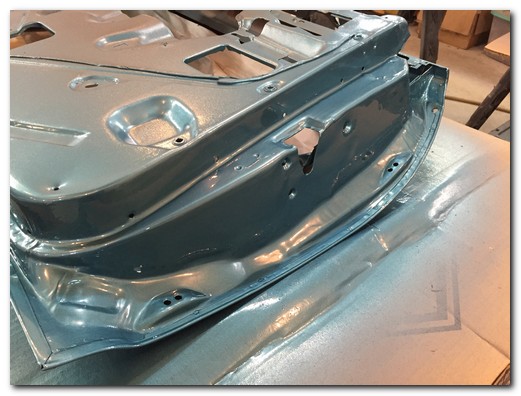
Now the fun part! COLOR! This is the original color code 55, Tahitian Turquoise.
I shot three coats of base color on the jambs.
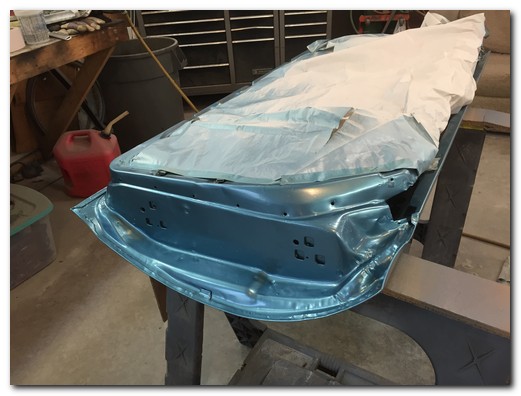
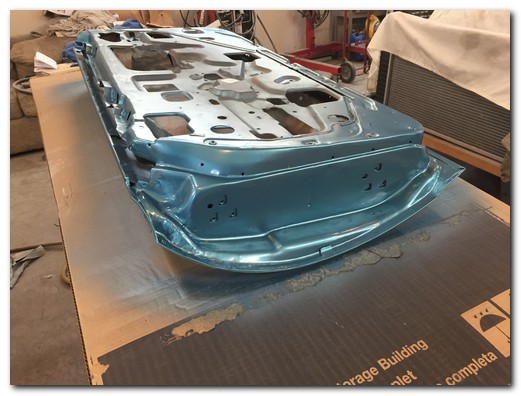
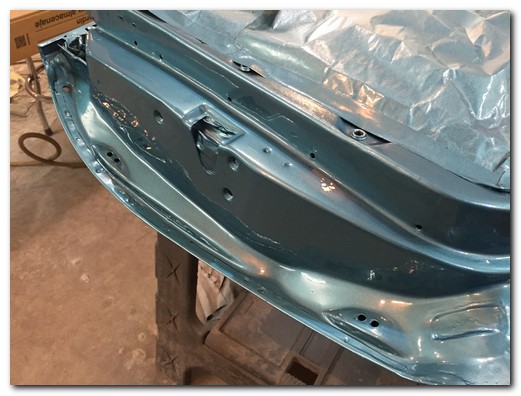
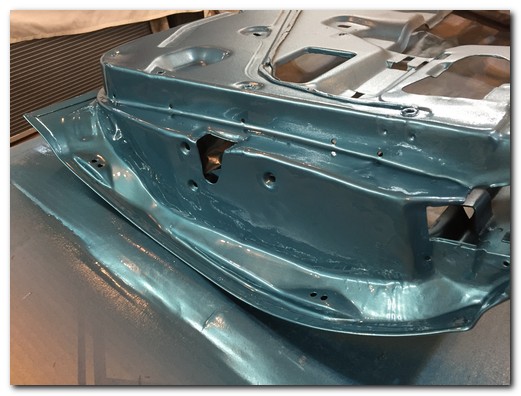
Then three coats of clear. Wow it looks fantastic.
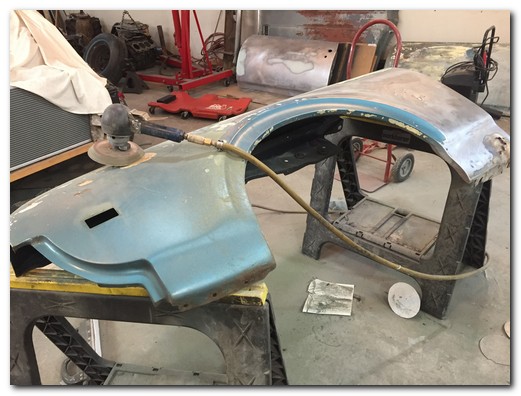
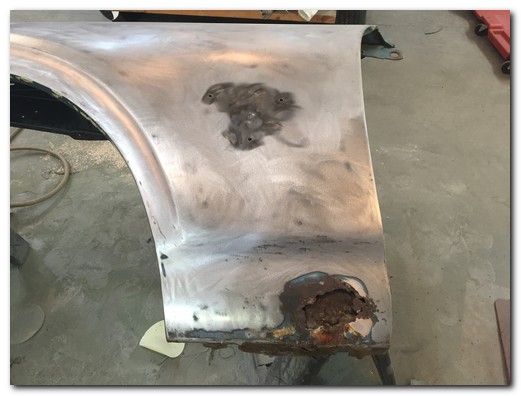
Next I turned my attention to the driver front fender. It has the normal rot in the lower rear just in front of the door. There are also some other small damaged areas that were previously repaired. I stripped it to the metal removing all the paint and previous body filler.
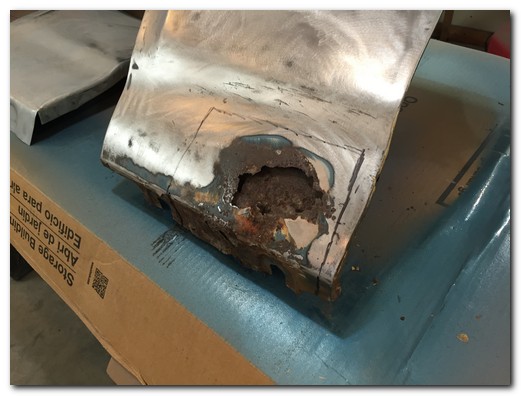
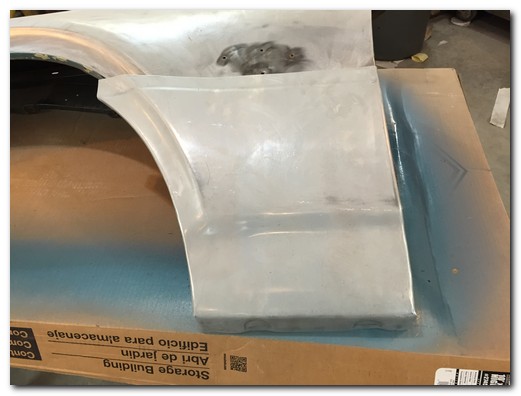
Repairing the rusted section is really not that difficult. I marked off the area I'm going to remove. I left a healthy margin around the rusted out area. On the right is a patch panel I will use to repair it.
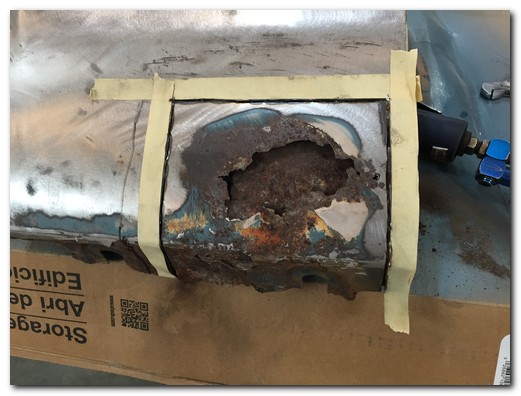
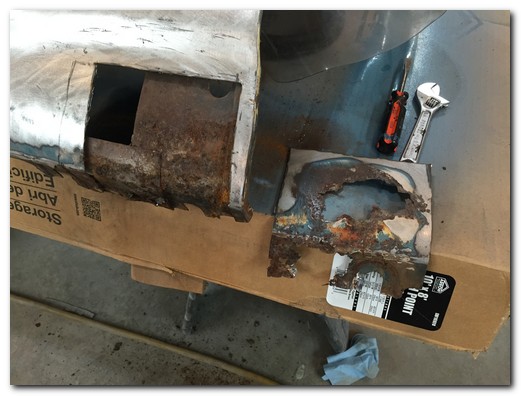
I cut out the rotten area...
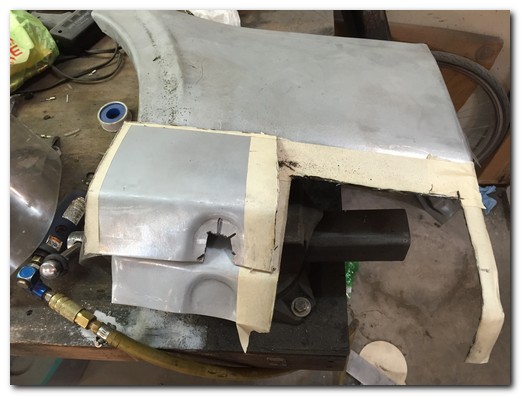
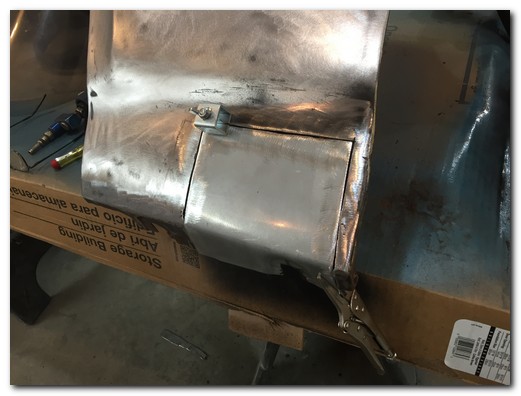
I used the area I cut out as a template to cut out the same part from the patch panel. I left the door jamb area on the fender to assure the gap remains the same. The structure behind was also cleaned and painted to avoid any further rust.
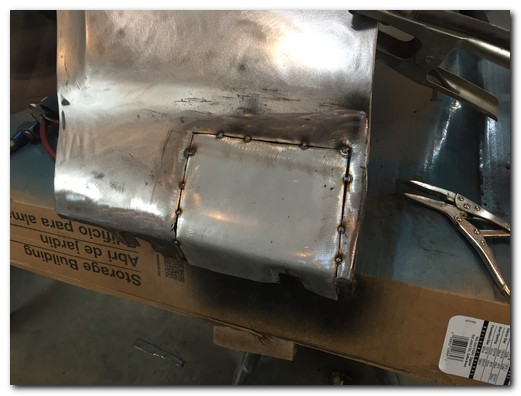
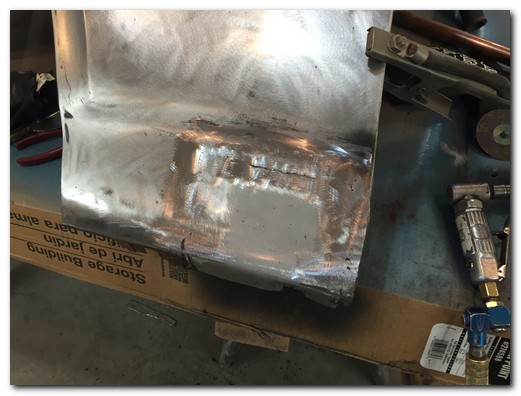
After welding it slowly in tack welds all the way around and grinding the weld down I now have a rust free fender.
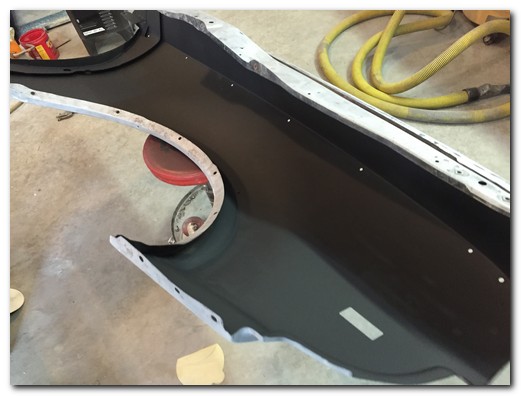
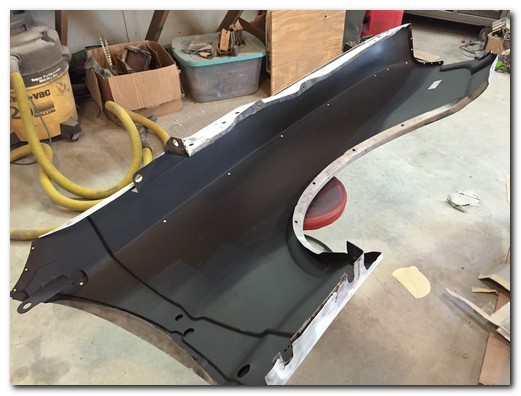
This is the inside of the fender. I cleaned and painted it as well.
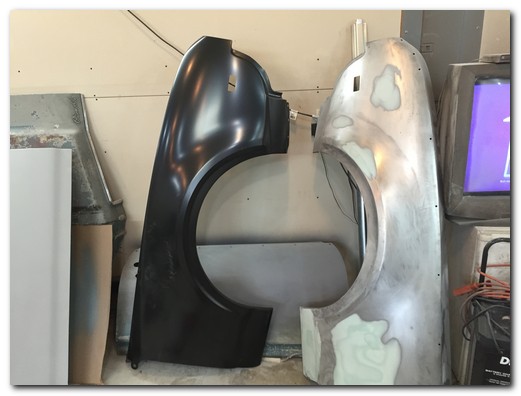
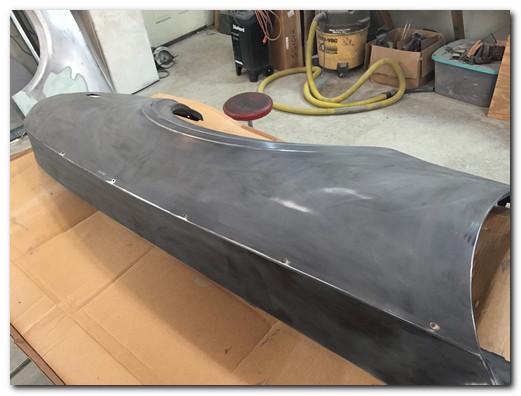
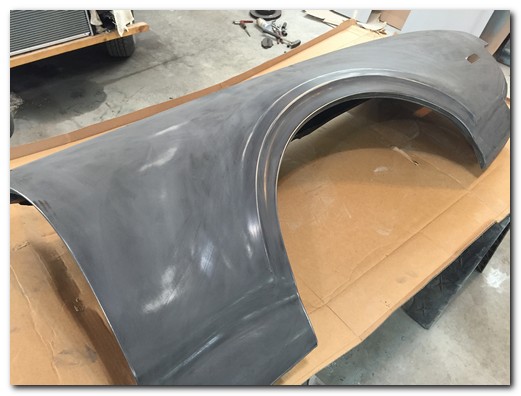
I had to carefully measure and drill the holes for the front fender trim. Then I scuffed the fender to prepare it for primer.
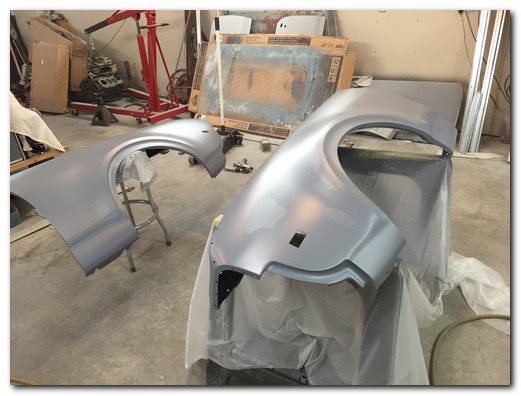
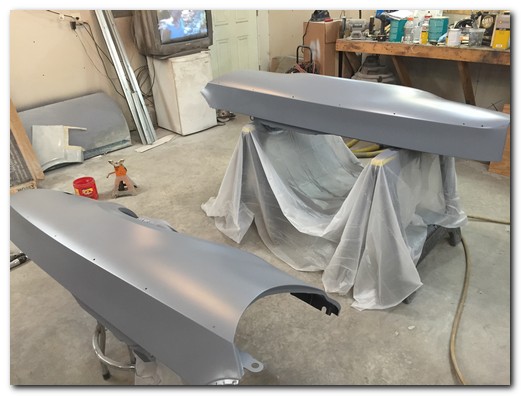
Then the first of a couple coats of epoxy primer.
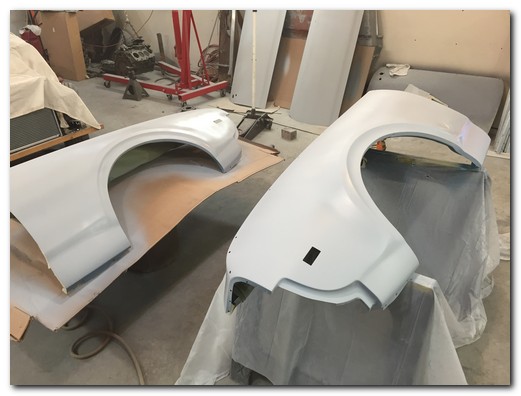
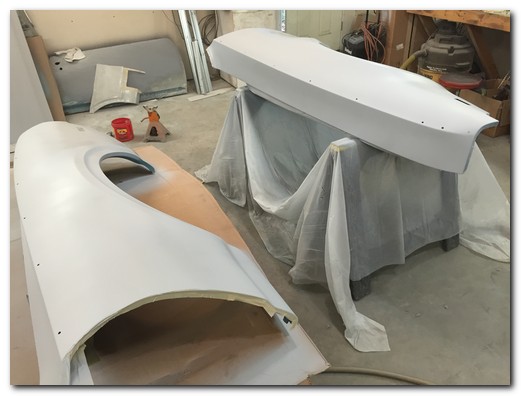
And just like the doors 4 heavy coats of high fill primer was applied.
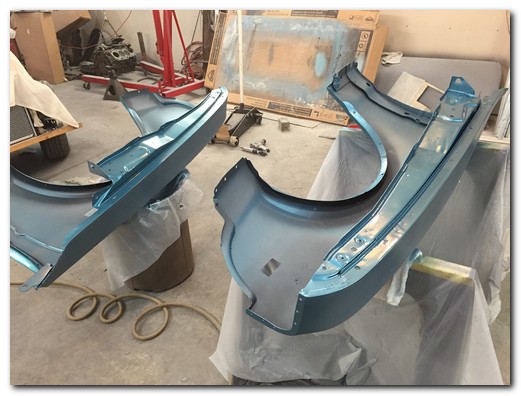
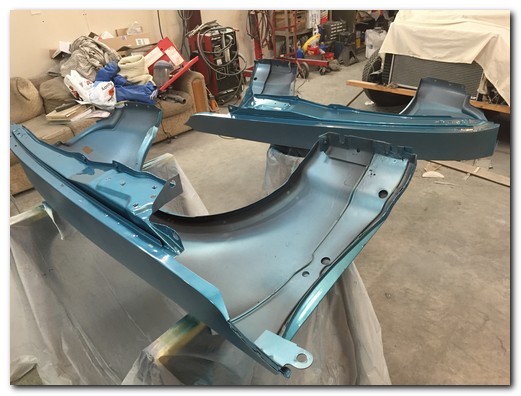
A little more Tahitian Turquoise and clear on the inside edge of the fenders.
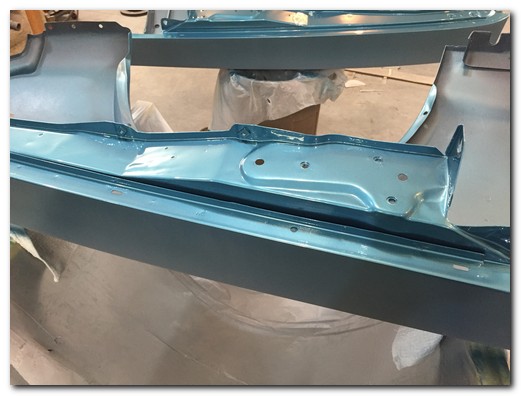
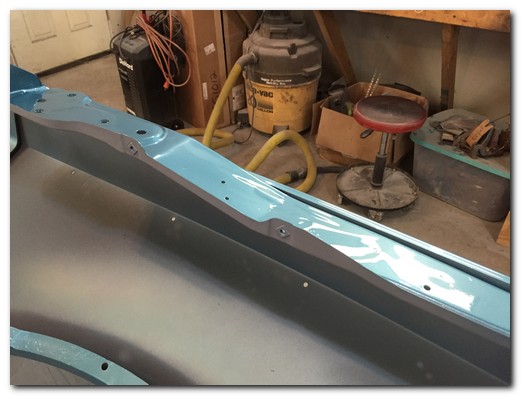
Shiny!
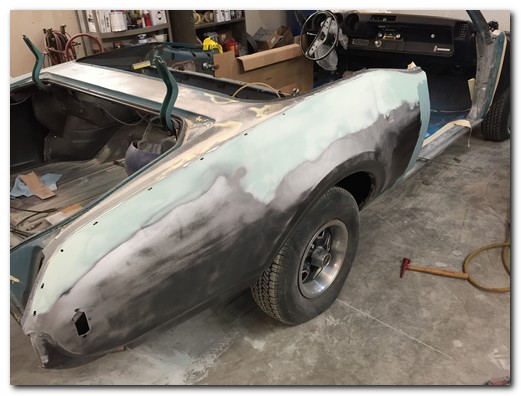
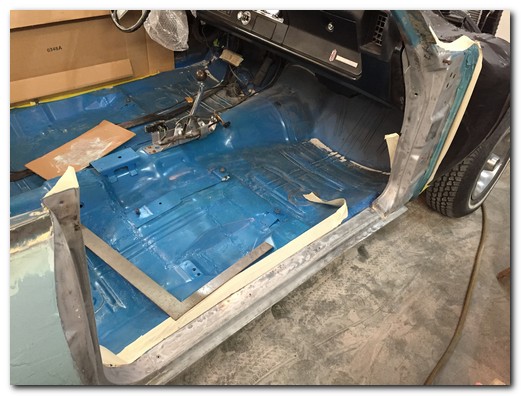
And finally I turned to the passenger rear quarter and door jamb area. I began filling and smoothing the area where I joined the new quarter to the car. Although it looks like a lot of filler it is very thin about the thickness of a piece of paper.
I also stripped the door jamb area. I found some further previously repaired damage on the rocker panel. I plan on cutting this area out and replacing it.
Lots more to come!
Check back often.