

FOR SALE
February 3, 2016
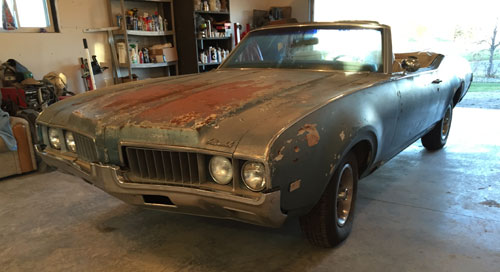
Finally time for an update. It's time to kick it into gear so she's ready when spring rolls around.
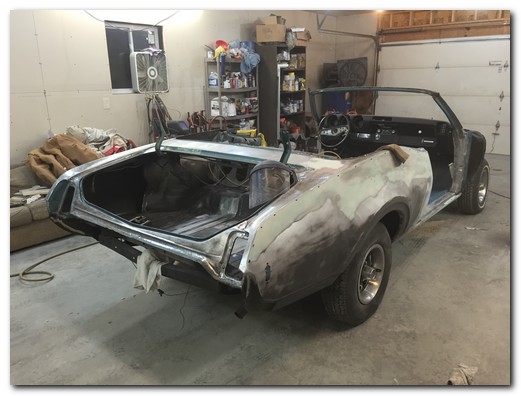
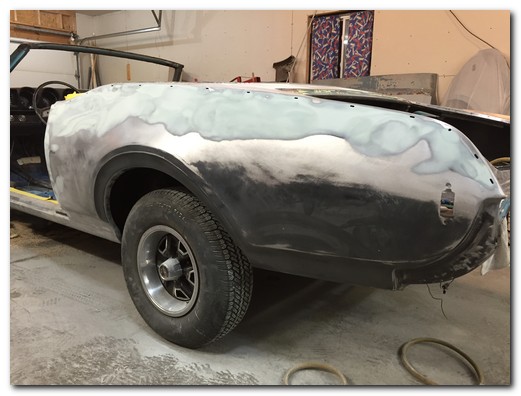
I spent a lot of time on the passenger rear quarter getting it as smooth as possible. It really turned out nice.
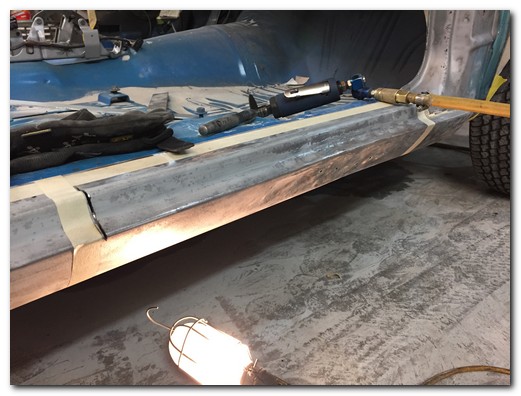
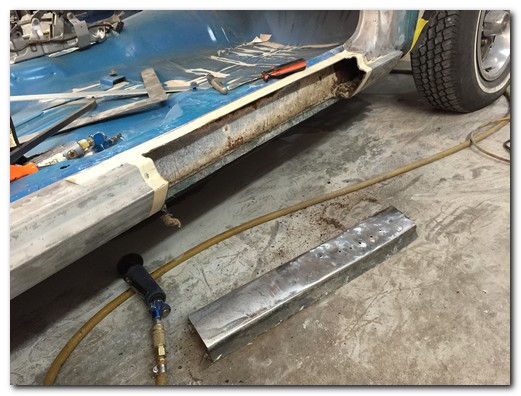
The rocker on the passenger side was damaged from an accident years ago. It had been pulled partially out then they slathered on the body filler.
My plan is to cut out the damaged part and section in a new rocker.
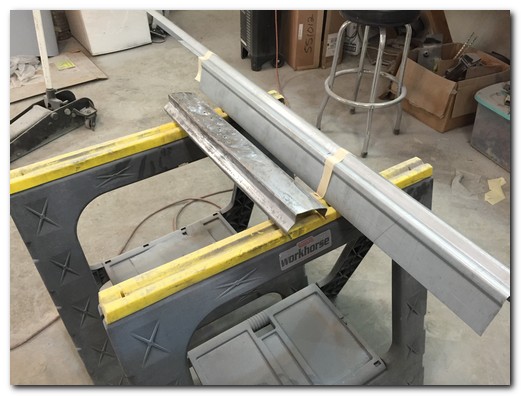
It was a good plan until the new reproduced rocker panel arrived and it was not even close to the original. There was absolutely no way to make it work.
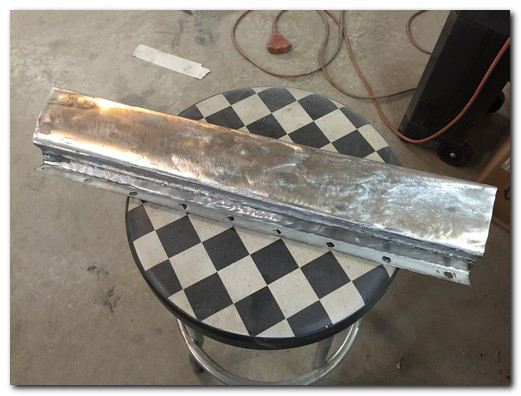
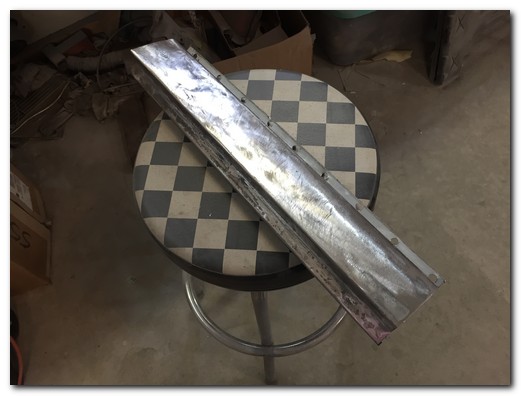
I repaired the original rocker and massaged it to be as close to perfect as I could.
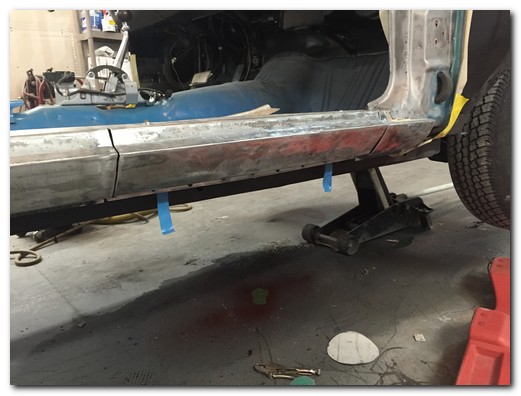
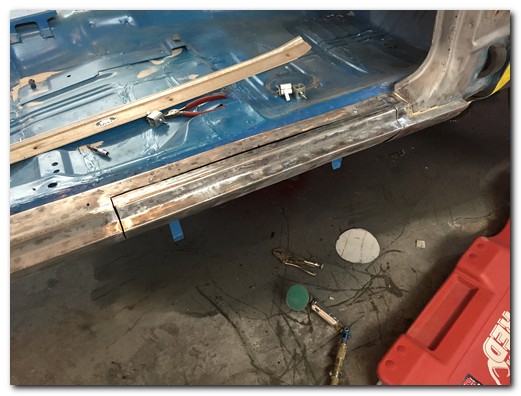
I fitted it to the car several times until I was pleased with its fit.
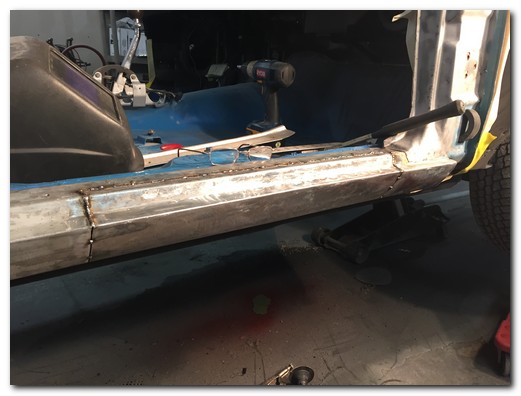
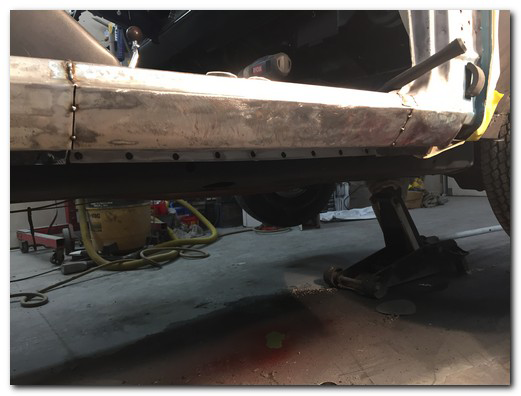
Then I slowly welded it back in place.
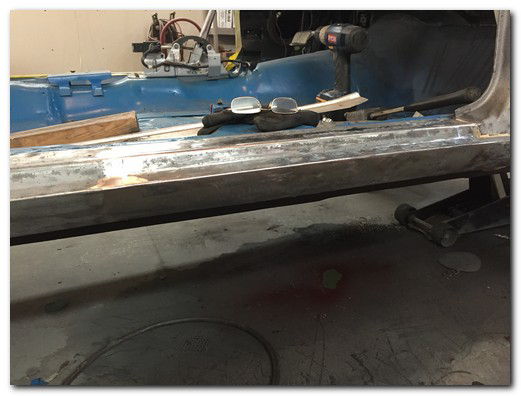
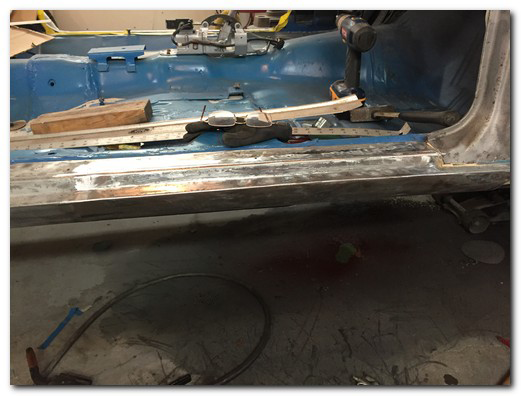
After grinding the welds it looks like new.
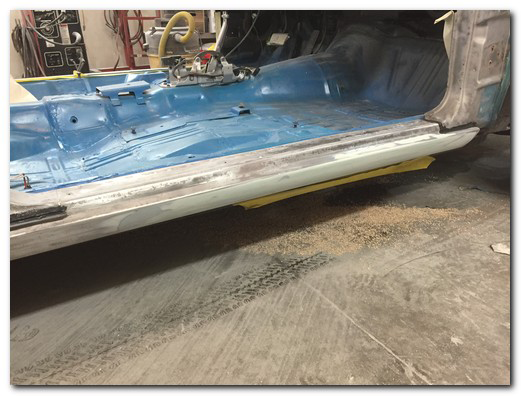
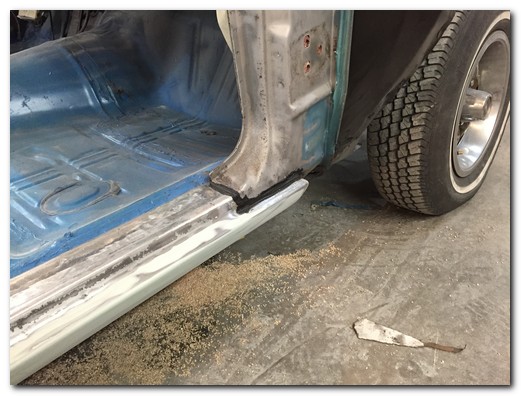
After a skim coat of filler it's ready for primer and paint.
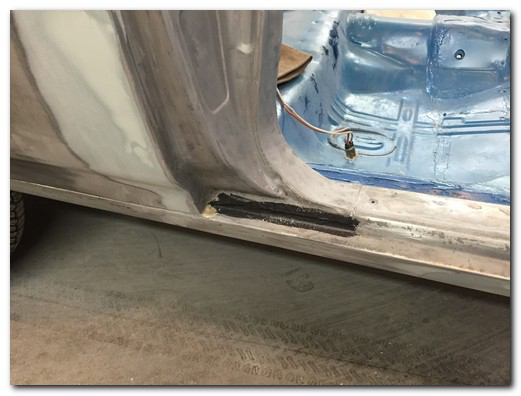
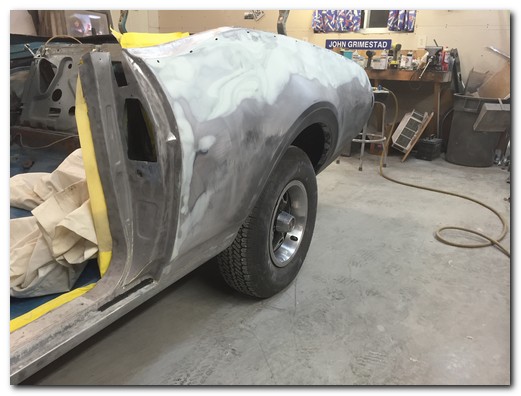
I went around and replaced any seam sealer that was damaged or had been stripped for body work.
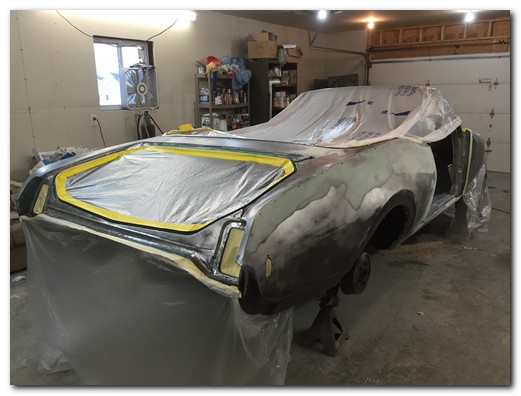
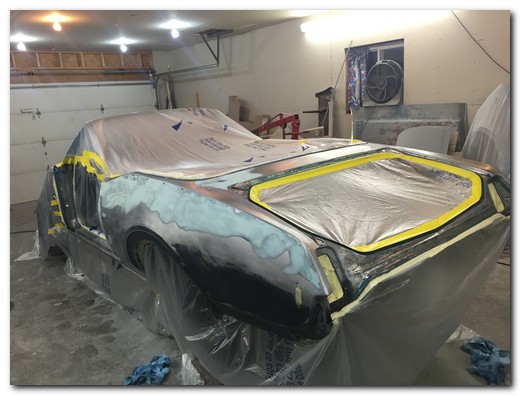
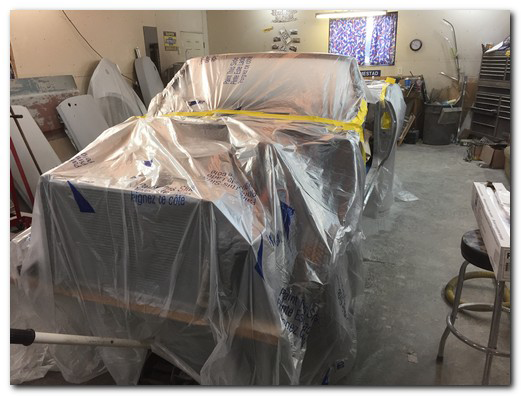
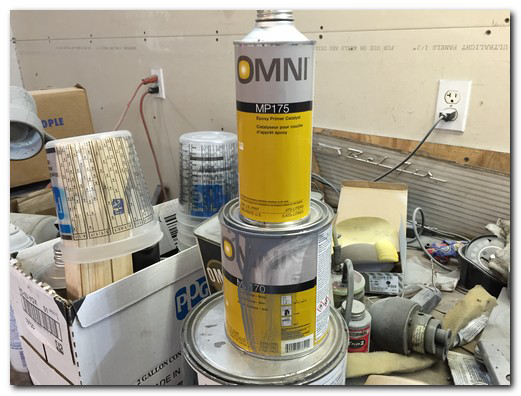
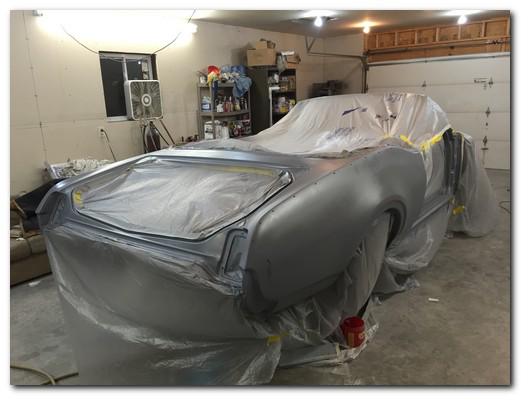
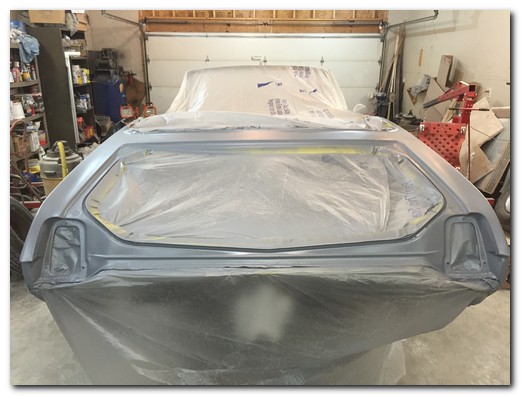
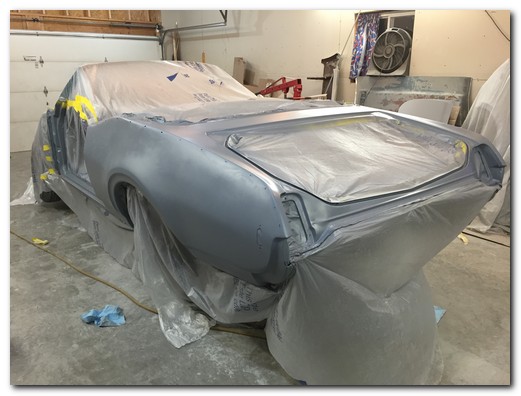
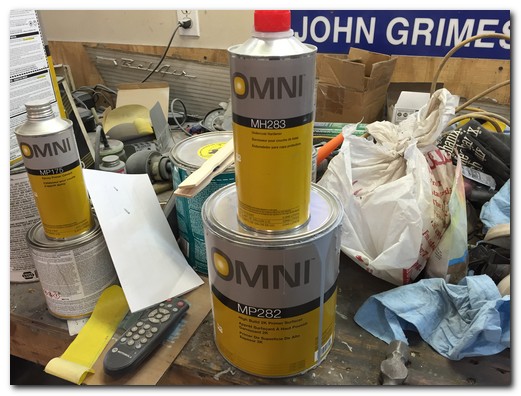
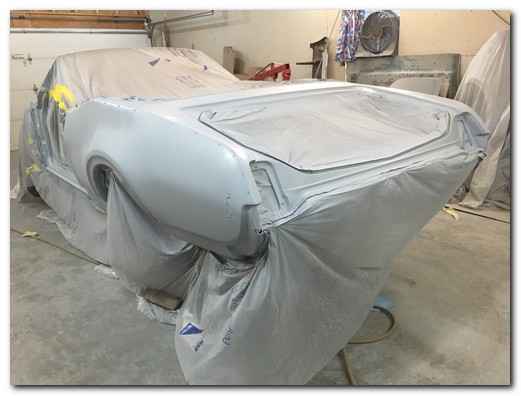
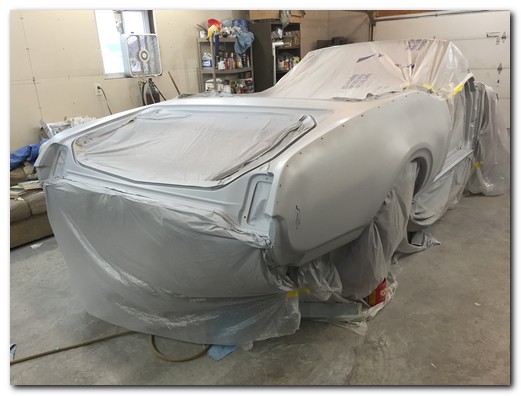
This will sit for about 4 days. Then I'll start block sanding it to verify a perfectly flat smooth surface before paint.
In the meantime I'm going to get the trunk finished and painted.
Lots of progress! It's getting fun now.
Lots more to come!
Check back often.