
FOR SALE
April 4, 2016
It's been a long time since I updated the progress on the old girl.
This one will be a bit long.
There has been a lot of really good progress in the last couple months.
There is still hope it will be ready for this summer.
The Trunk
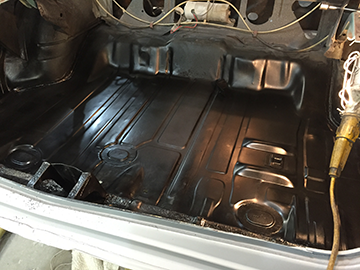
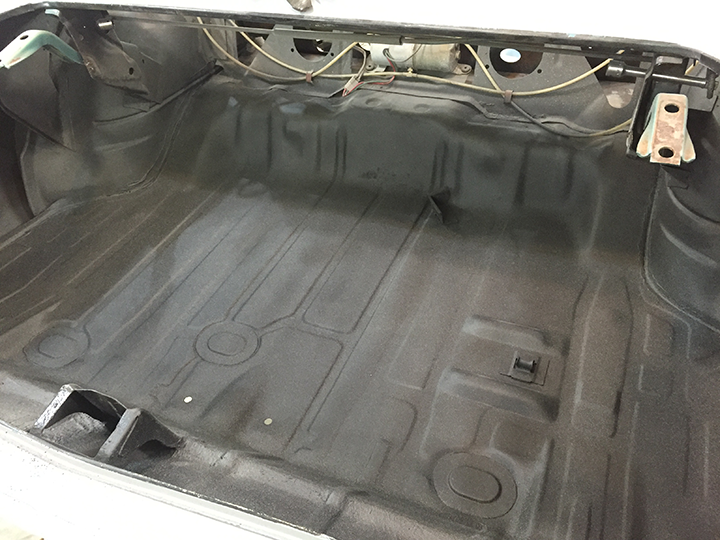
I began by finishing off the trunk. I first primed it in black and then sprayed it with splatter paint. It looks as good as the day it came off the assembly line. The shadows in the picture really doesn't do it justice. It's a far cry from the rusted out mess I started with.
Bumper Jack
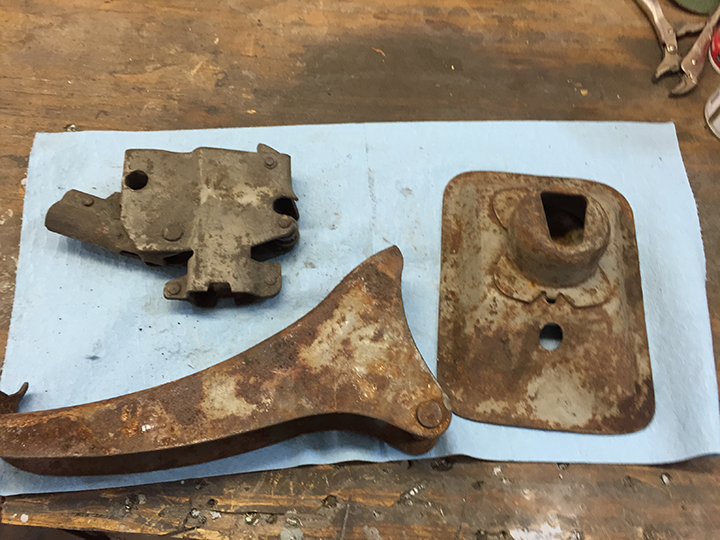
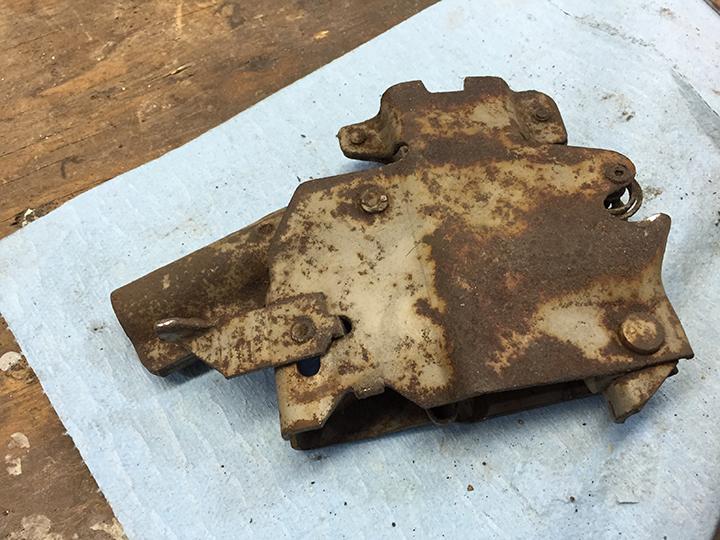
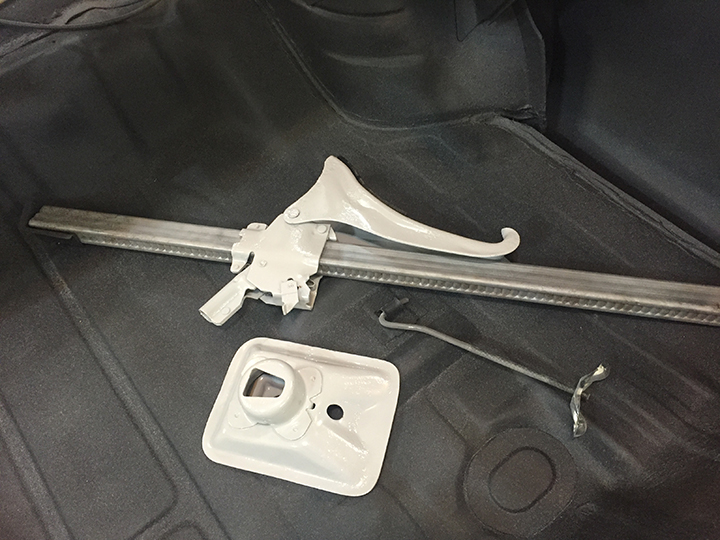
In keeping with the spirit of the trunk, I turned to restoring a bumper jack. I salvaged this from a parts car. It is from a 69 Cutlass and surprisingly was complete and still functioned. It's pitted but overall in really good condition.
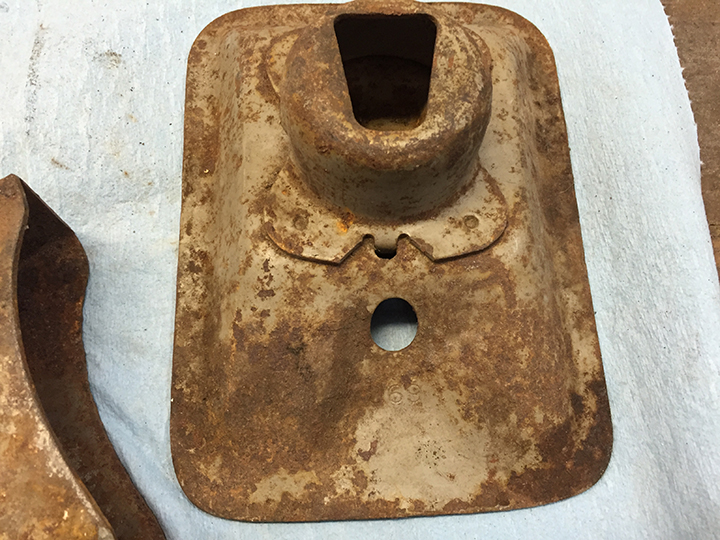
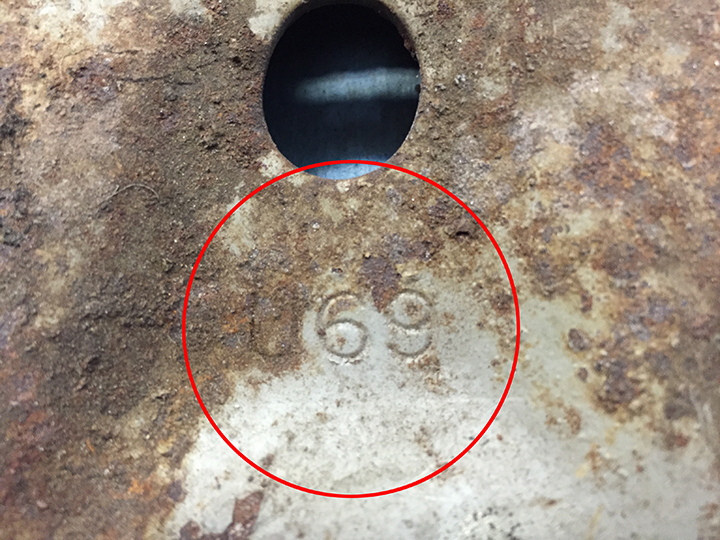
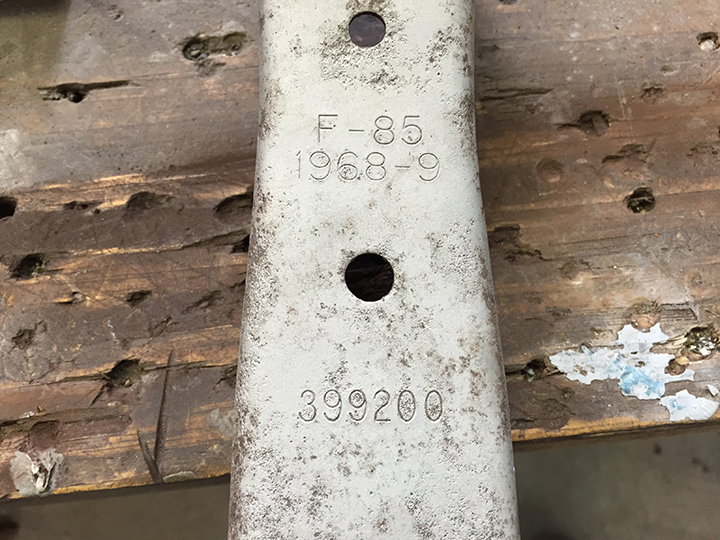
The picture on the left is of the jack base, the U69 indicates it's for a 1969. On the right is from the saddle of the jack, again it indicates it's for a 1968 or 69. It's always kind of cool to find these types of markings.
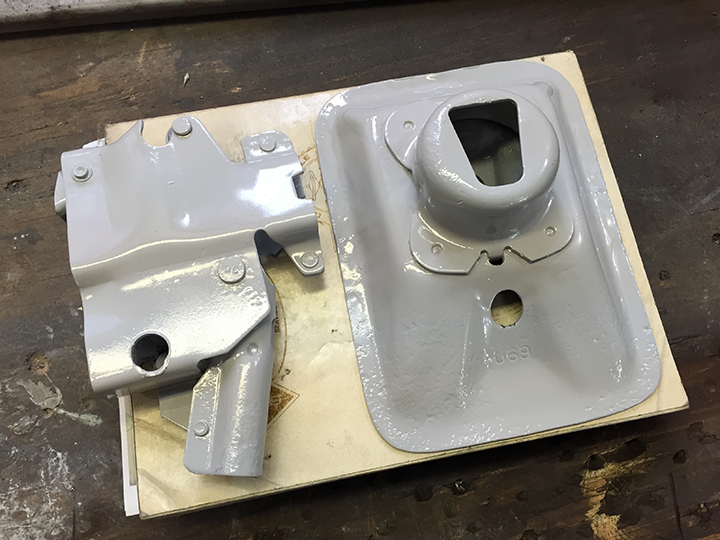
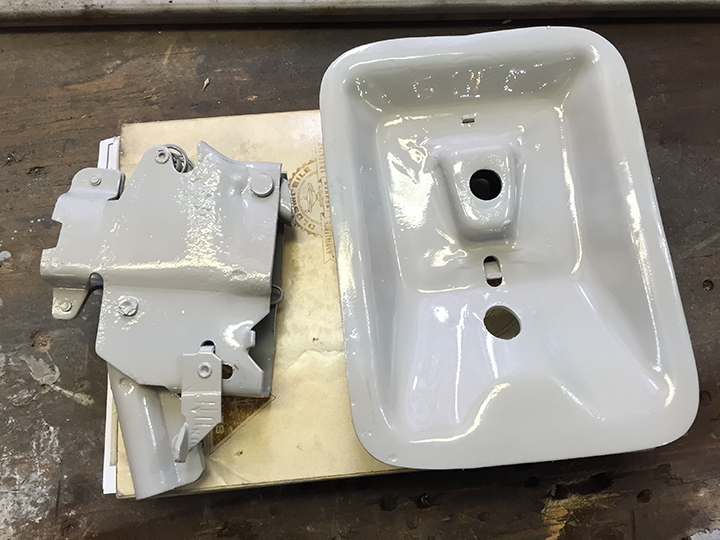
After sandblasting and a coat of gray, it looks really good. I didn't do much with the pitting on the jack other than a bit of bodywork on the bottom of the base where it is visible when the trunk is open.
Door Hinges
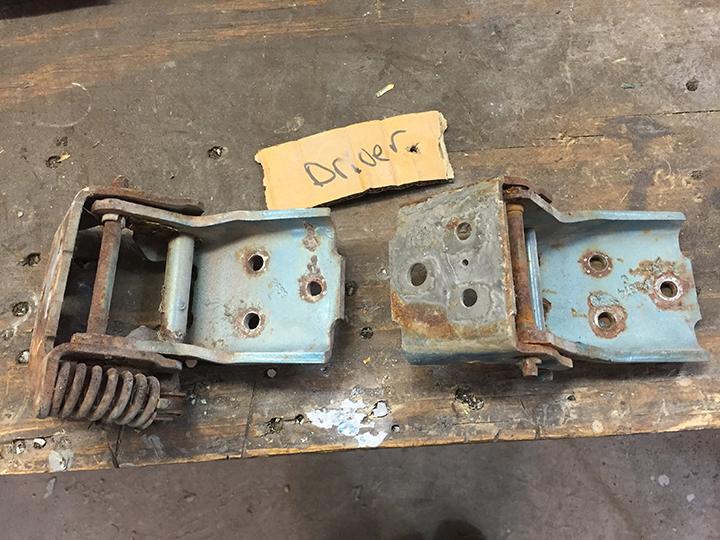
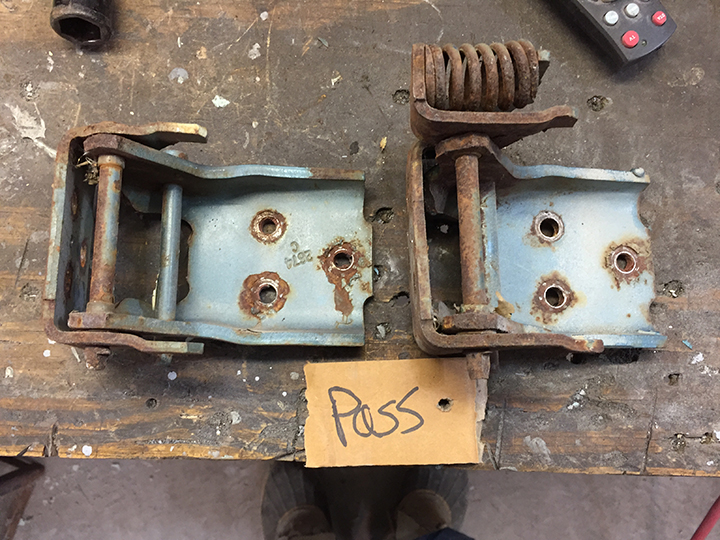
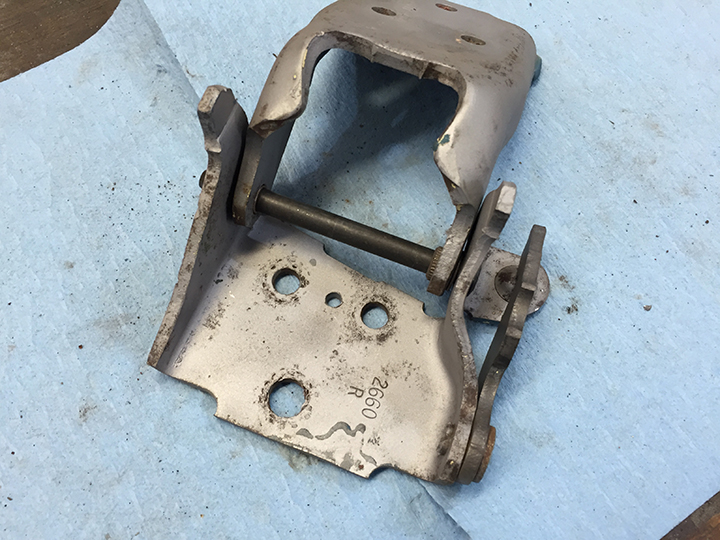
I'm going to be mocking up body panels and doors on the body soon. I need to rebuild the worn out door hinges first so everything is tight and accurate. The bushings wear and get loose from years of supporting the very large heavy doors. The pins, bushings and door check will be replaced.
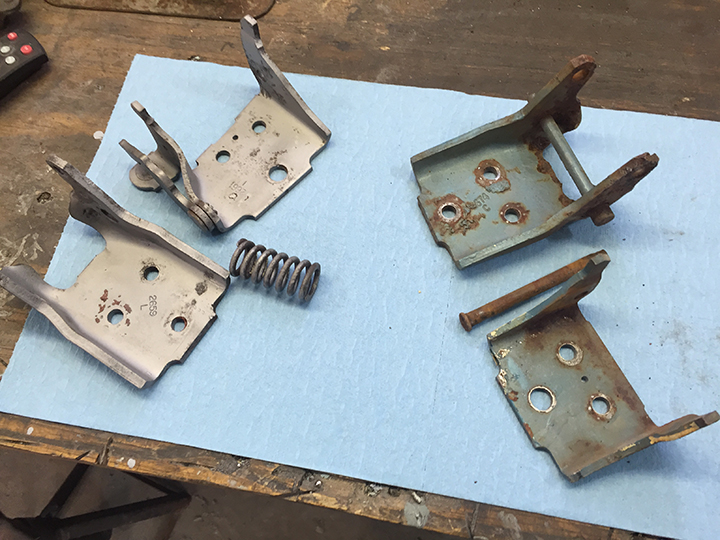
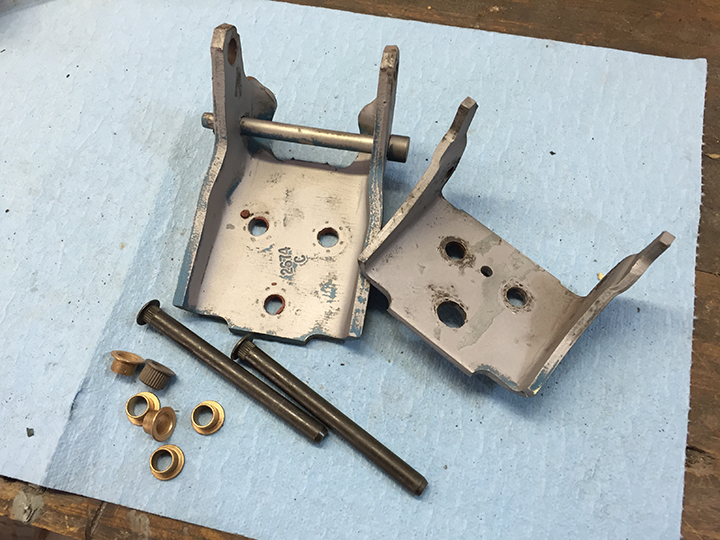
First they are disassembled and sandblasted. Then the old bushings are pushed out and new parts installed.
Core Support
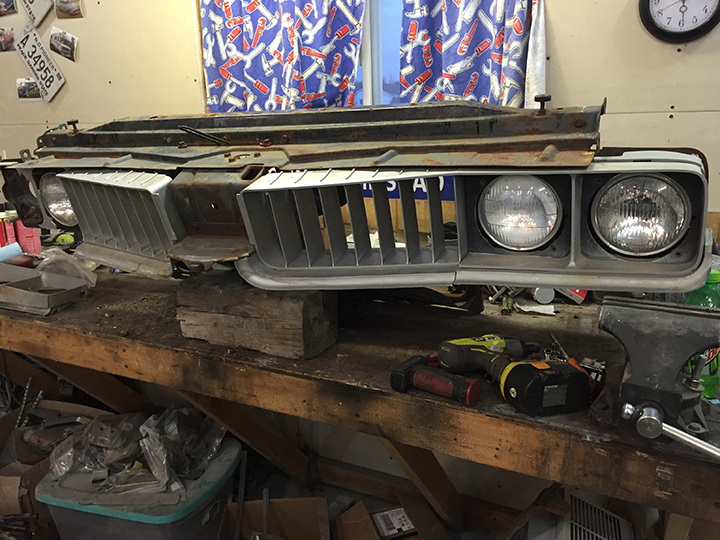
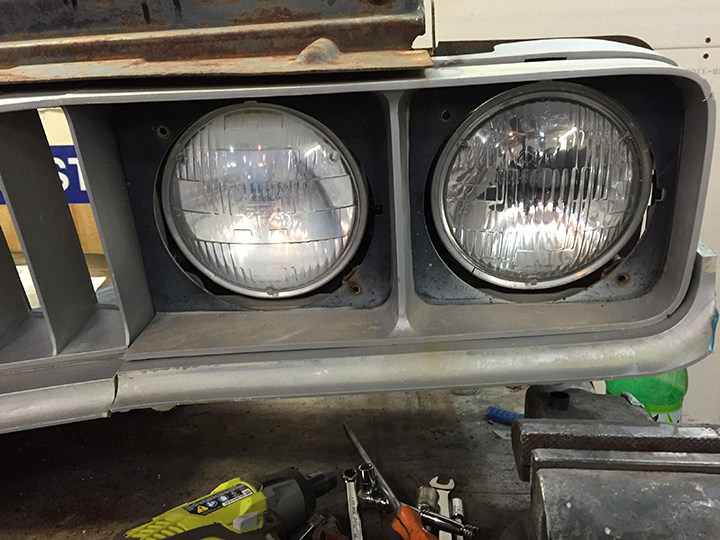
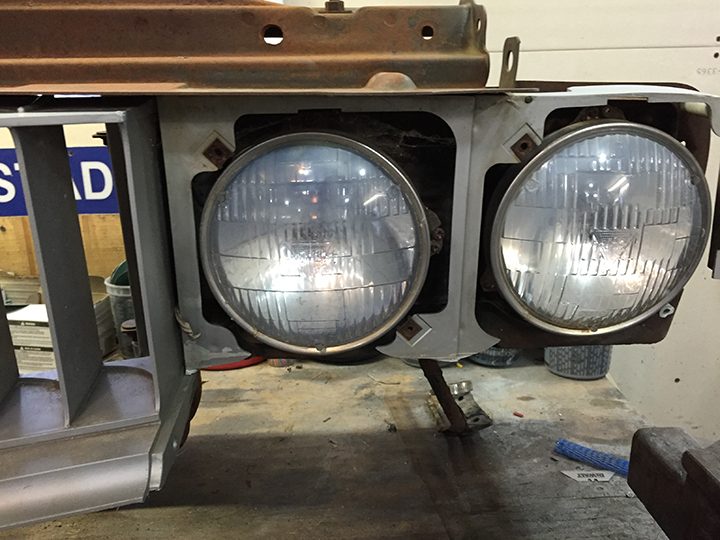
Above on the left is the headlight "doors" or trim. It's all made of plastic and has taken a real beating over the years. On the right is the mount for it and located directly behind the trim. As you can see it's in some pretty tough condition. Fortunately these are reproduced and will be replaced with new parts.
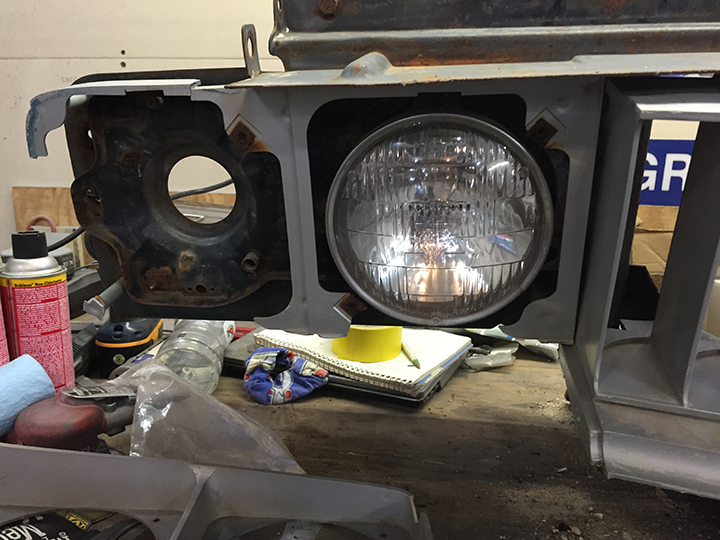
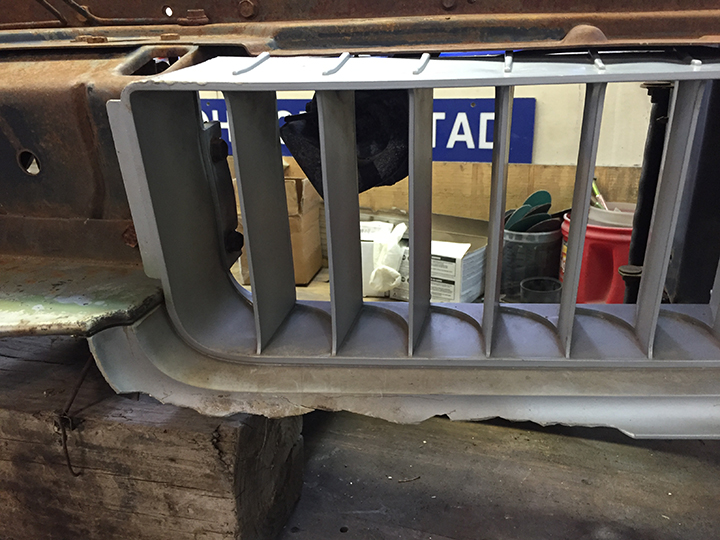
Once again on the left is a pretty beat up mount for the trim. On the right is the passenger side grill. As you can clearly see the bottom is broken off. The bumpers would strike these and break them like this one. The grills for the 442 Cutlass and an S Cutlass are different. The 442 grills are reproduced but not the Cutlass S grills. I have found two nice repairable grills for replacement. They will need minimal repair and then repainting to look new.
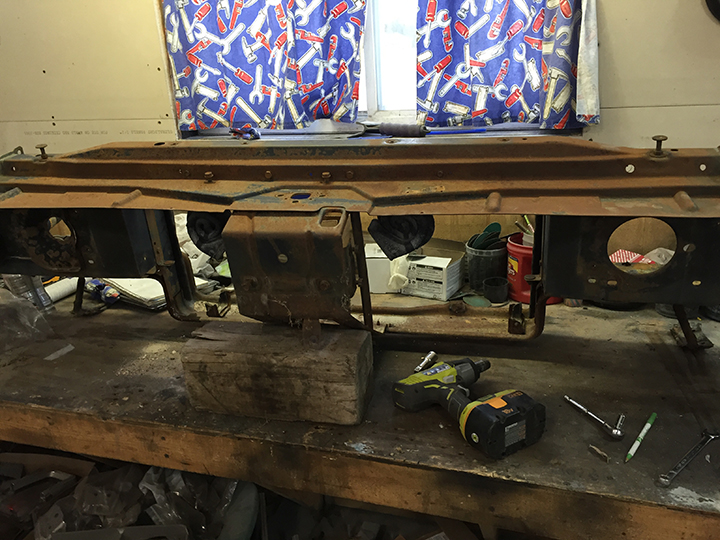
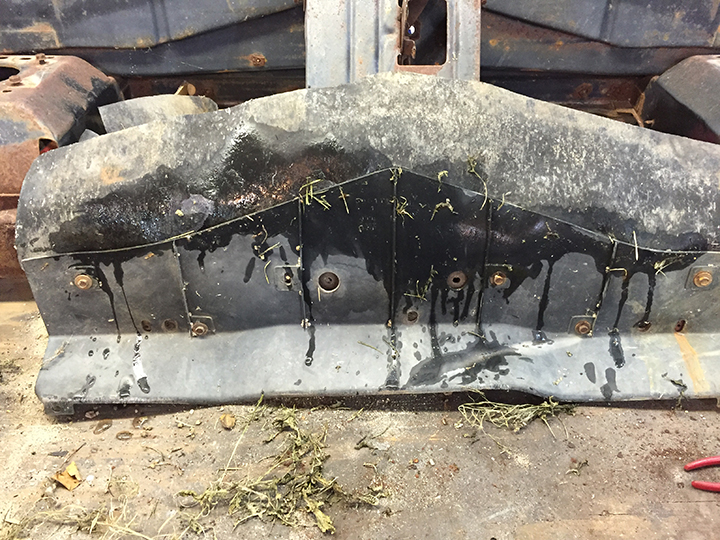
The core support stripped except for the horns and ready for the sandblaster. The photo on the right is the lower air dam. I'm very pleasantly surprised that it is in such great condition. It will need a good clean up and maybe the plastic dyed black, but it's not cracked or broken.
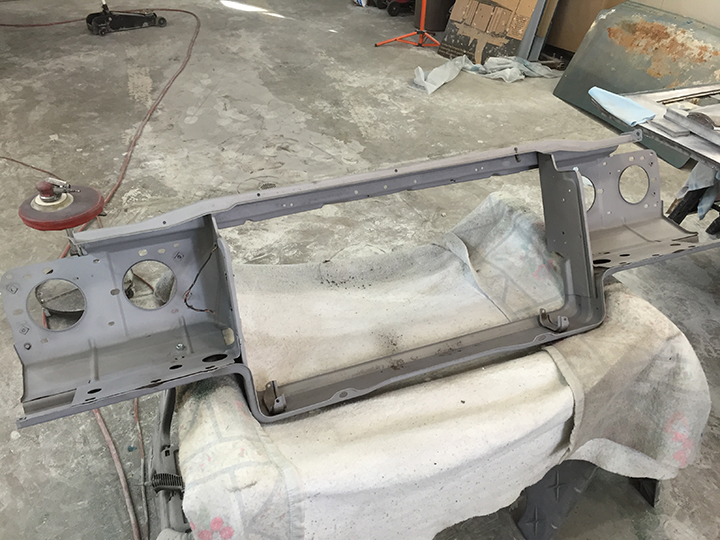
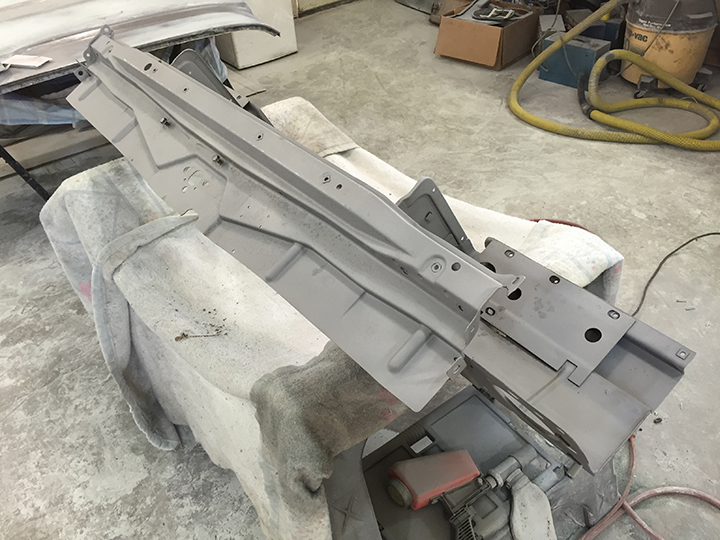
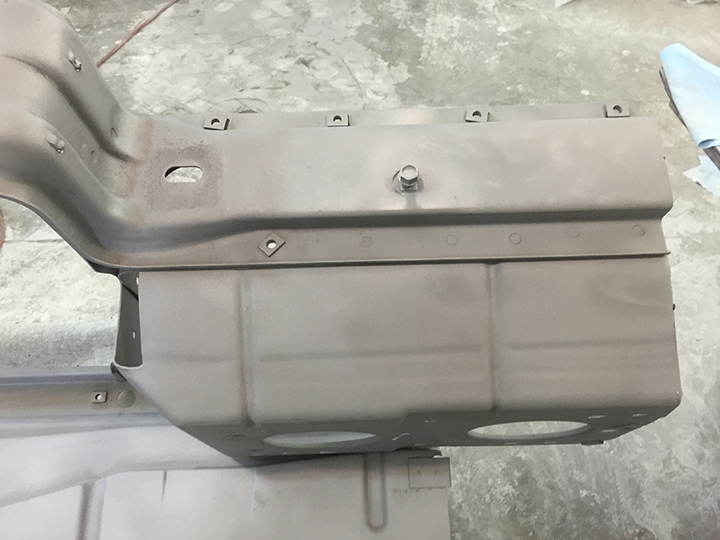
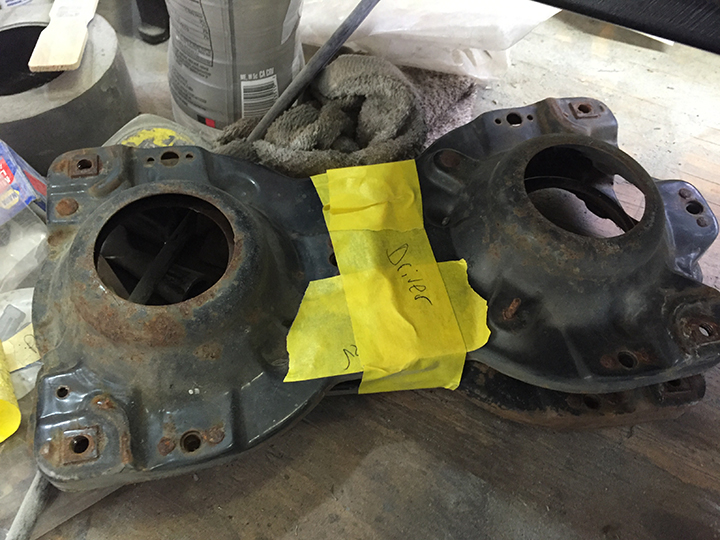
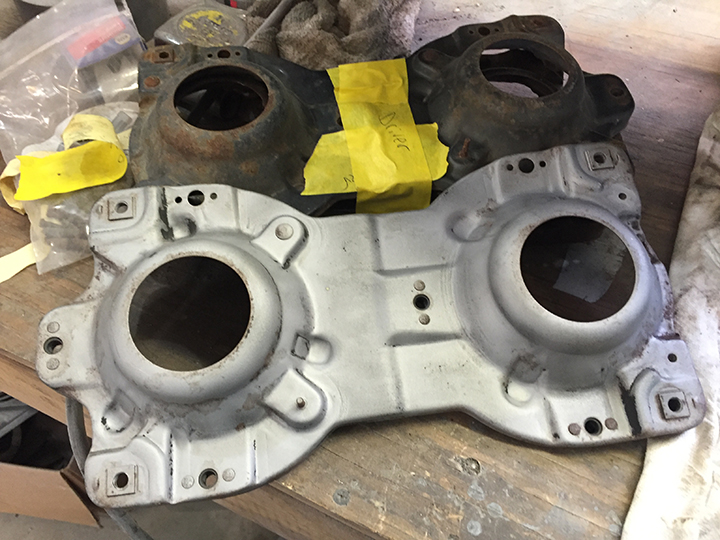
These are the headlamp buckets and mounts. They mount to the core support. Pretty straightforward sandblast and repaint. I did need to replace one adjusting spring but otherwise they are in great shape.
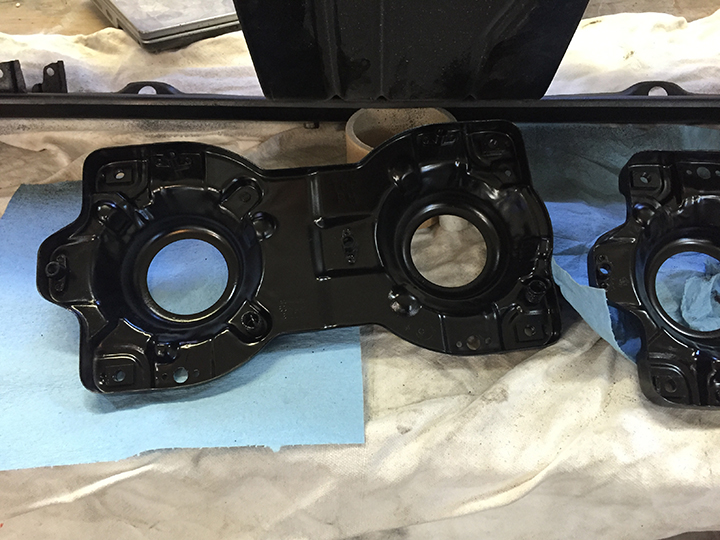
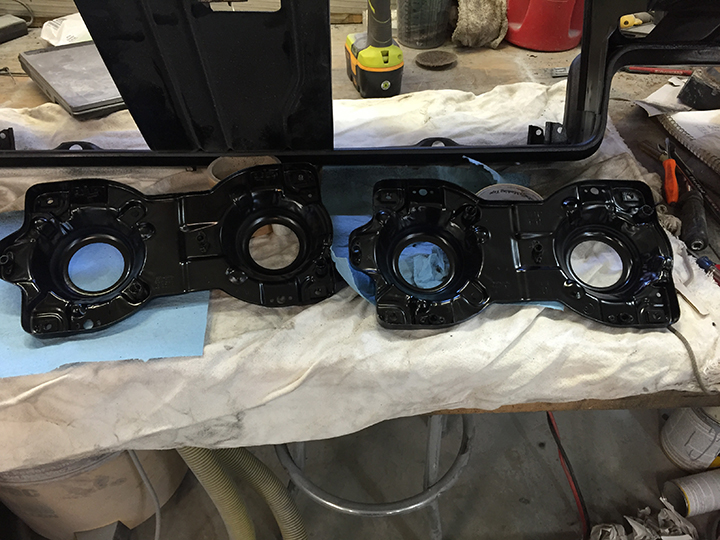
They turned out very nice and will look great for years to come.
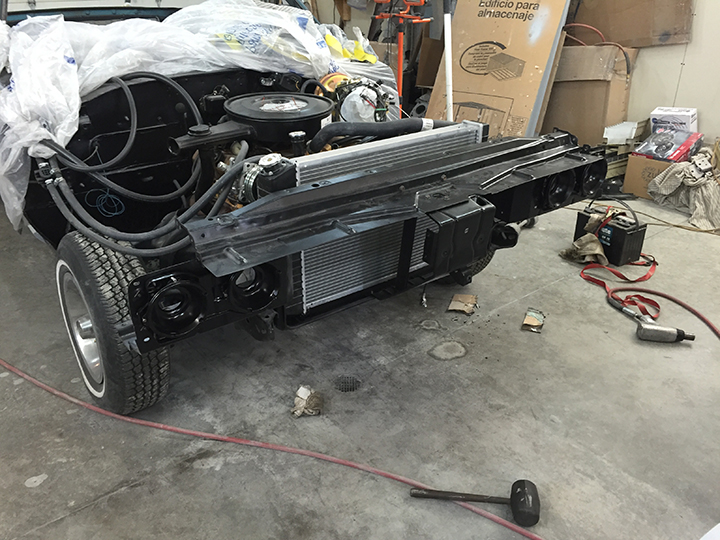
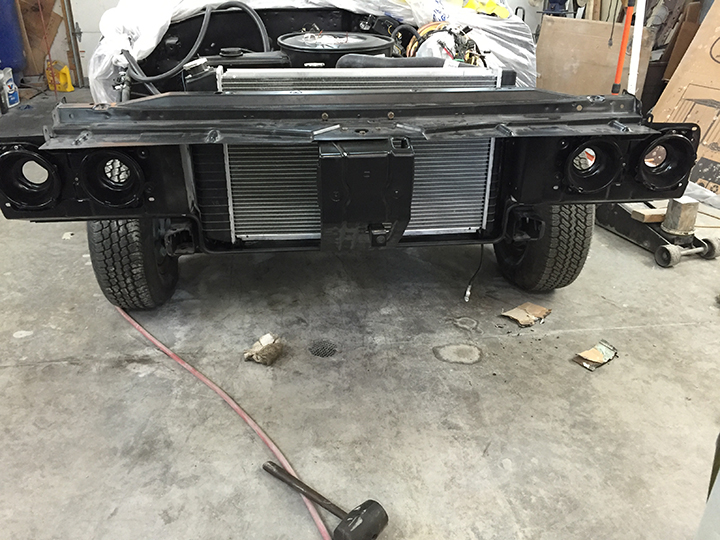
Reinstallation of the core support was really a big step. Installing the correct square mounts, running the wiring harness and reconstructing the hood release linkage is really gratifying to get done.
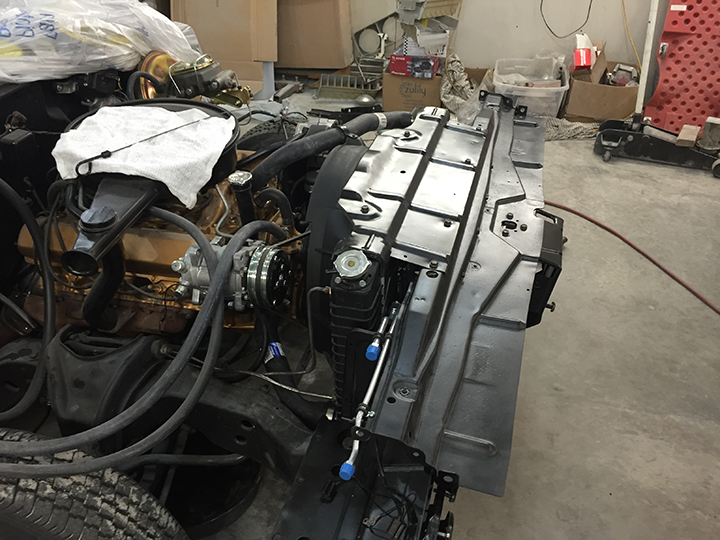
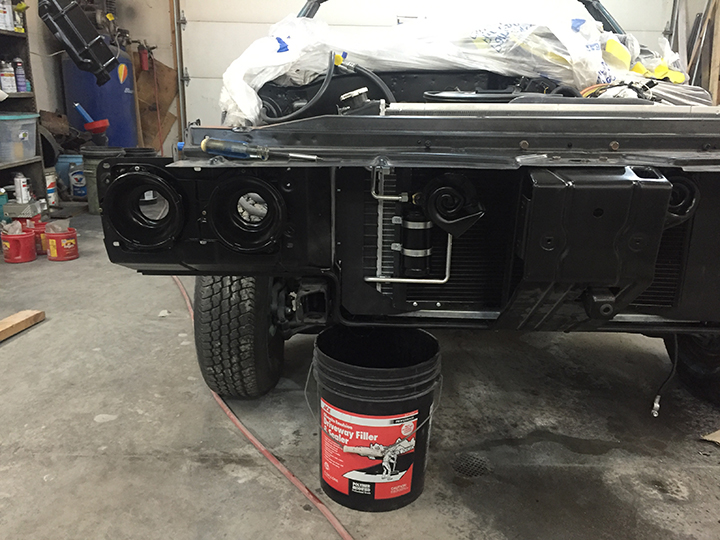
The air conditioning condenser was put in place and then the plumbing for it was run into the engine compartment as can be seen in the picture on the left.
After the upper radiator support was sandblasted and painted it was installed. Looks good!
Hood and Deck Lid
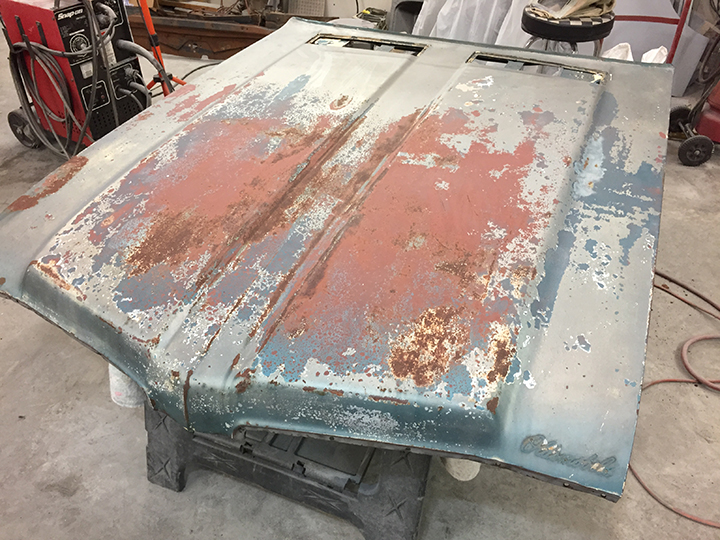
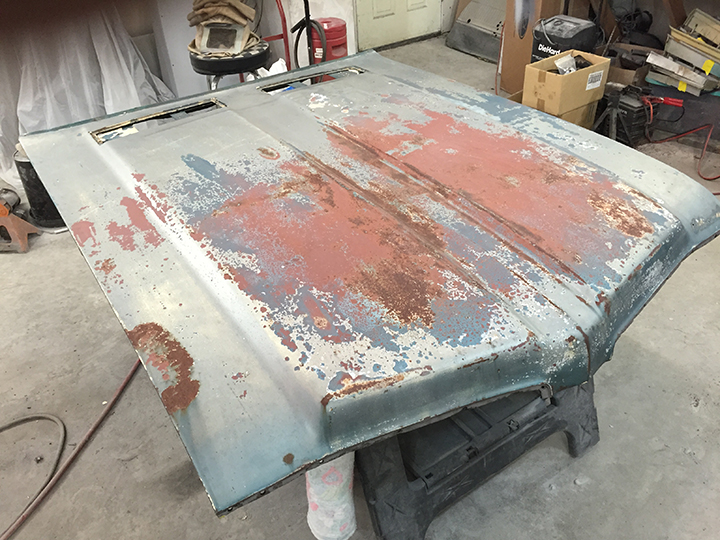
Time to turn my attention back to the body.
The hood is just huge. It's been out in the elements for a very long time. The brown is actually the original primer from the factory. It appears to be very solid and straight, but I've been fooled before. So we'll see.
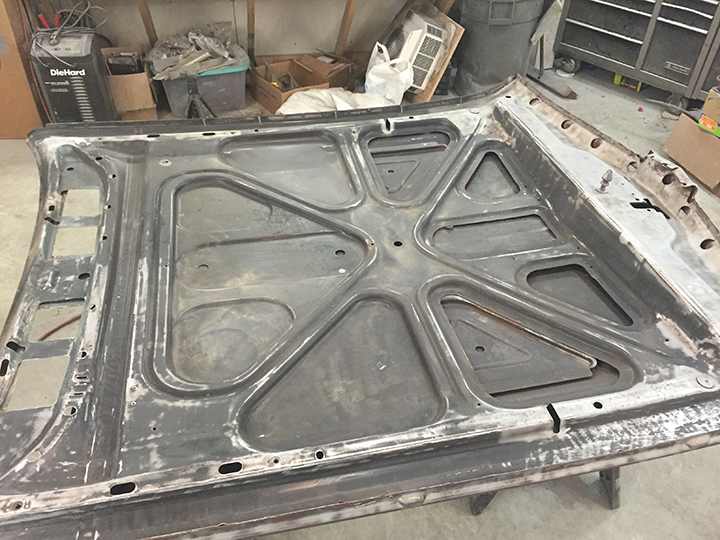
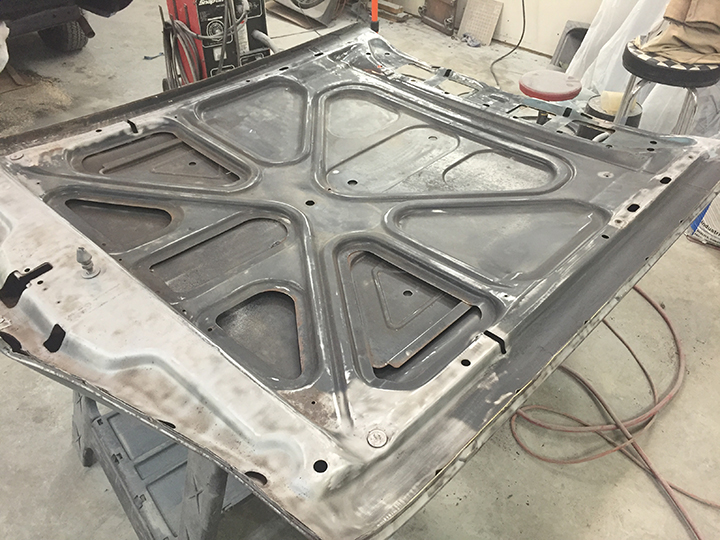
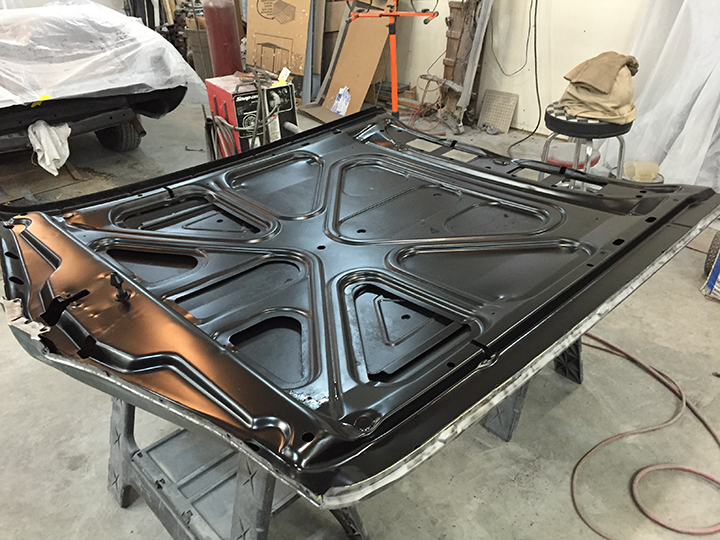
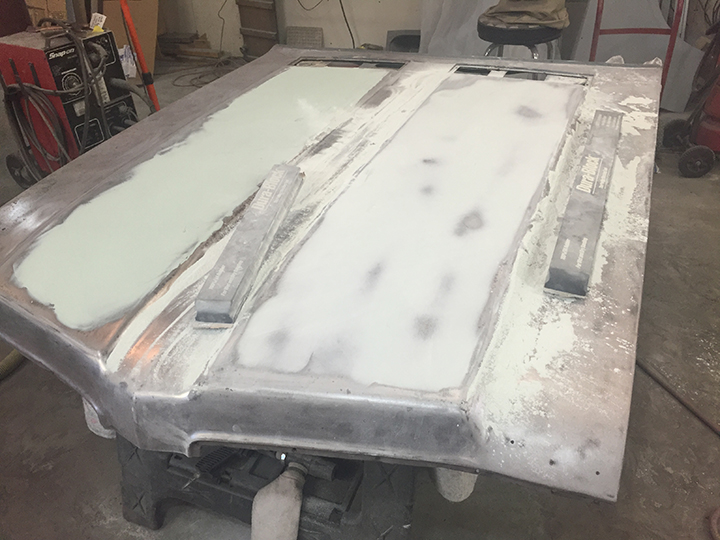
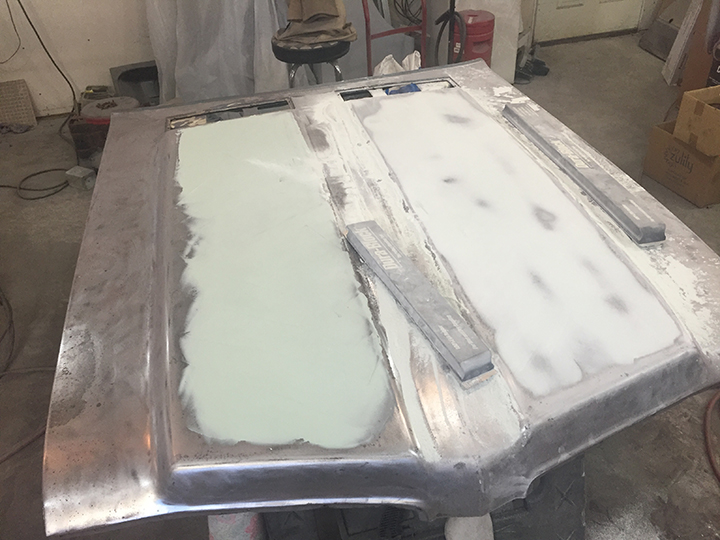
After a LOT of sanding to get the hood to bare metal I began skimming the hood with body filler. Then I sanded with a long sanding block to attain a smooth straight surface.
They are very large and long, I've really got to work hard to make sure they are as perfect as possible. A flaw here would really show up after paint.
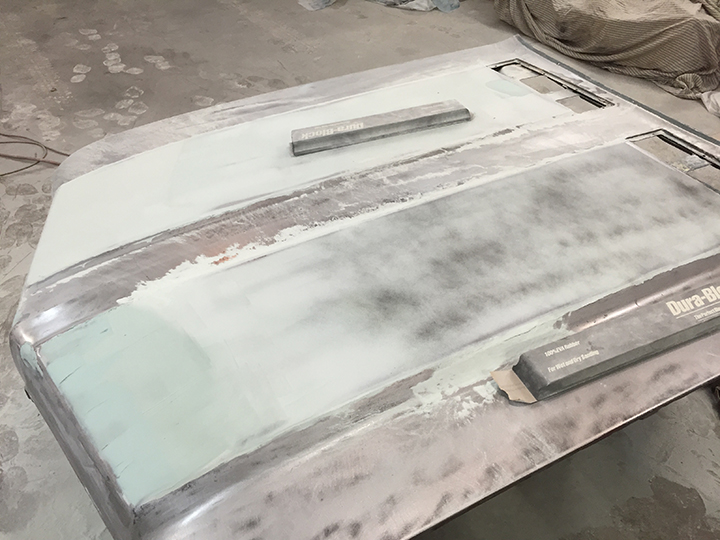
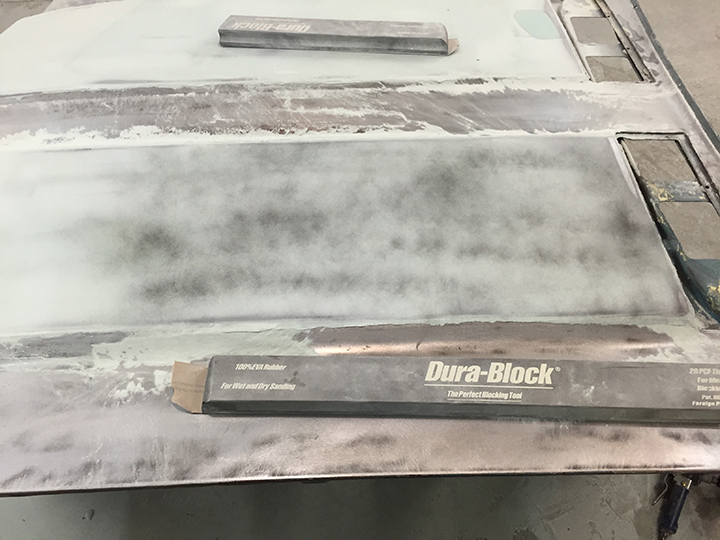
I use really cheap flat black spray paint to dust the surface and then use the long sanding block to show high and low areas. It's called a guide coat and works really well to determine if there are imperfections in my work.
I spent a lot of time and effort on this and I'm sure it will pay off.
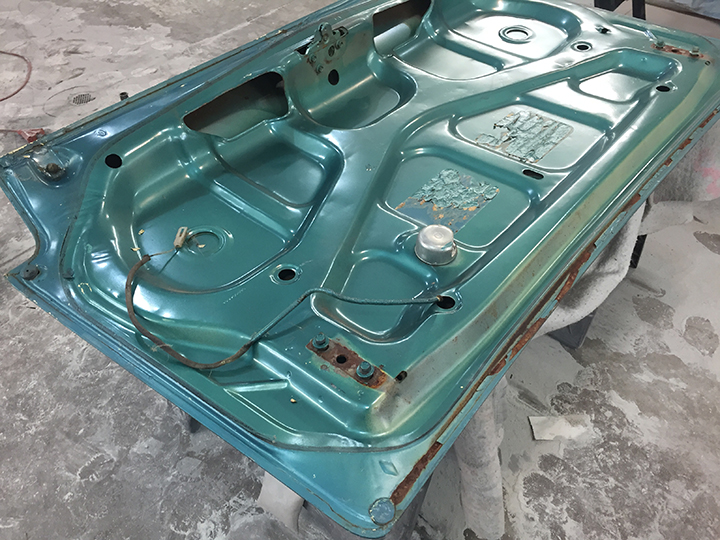
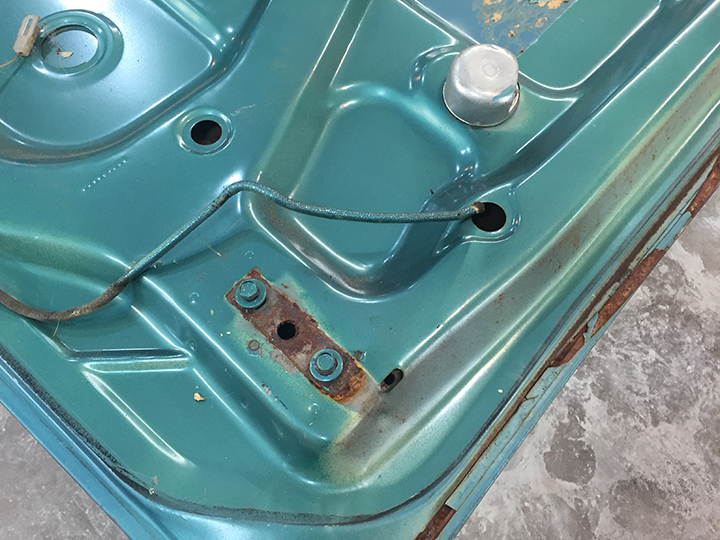
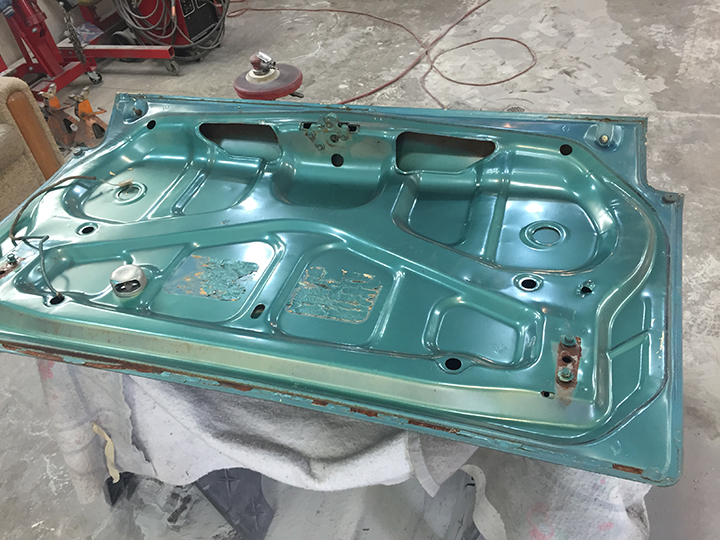
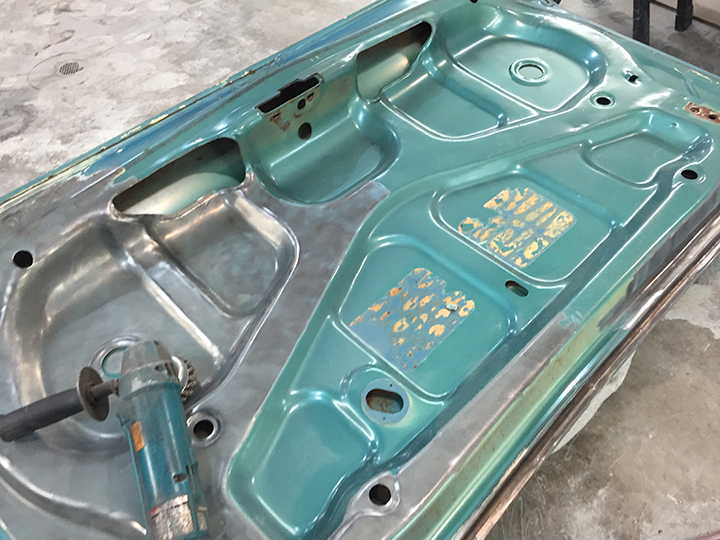
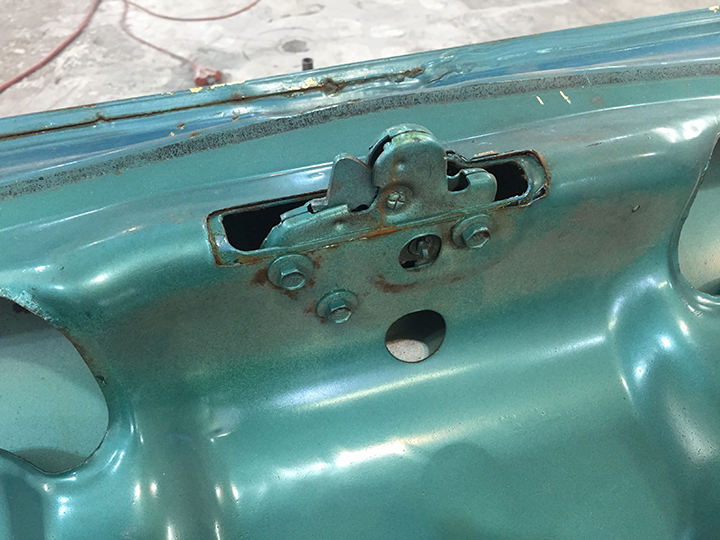
Just a bunch of time with a sander and a wire wheel to get it down to bare metal. It will be epoxy primed and then painted body color and clear coated. I'll need to remove the paint from the latch and other parts that shouldn't be painted.
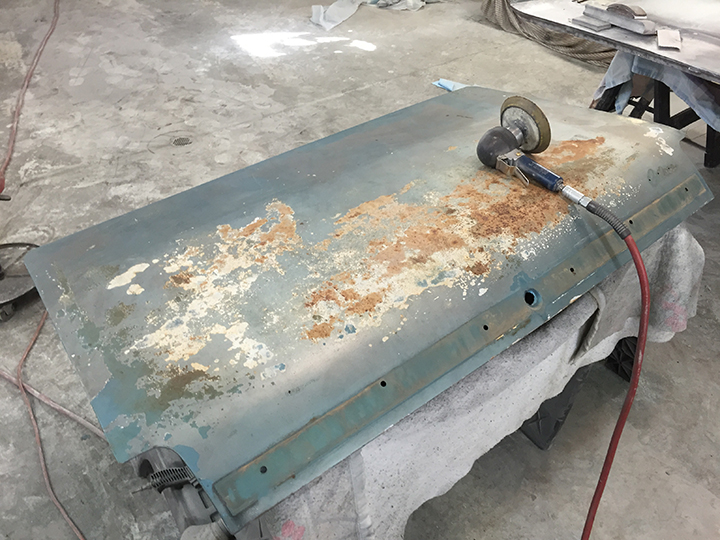
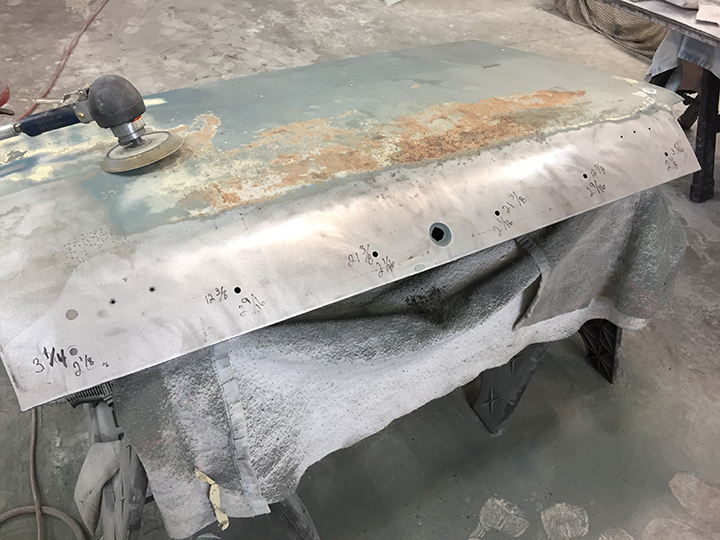
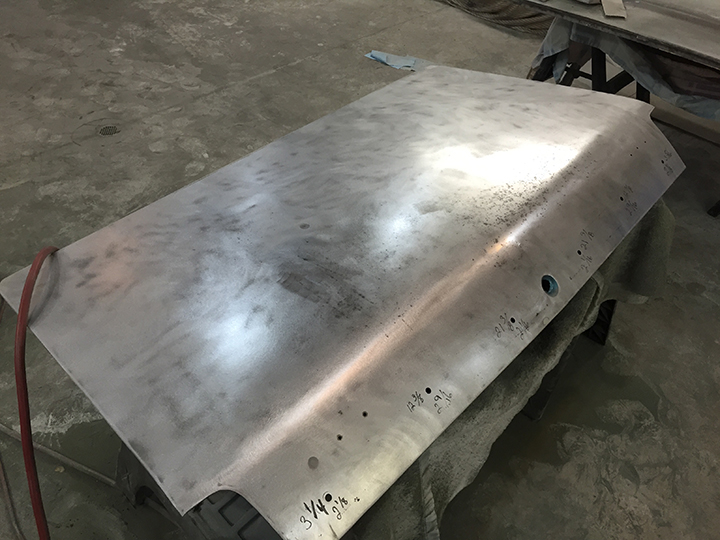
Originally there was a long molding that ran the width of the trunk lid along the bottom. This piece is not reproduced and it is impossible to find one that is not completely pitted or broken. The original one is in very poor condition.
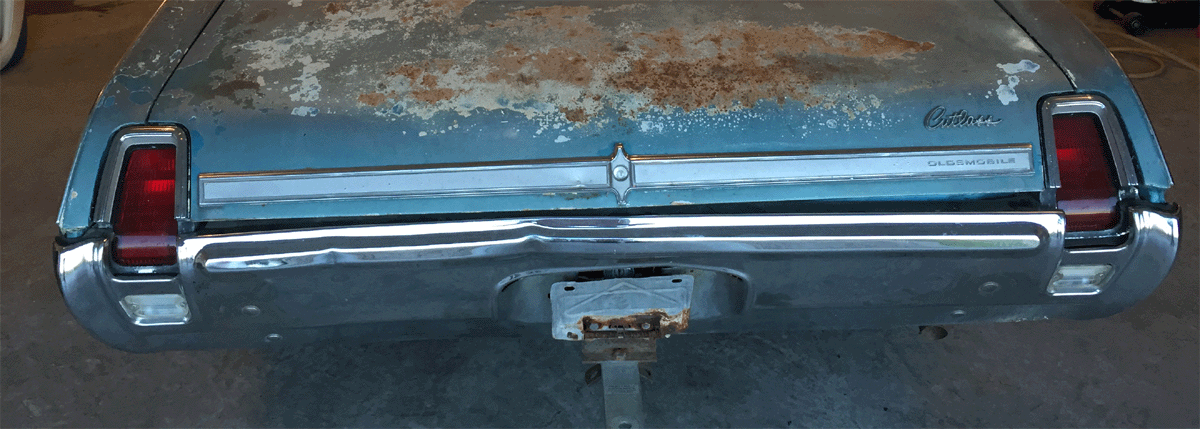
I decided like most others to delete it. I will need to fill the mounting holes before doing any other body work.
I measured the holes locations just for a matter of record.
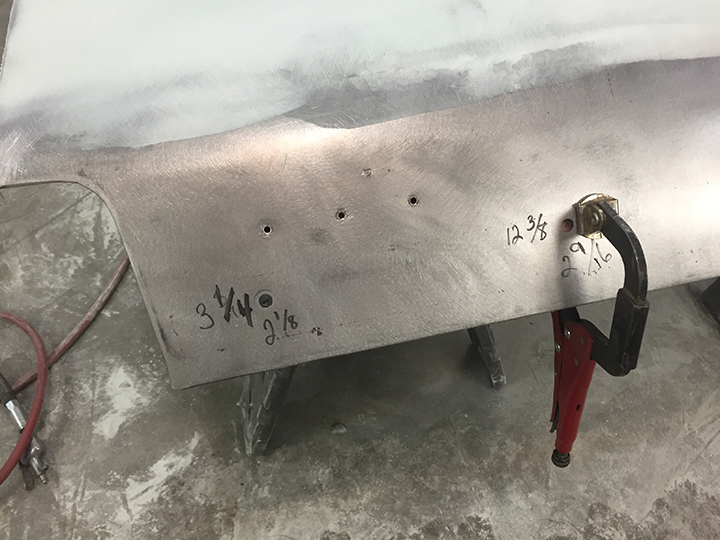
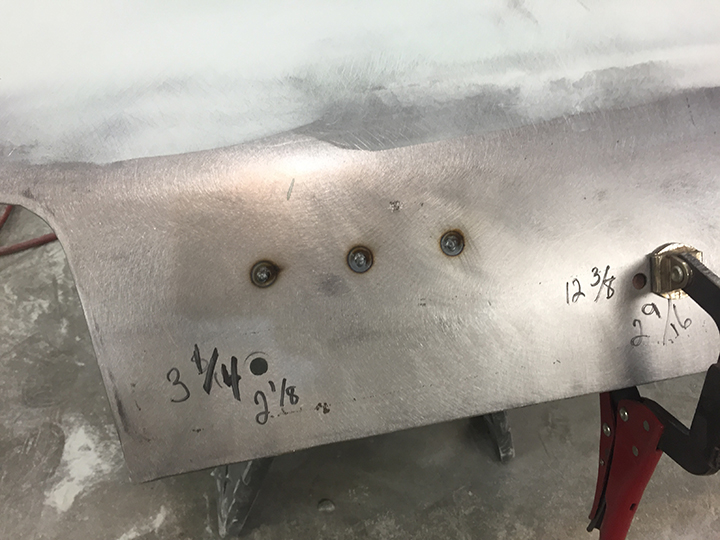
These three holes on the drivers side of the lid were probably for a dealers emblem. The previous "body man" had filled them with body filler. Not the correct way to go about this.
I welded the holes up.....
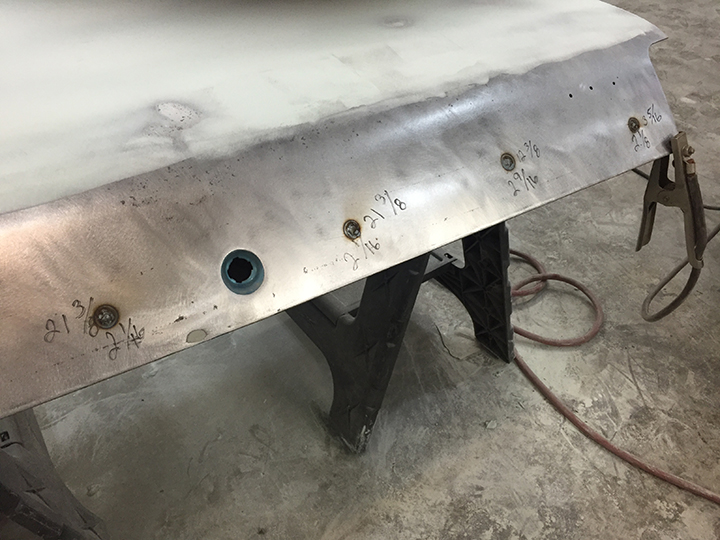
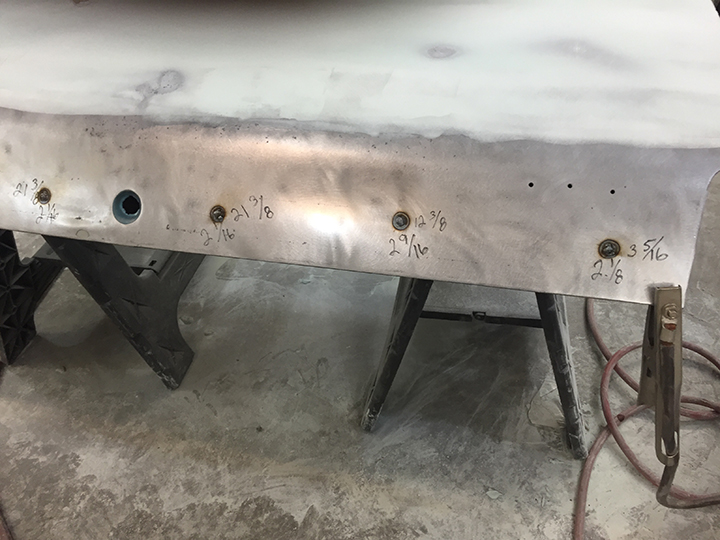
as well as the holes for the long piece of trim.
This is how it should be done.
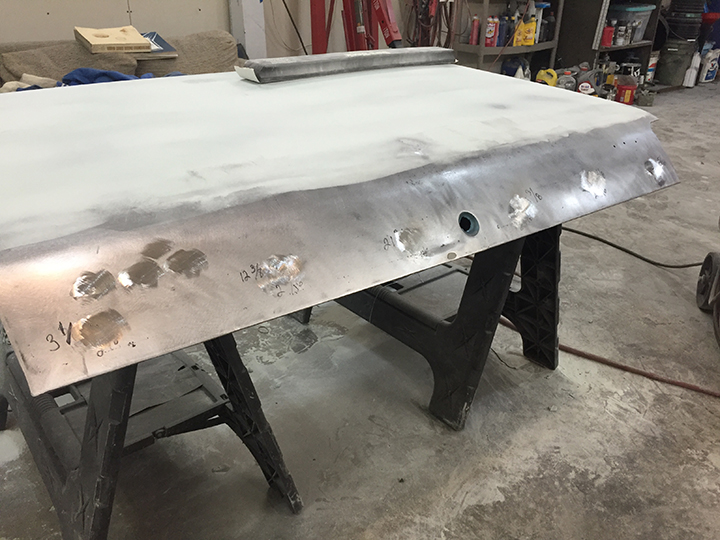
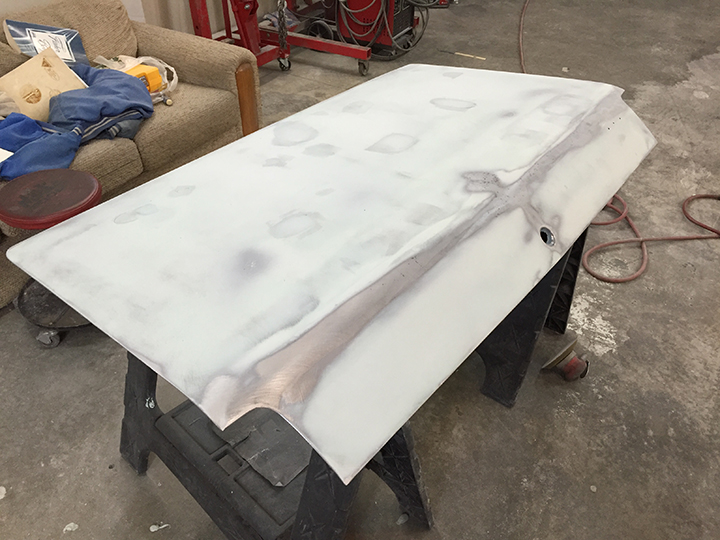
The welds are dressed with a grinding disk and are virtually invisible. Then a thin coat of filler to ensure it's flat as can be.
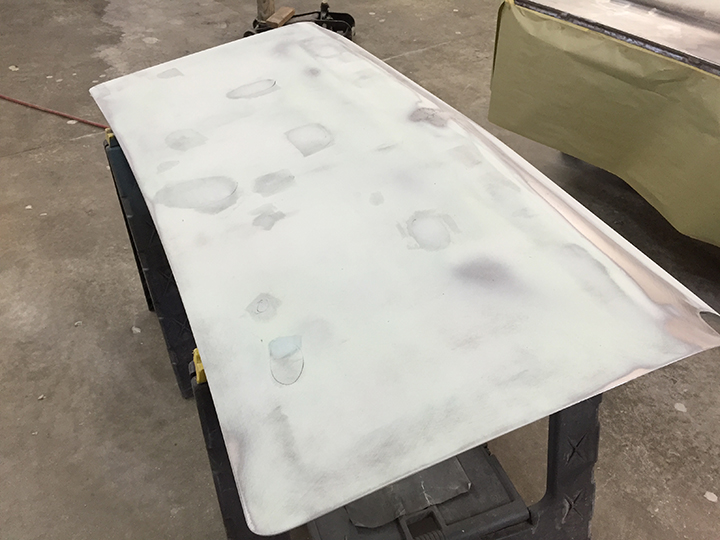
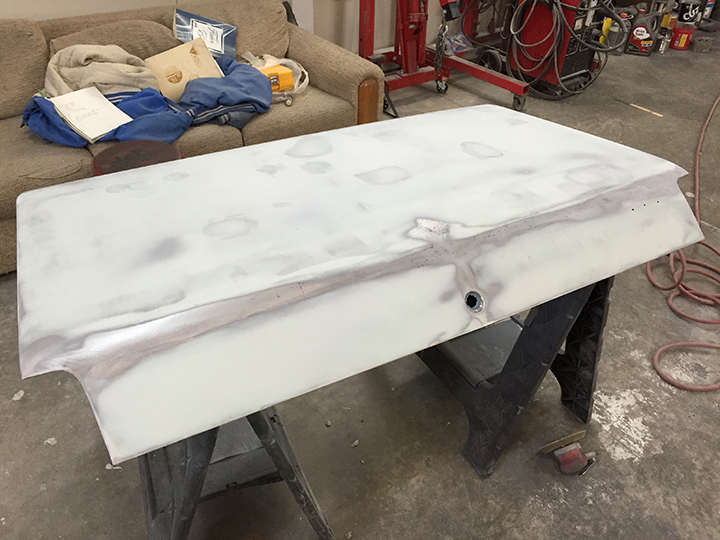
After a thorough cleaning we are ready for some epoxy primer!
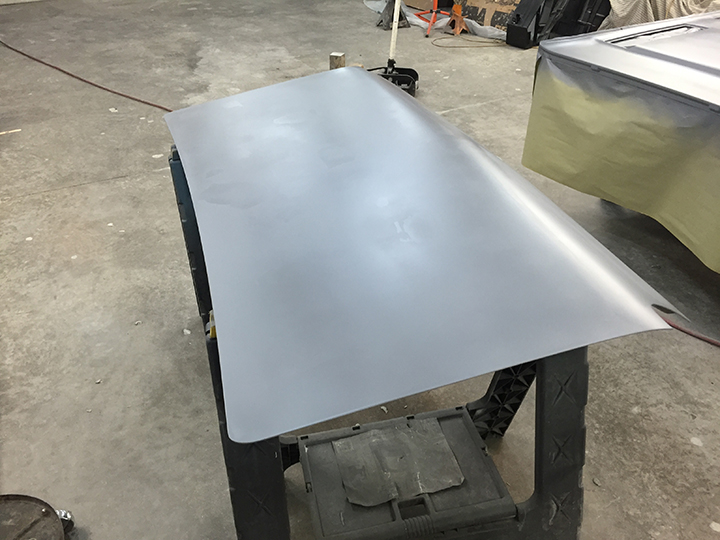
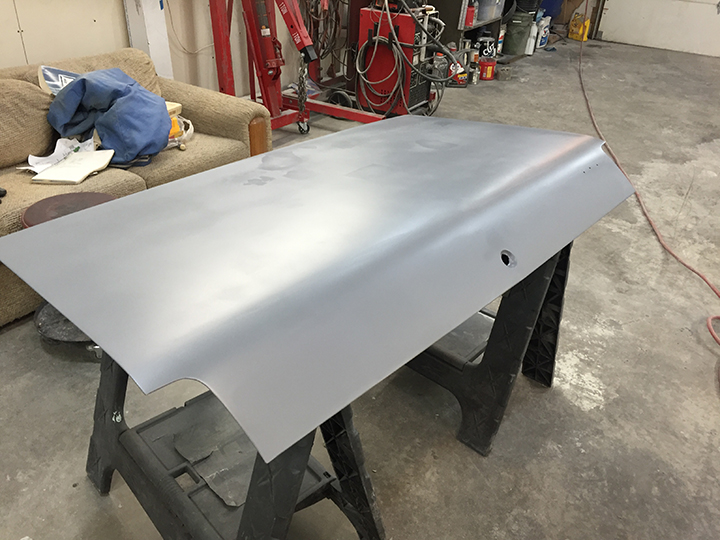
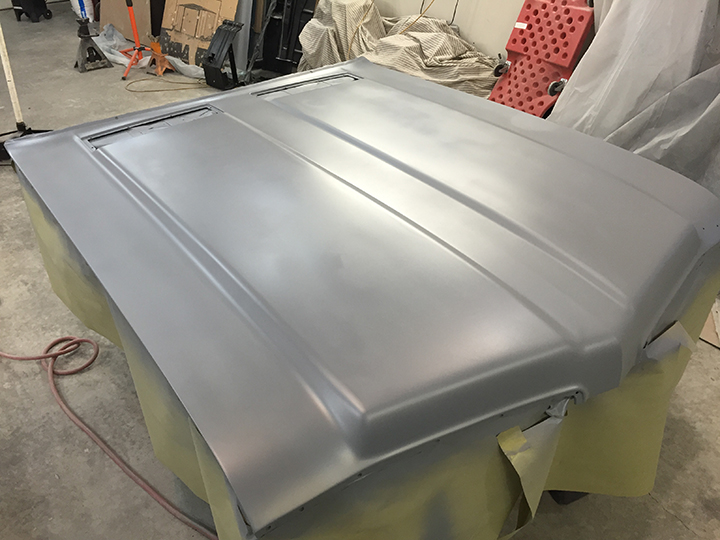
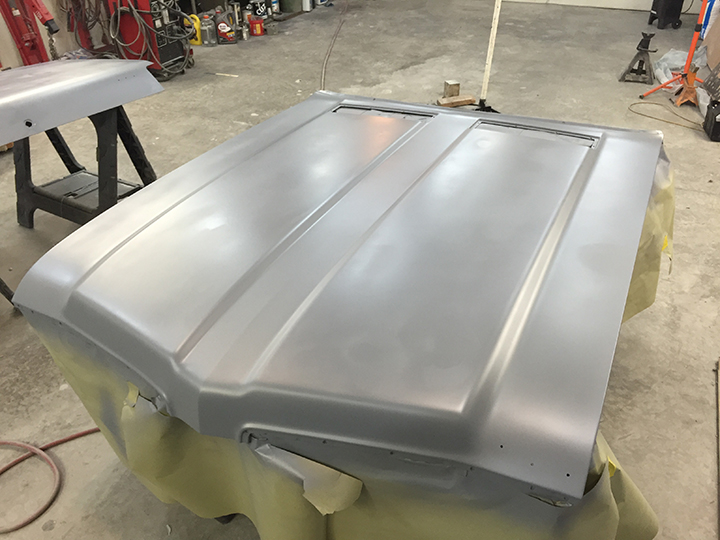
Two coats of primer.
It's amazing how good these parts look when they are all one color.
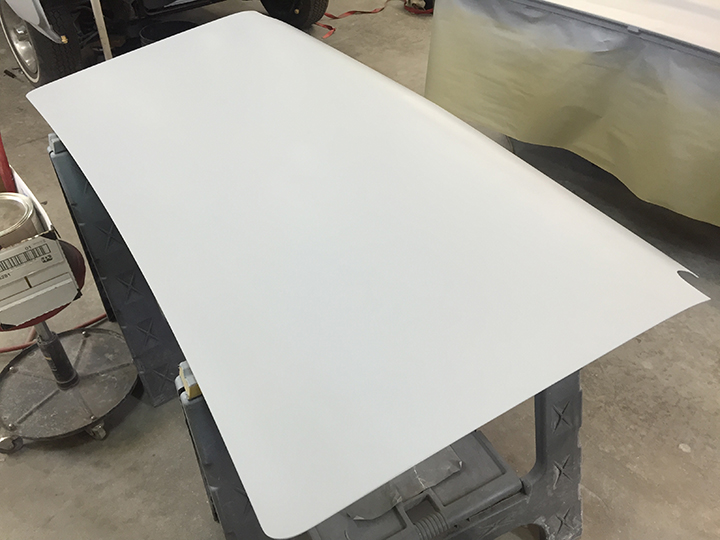
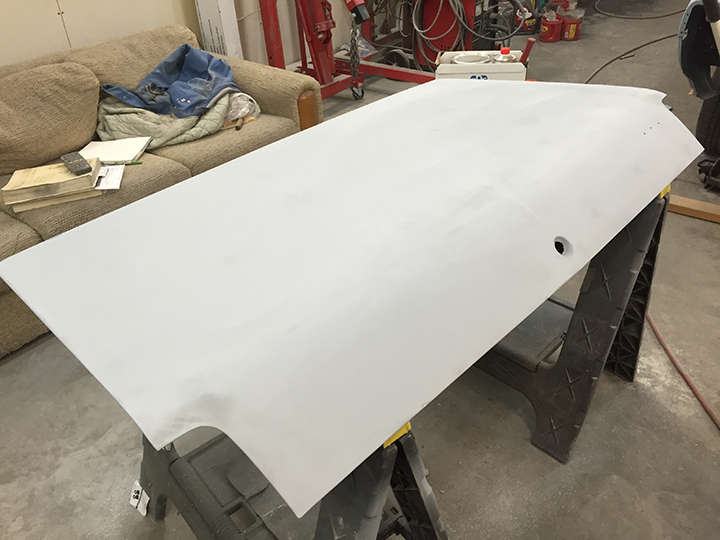
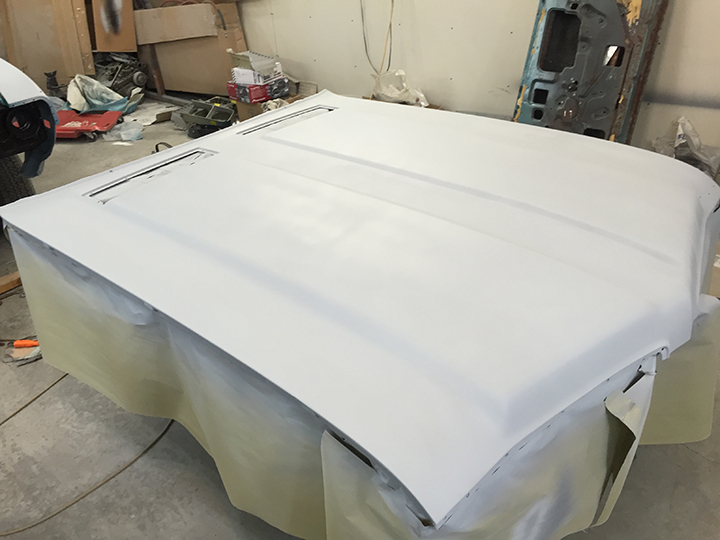
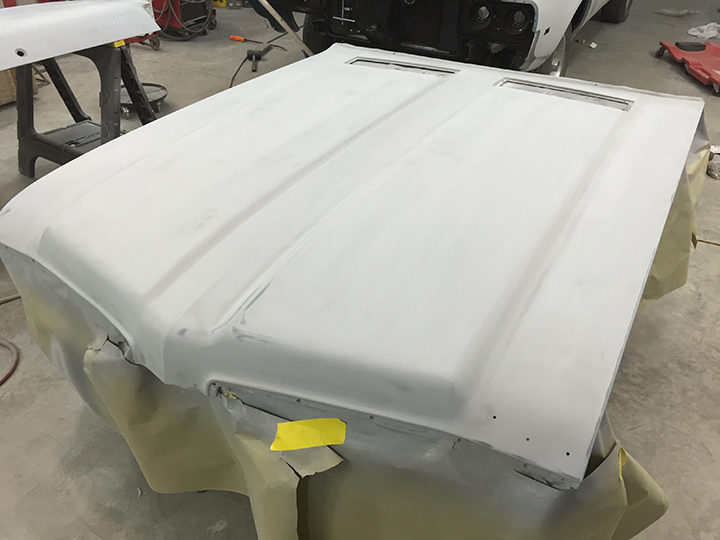
Next up was four heavy coats of high build primer-surfacer just like was done on the doors and body.
This will sit for three days before sanding.
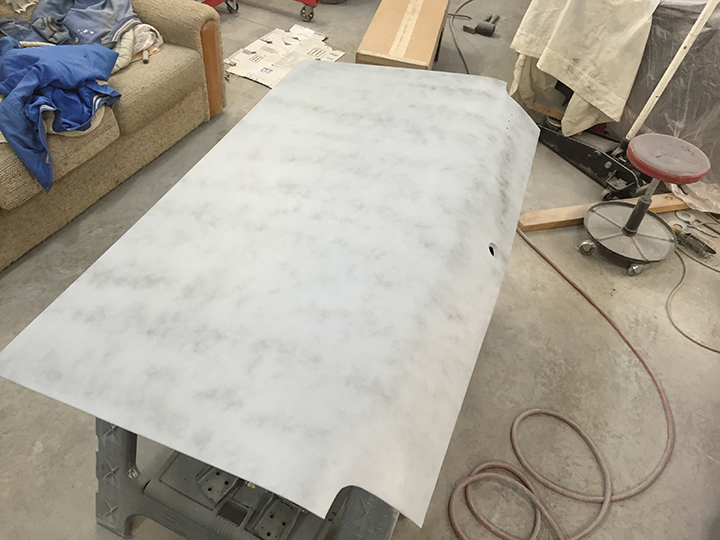
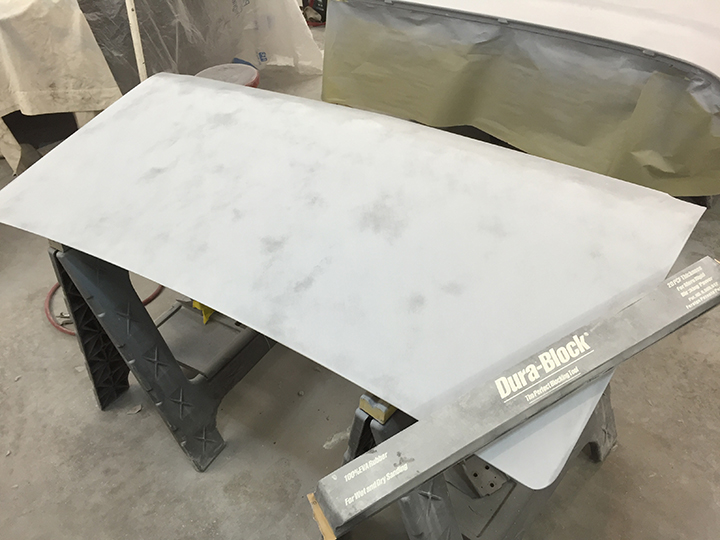
After block sanding them with a long block and using a guide coat. There are still some small imperfections that need to be fixed. Another few coats of high build primer should solve our problem.
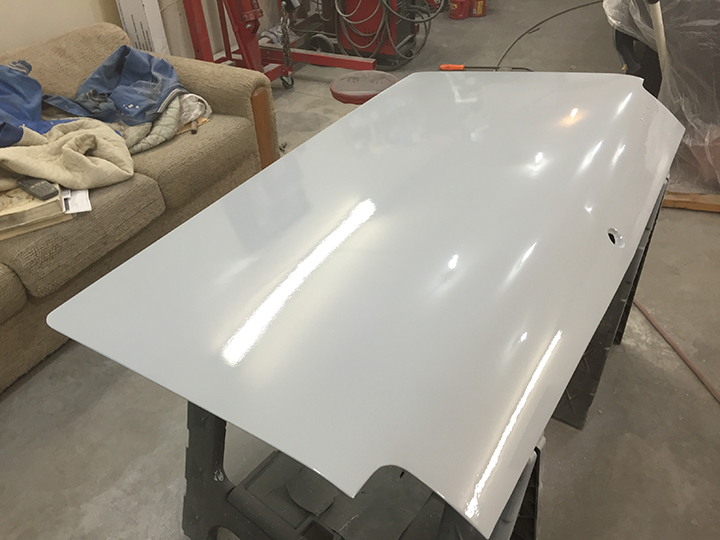
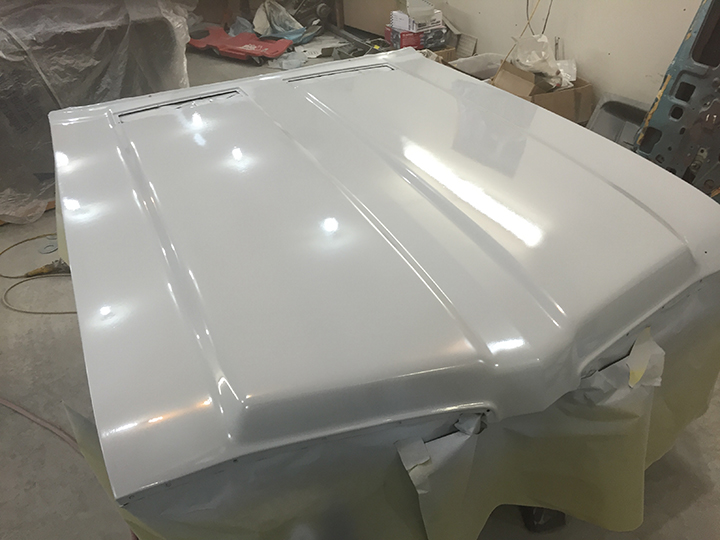
A couple shots while the last coat was still wet. It looks really really flat and straight from the reflections!
Door and Fender Alignment
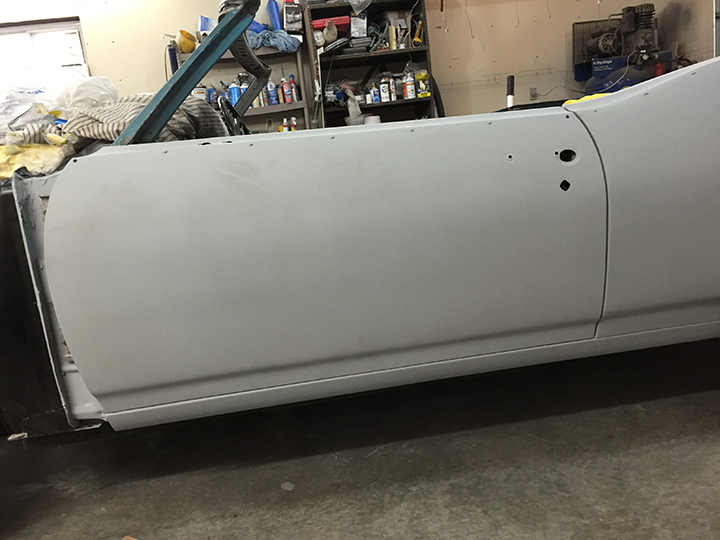
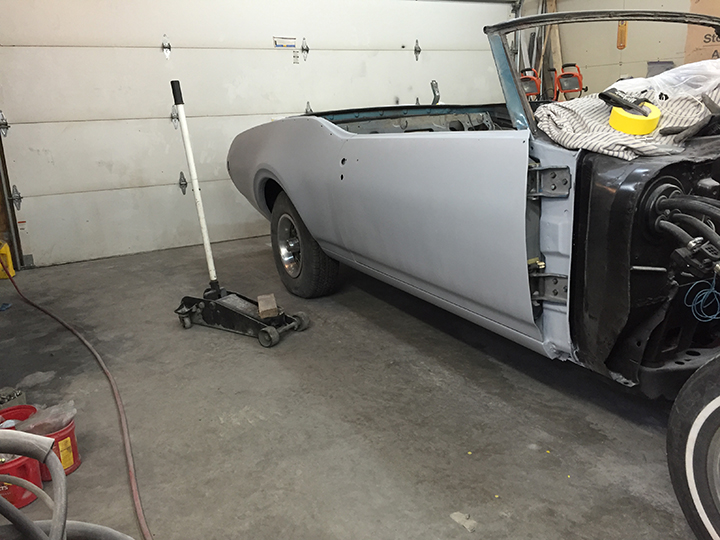
While that's drying for a few days I want to get the doors and fenders mocked up and adjusted.
It's really great to see the doors hung again!
They haven't been on the body since the first day I brought it home.
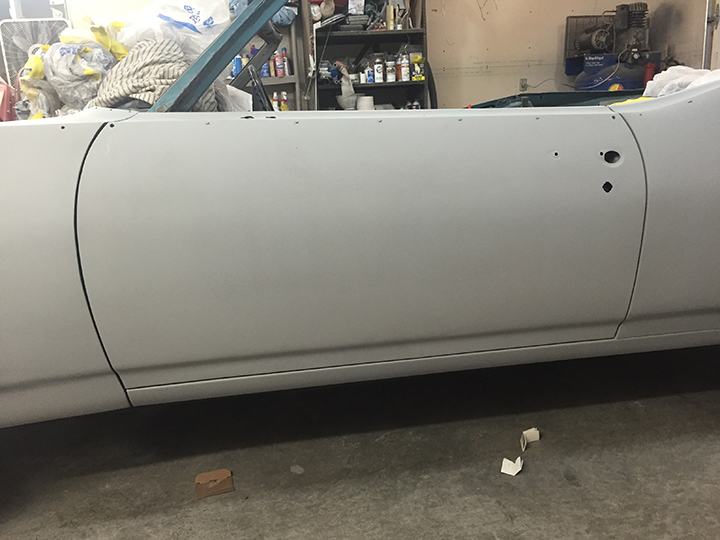
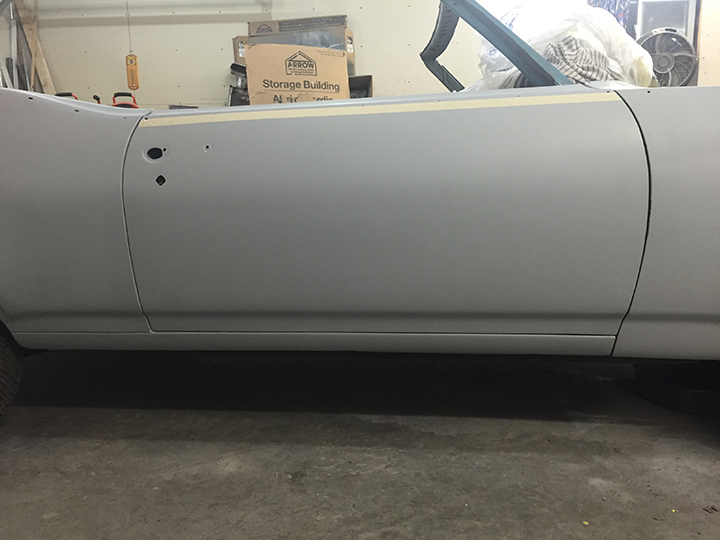
Once the doors were finally adjusted to the body I set the front fenders in place.
You always want to set the gaps from the rear to the front. In other words get the door adjusted to the body and then the fender adjusted to the door.
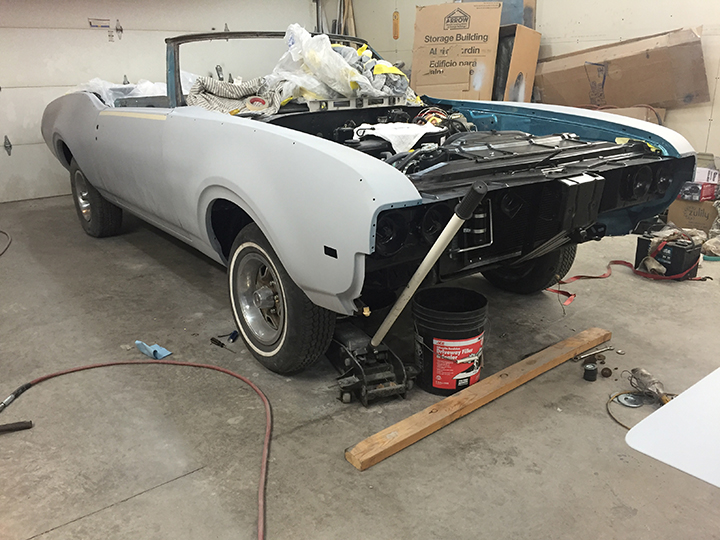
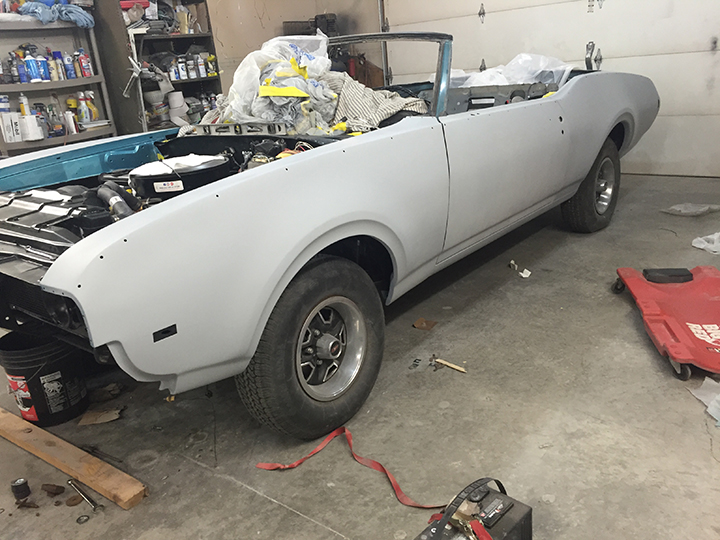
This took a very, very long time. A lot of small adjustments here and there to achieve the best gaps possible.
WOW! it looks like a car again! I'm really happy how it looks.
I then document what and how many shims go where so when it goes back together it should go right back to the exact same positions.
Time to take it all back apart again so I can paint the door jamb openings and block out the doors and body..........
Lots more to come!
Check back often.