
FOR SALE
September 9th, 2016
Big update! She looks like a car again!
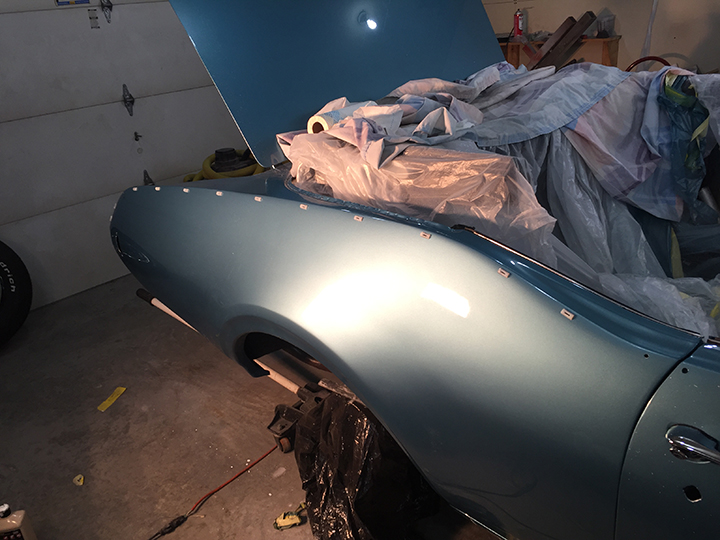
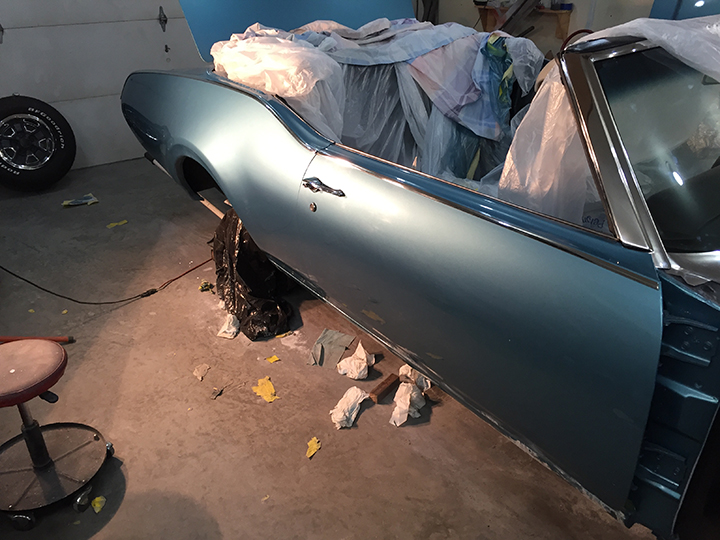
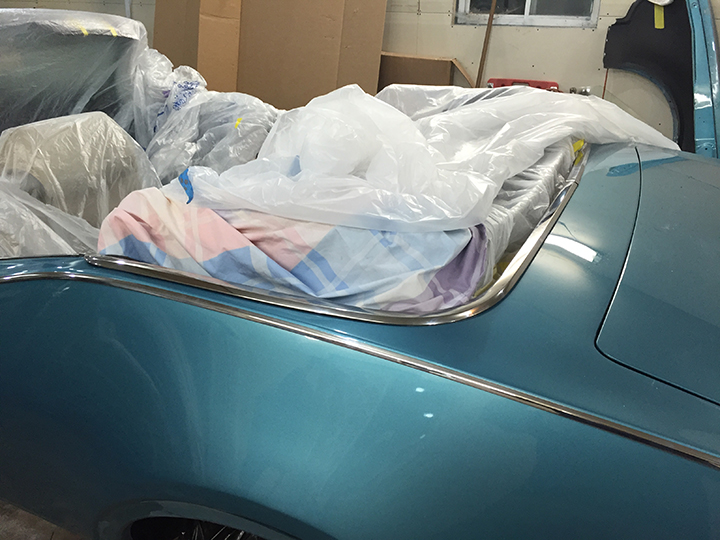
After finishing the buffing I installed the passenger rear and passenger door trim clips.
The newly polished trim was put in place and carefully aligned. It just looks so great against that new shiny paint. Well worth all the work.
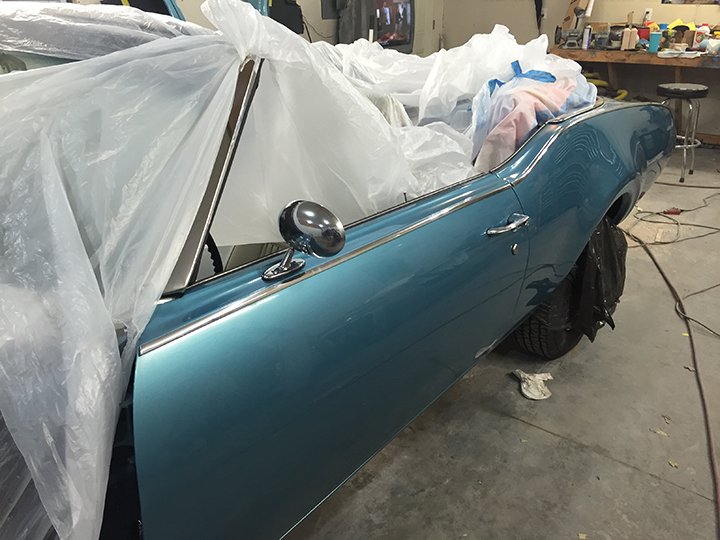
Same thing on the drivers side along with the original rear view mirror. It is such remarkably great condition for it's age.
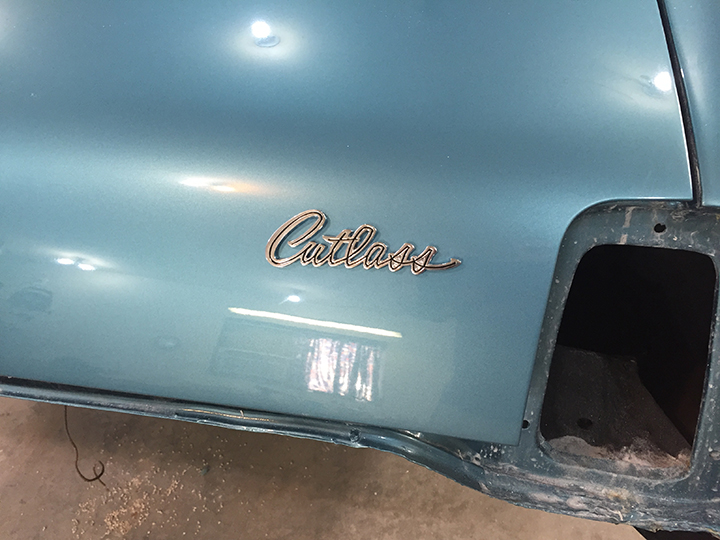
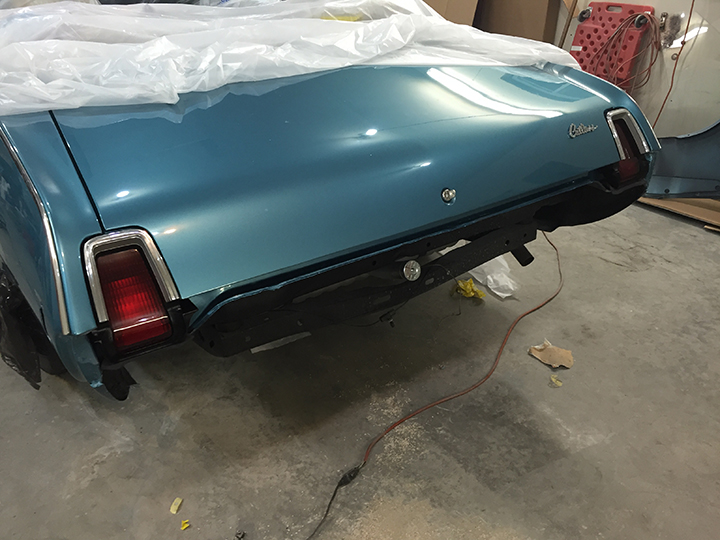
Placing the Cutlass emblem on the deck lid was really a great feeling, I've been waiting a long time for that moment!
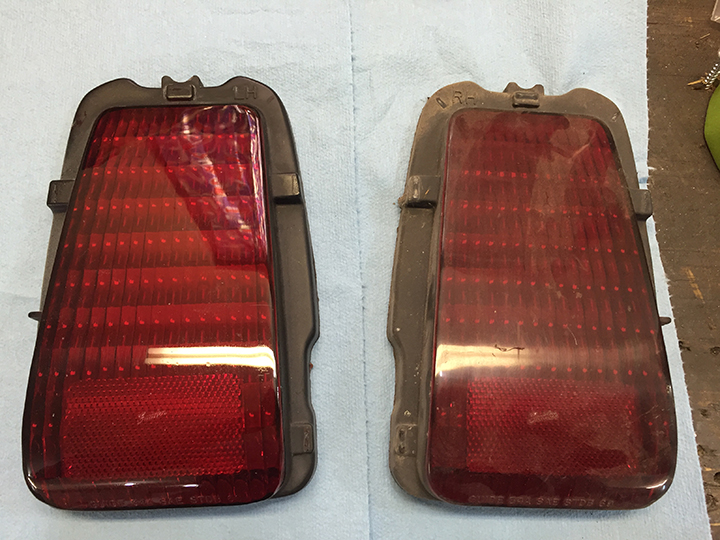
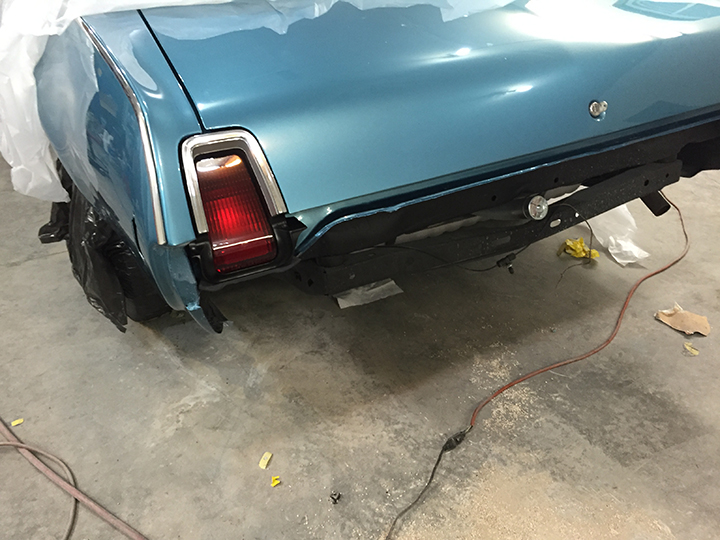
On the left is a before and after of the taillight lenses. Using soap, water and muriatic acid and then lightly buffing they come out better than new.
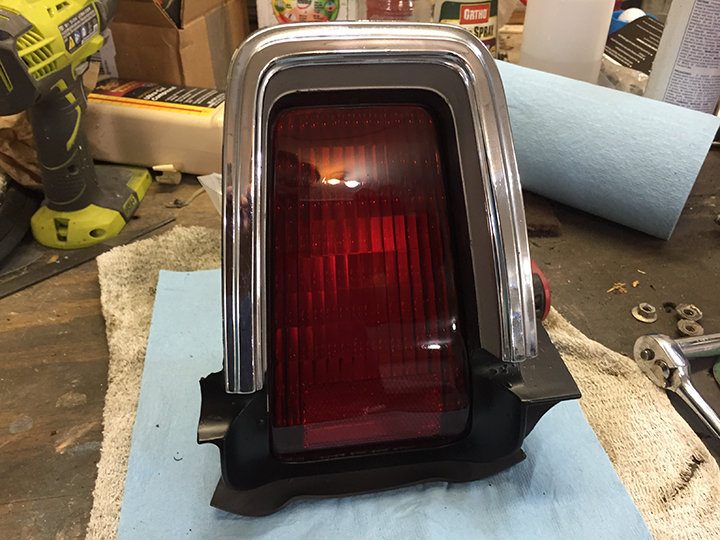
On the right is the taillight reassembled after repainting the black on the housing and buffing the chrome. Looks great!
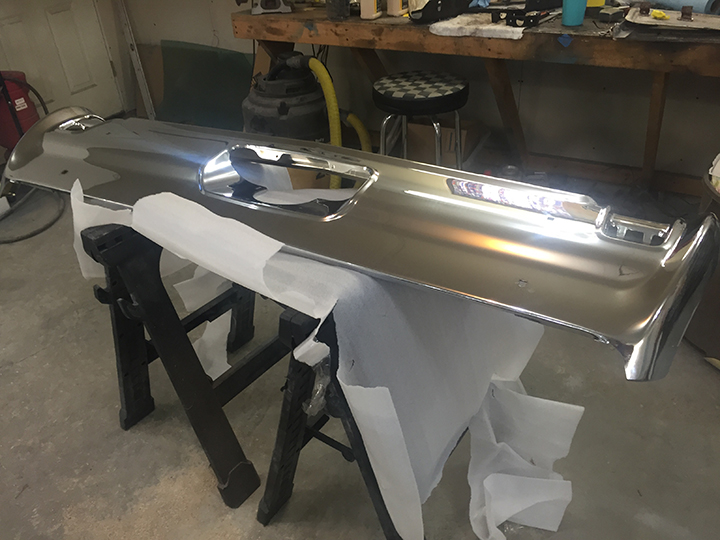
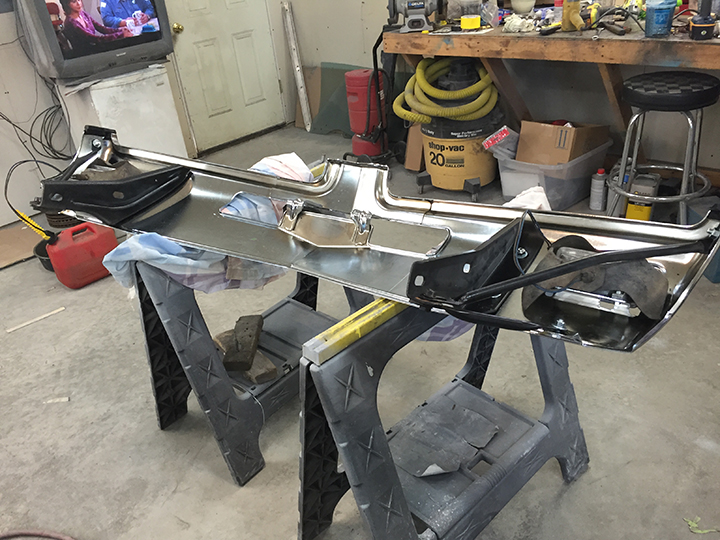
I laid out the new bumper and cleaned it up.
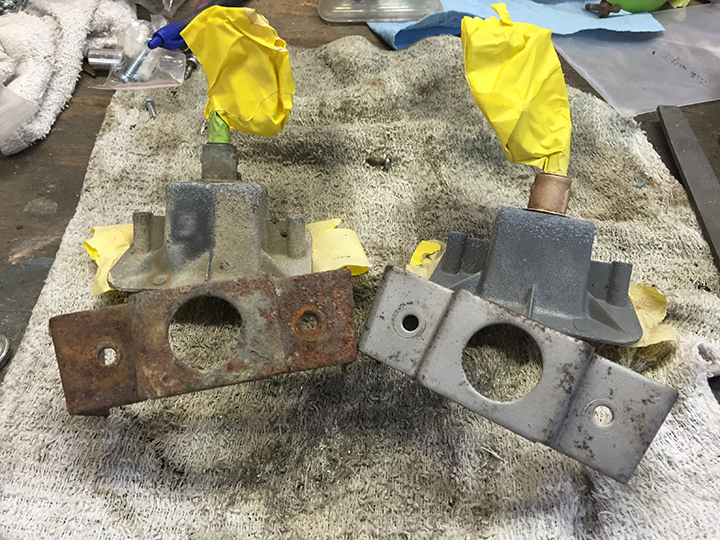
Another little before and after of sandblasting the back up lamp housings and brackets.
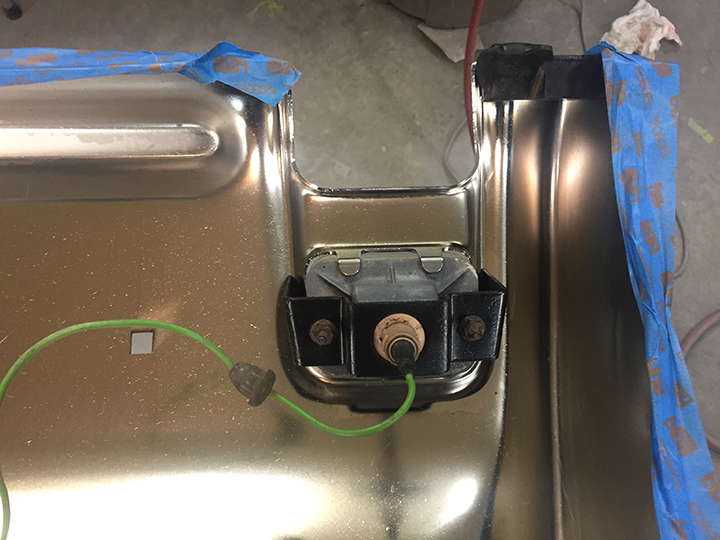
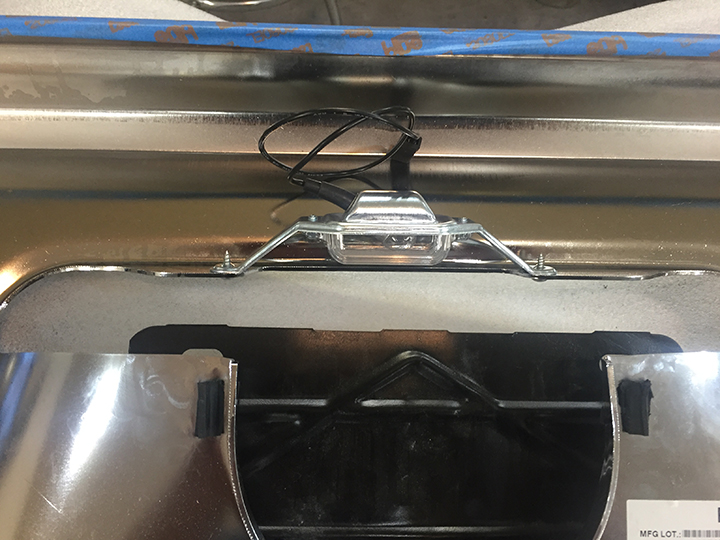
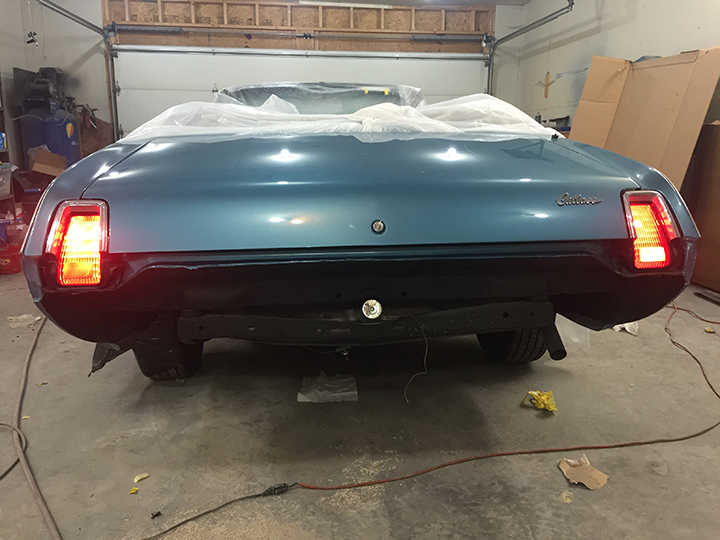
The newly painted back up lamps installed in the new bumper along with the license plate/gas door and a new license plate light.
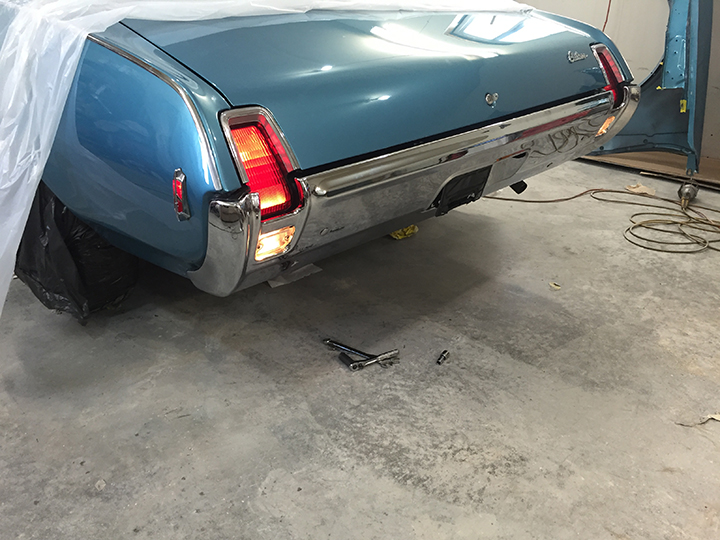
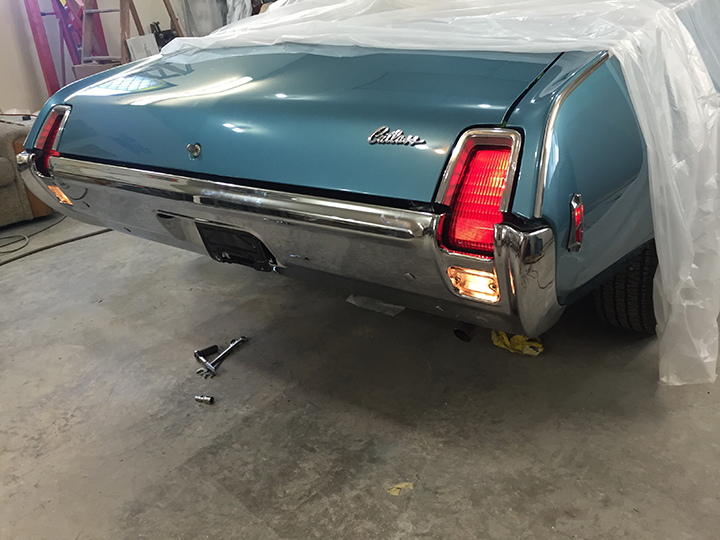
The rear bumper and quarter panel lights were installed and everything all lit up! The pictures really do not do it justice, it looks so amazing in person.
Now to the front end.
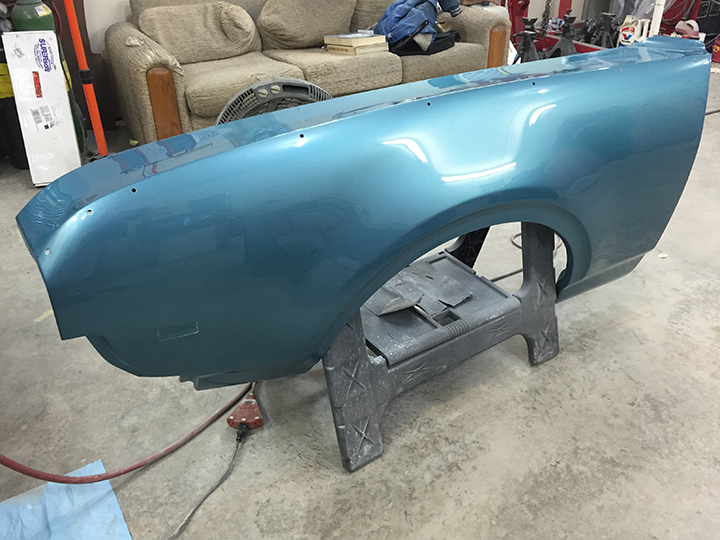
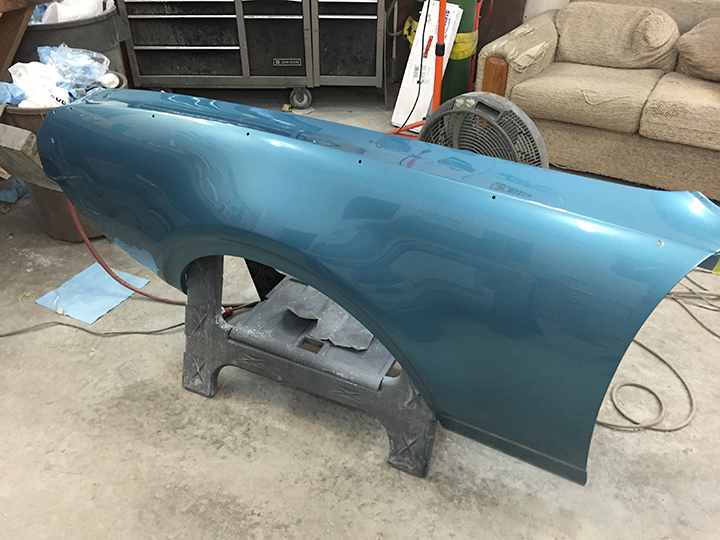
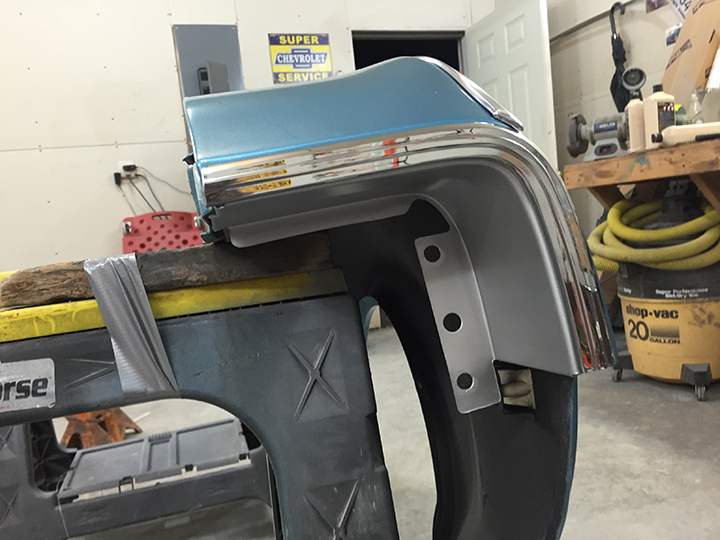
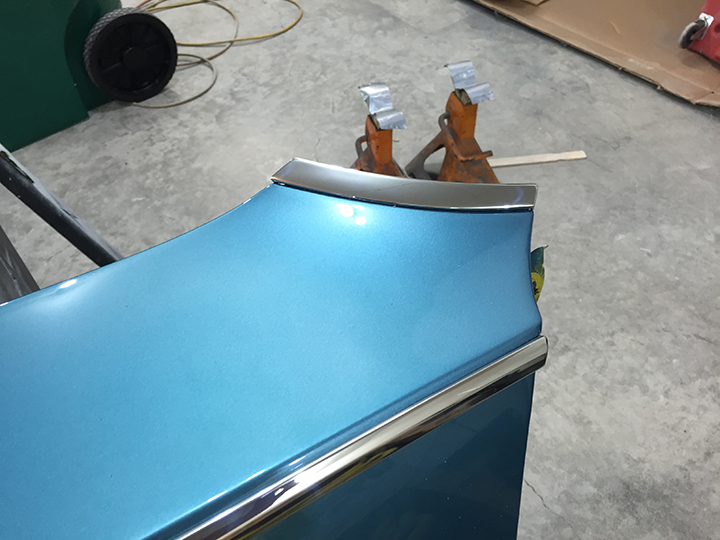
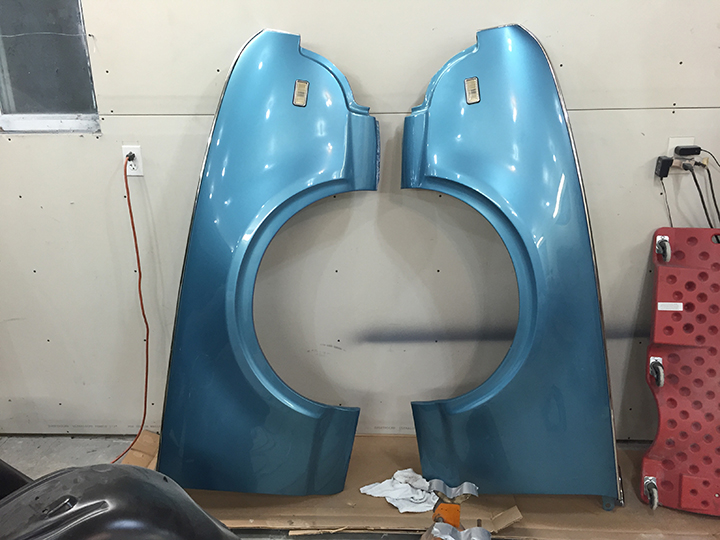
After spending some quality time with the buffer, the front fenders look like mirrors.
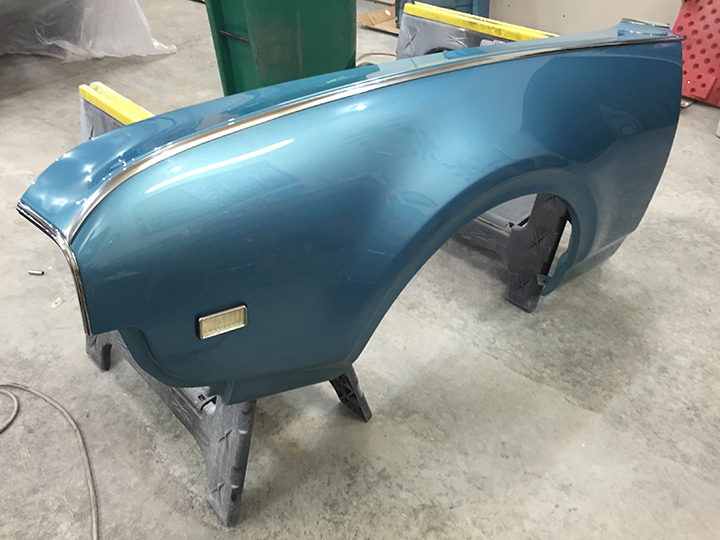
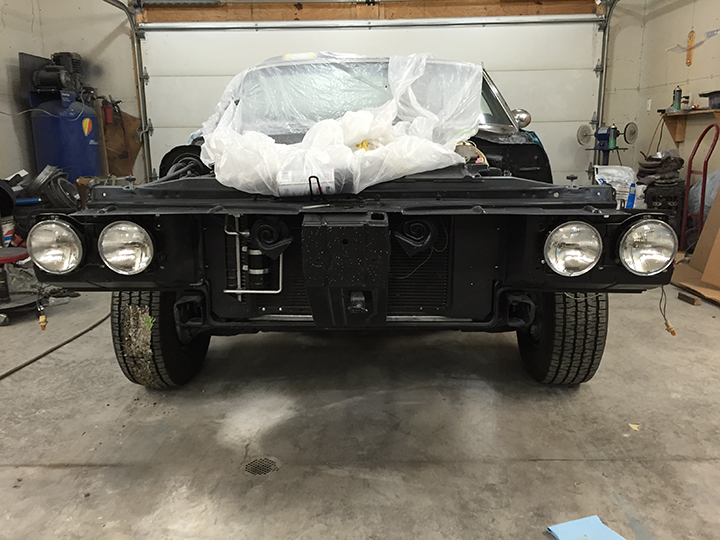
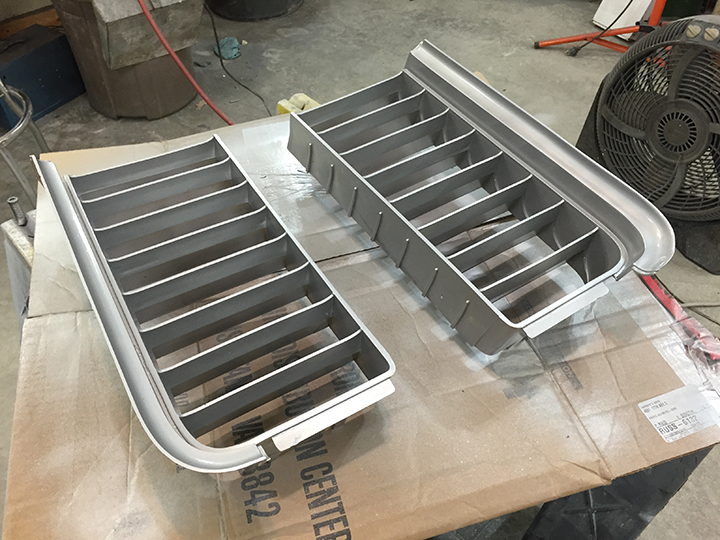
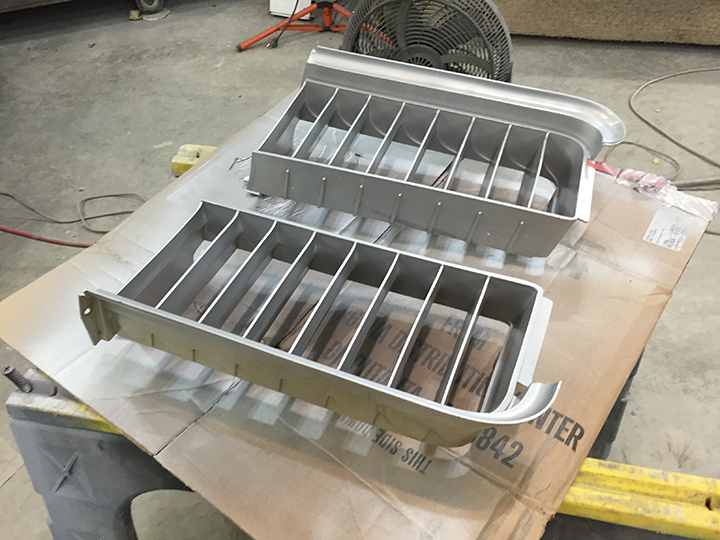
The factory original grills were meticulously cleaned repaired and painted. These are not available as a reproduction so these had to be repaired.
They actually came out better than new.
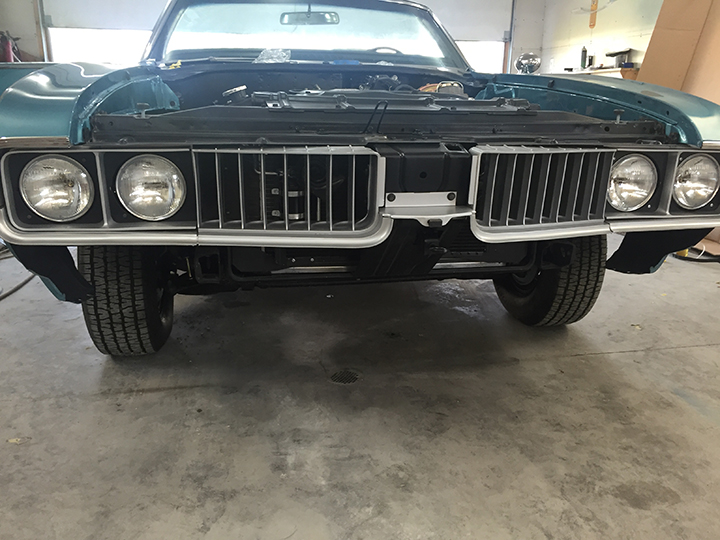
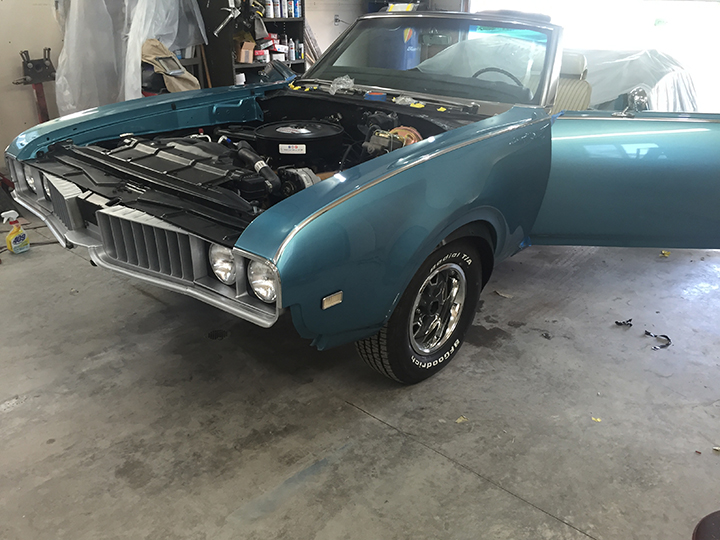
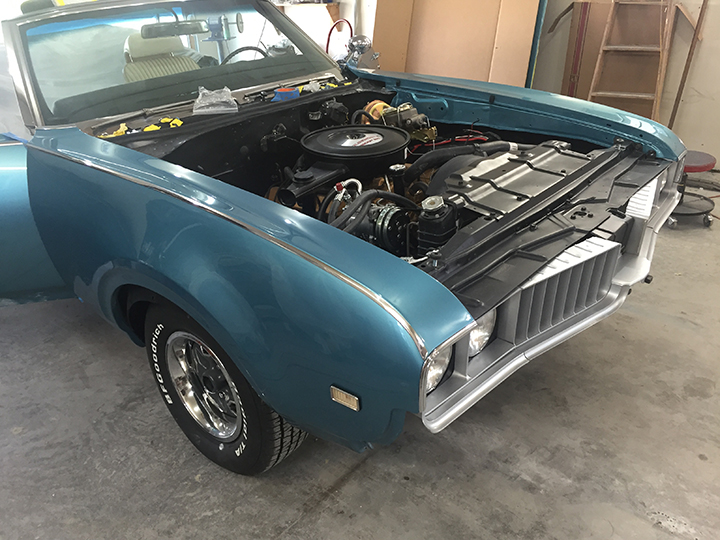
The front fenders were reinstalled. It's coming together quickly now.
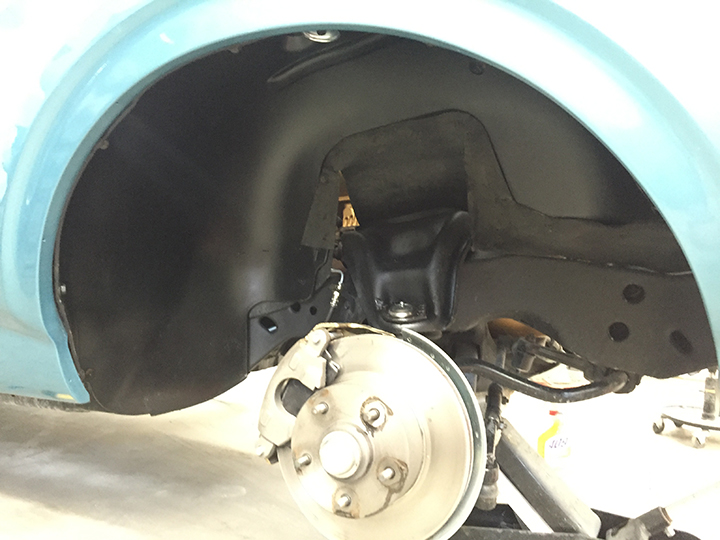
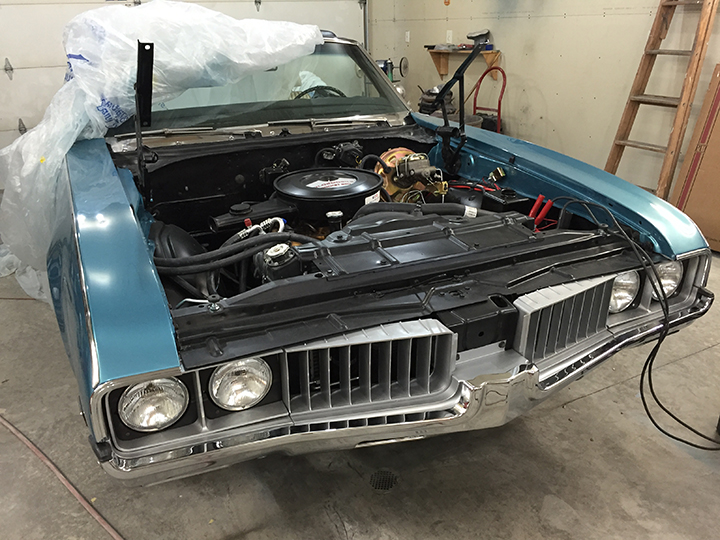
Once it finally saw things my way it looks terrific!
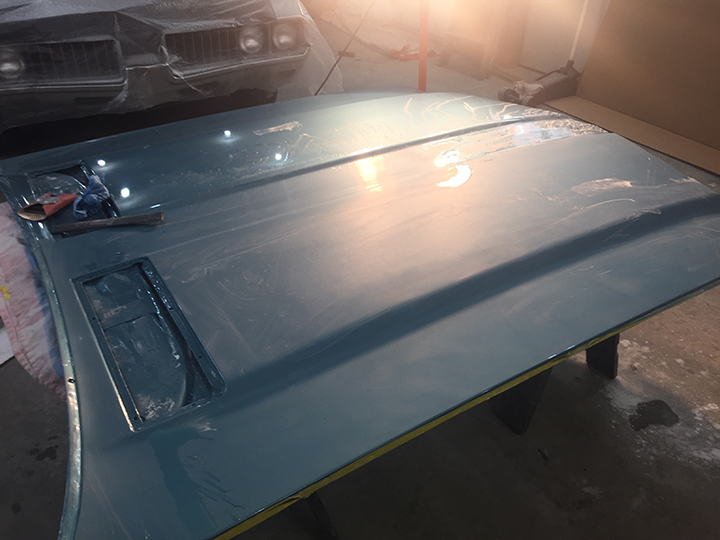
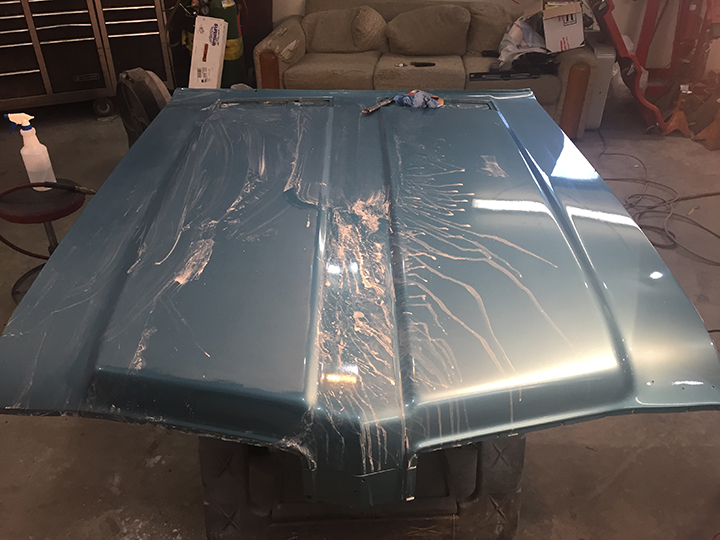
The final major body panel. I wet sanded all the orange peel from the hood, what a mess it makes.
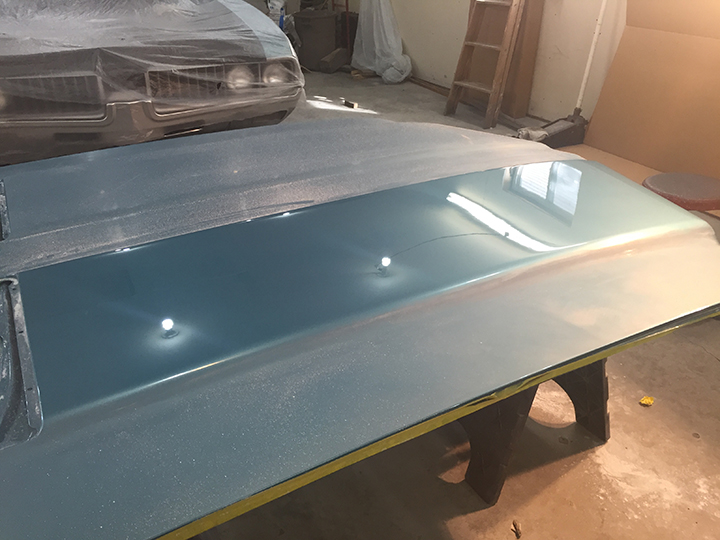
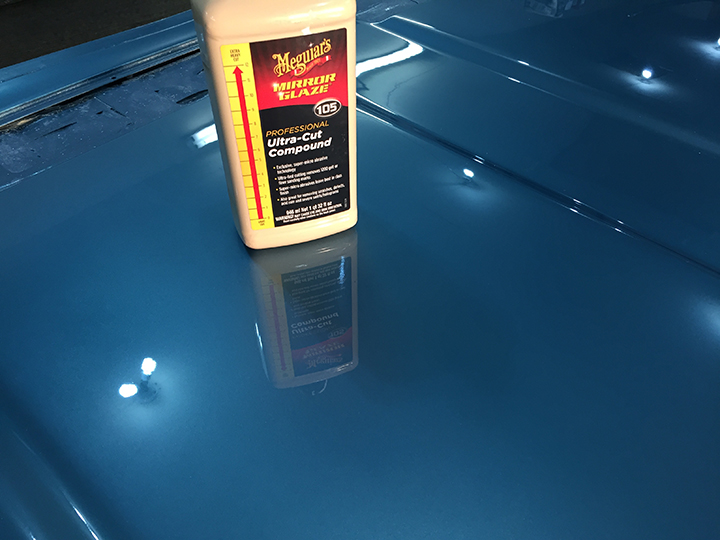
After wet sanding for what seemed forever, I began the buffing process.
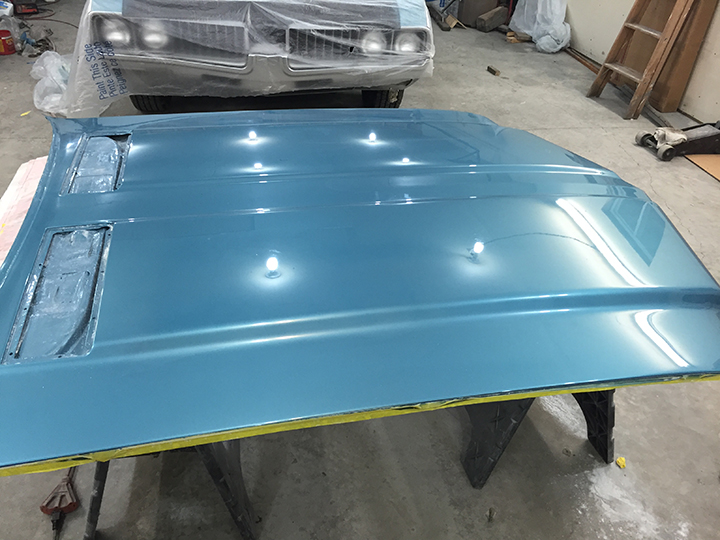
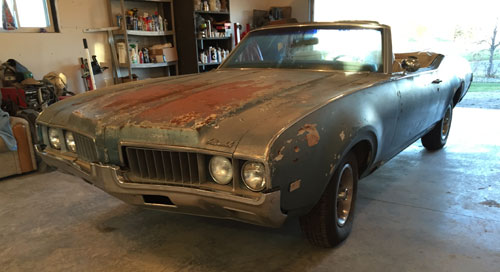
The results are stunning, it's hard to believe what this hood looked like when I dragged the old girl home.
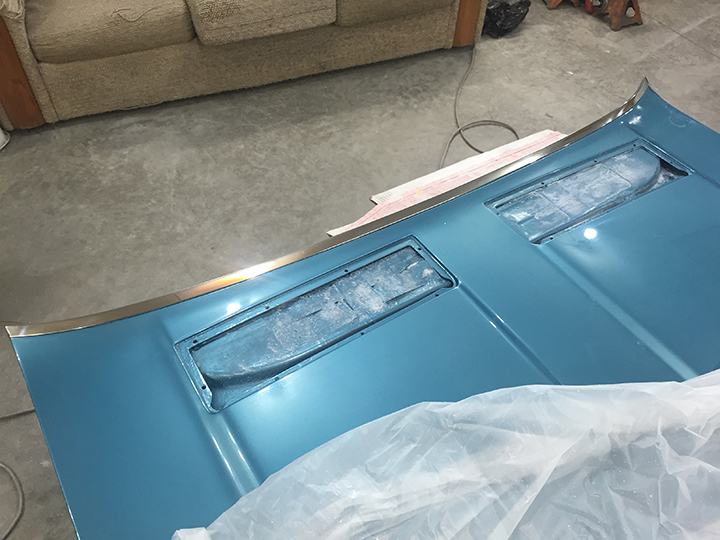
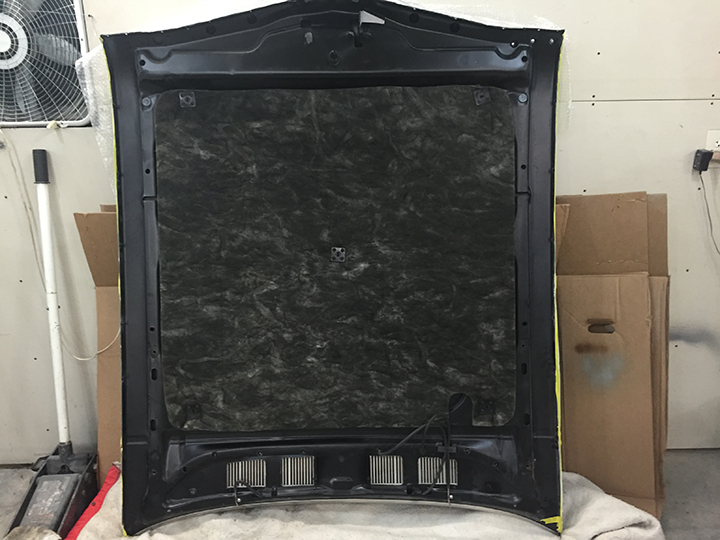
The brightly polished trim at the rear of the hood was put on as well as the insulation mat on the underside of the hood.
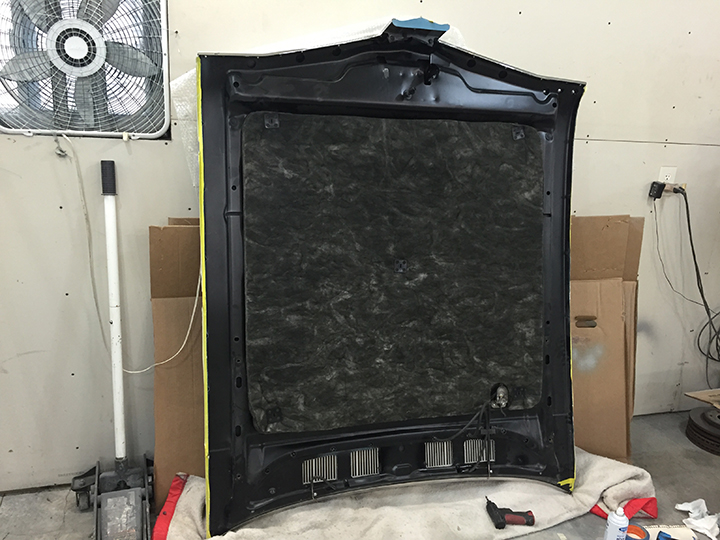
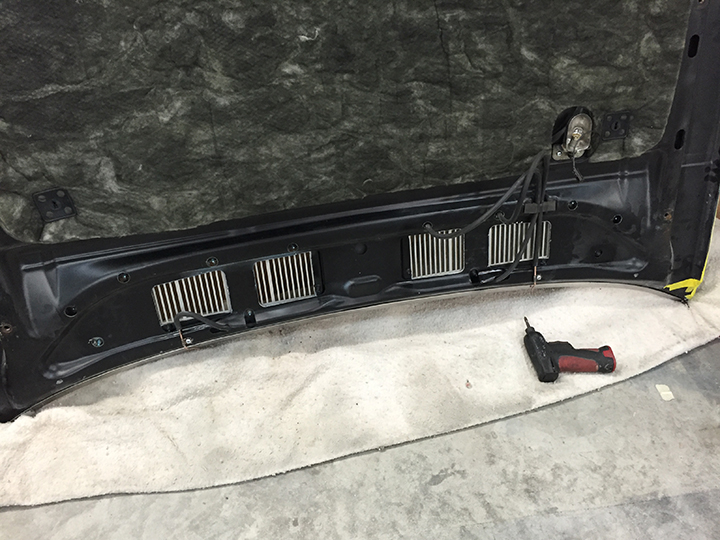
The restored under hood light along with the windshield washer squirters were put in place.
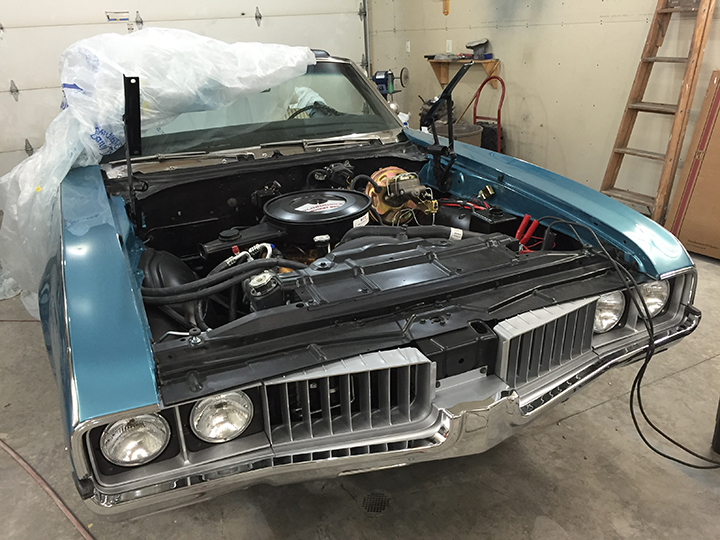
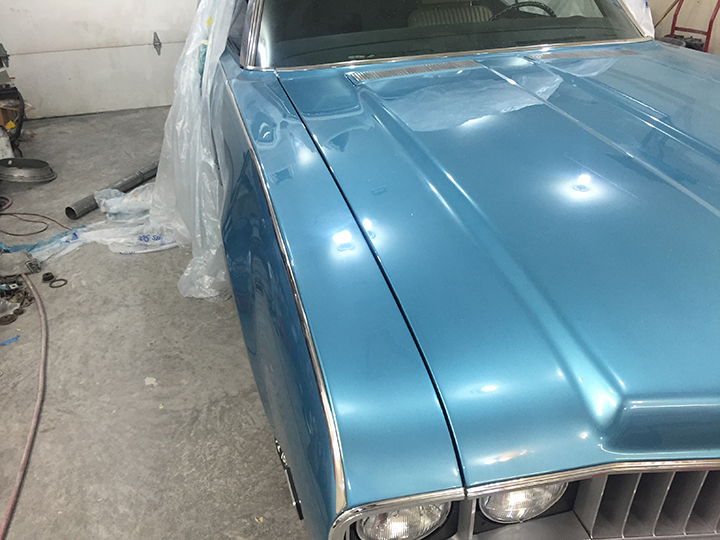
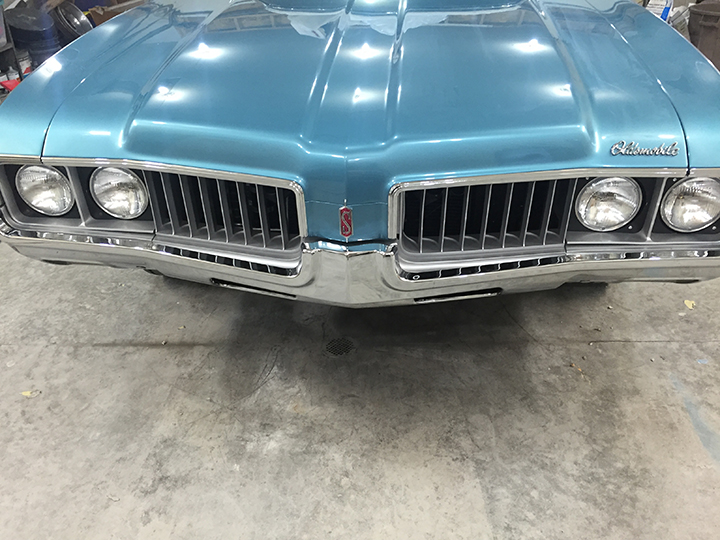
I wish I could say it just fell into place, it took a lot of time to get the fit and gaps to be proper.
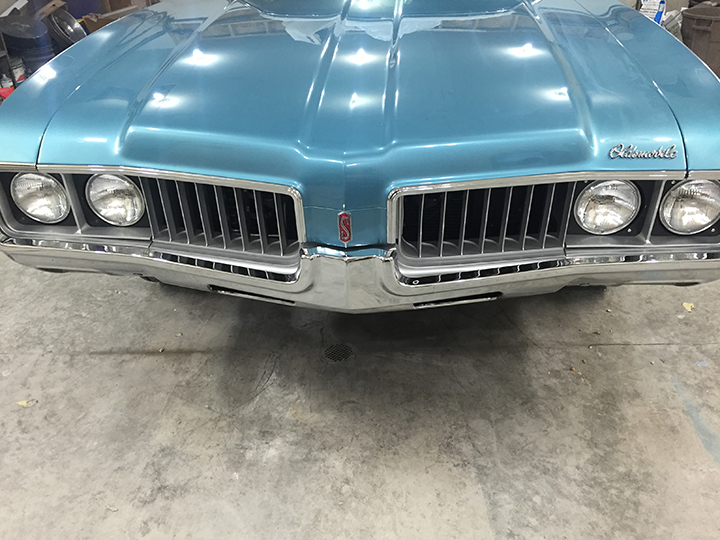
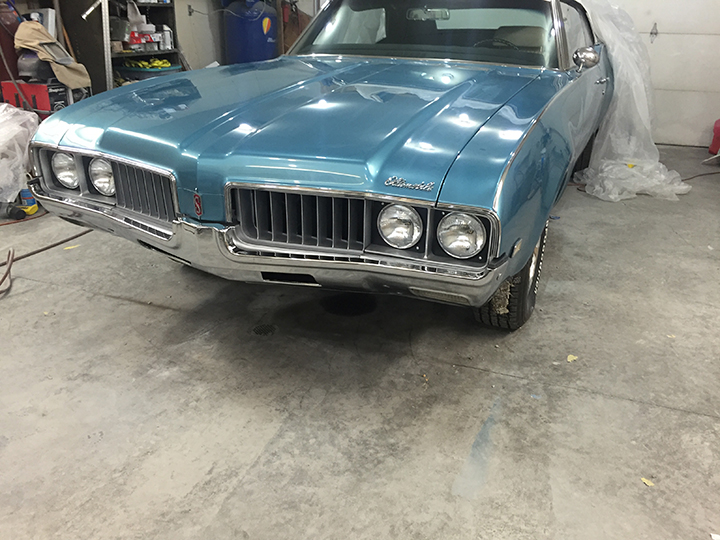
I seriously wondered many times if I would see this all back together again. I'm really very proud of how this has turned out.
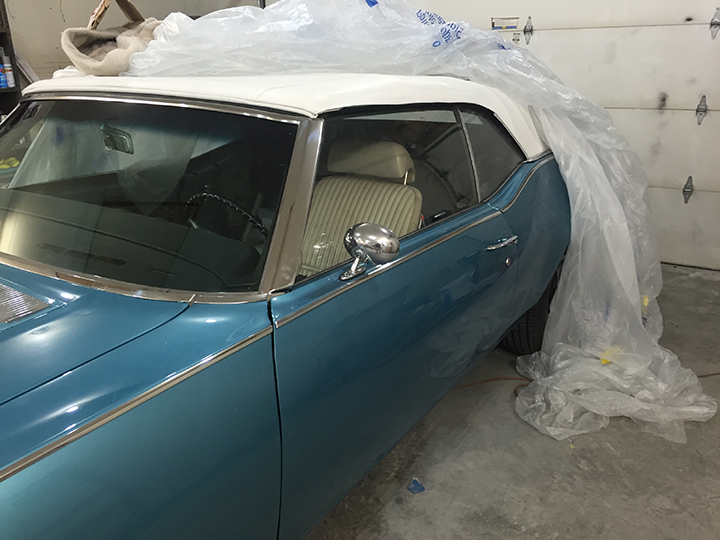
One final shot with the top up and windows installed and adjusted (what a nightmare that was!).
The interior is next, I'm looking forward to doing something a little different.
Lots more to come!
Check back often.