
FOR SALE
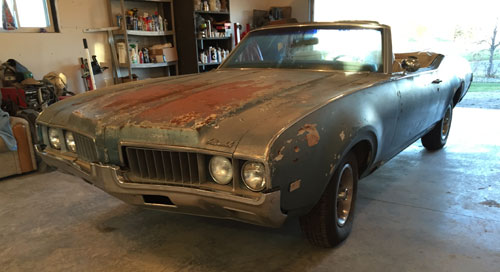
October 12th, 2016
Probably the second to last update. She's really close to being finished.
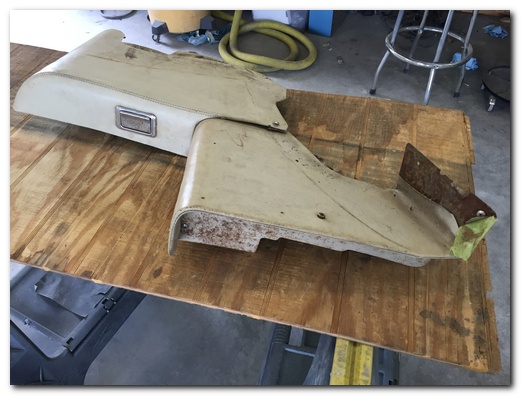
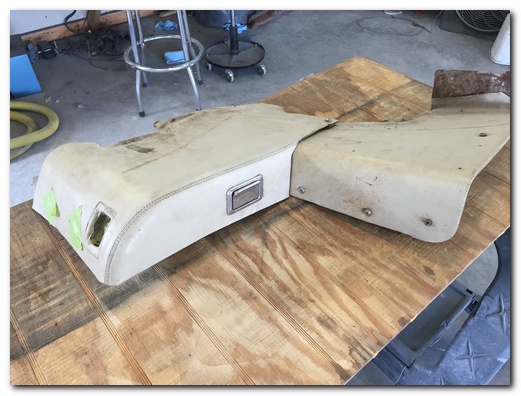
Moving on to the interior I'm going to start with the rear armrests and convertible top actuator covers. They are in amazingly good condition and will only require sand blasting of the metal parts and a good cleaning and dye/paint.
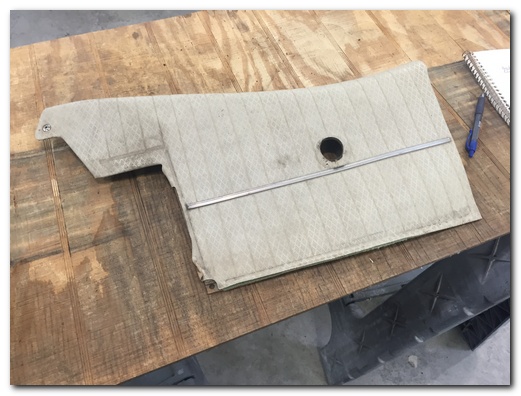
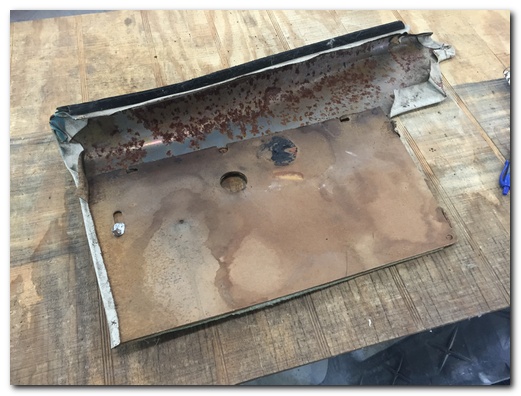
The rear side panels are in rough shape. They need a complete makeover.
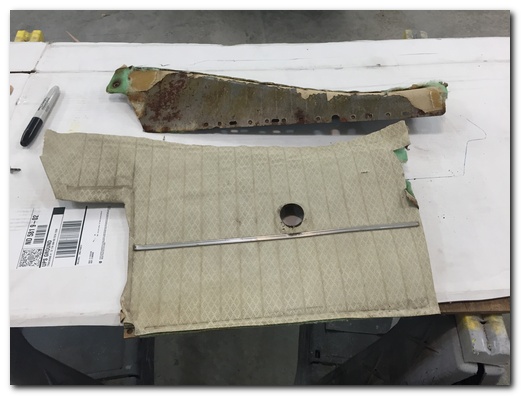
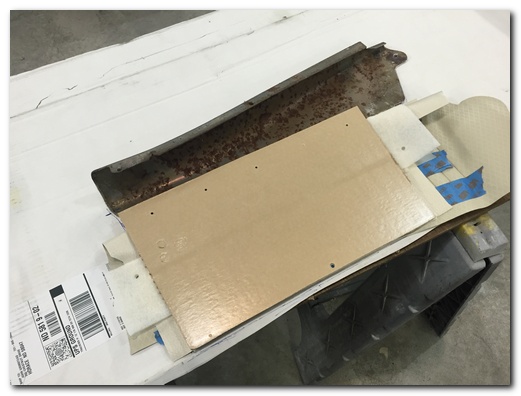
After removing the metal top support from the old panel I used measurements and dimensions I had taken from the original to properly align it with the new panel.
It's the only component that will be reused.
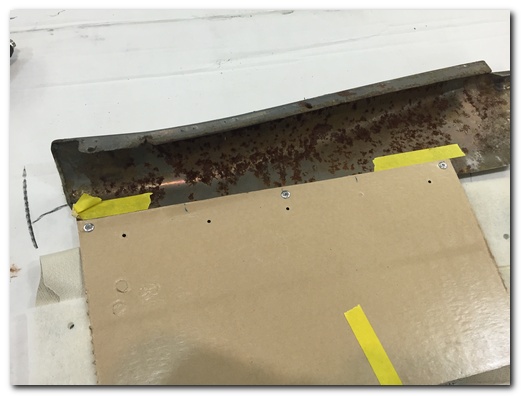
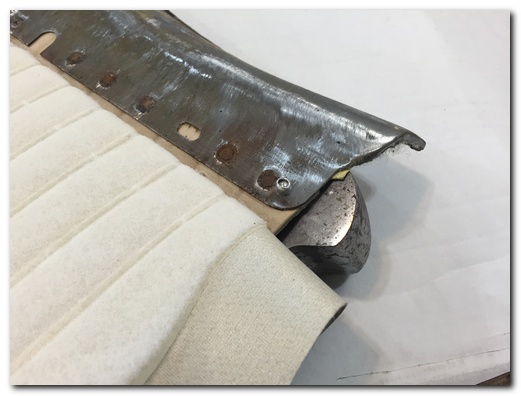
After a little cleaning I used pop rivets to attach the metal to the new panel.
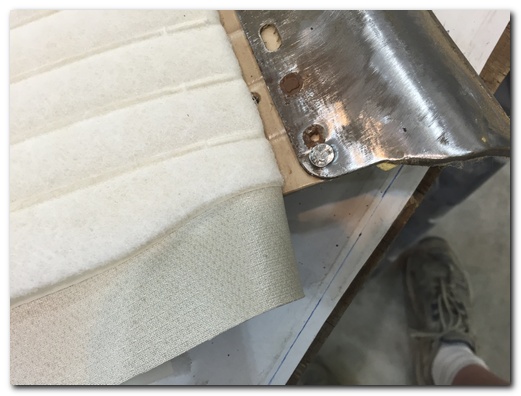
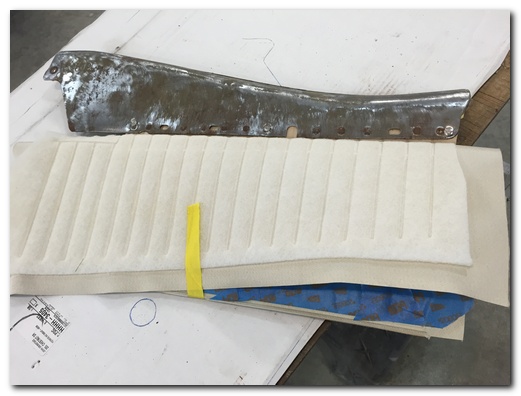
I used a hammer and dolly to flatten the rivets.
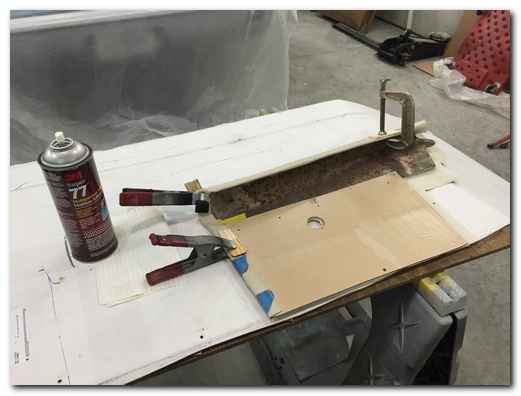
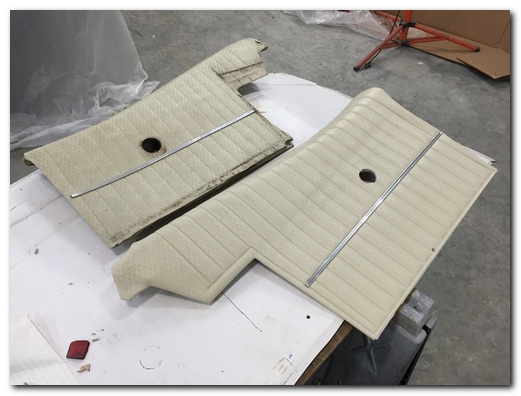
Using contact cement the new material is wrapped over the original part. The edges and corners are cut and tucked in to match the original. On the right is a before and after look. Really a huge difference.
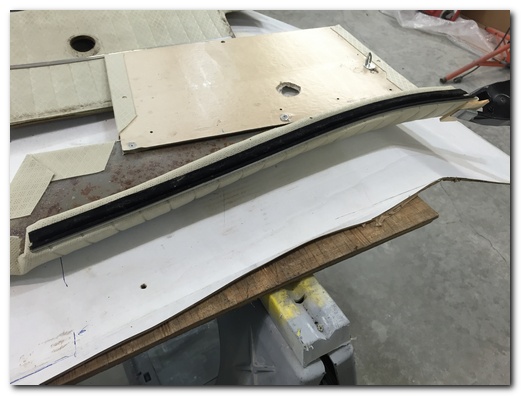
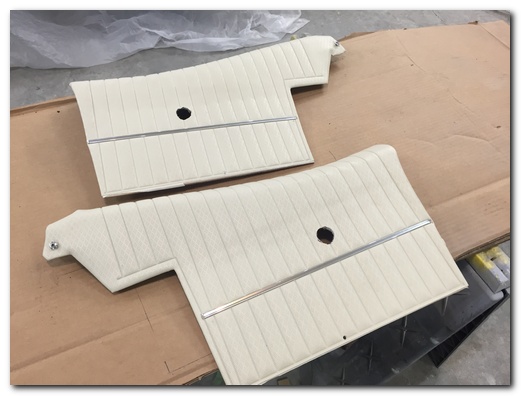
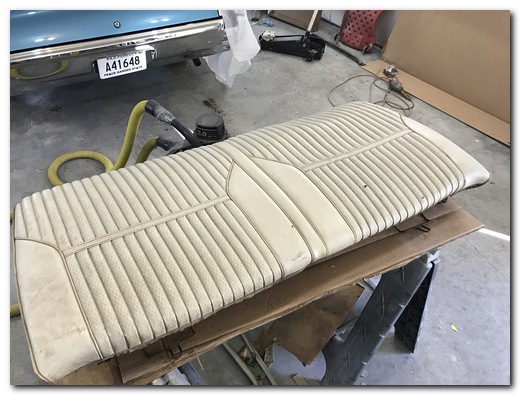
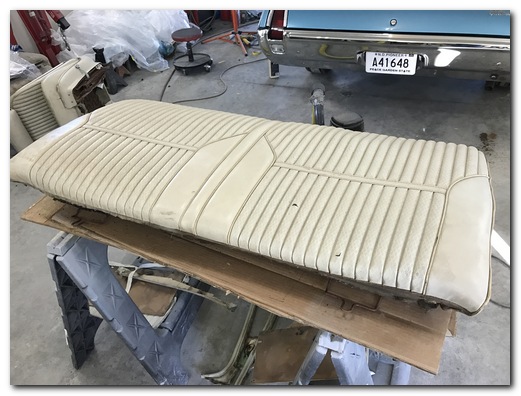
The rear seat back is in very good condition. Only a few small tears and discoloration.
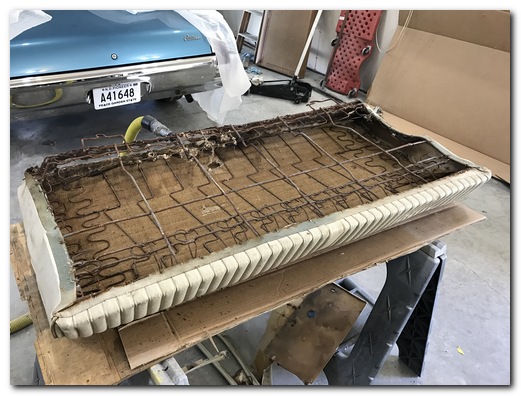
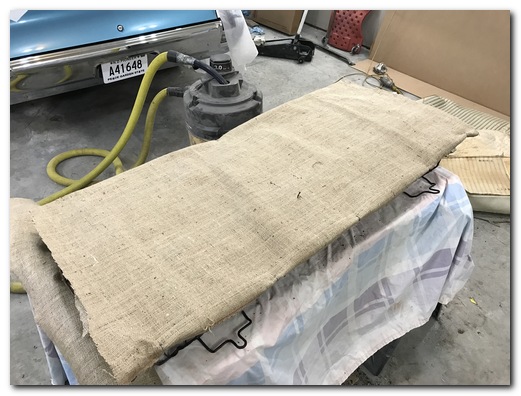
The frame required no repairs or welding, remarkably great shape. I installed new burlap and cotton batting on the cleaned up frame.
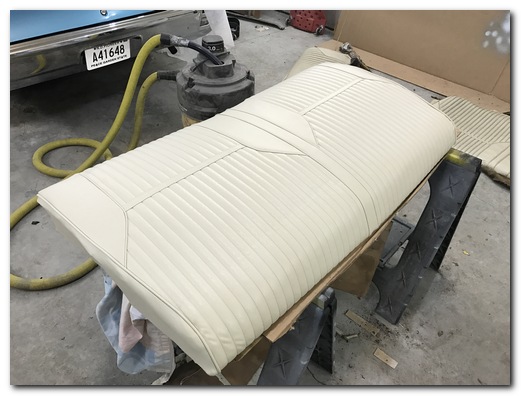
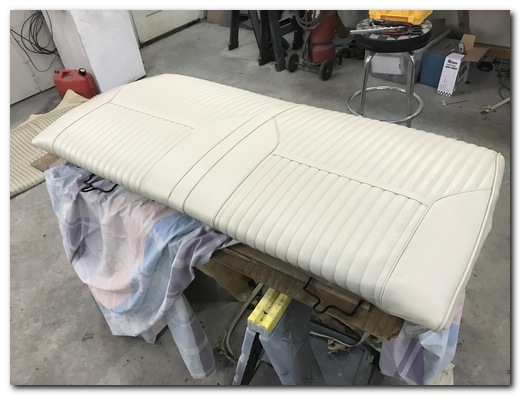
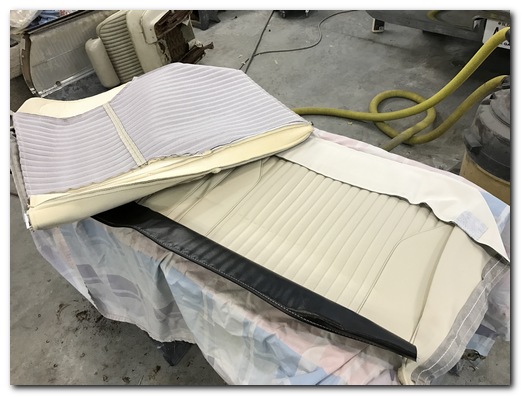
After a lot of pulling, stretching and a handful of hog rings it's now a brand new seat!
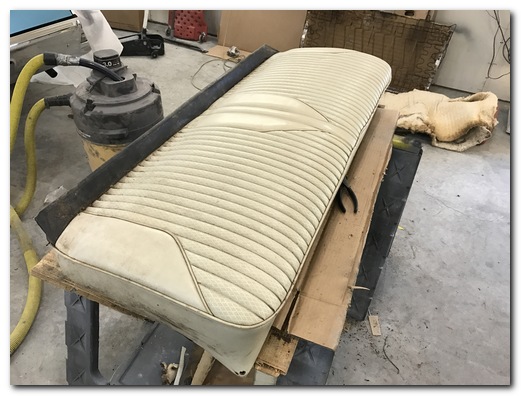
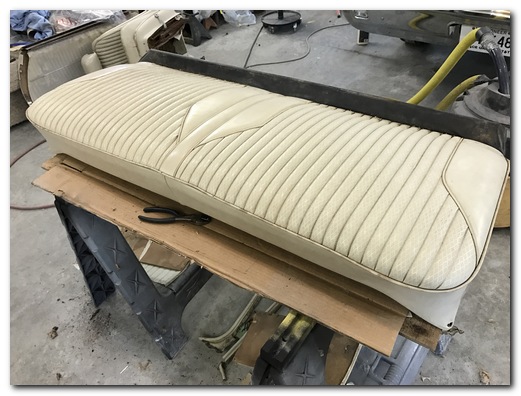
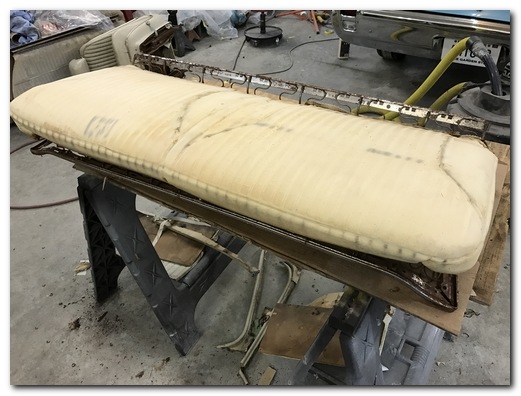
The rear seat bottom is also in terrific condition. If not for some discoloration and a couple small tears it could have been reused.
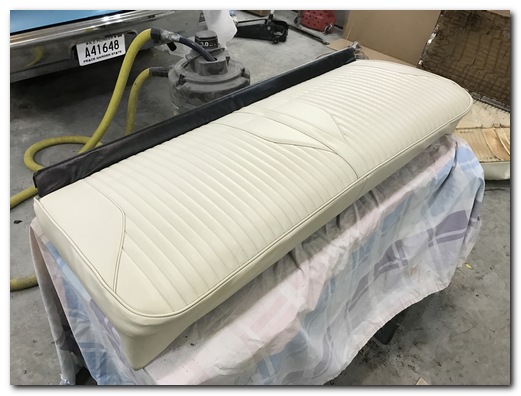
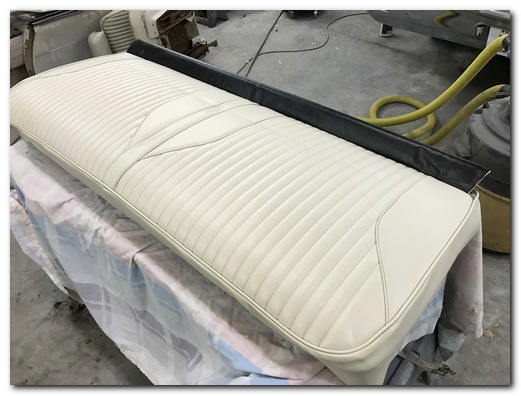
Wow! It really looks terrific!
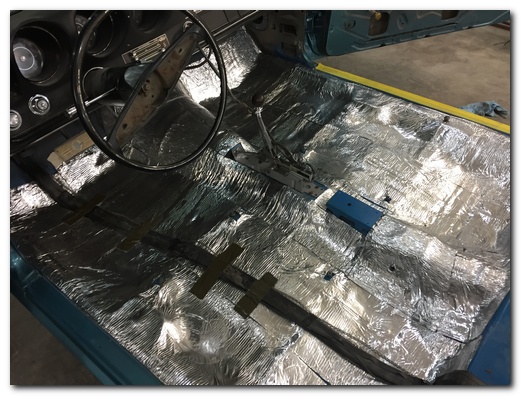
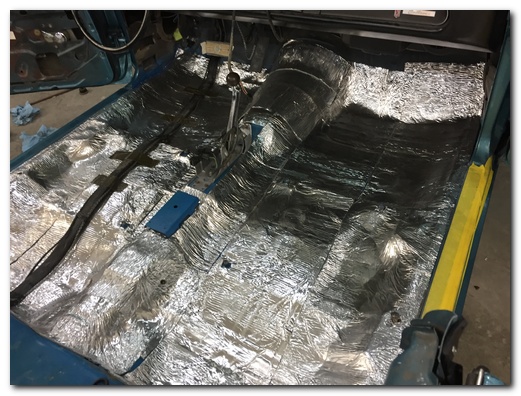
I installed foil insulation on the floor. This will reduce heat, block noise and give a much more new car solid feel.
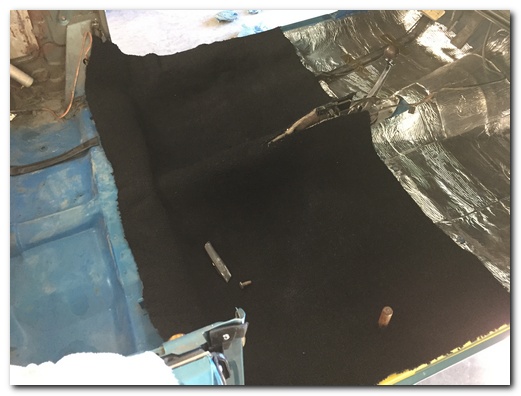
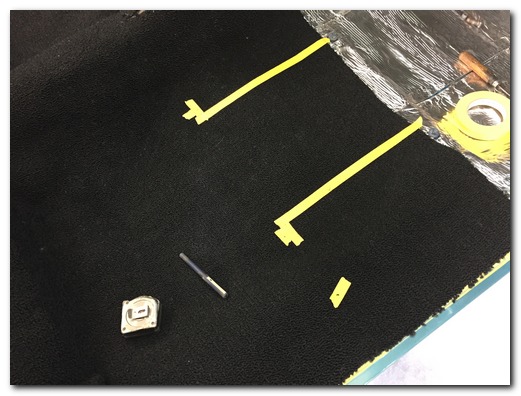
I installed the rear carpet. The carpet is in two pieces 80/20, 80% in the front and 20% in the rear. I also cut the carpet in the factory correct way for the front buckets seats to be mounted to the floor.
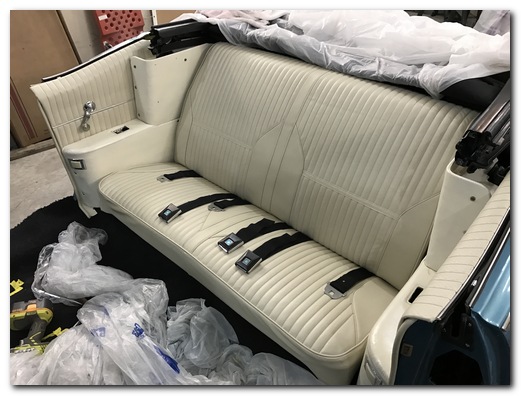
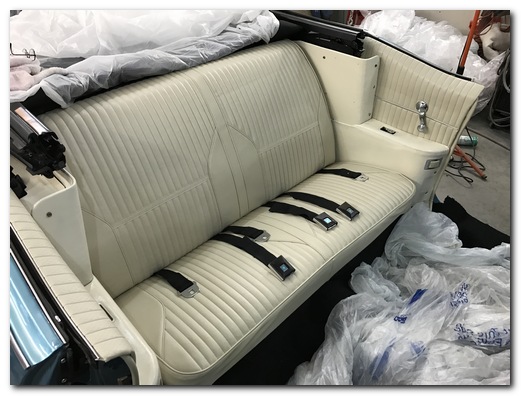
New window cranks and windlace. Looks great and comfy!
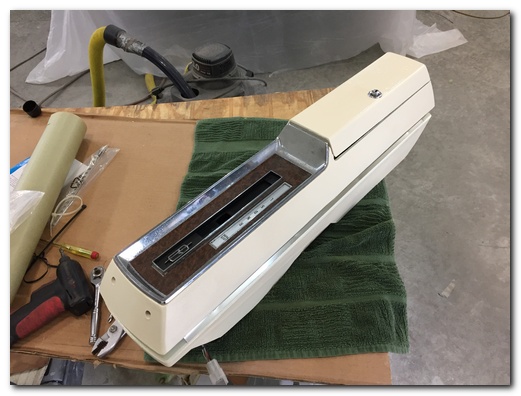
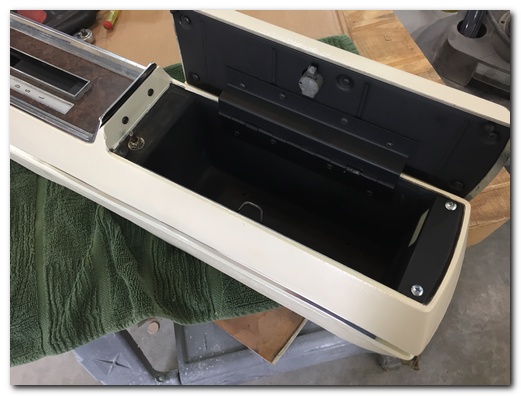
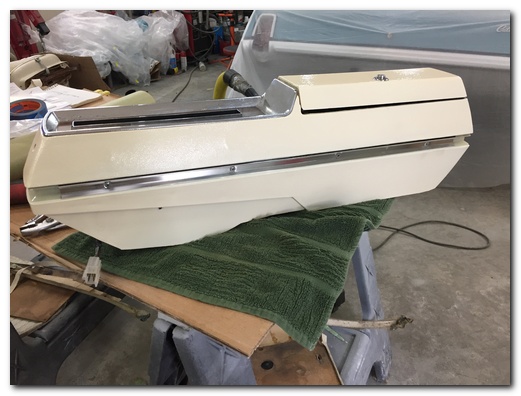
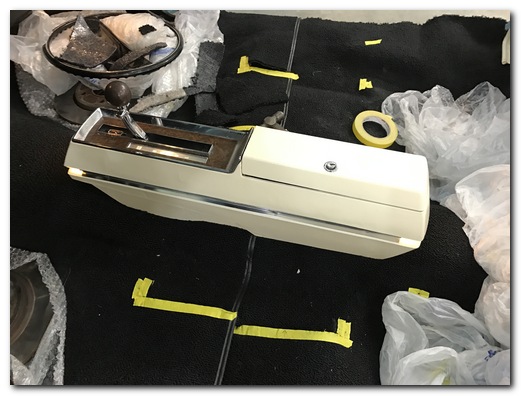
Everything refurbished and working correctly.
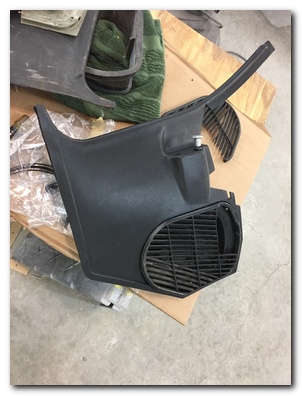
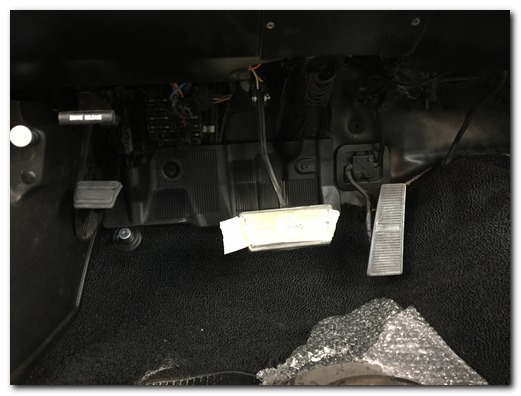
A few finishing touches under the dash. Kick panels painted and made functional. Note new parking brake handle, dimmer switch and brake and accelerator pads.
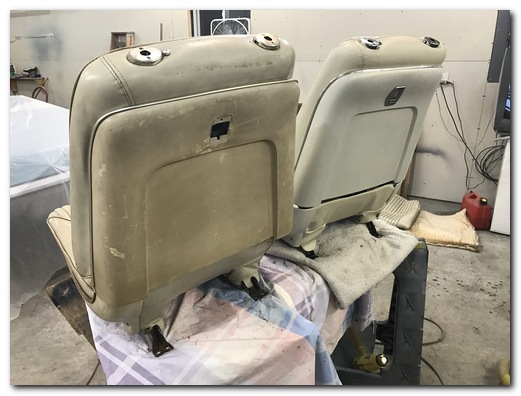
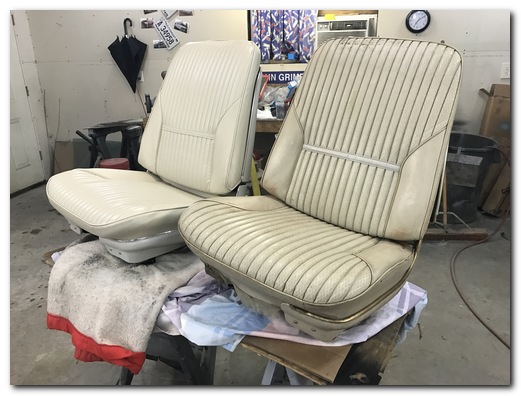
The front buckets before and after being reupholstered with new seat back, lower covers and headrest guides. I also refurbished the seat tracks so they slide easily and operate correctly. Quite a major difference.
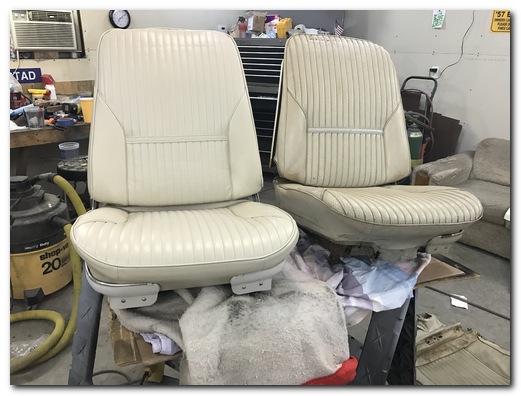
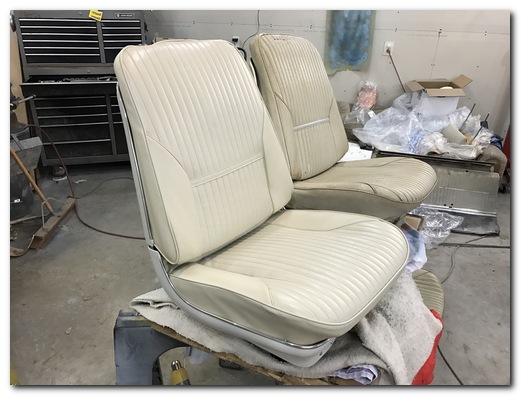
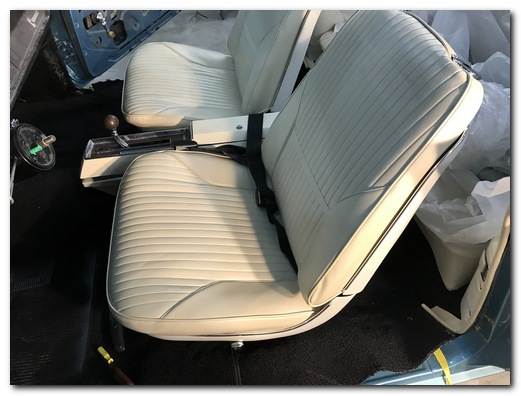
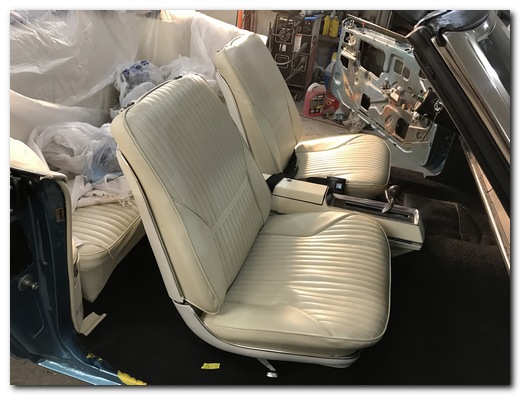
It was really hard to imagine I would ever see this all together again.
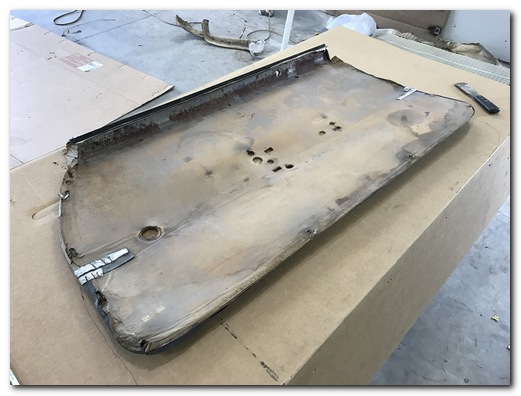
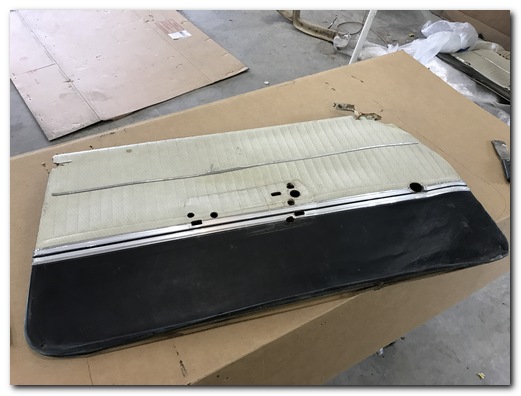
The door panels are in horrible condition!
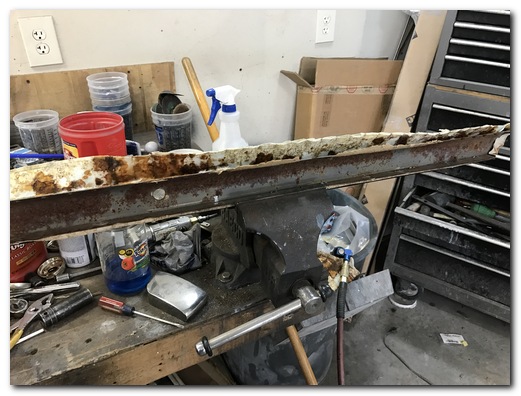
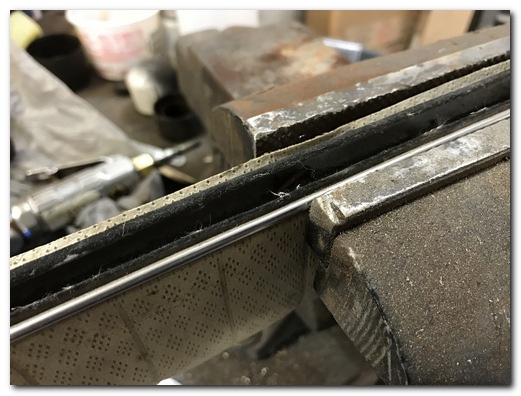
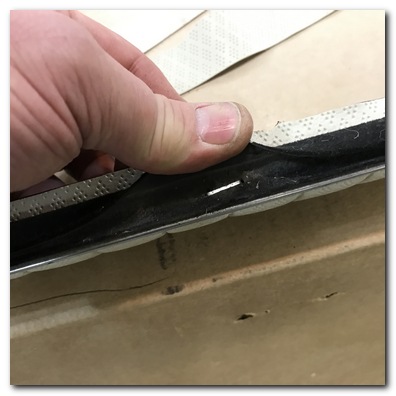
Here is the metal top support of the door panel and a shot showing the fuzzy and staples holding it on.
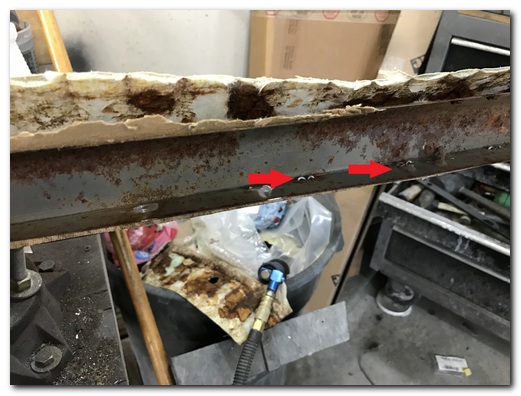
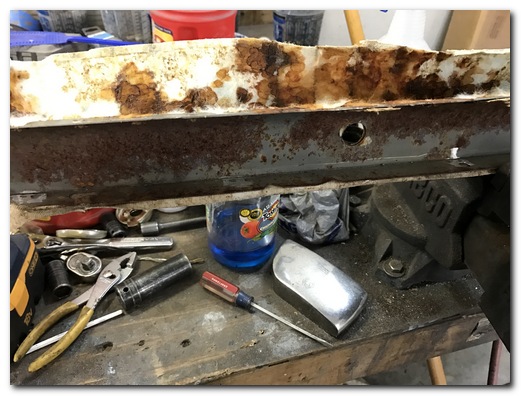
Although it's a bit hard to see the arrows point to the staples that attach the window fuzzy to the metal frame of the door panel. The picture on the right is after I've used a cut off wheel to cut the staples ends off.
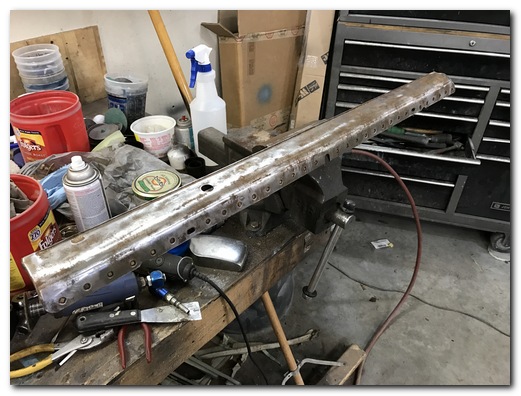
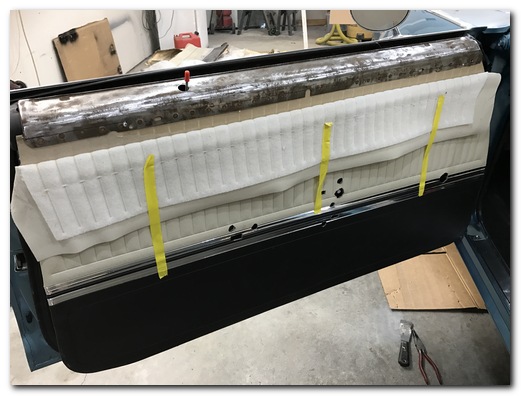
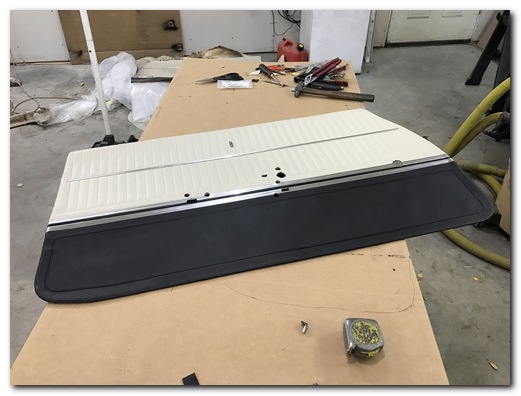
After cleaning it up I mocked it up on the door with the new panel. I verified the proper location of the holes needed for various things going through the panel.
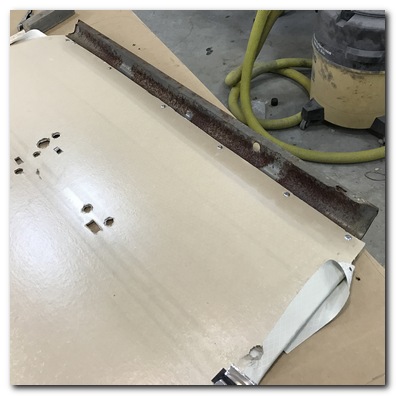
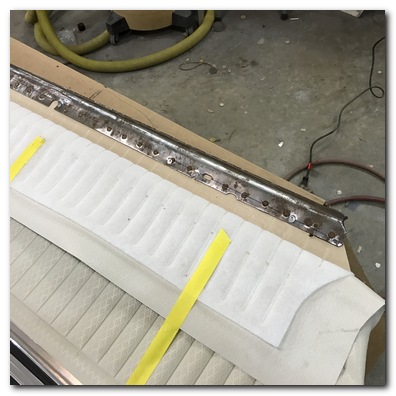
Again I pop riveted and flattened the heads down. The two are permanently attached now.
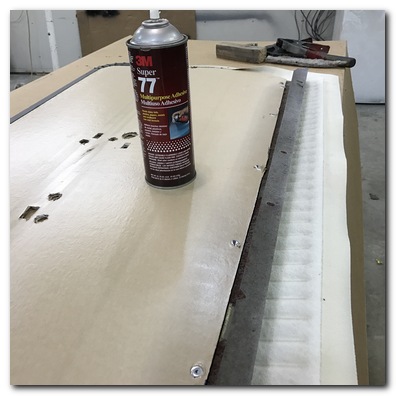
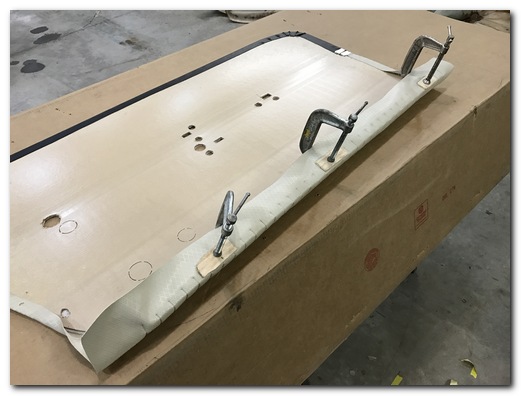
Contact cement was again used to glue the material over the top of the metal support.
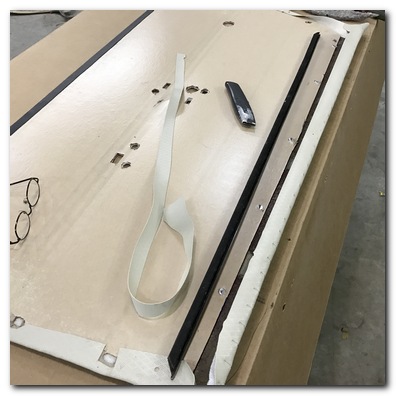
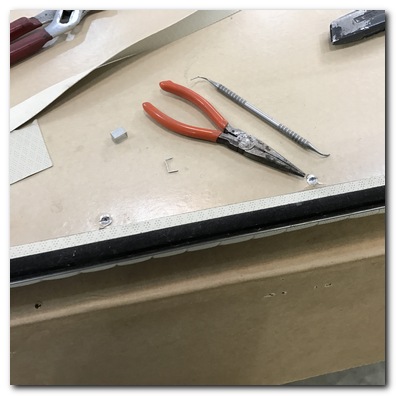
After trimming excess material I realigned the staple holes and used stainless staples to reinstall the window fuzzy. After that it's ready for installation.
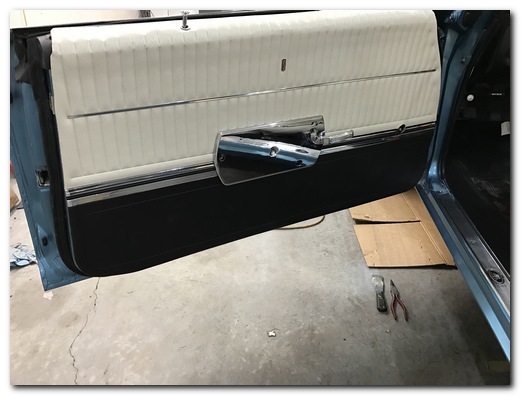
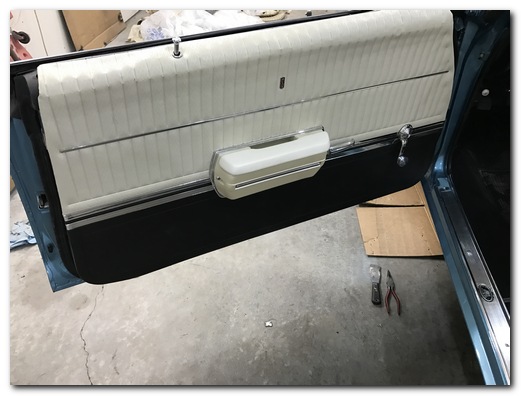
Back on the car with a new chrome backing plate, lock knob, armrest, armrest pad, door and window handles. Also note the new door sill scuff plates.
Looks straight out of the factory in 1969.
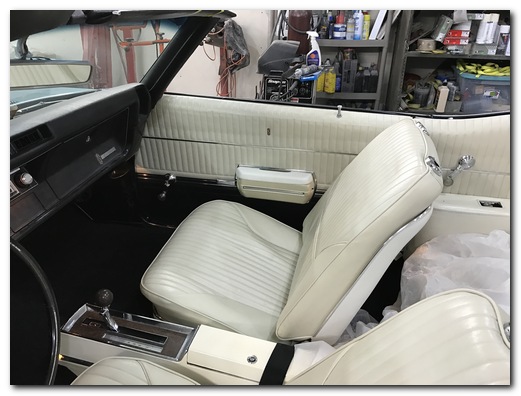
Just WOW!
Time for a shakedown test drive and some minor finishing touches and this beauty is done!
Lots more to come!
Check back often.