

FOR SALE
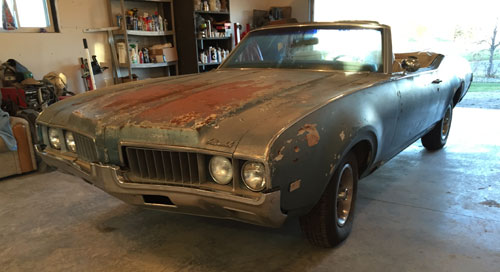
February 26, 2015
A ton of time was spent sand blasting, wire wheeling and dressing welds on the underside of the car. It's very very dirty miserable work that needs to be done.
What a mess.

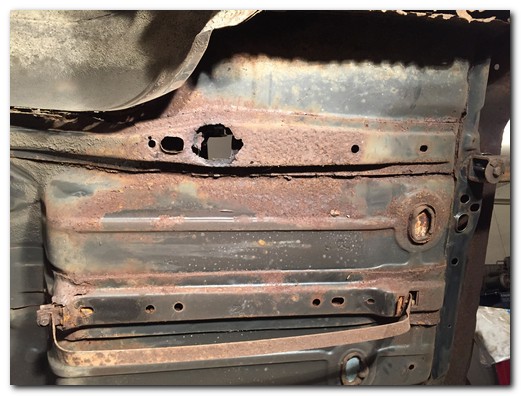
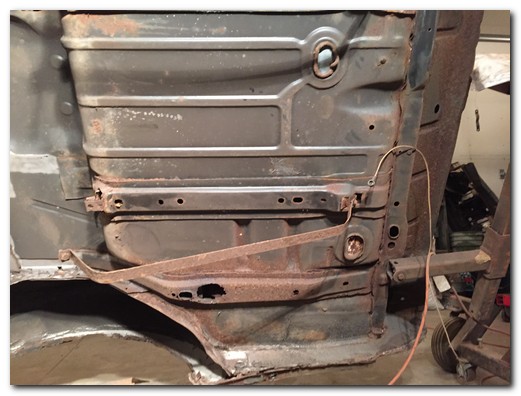
Taking a look at the floor of the trunk is disheartening. The body mounts and fuel tank mounts are destroyed with rust. Both the drivers and passenger sides of the pan will need to be replaced also. Surprisingly the center section above where the fuel tank was mounted is solid as a rock and can be left alone.
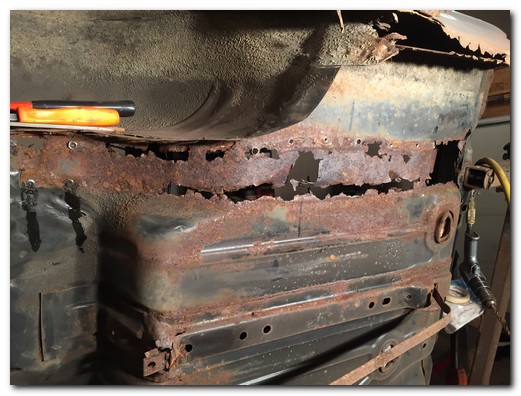
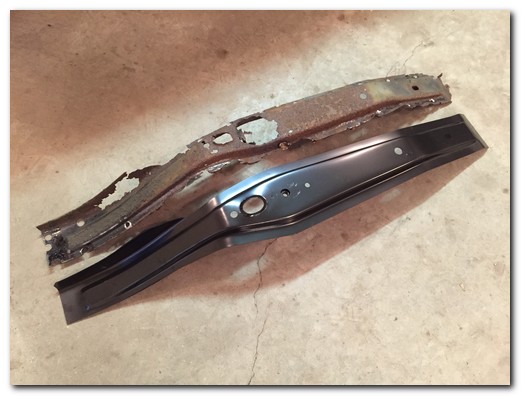
It didn't take a whole lot of work to remove the body mount from the drivers side. I spent a lot of time measuring and documenting the exact position of the mount. It's critical that it's replaced in the exact same position to assure I don't have any panel alignment issues later on.
I wasn't surprised at what I found underneath.
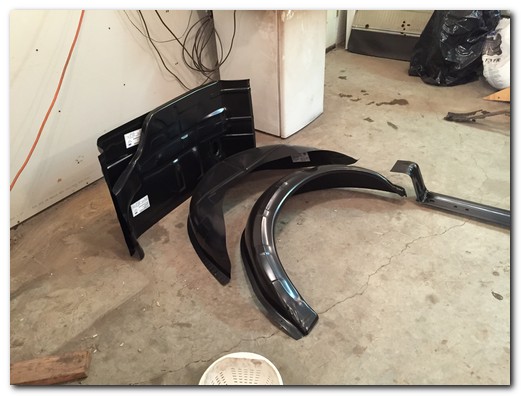
Quite an amazing difference between the new and old parts
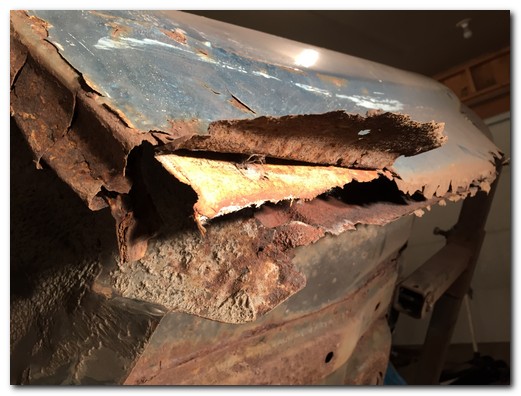
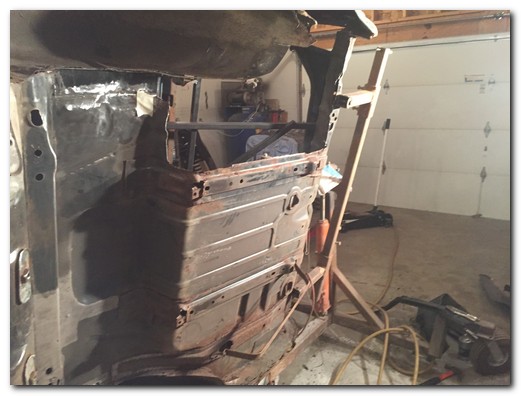
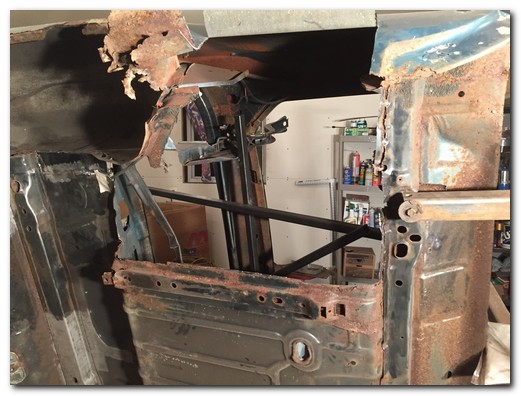
A cutoff wheel and cordless drill made quick work of removing the driver trunk pan.
That's an awfully big hole to fill, and it's got to be straight and look good too!
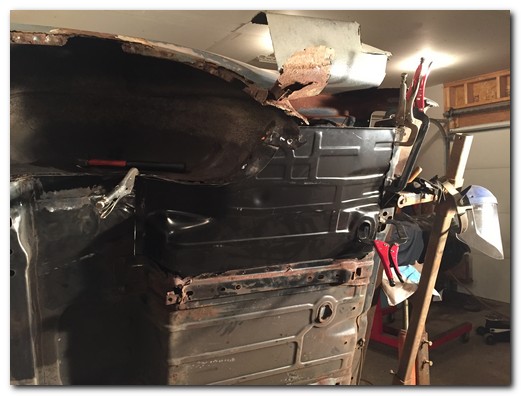
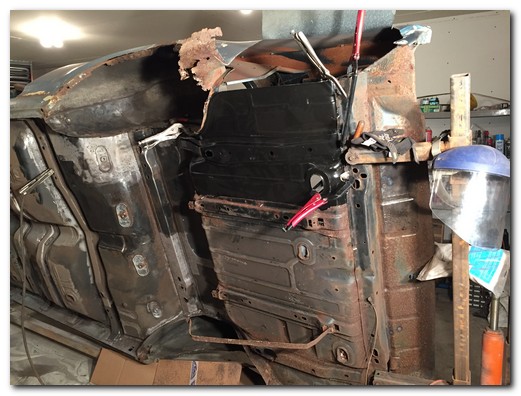
And the fun begins. This pan was installed and removed probably 50 times. Each time an adjustment was made to ensure it fit perfectly and matched up the other parts of the car. Very very time consuming work.

A quick look from the inside of the trunk. Also this picture shows the added bracing that was installed to ensure the body didn't flex or move at all when removing the floor and braces.
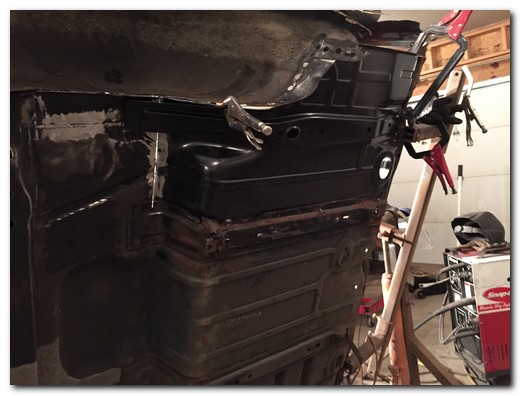
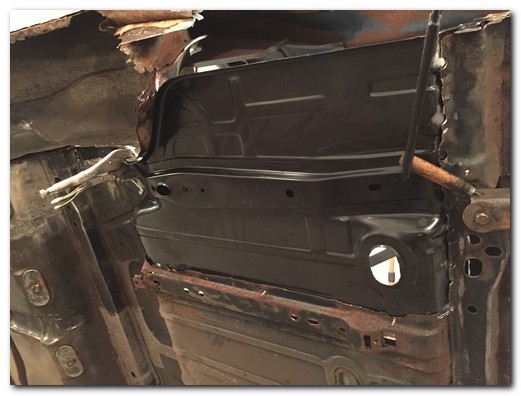
I've got the pan in place and ready to be welded in. Before I do that I'm fitting the new body mount and verifying it's in the exact proper location.
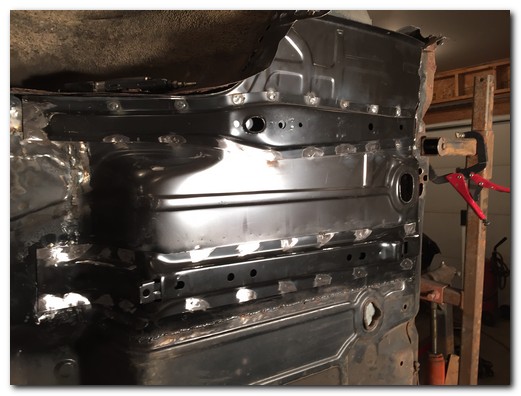
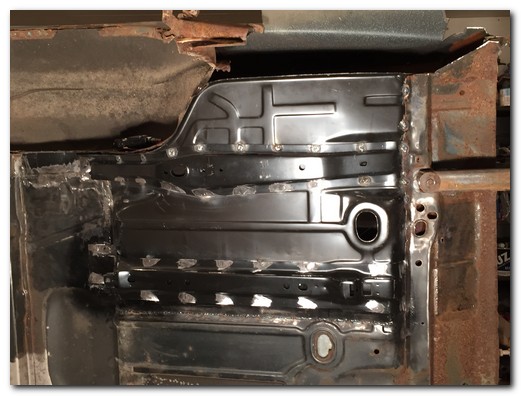
Well here it is. After many days of work it's all welded in and looks terrific.
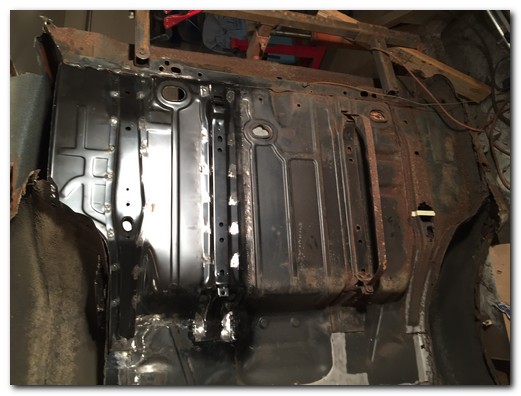
One side down and one to go.
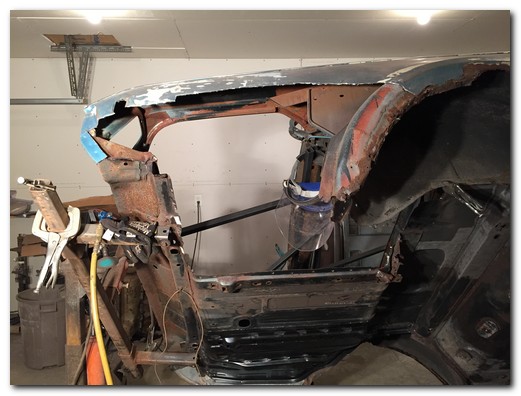
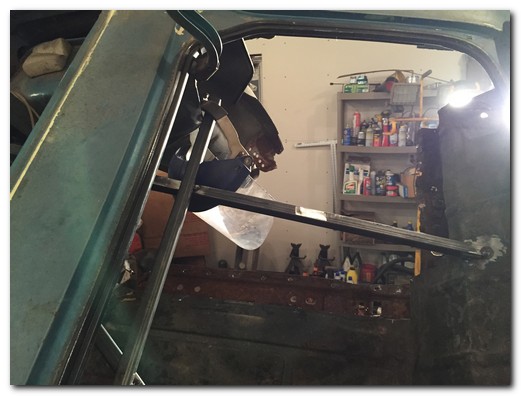
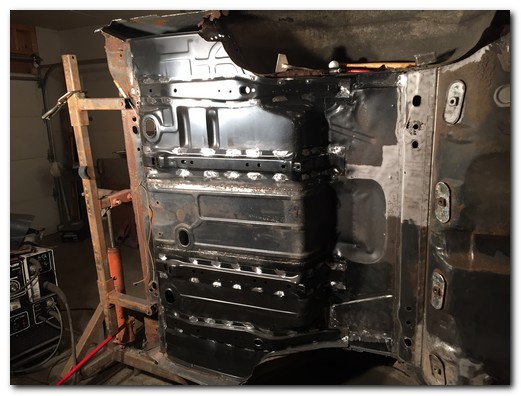
The same laborious procedure was done on the passenger side. For some reason this side really fought me. It took forever but came out beautifully.
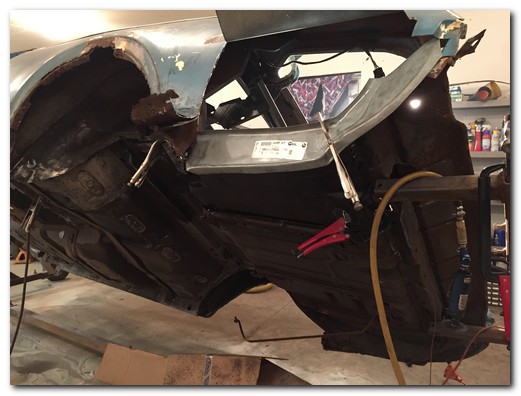
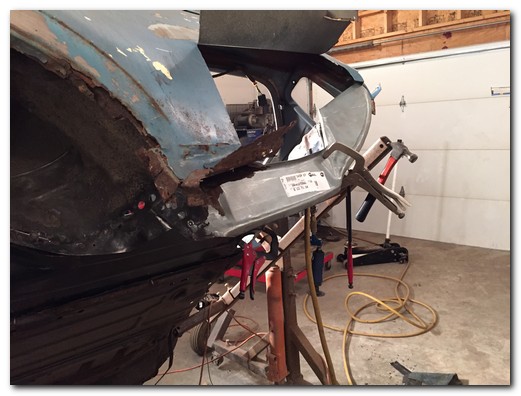
Here I am just test fitting the trunk floor drops that tie the trunk floor to the bottom of the quarter panel.
I won't permanently install these until I fit the new quarter panel to the car.
Lots more to come!
Check back often.