

FOR SALE
December 17, 2014
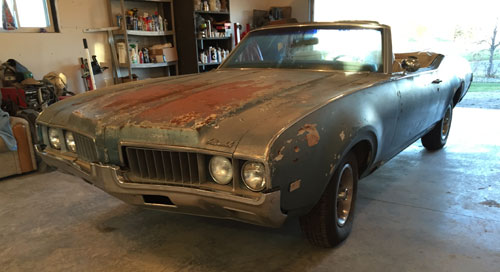
I've finished off a couple smaller projects and am back for more fun on the Cutlass!
The word of the day is "RUST REPAIR", (I guess that's two words).
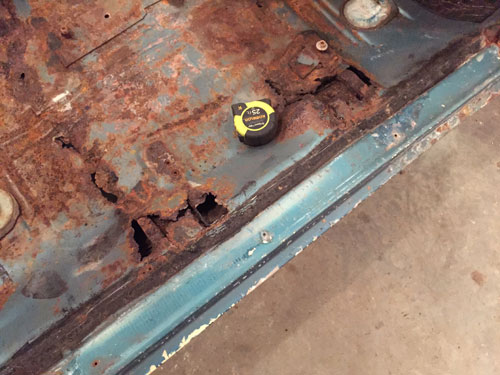
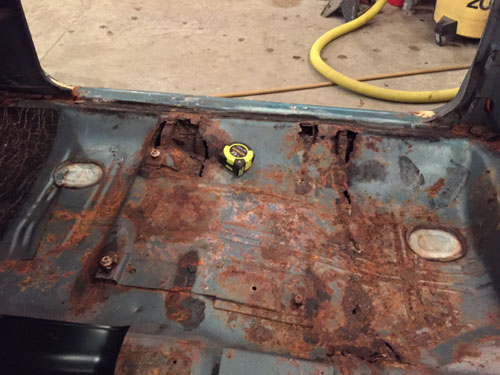
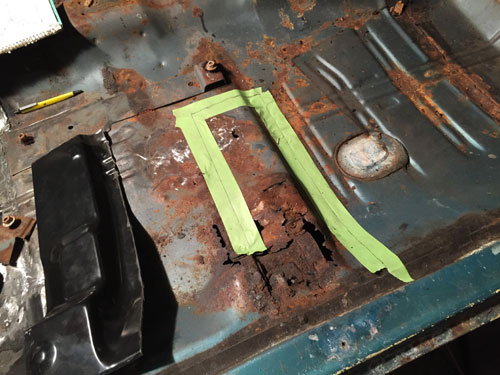
There is some rust in the floor pans that needs to be addressed. It's about the same on both sides. Pretty typical for a convertible of this age.
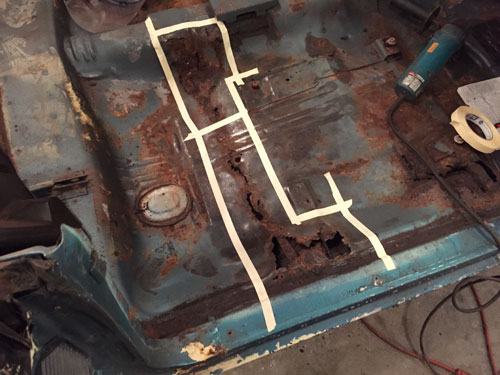
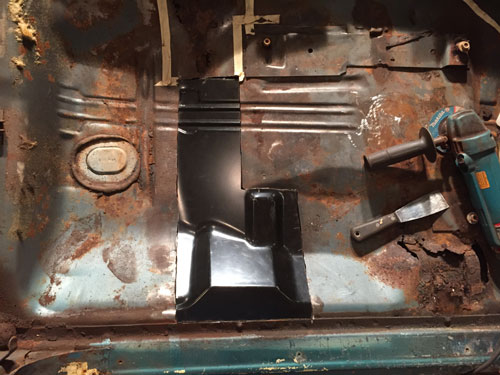
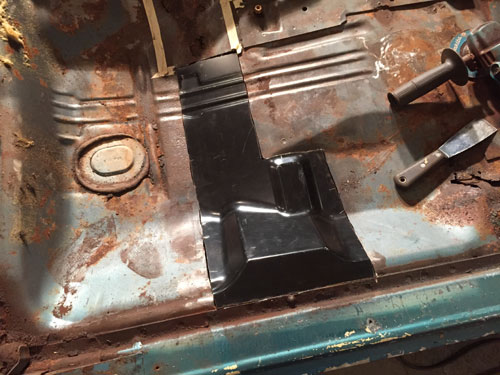
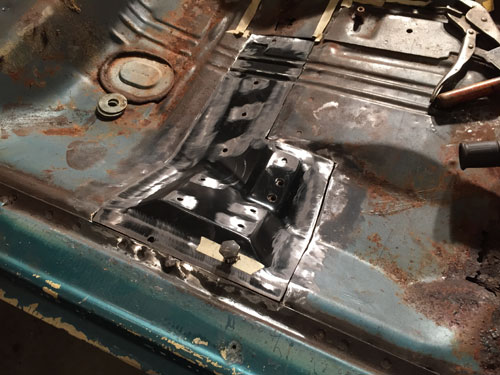
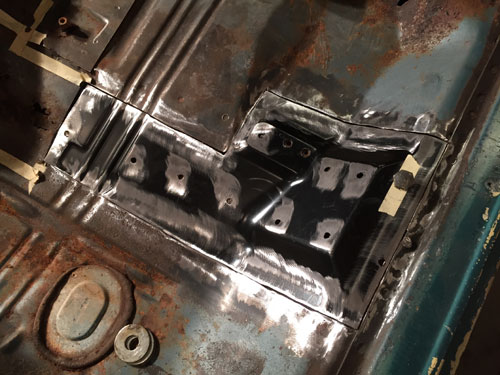
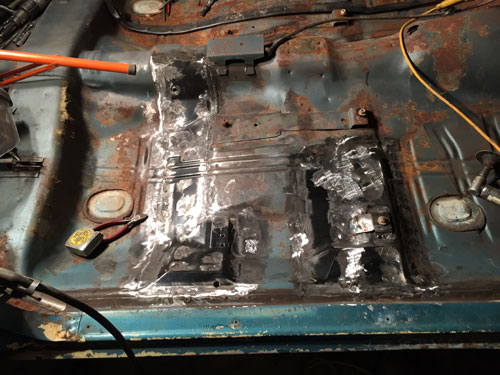
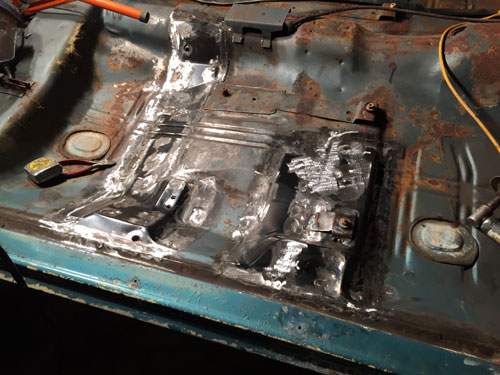
After a WHOLE lot of work this is what I've got.
The perimeter was slowly welded and then the welds were dressed with a grinder and sander.
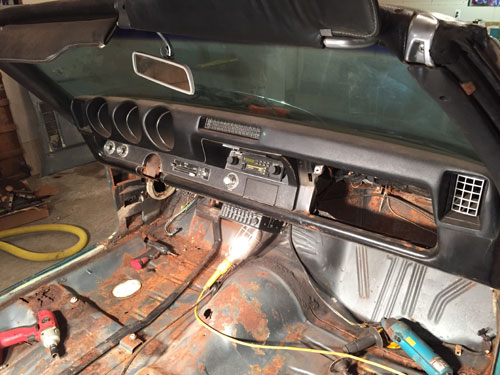
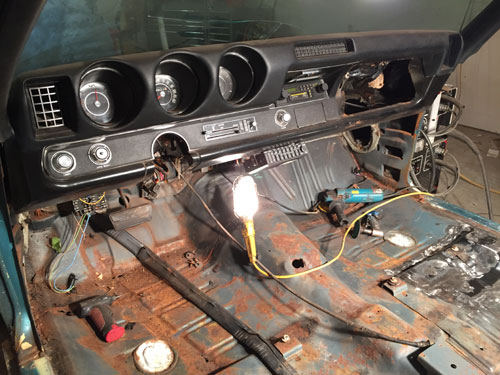
Before I tackle the drivers side repair I removed the steering column, brake and accelerator pedals to gain some room to work.
I'm also going to remove the dash from the body in order to restore it and gain access to the heater box on the firewall.
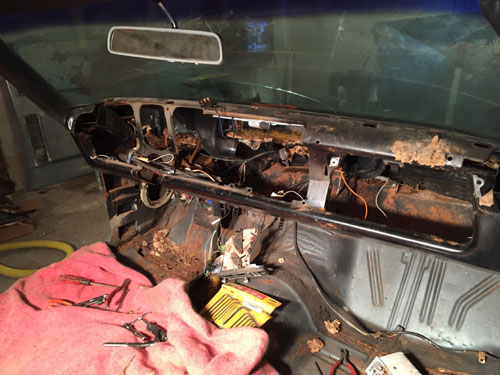
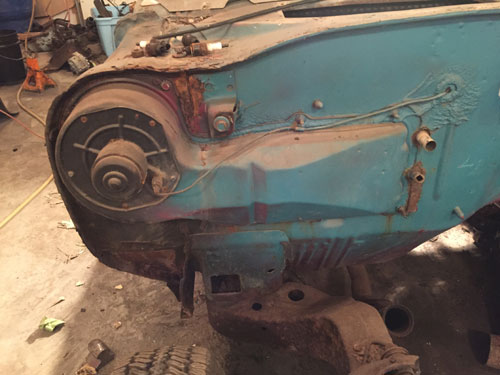
Probably the most difficult dash panel I've ever removed! Small nuts holding it on from behind in the most inaccessible places.
The heater assembly was also removed from under the dash and the firewall. It will all be replaced with a new Vintage Air unit.
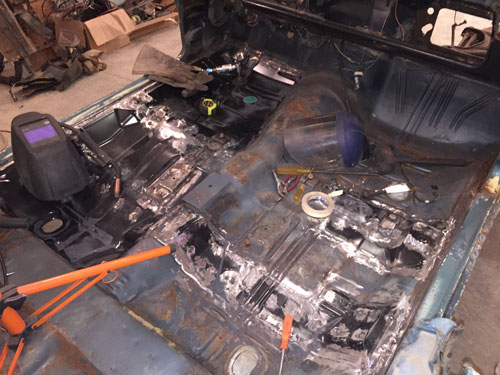
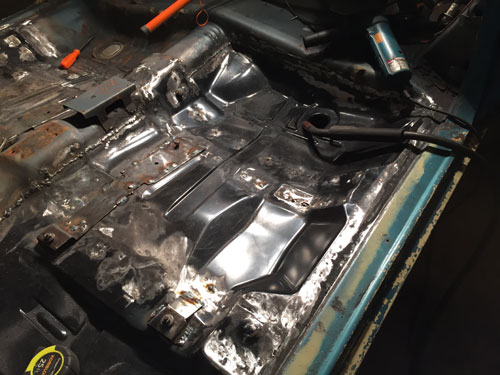
POOF! Just like that (and about three days work) the drivers floor is also done.
I'll finish dressing these welds and after the floor pan is epoxy primed the seams will be invisible.
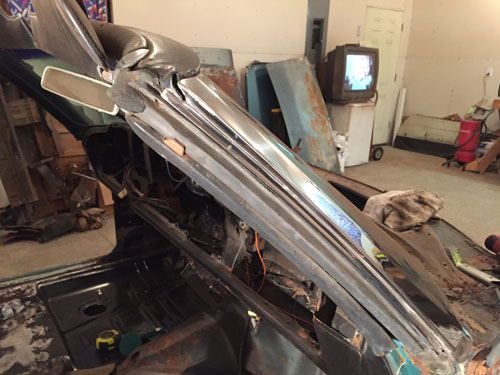
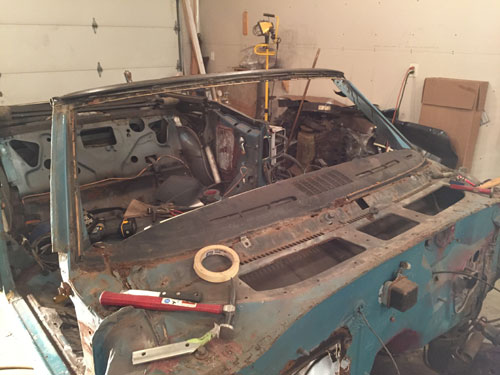
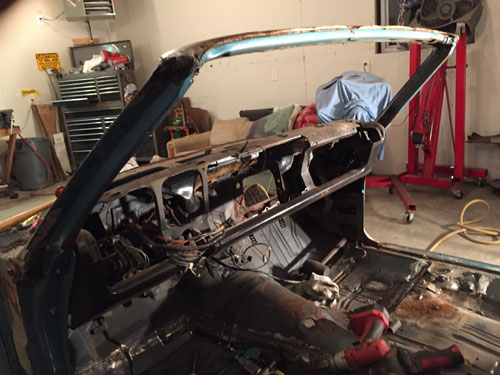
Next up is removing the stainless trim and weatherstrip from around the windshield and A pillar.
Once that was carefully taken off the cowl screen, garnish moldings, interior rim, rear view mirror and windshield came out.
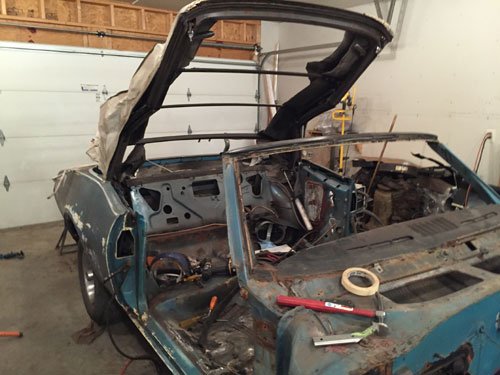
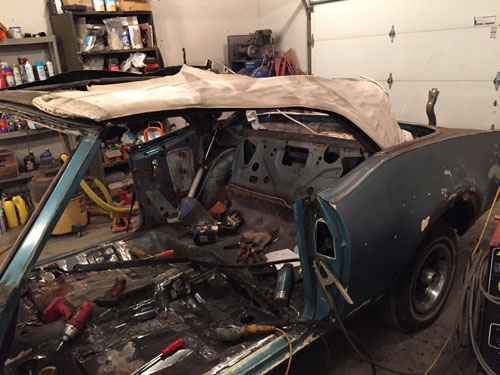
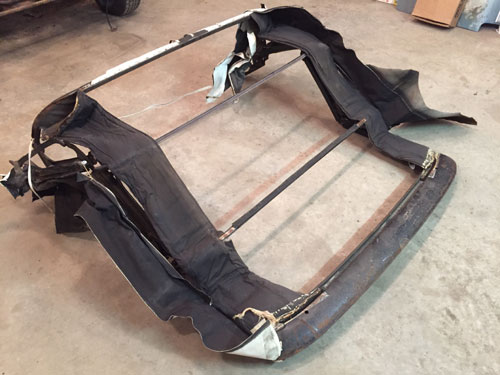
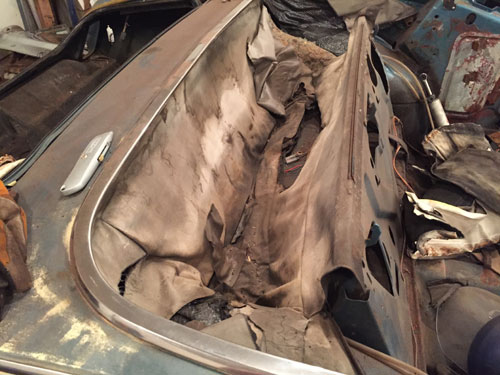
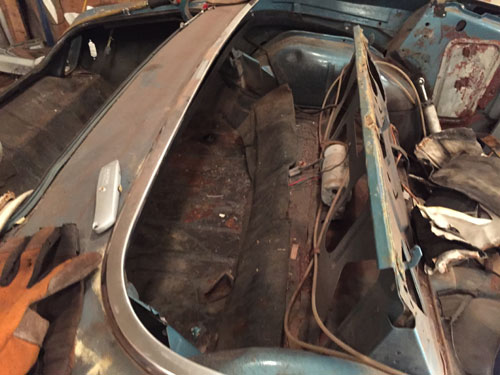
This is the well or boot that the top folds into. It's put up with a lot of crap and will be retired.
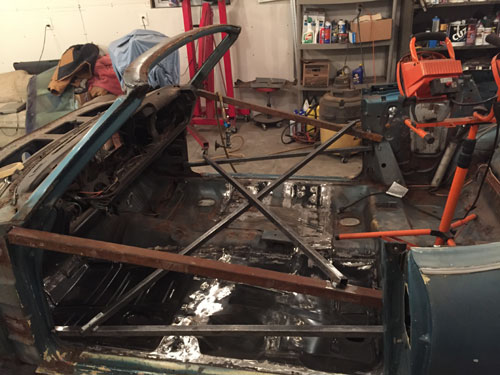
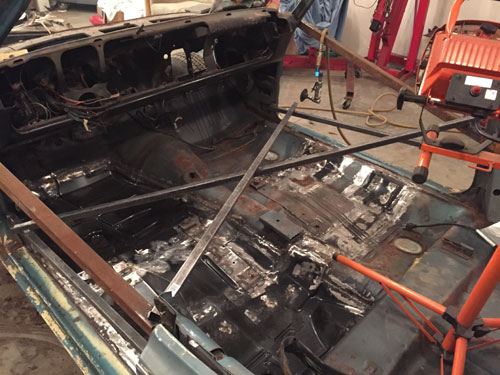
Now that the body is pretty much stripped to nothing it's time to separate it from the frame. In order to prevent it from folding in half once the frame is removed, several 1 inch square bars are welded in place to not allow the body to flex in any direction.
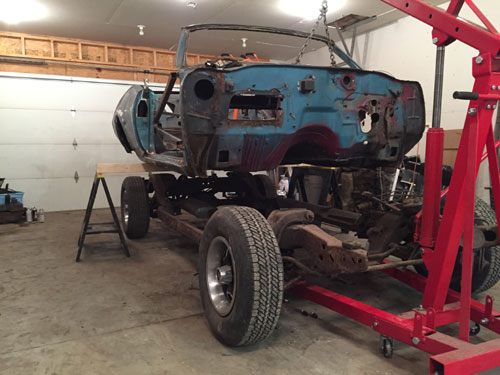
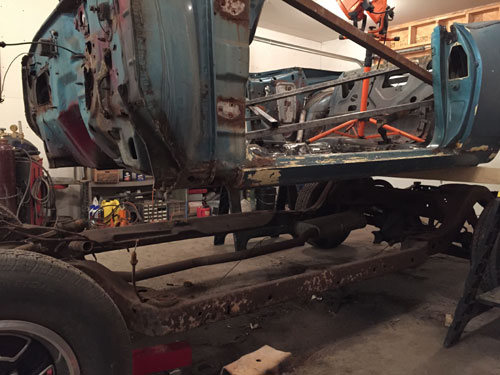
All the rusted up body bolts were eventually removed and the body hoisted up in the rear and supported, then the front was lifted clear......
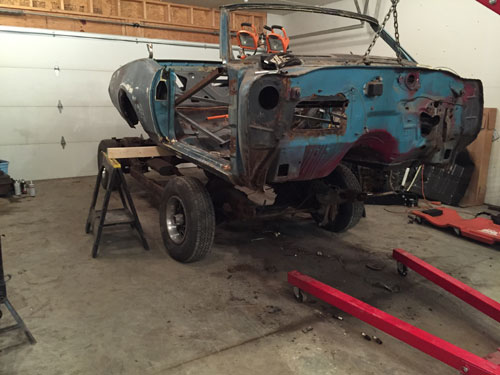
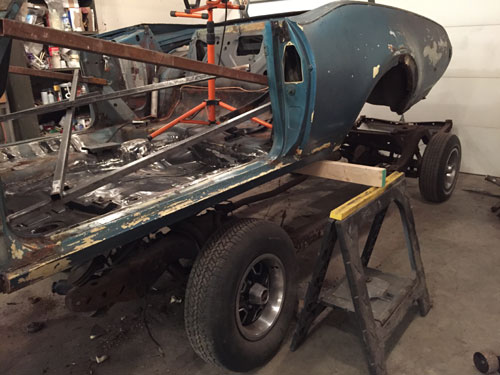
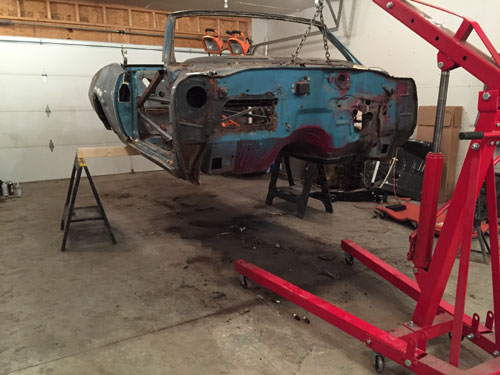
....then the frame was rolled out the rear and outside for now.
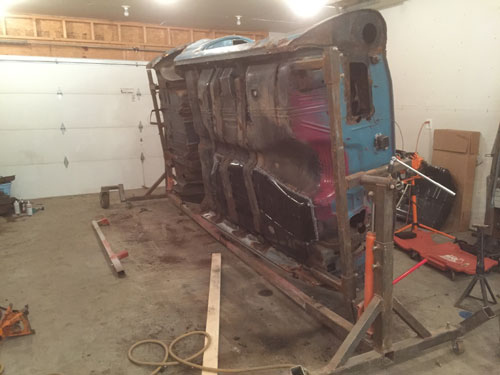
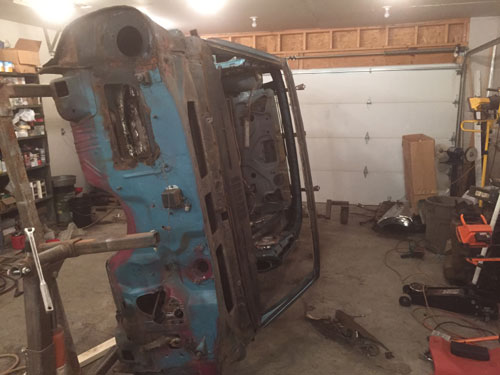
Here is the body on the rotisserie.
Now I can sandblast, repair and paint the underside.
The frame unfortunately looks to be in very poor condition and will need to be replaced.
Lots more to come!
Check back often.