
Latest update here
January 2019
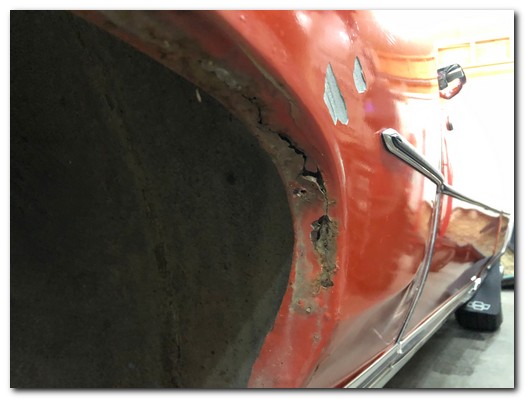
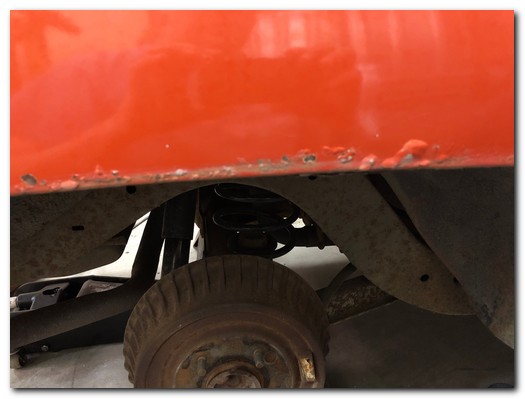
There is a lot of yuck in the wheel openings of the quarter panels.
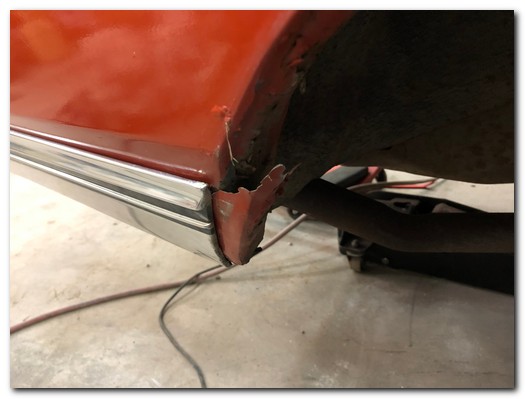
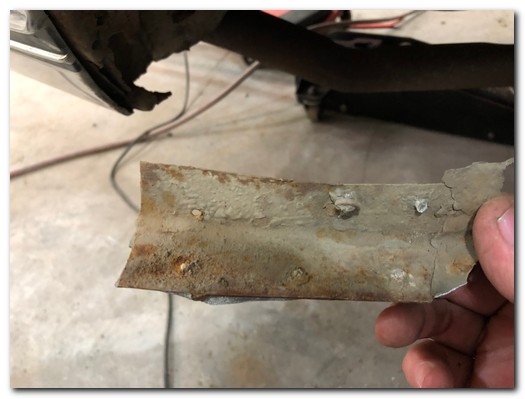
It's not only the cancer but the ridiculously poor previous "repairs" that were performed.
A chunk of poorly formed metal that was pop riveted to the rusted quarter panel and then slathered with body filler simply fell off the car.
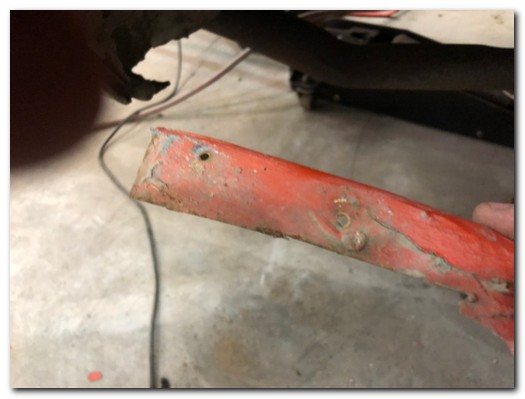
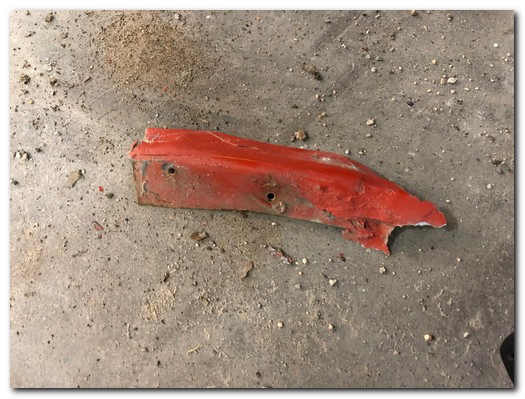
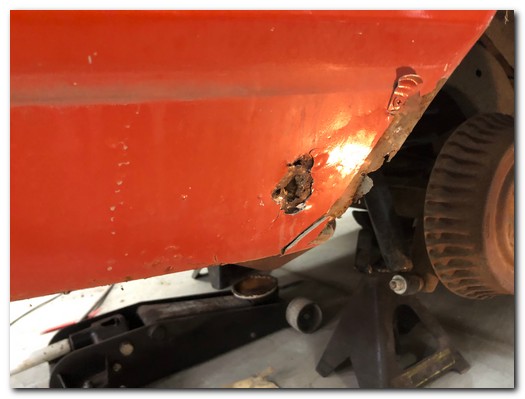
Time to get rid of all this.
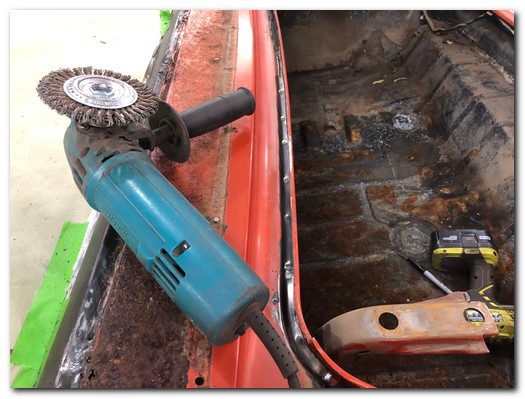
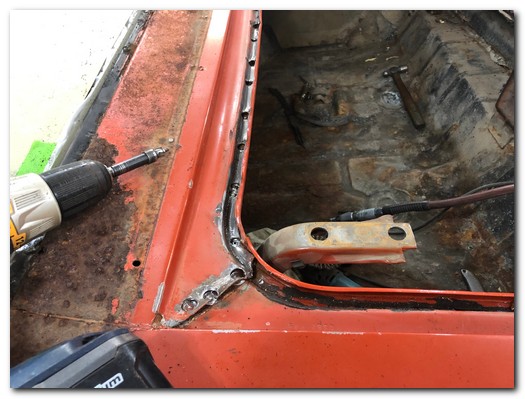
The fun begins by removing the trunk weatherstrip and using wire wheel to reveal all the spot welds between the filler panel and the trunk drip rail.
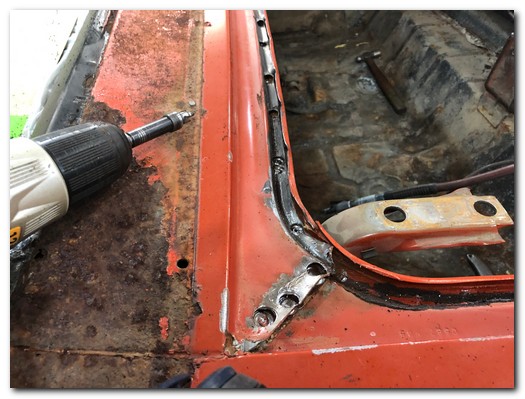
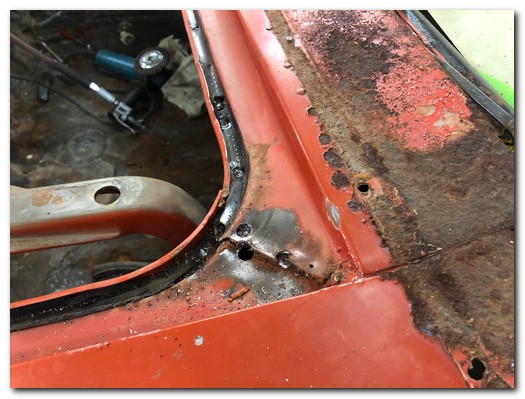
Using my handy dandy spot weld cutter I begin to start cutting the dozens of spotwelds.
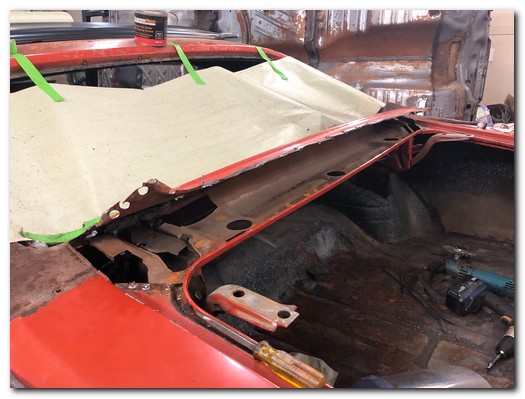
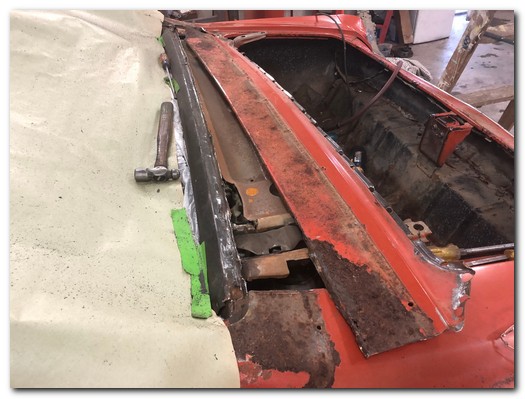
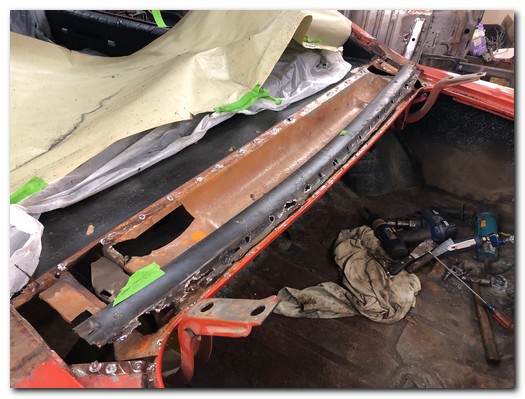
With the rear and sides loose I cut along the forward edge to remove it from the car.
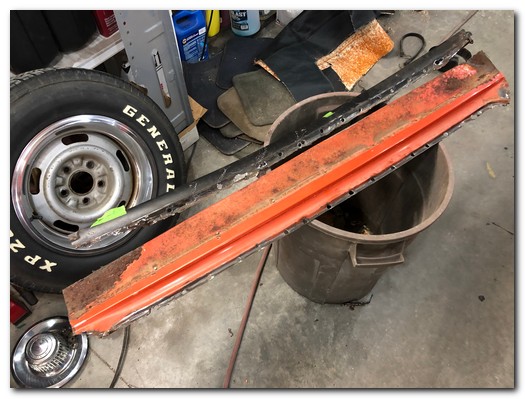
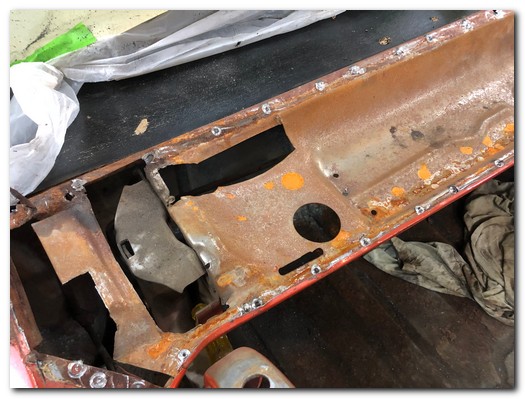
Once the forward edge spot welds were cut out it was removed. The first of many rusted parts to be replaced.
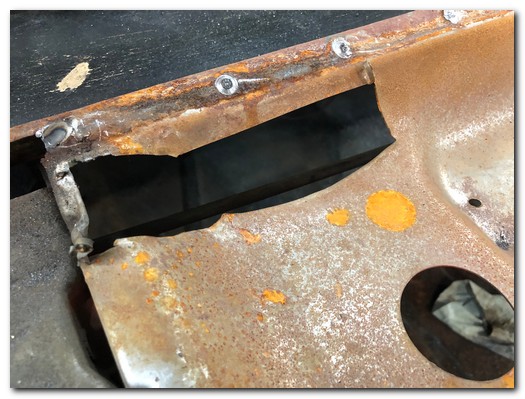
This is one of the reasons I love this work. Under the factory filler panel is this rough hand cut hole. It was cut with a small snipper from the top as you can see by the little curly cues left in the corners. It had to be done at the factory prior to the installation of the filler panel.
I have no idea why, but it's a pretty cool unique feature. I'm going to leave it just the way I found it.
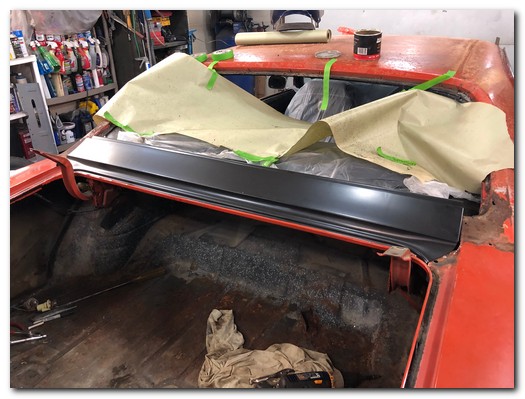
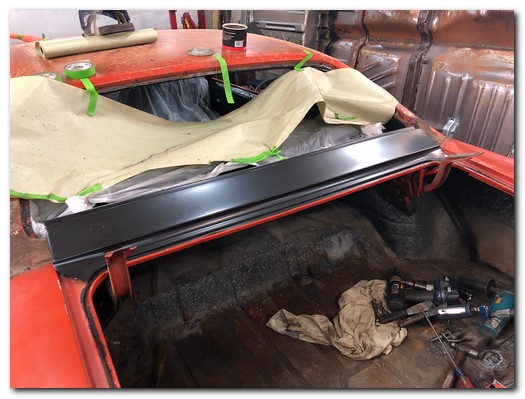
The new AMD brand panel looks to fit amazingly well.
A little early but it's nice to see a new part on the car.
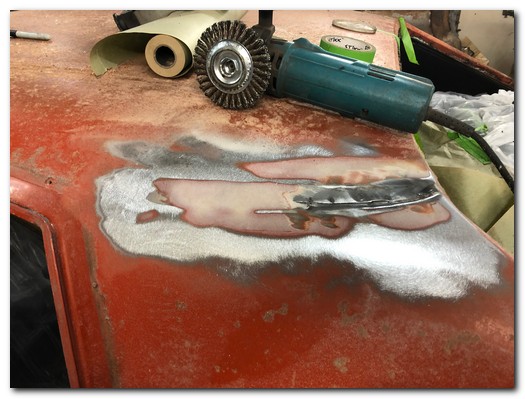
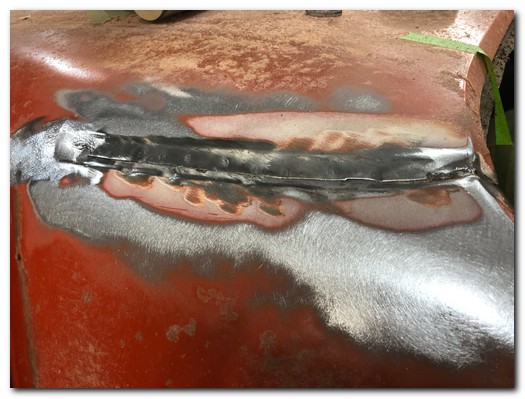
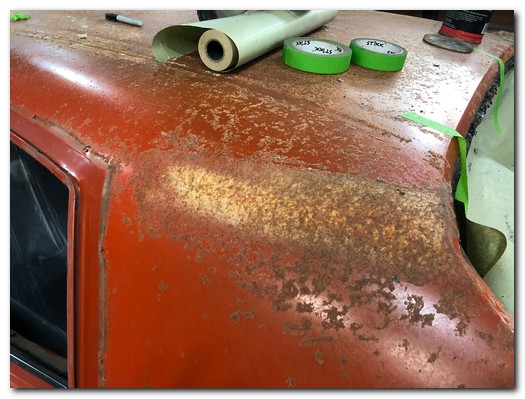
You can clearly see where the quarter panel meets the roof panel. The lighter color is body filler that was applied at the factory to smooth the seam.
A wire wheel makes quick work of removing it.
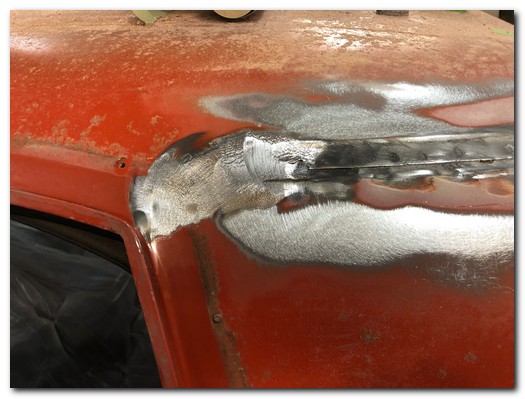
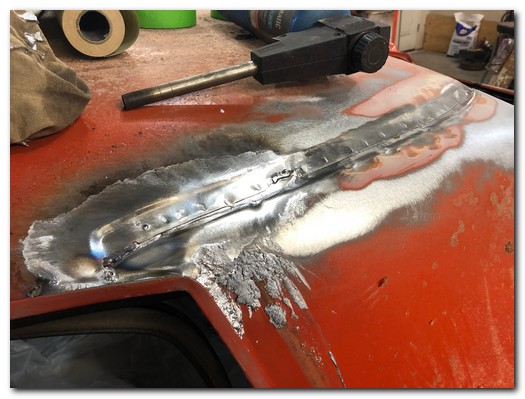
The seam is exposed, lead was used at the front edge of the seam to smooth it out. That will need to be removed as well.
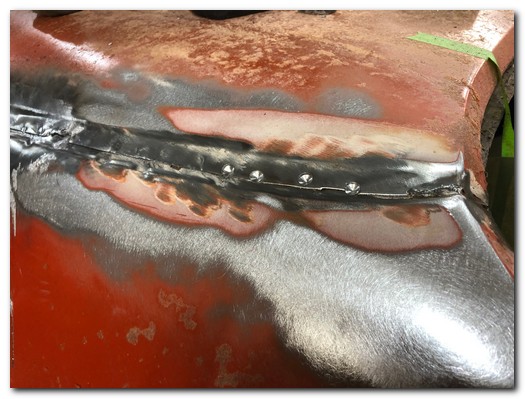
Using a small torch and an old rag I melted the lead from the seam.
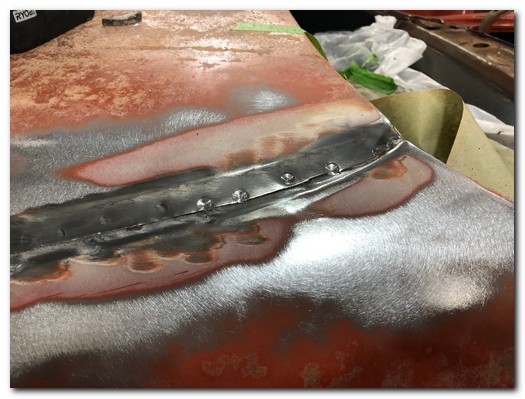
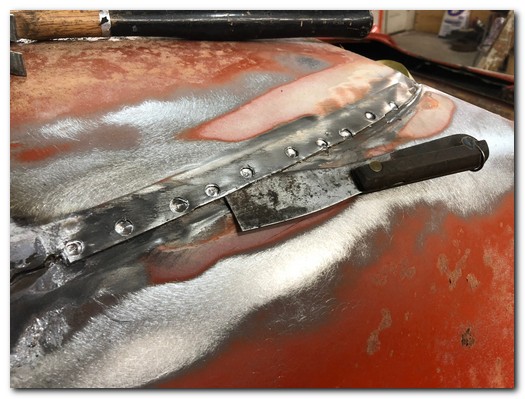
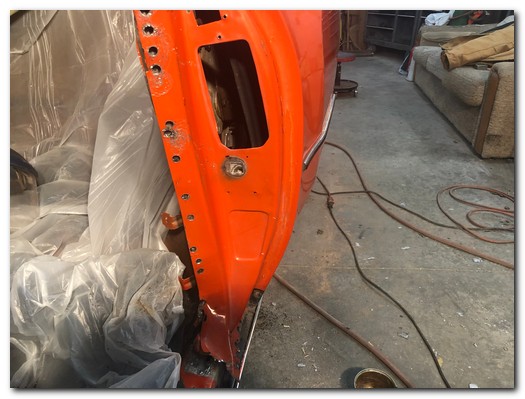
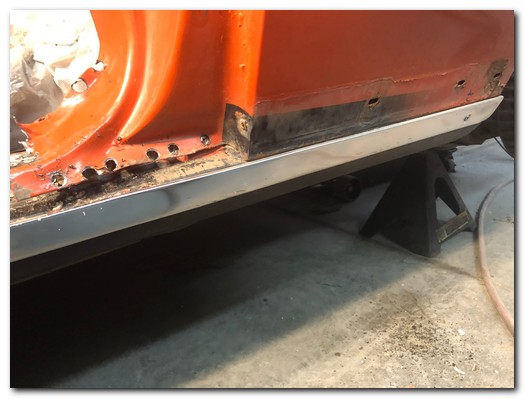
Then my attention turned to the door jam, more spot welds!
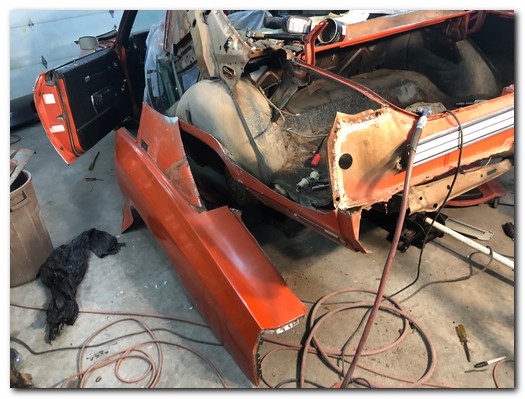
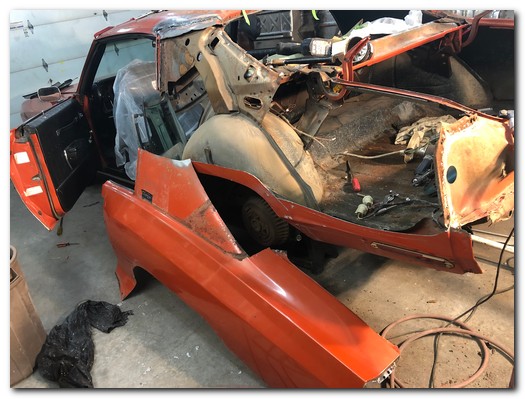
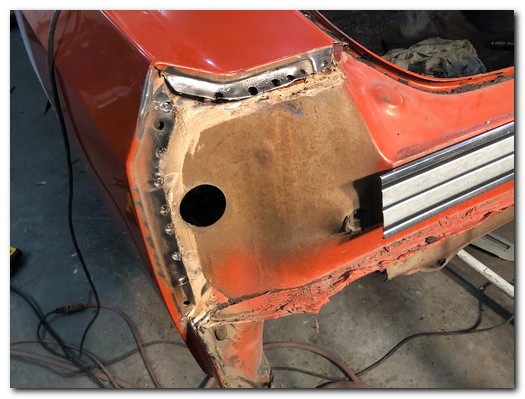
Then the taillight area and drivers side trunk drip rail.
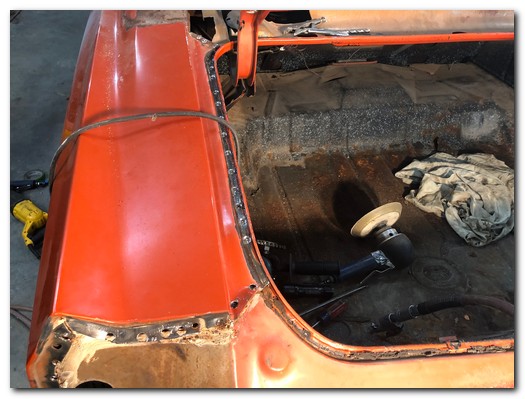
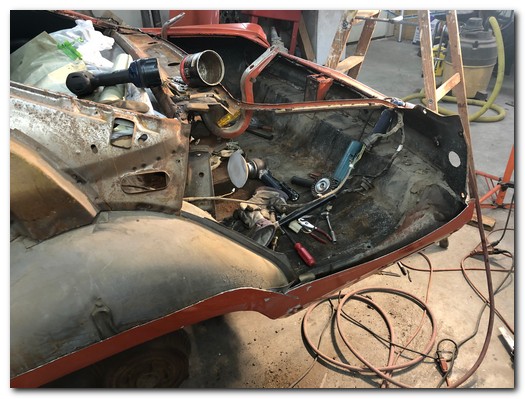
After a ton of drilling and cutting the bulk of the quarter panel is finally released from the body.
Quite a big step!
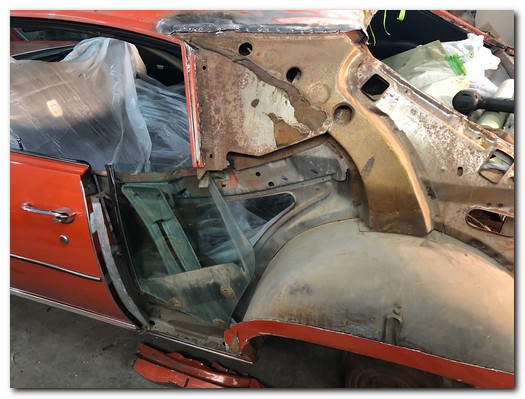
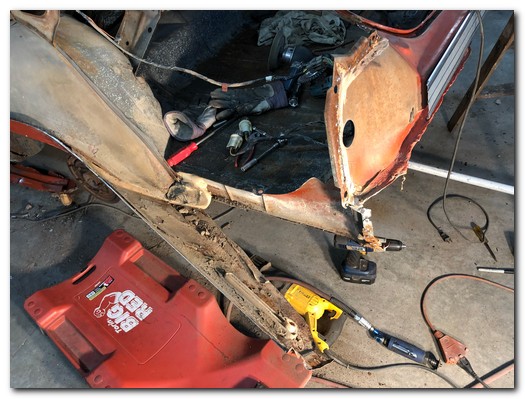
I still need to remove the sheetmetal around the wheel opening and at the trunk drop offs. It will be easier to do now that the bulk of the panel is removed.
Next we will inspect for rust or other damage that needs to be addressed. The wheel well will definitely need attention.