

Latest update here
March 2019
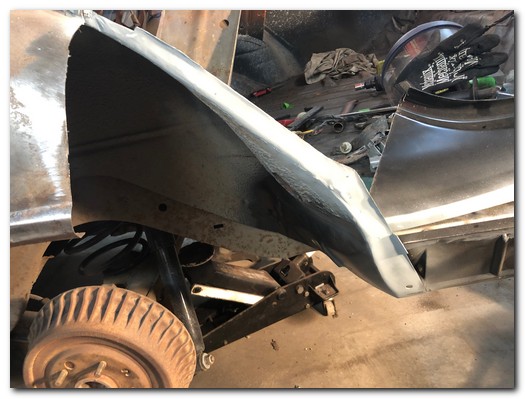
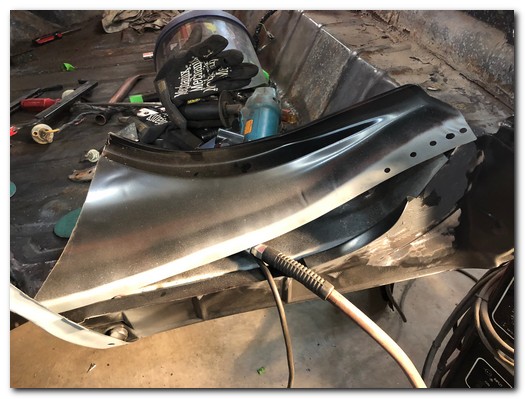
Now that we have the inner wheelhouse and trunk drop properly repaired we can turn our attention to the outer wheelhouse.
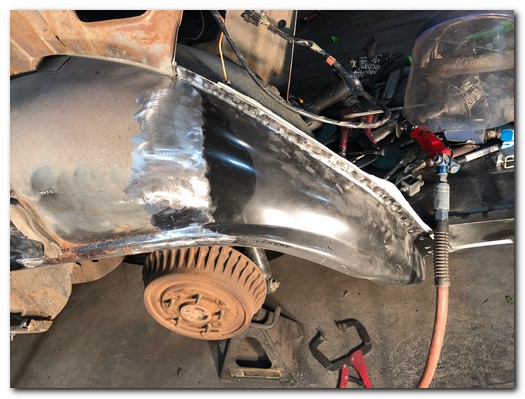
The rotted area is being replaced with this new patch cut from a new reproduction outer wheelhouse.
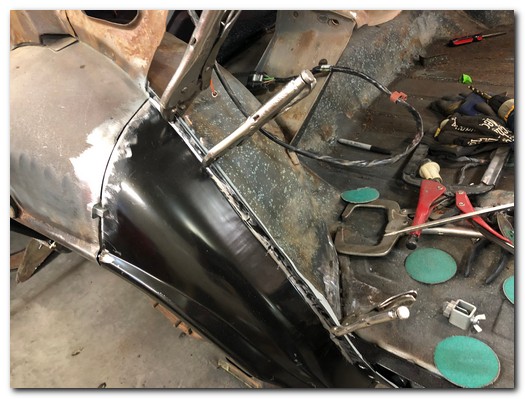
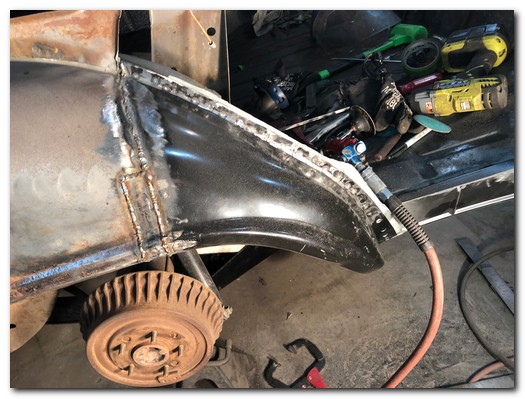
The seam between the new and old is welded then ground and dressed to completely remove any evidence of welding. On the pinch weld I used a spot welder to fasten the two together exactly how the factory did.
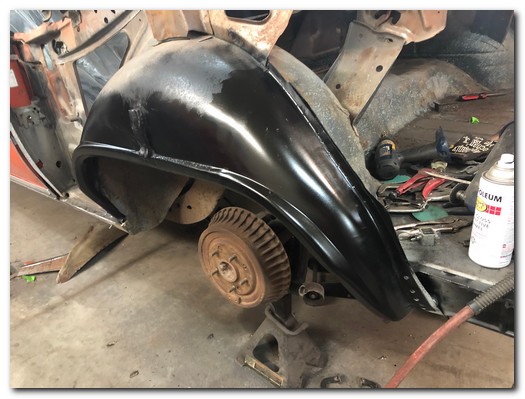
A little rattle can semi gloss black paint to protect the bare metal and it looks amazing!
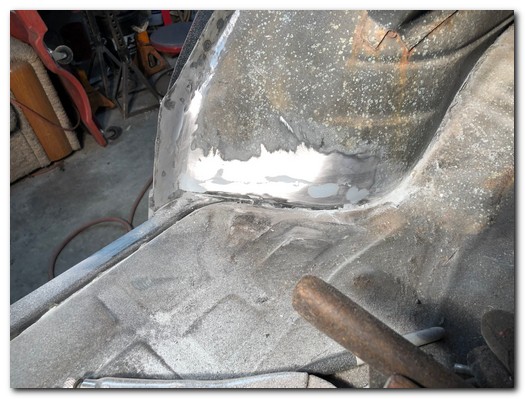
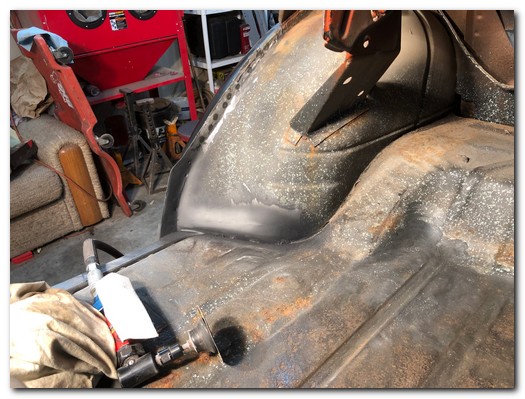
Using a small amount of filler to smooth some small pits and a protective coat of primer the area we repaired is finished nicely.
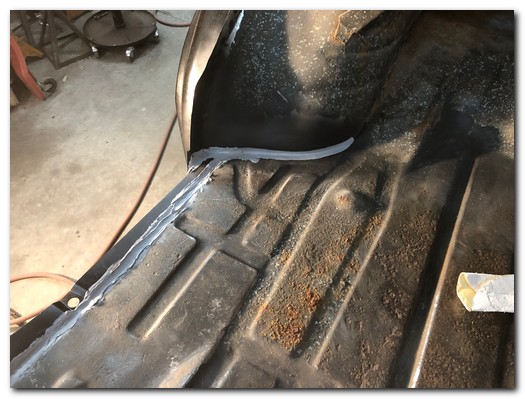
After some factory correct seam sealer the area looks as good as brand new.
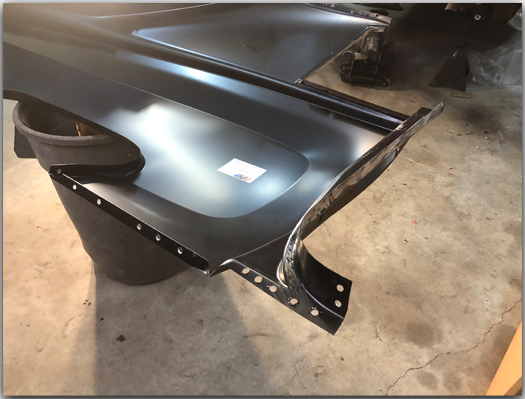
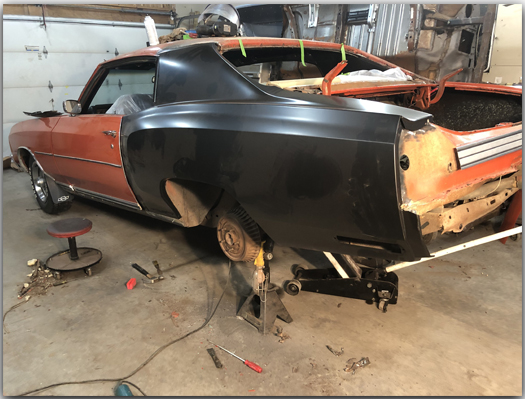
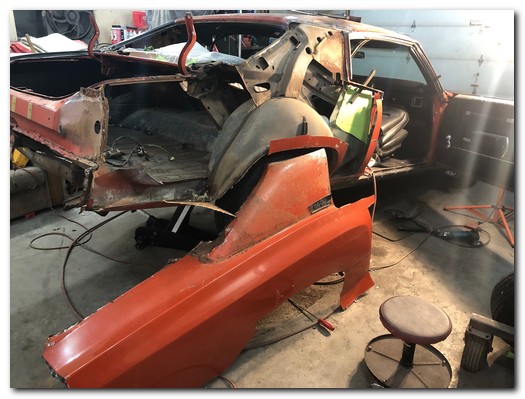
The drivers side quarter panel has been on and off the car several times to get it tweaked just right.
I can't say enough about these AMD parts, the quarter panels have crisp, sharp stampings and are nearly ready to weld right on straight out of the box.
I've prepared the panel for installation by punching holes where I'll be plug welding and sanding off the finish to reveal bare metal where I'll be spot welding.
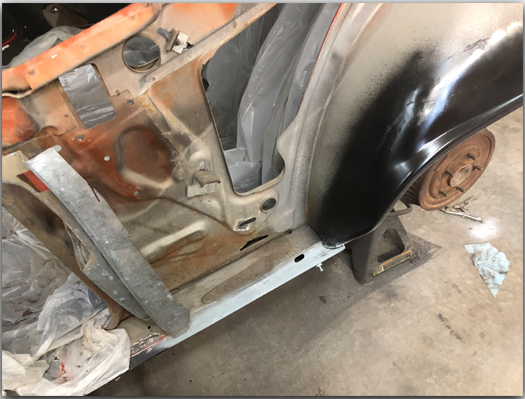
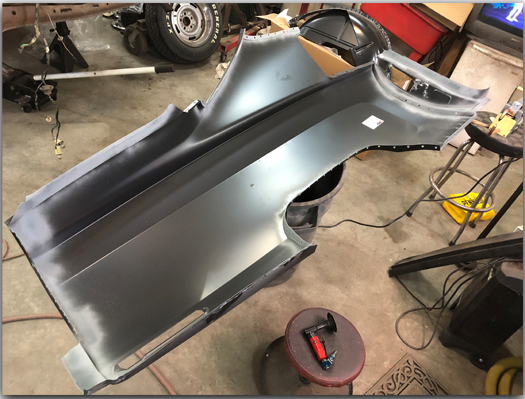
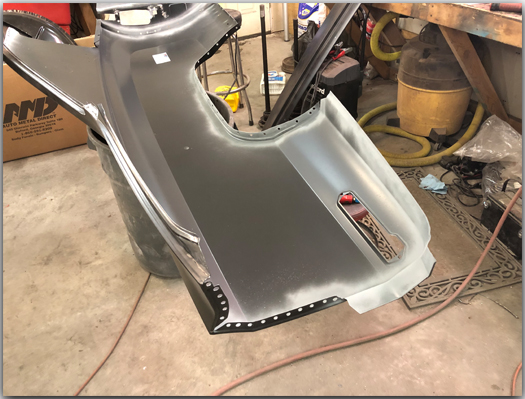
Additionally I have sprayed weld through primer where the finish has been removed on the inside surface of the new panel to protect from corrosion.
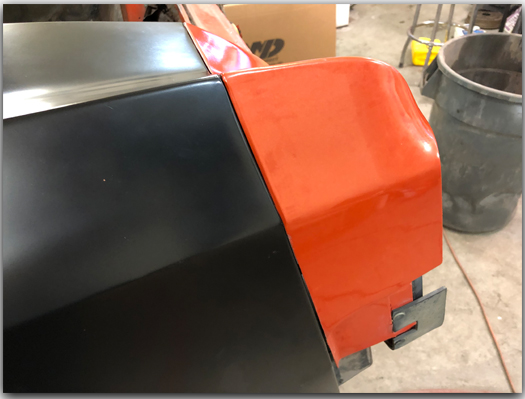
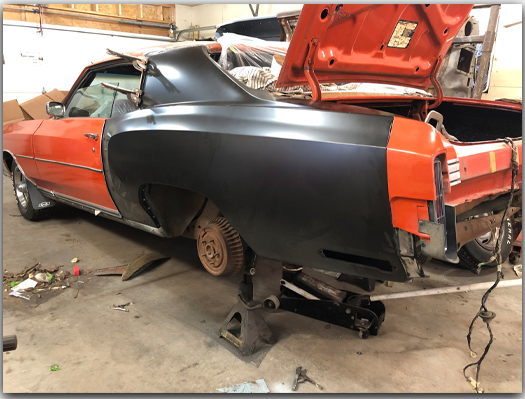
Taking time the panel is carefully placed on the body for the final time.
It's important to attach and properly line up the tail light housing now to make sure it all lines up after it's permanently welded in place.
For the time being the quarter panel is fastened to the body with several self tapping screws. I won't weld it in place until I have the other side and the filler panel all lined up properly.
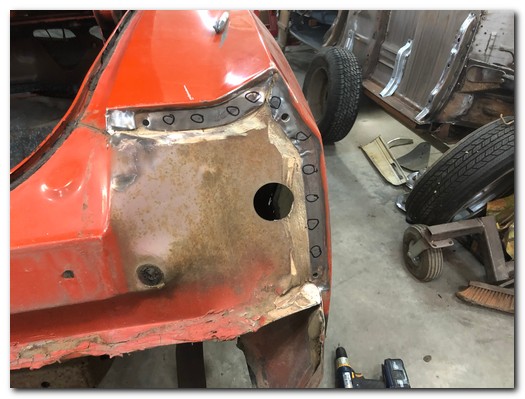
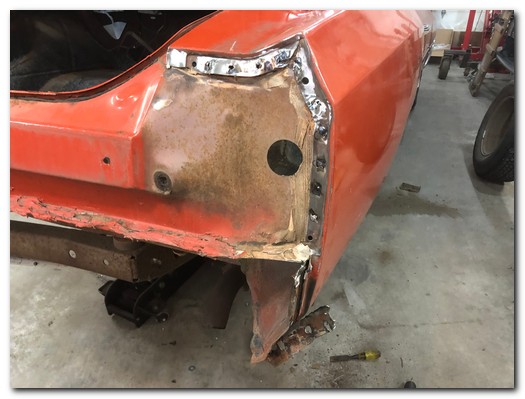
Moving to the passenger side the tedious job of cutting and grinding spot welds continues.
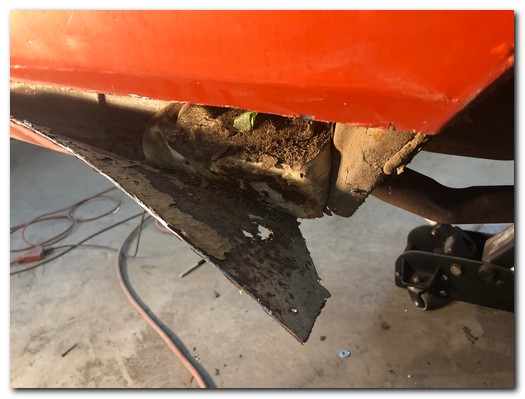
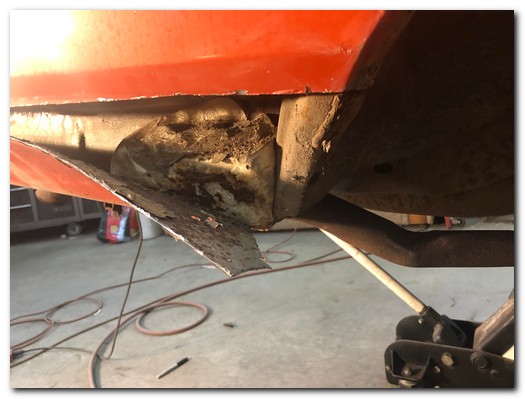
This is some creative body work!
Some butcher used expanding foam on the inside of the panel and then stuck a crude patch over it and then a bunch of body filler!
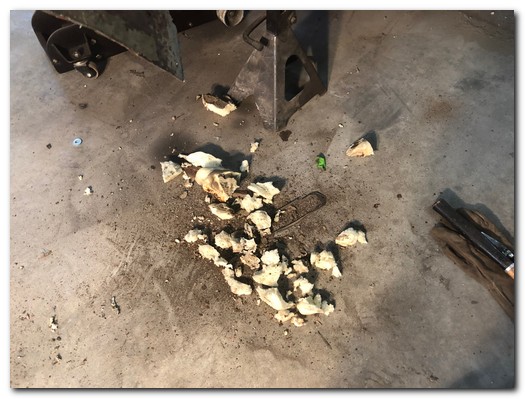
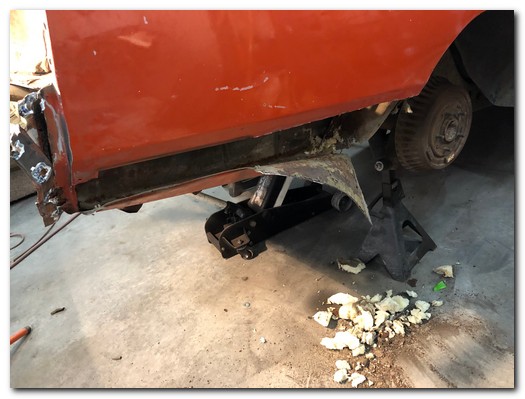
What a mess, someone spent a lot of time to do this wrong.
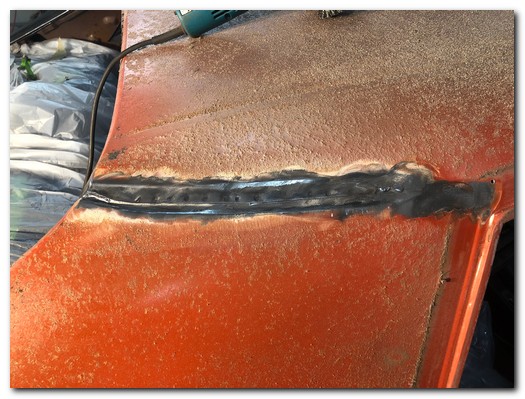
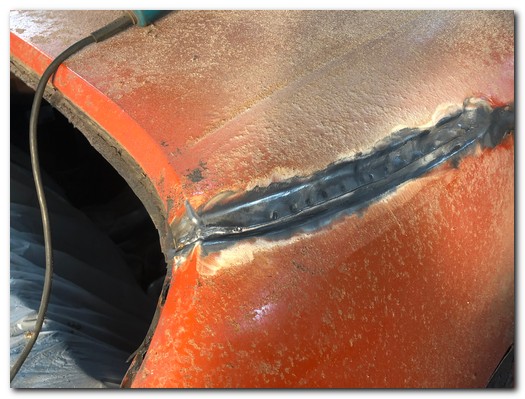
Just like on the drivers side I sanded out all the factory body filler from the rear of the roof to quarter panel seam. Then a small torch is used to melt the lead away from the two panels.
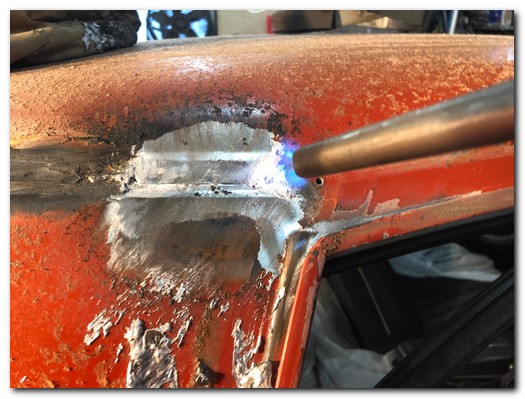
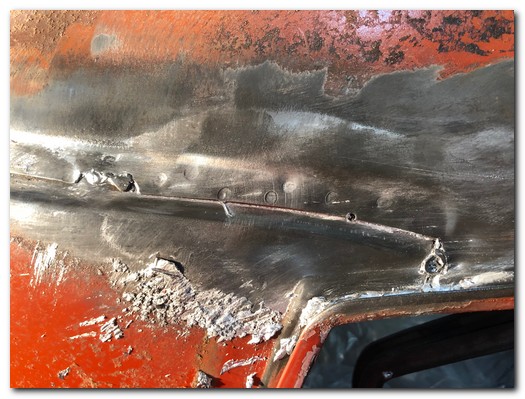
As the lead melts off the seam and all those lovely spot welds are exposed.
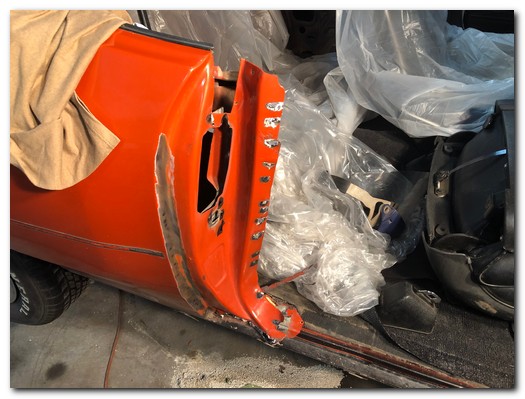
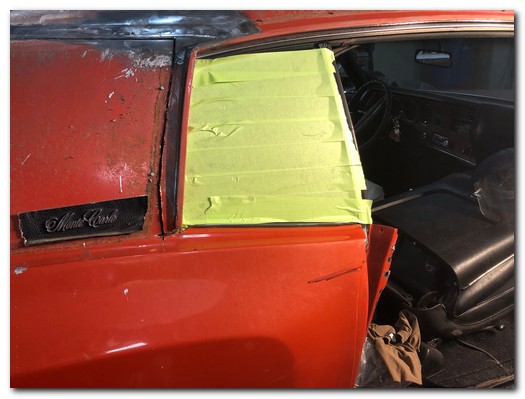
Then my attention turned to the door jam, more spot welds!
I protected the window with masking tape while doing the grinding and drilling.
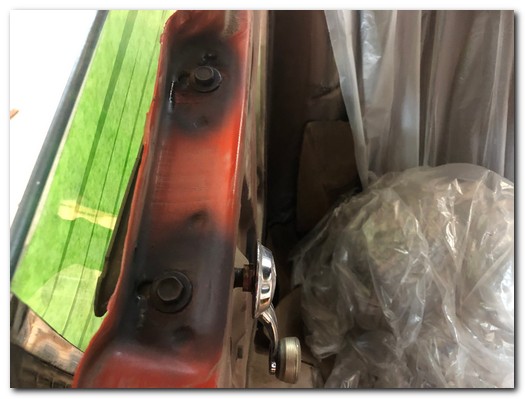
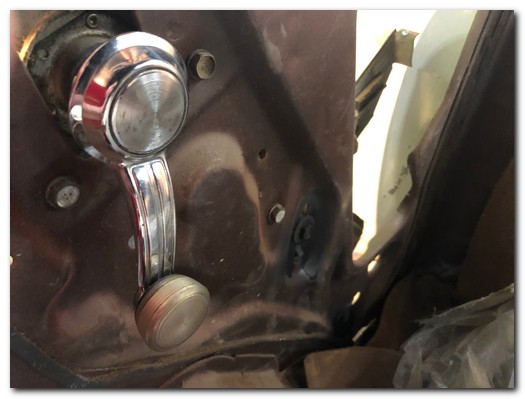
A little tip on removing the window and regulator assembly.
Take a rattle can of paint and shoot a little on the bolts used to adjust the window assembly in the body.
This will leave a clear marking of where they were originally.
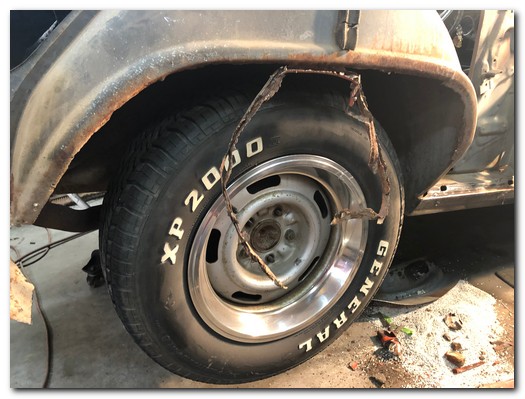
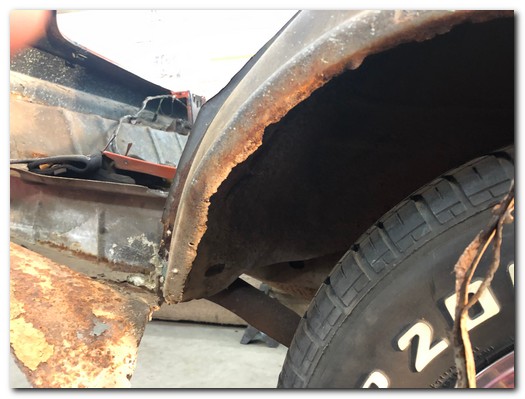
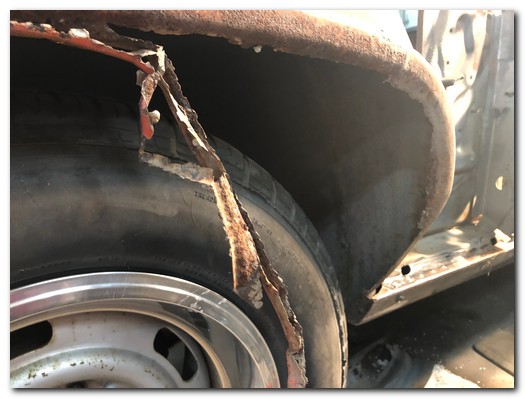
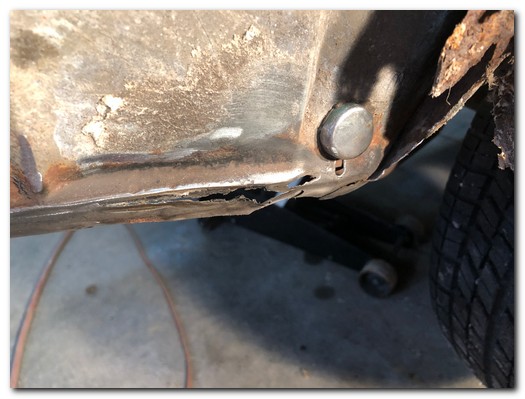
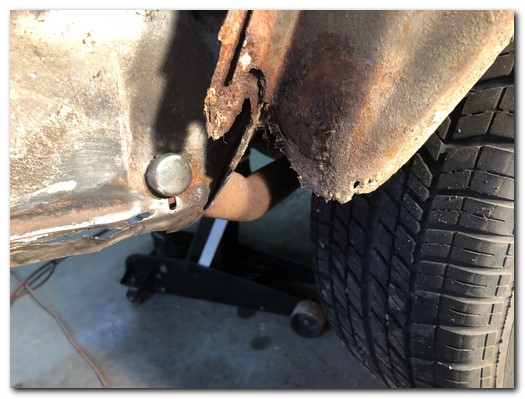
We've also got problems with this trunk drop and a small portion of the inner wheelhouse.
More work than expected.
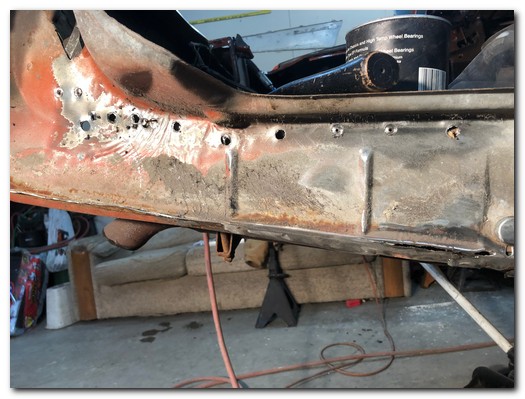
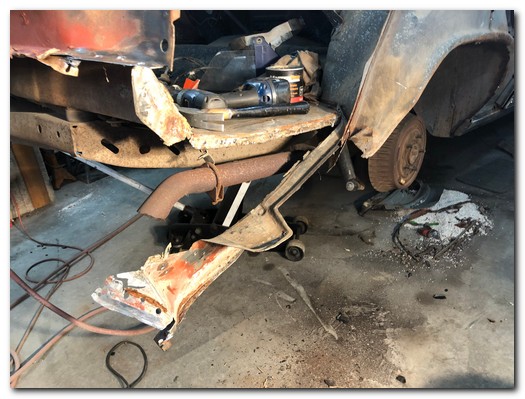
I'll begin by removing the trunk drop and go from there.
Next we will get some new metal back on this beauty!