

Latest update here
March-April 2019
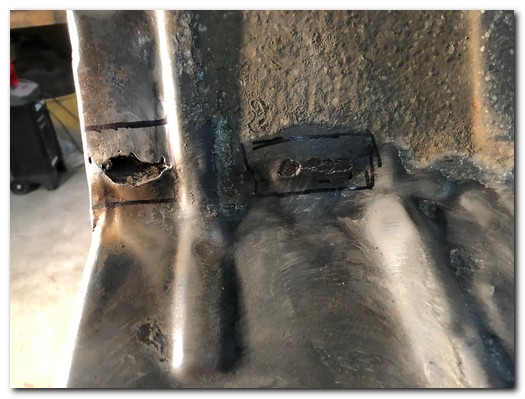
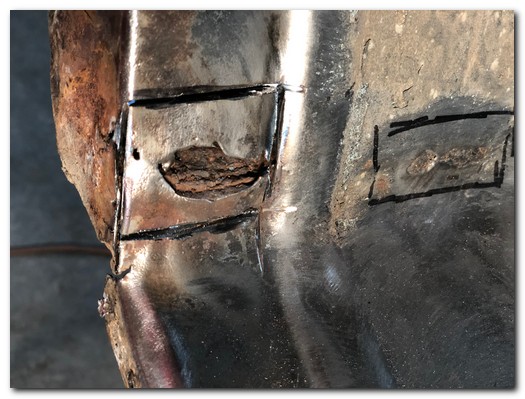
Some unexpected rust holes in the trunk floor adjacent to the trunk drop. The remainder of the trunk is very solid.
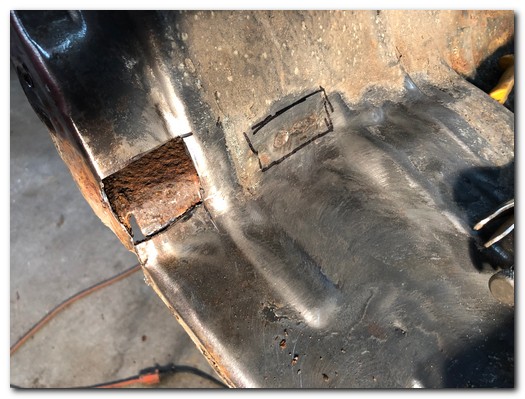
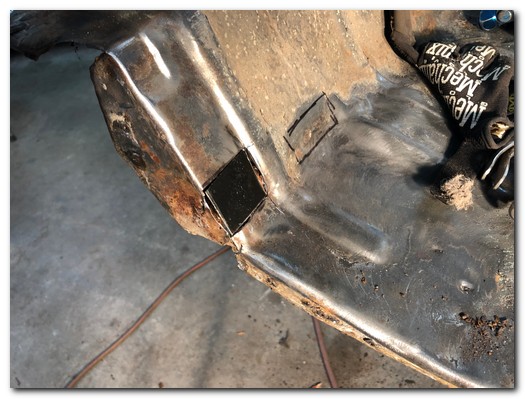
The area is cut out with a healthy margin, a new patch is cut out...
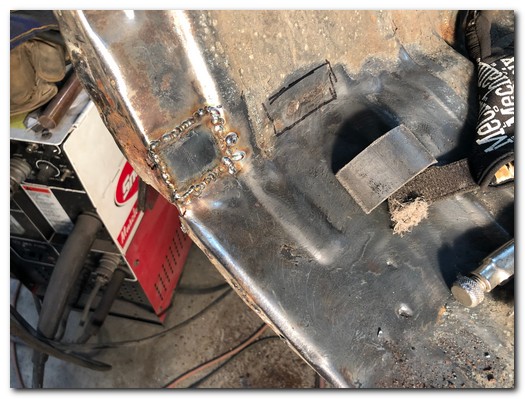
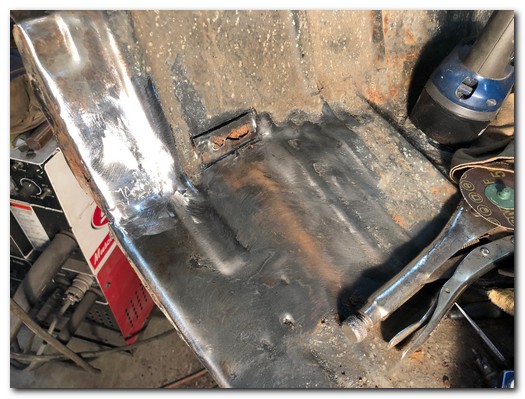
...and welded in and after being dressed it is invisible.
The other small hole next to it was repaired in the same manner.
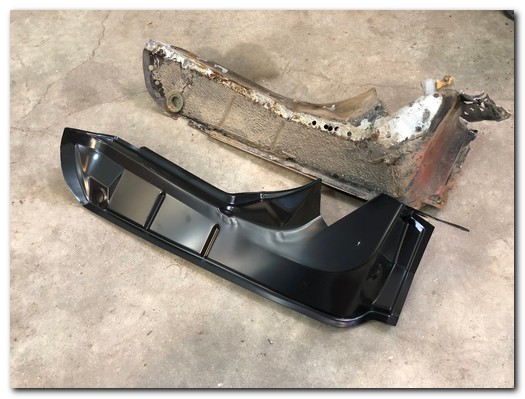
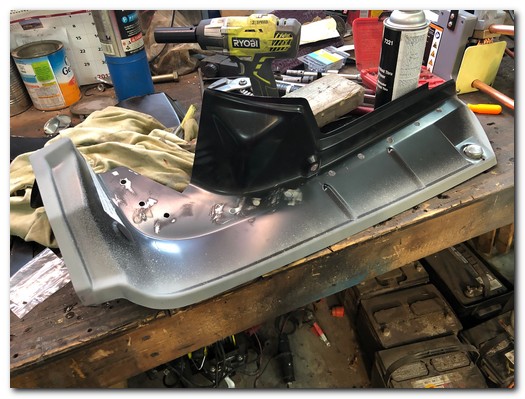
A comparison of the new AMD trunk drop to the original, there is virtually no difference at all!
The photo on the right shows I have sanded off the protective coating and then applied weld through primer to the areas to be welded.
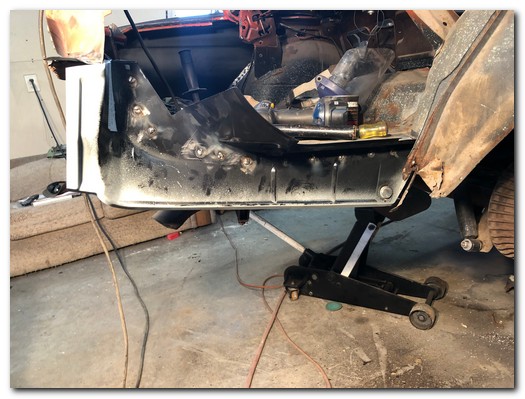
And just like that it's welded into place!
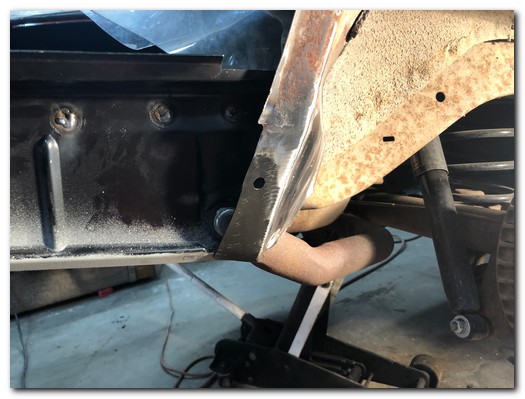
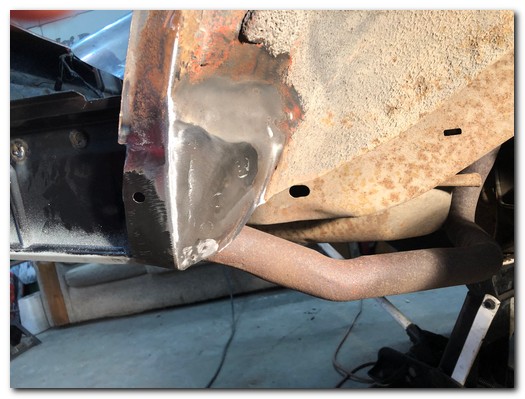
I fabricated a small piece to repair the rusted area of the inner wheelhouse, it's important that this area all fits together properly. Looks good.
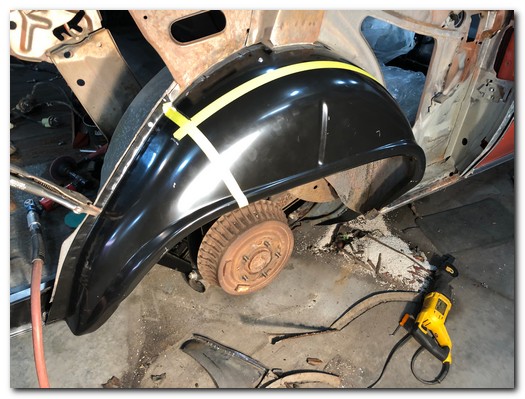
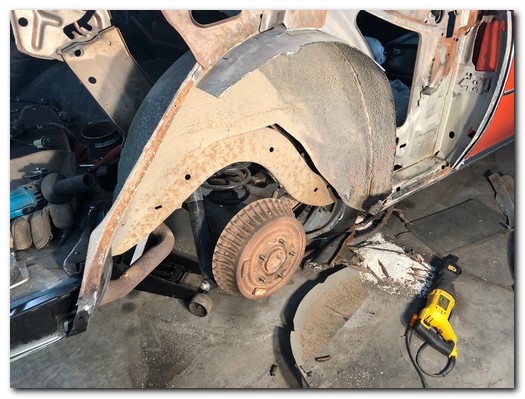
I'll be replacing a large part of the outer wheelhouse on this side. I started by marking off the lines where I want to cut. Then I placed the new piece over the original and cut through both at the same time.
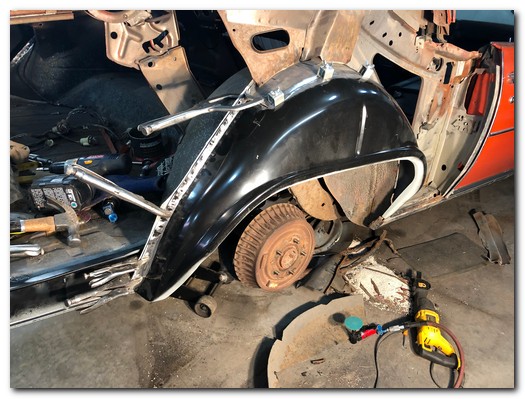
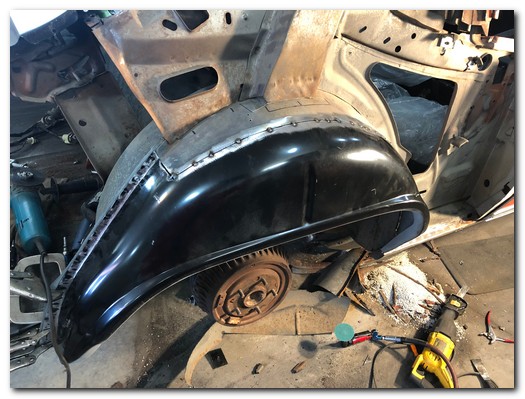
The new metal is fitted into place and tack welded along the seam.
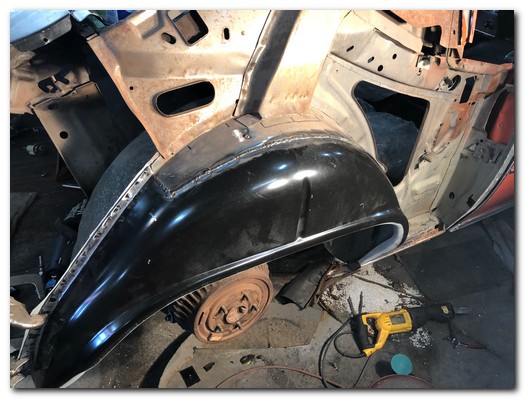
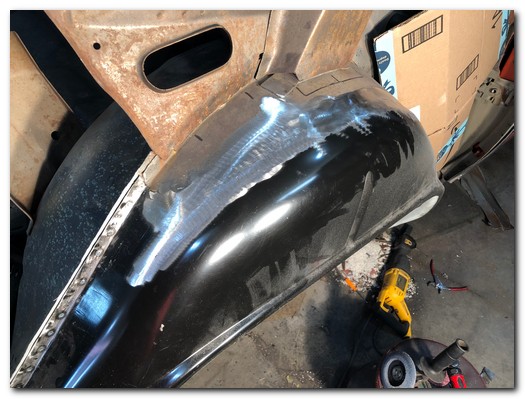
The weld is completed and dressed.
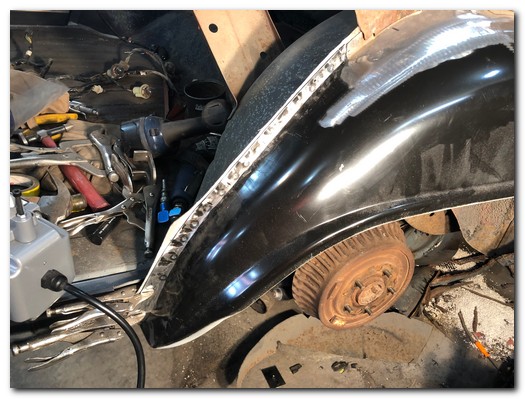
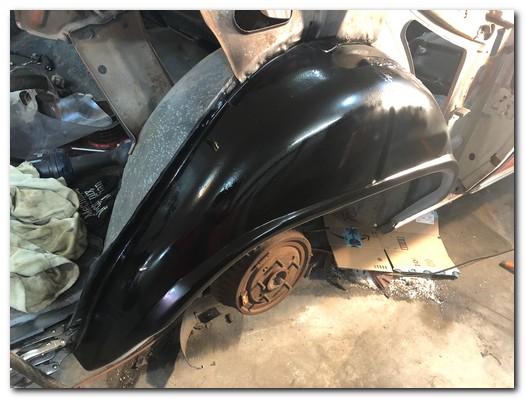
Once again you can see the pinch weld is spot-welded just like it was originally. A little coat of paint and it's like new again.
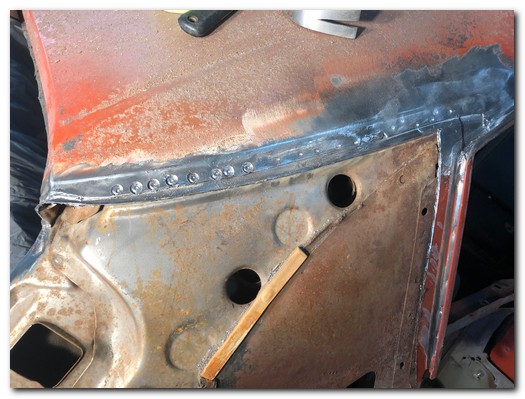
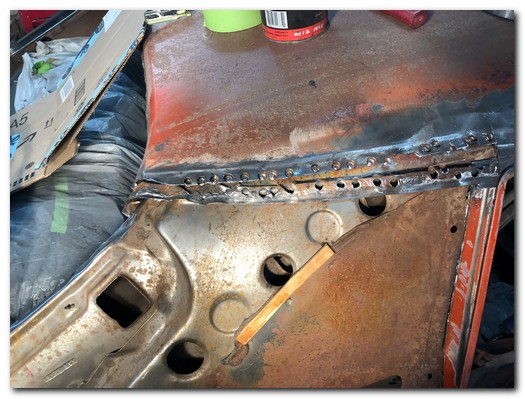
I cut the quarter panel off just below the roof quarter panel seam. I felt it would be easier to cut the spot welds out with the quarter removed.
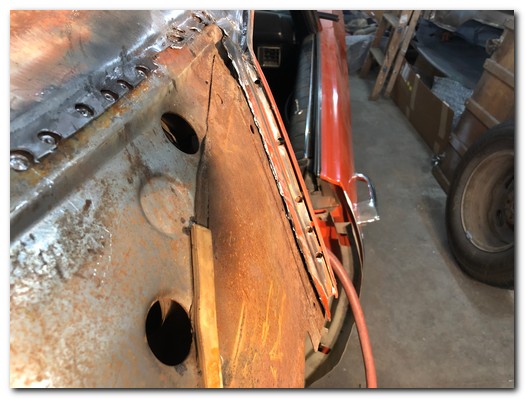
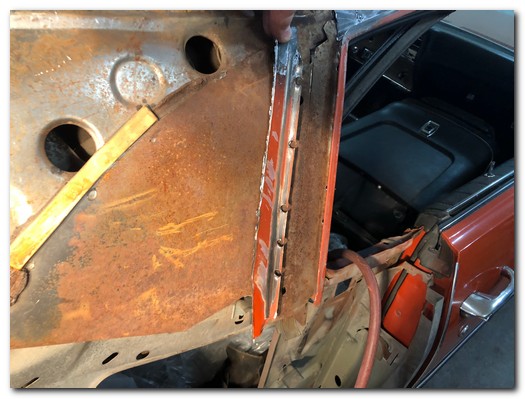
The spot welds are drilled out from the gutter behind the rear window.
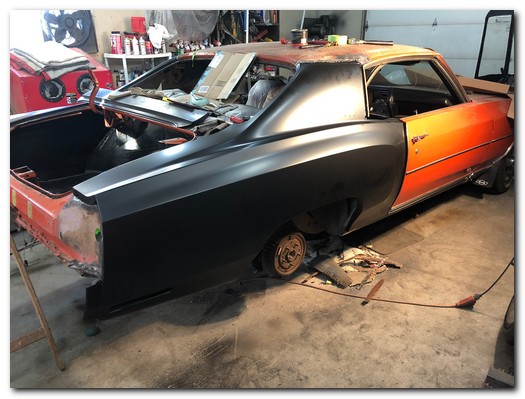
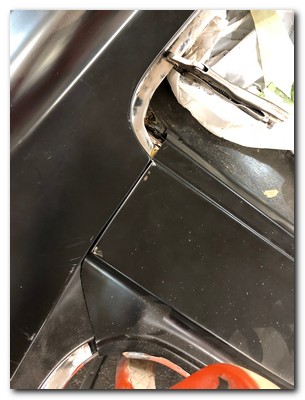
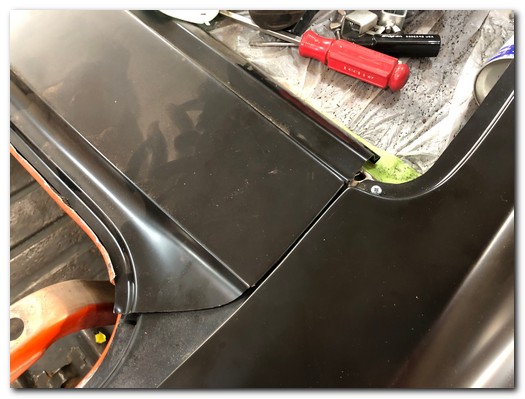
The first thing I need to get fit correctly is the filler panel below the backglass.
I positioned it properly and used vice grips to hold it together from the bottom inside the trunk.
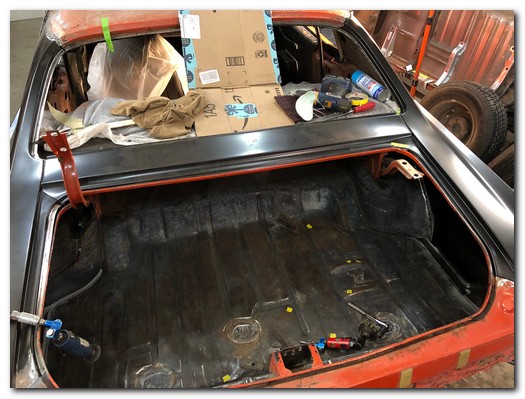
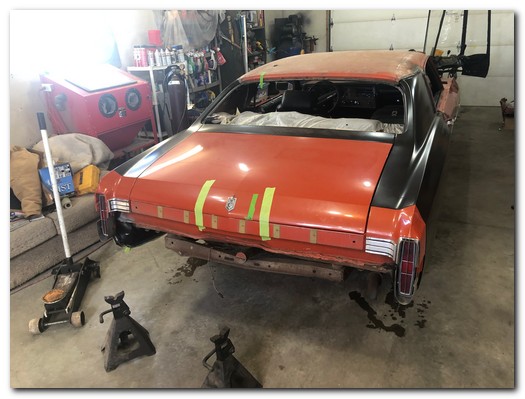
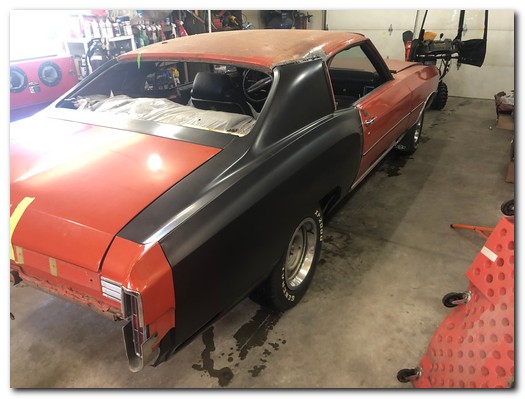
The deck lid and tail light housings are installed and adjusted, a slight adjustment was required for the passenger quarter panel to achieve the proper panel gaps.
It didn't take much though.
The fit is terrific.
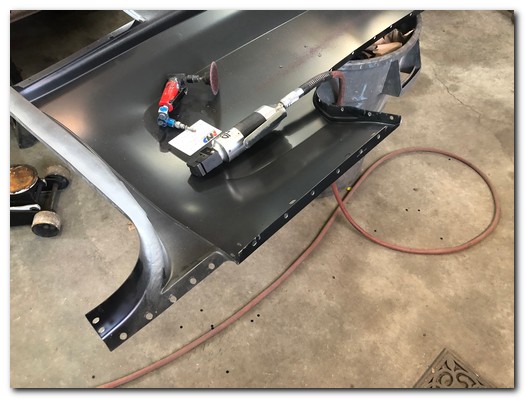
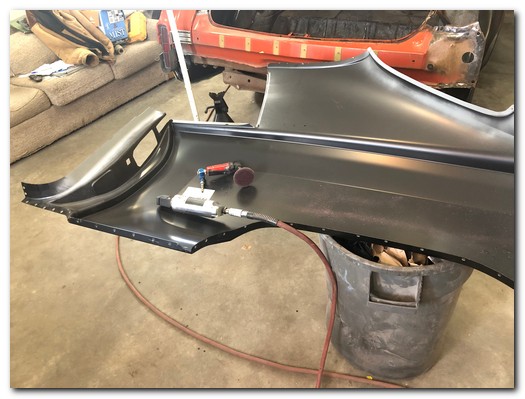
As before the panel and filler panel are removed and prepared for permanently attaching to the car.
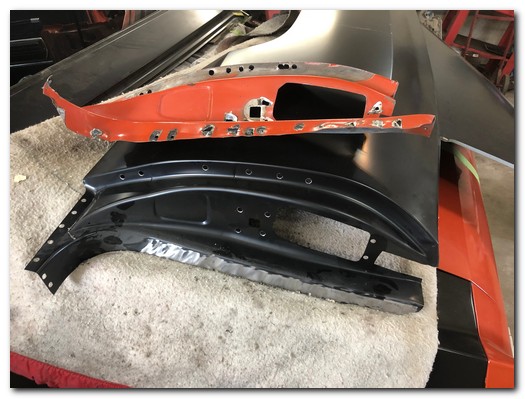
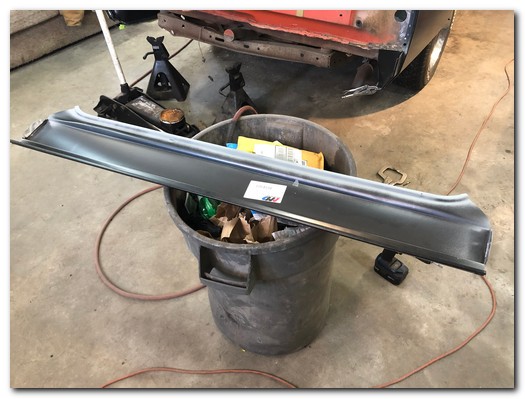
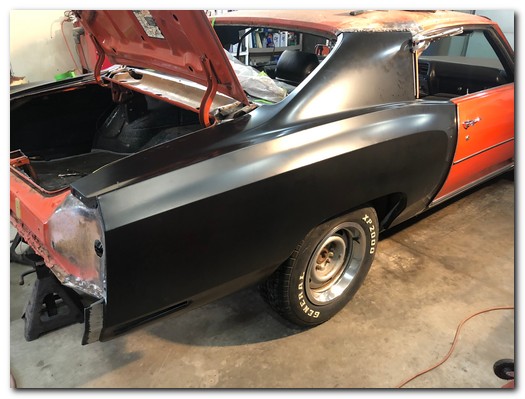
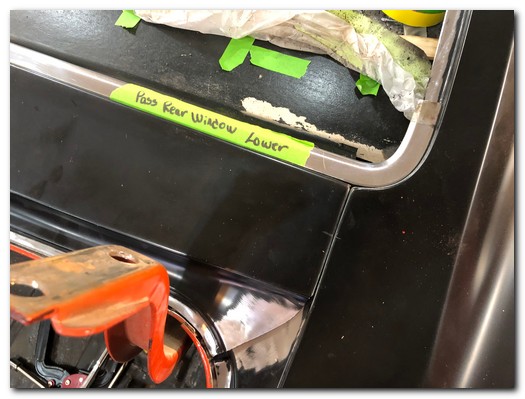
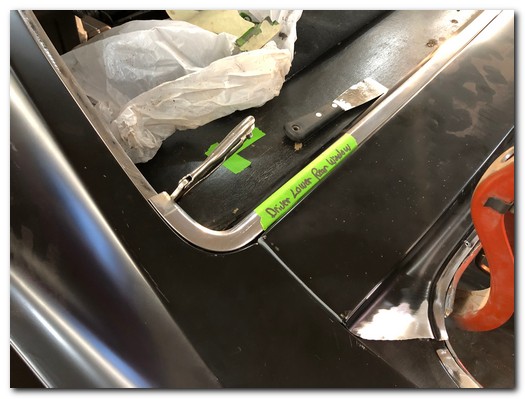
Before welding it together it's important to use the rear window trim to verify they fit tightly and properly to the quarter panel and filler panel.
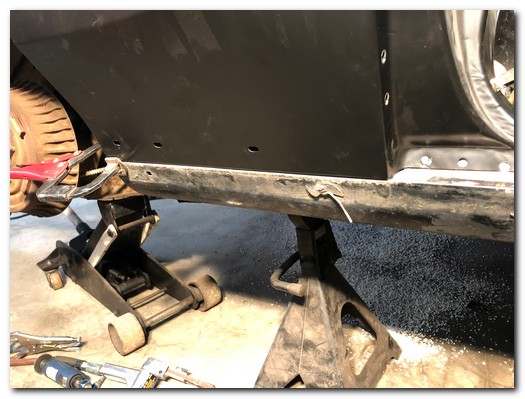
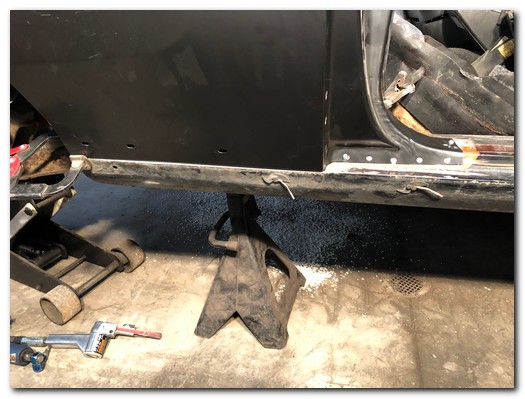
The door jam and the area just behind along the rocker panel are checked and aligned.
The preparation has really paid off, everything is fitting very nicely.
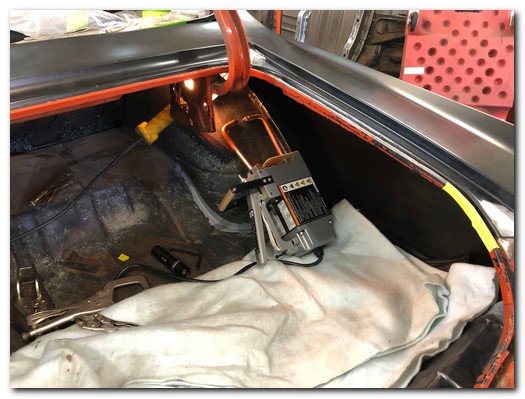
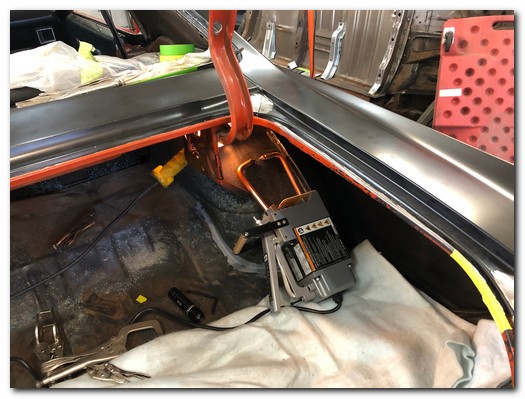
I began by spot welding the filler panel in place from inside the trunk. It's a tight fit to get up in there!
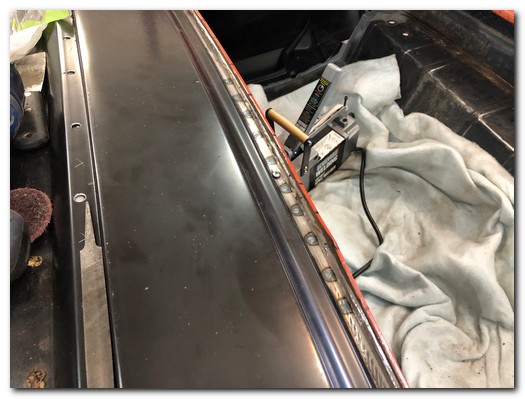
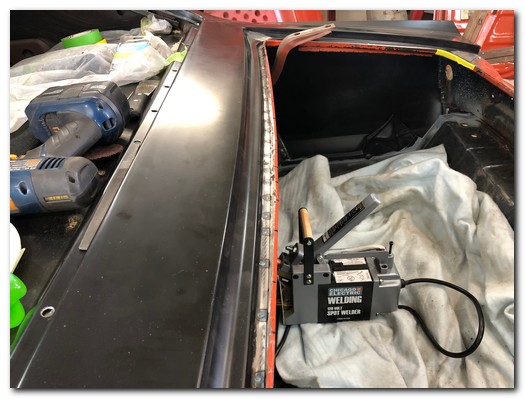
Then the weatherstrip channel was spot welded its full length.
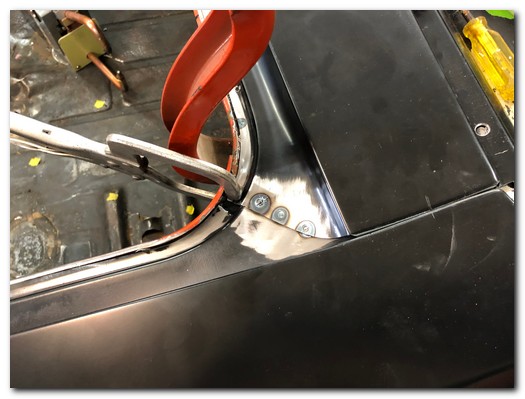
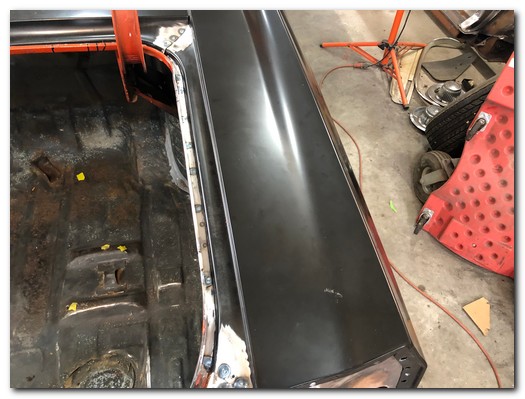
And then along the sides of the gutter.
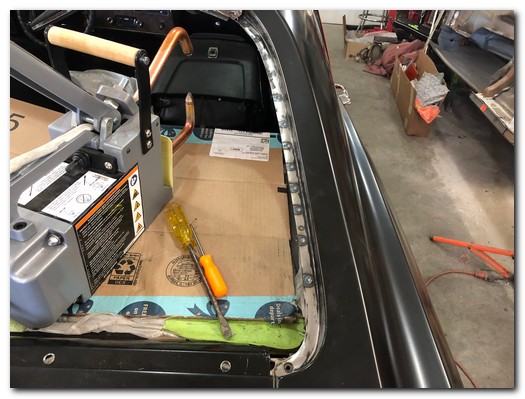
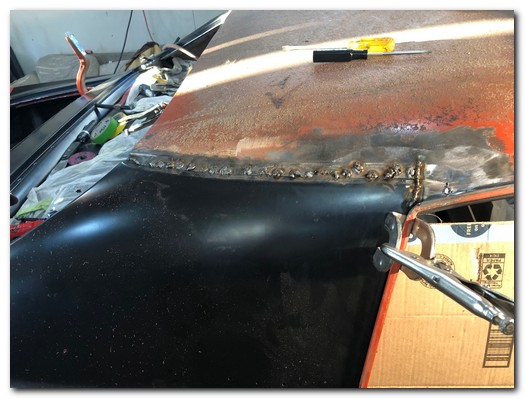
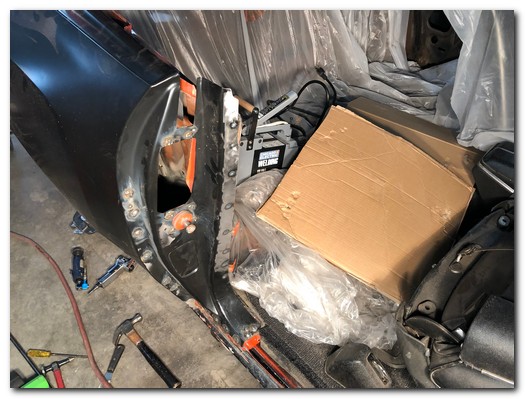
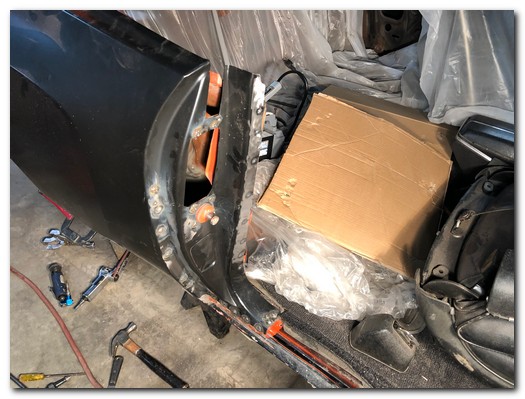
The door opening was secured using a combination of plug and spot welding, again going slow and constantly checking that proper fitment is remaining.
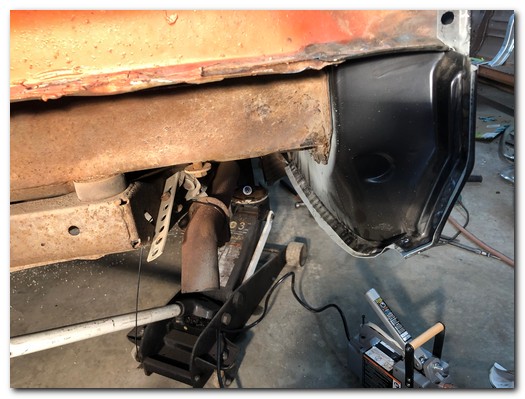
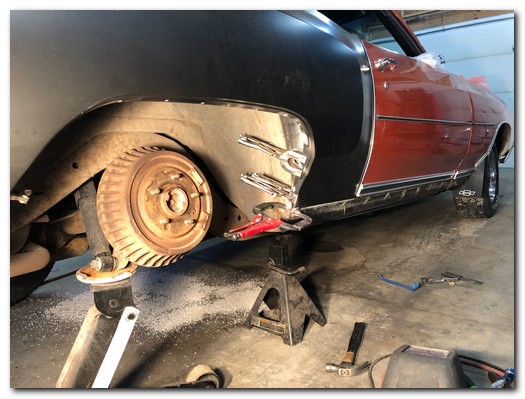
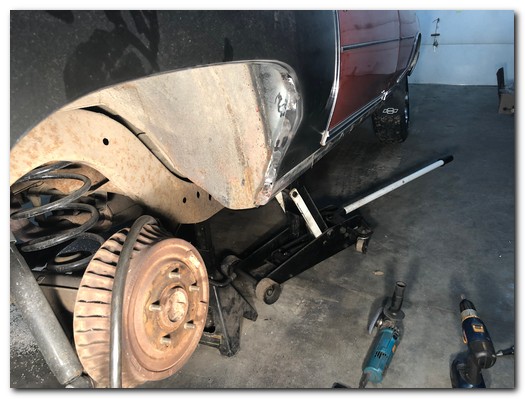
Finally the quarter panel is plug welded to the outer wheel house. It's always fun to weld over your head, but it turned out very nice.
Next we will head over and finish up on the drivers side!