

June-July 2019
Moving to the front sheet metal.
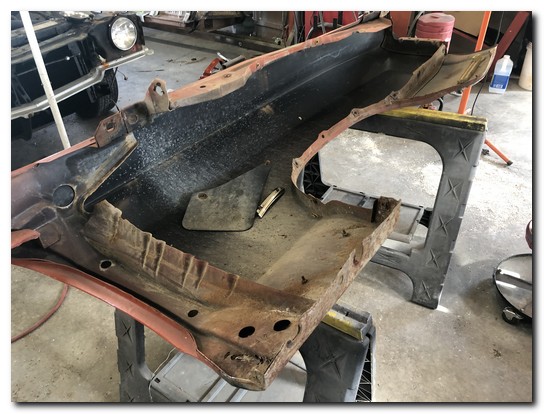
There is rust in the rear sections of both front fenders, the inner fenders also need to be replaced because of damage.
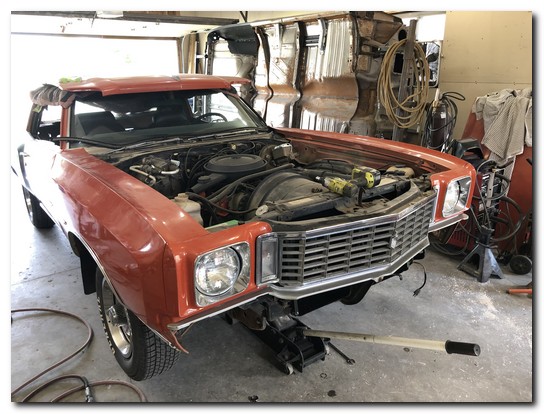
I won't bore you with the tedium of disassembly of the front end, the time lapse video below shows it all.
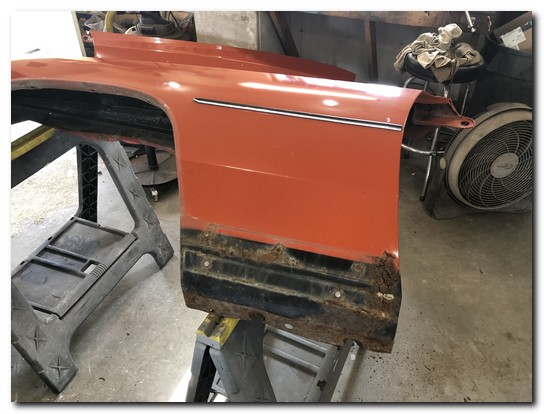
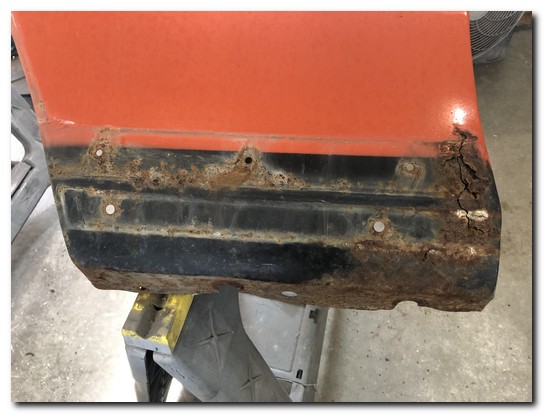
Doesn't look too bad on the drivers fender.
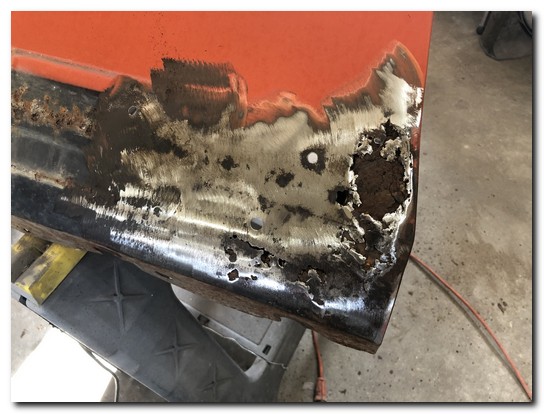
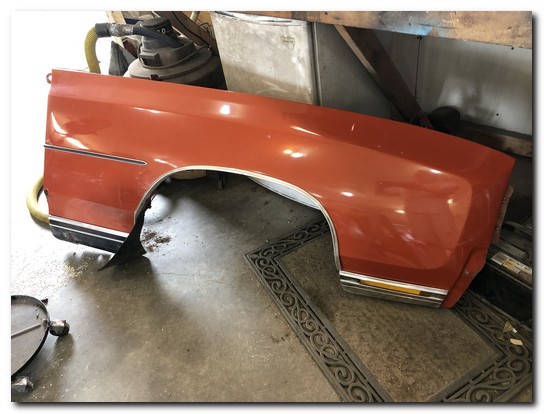
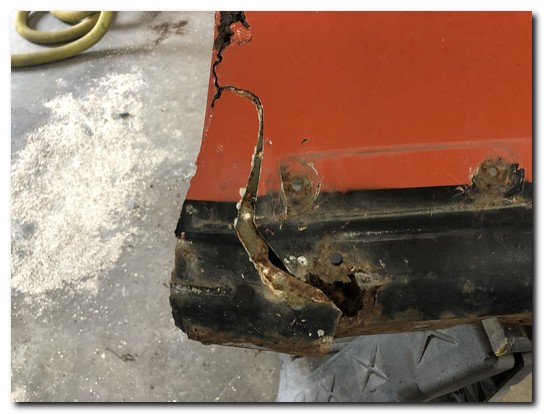
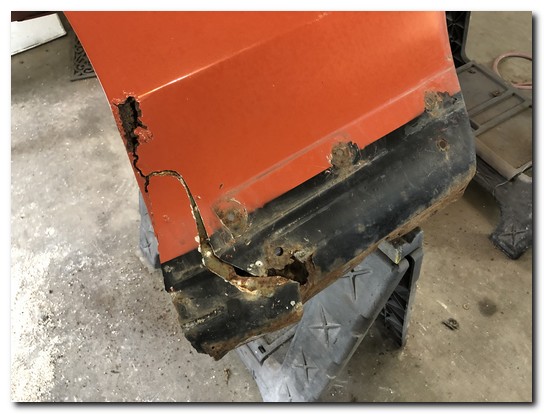
This isn't looking good. It seems like the same "body man" that "repaired" the rear quarter panel has been at it again.
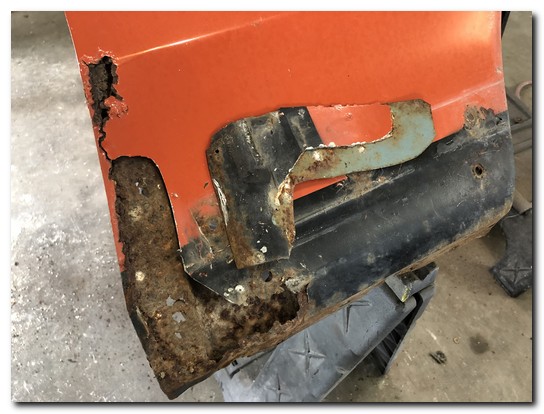
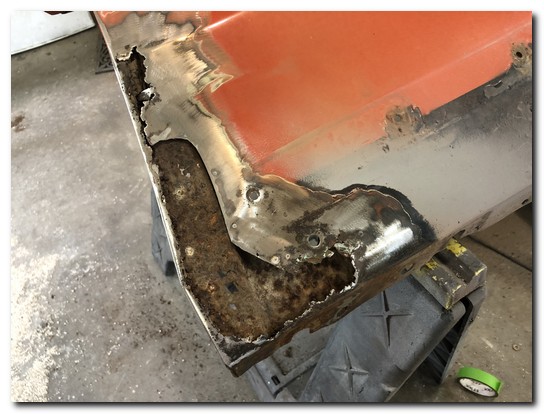
It's pretty bad.
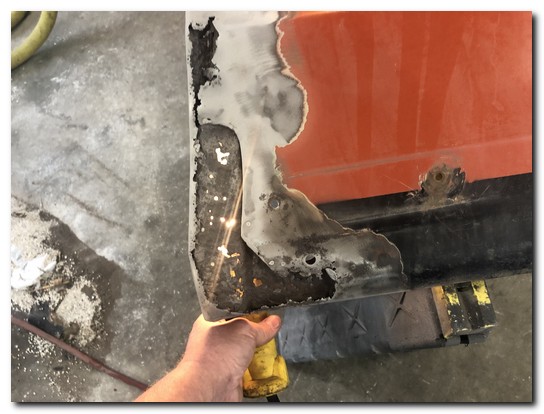
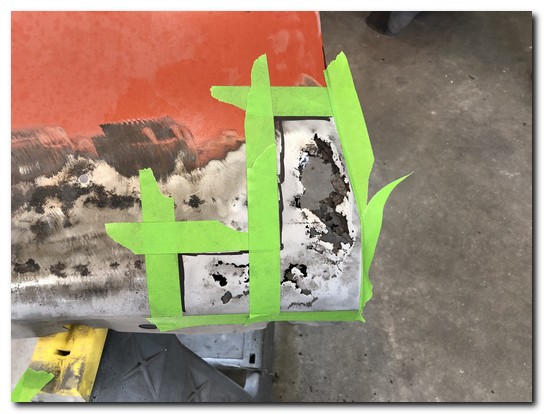
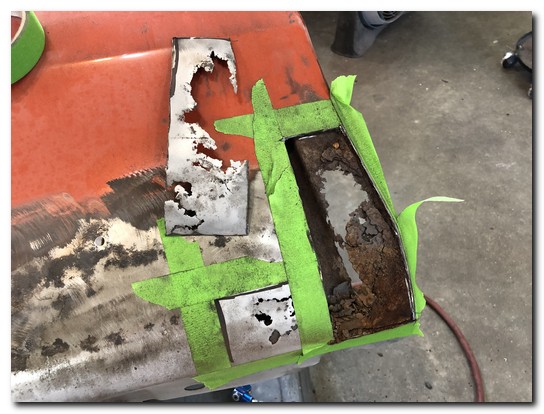
Back to the driver fender.
I marked the area I want to remove, I left a healthy margin into known good solid metal.
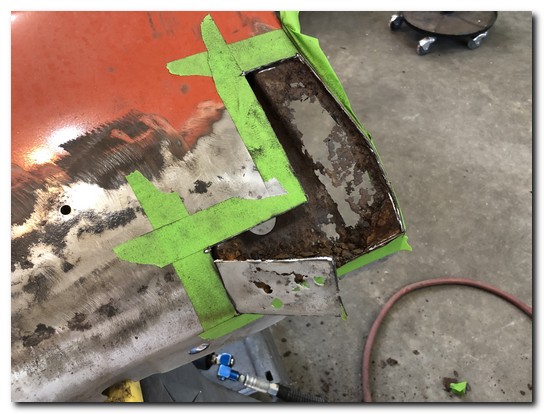
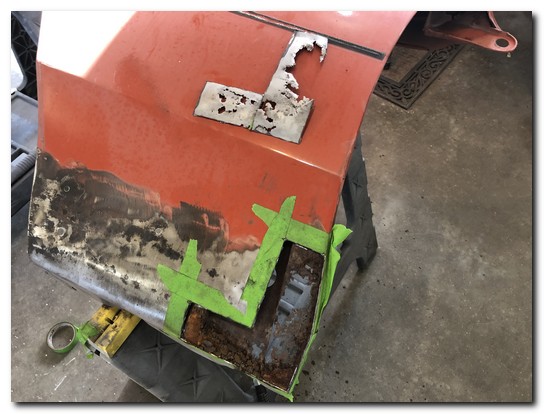
All the rot on the outside is removed.
Note I left the rearmost edge of the fender, I have found it's much easier to maintain the proper contour of the trailing edge by leaving the original.
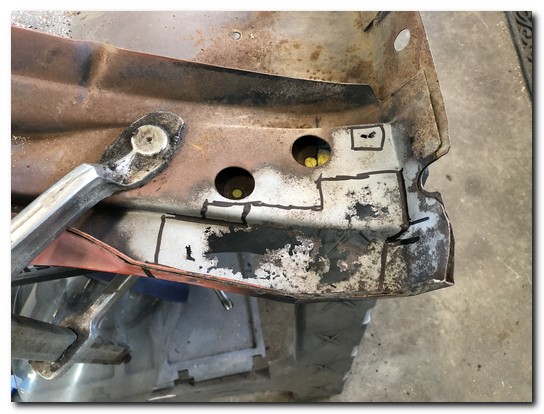
This is looking at the back side of the fender. What you are seeing is a heavy brace that runs from top to bottom of the rear of the fender.
There is some pretty severe rot here as well. It's been sandblasted and marked for cutting.
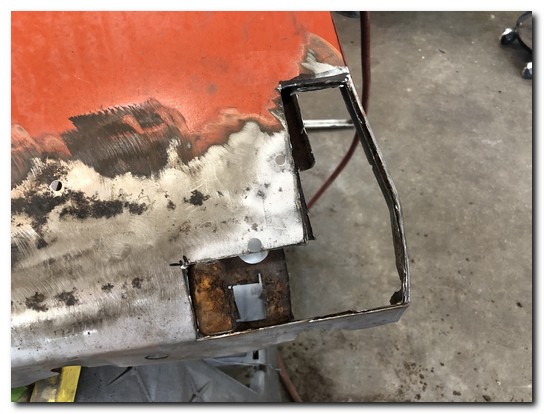
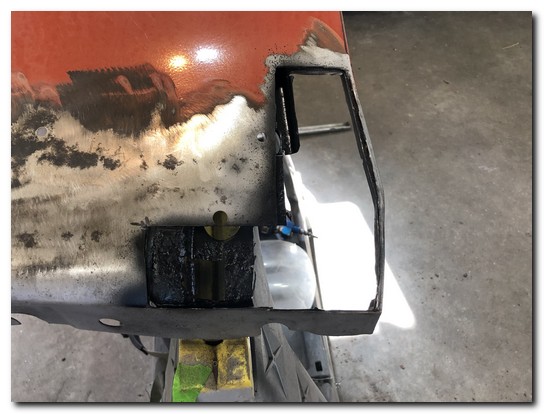
That's one helluva hole!
The picture on the right is after I sandblasted as far up inside the brace as I could get and painted the area to protect it from further rust.
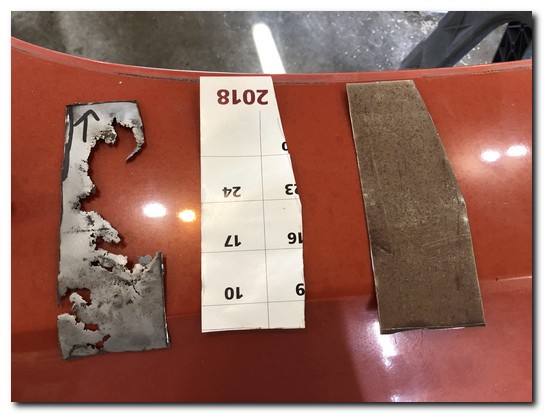
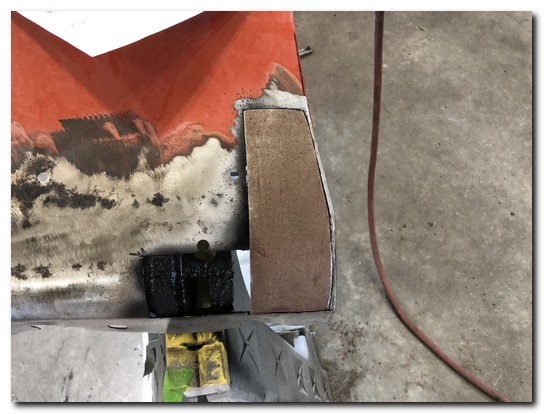
I used the removed section to make a template and then transferred that to a piece of new metal.
I spent some time getting the curvature of the piece to match the original curve of the fender.
Working slowly until it fits perfectly.
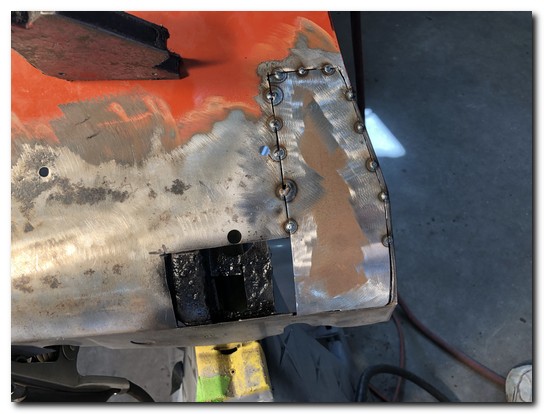
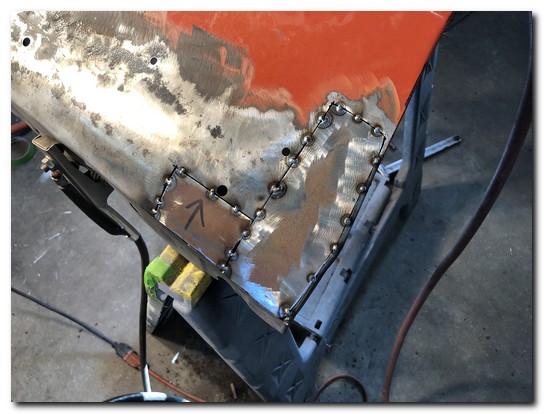
The piece is slowly tacked into place, another small piece is made and fitted to the rest of the opening.
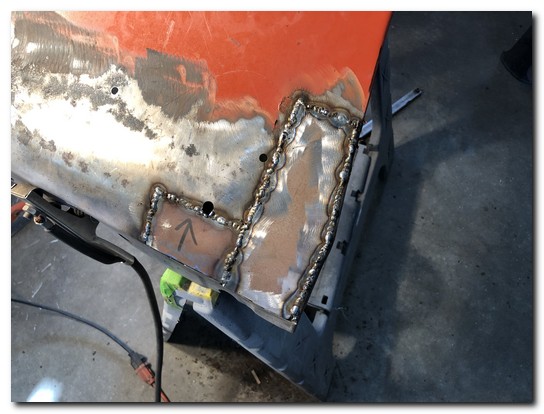
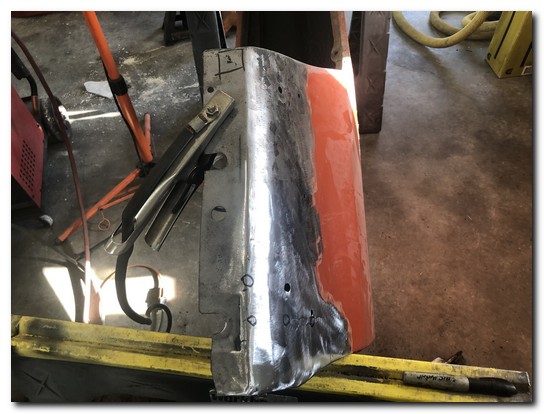
Slowly the tack welds are joined together being careful not to generate too much heat in any one area.
The welds are then ground down. The small sharpie circles indicate pin holes that need to be welded.
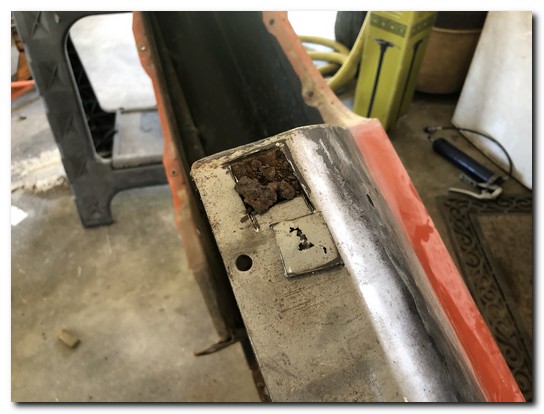
There is a small rusted out area on the bottom of the fender. I cut this out...
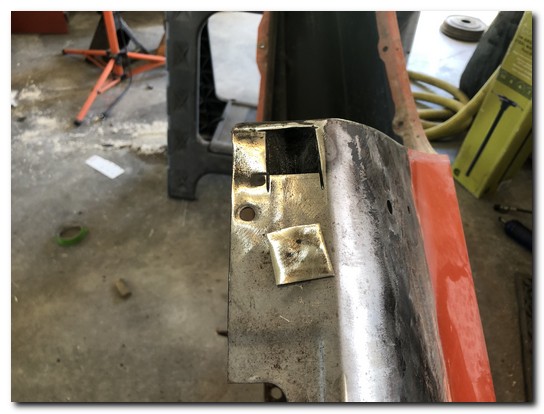
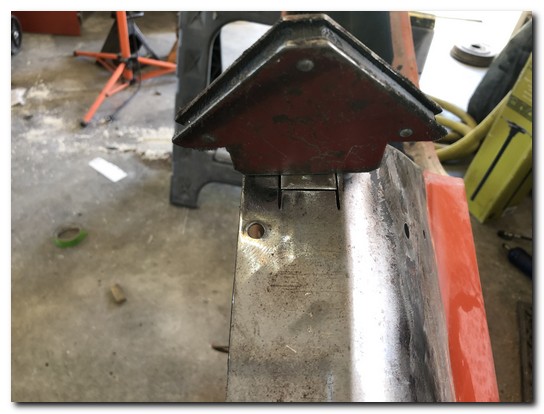
...and the area under it was cleaned out, sandblasted and painted.
Then a small piece was cut to fit the area.
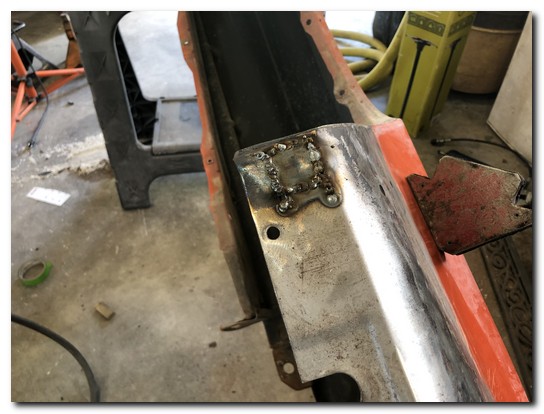
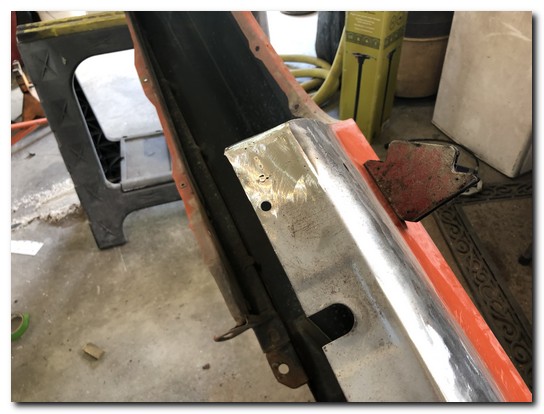
Welded in place and ground smooth. Nothing to see here anymore!
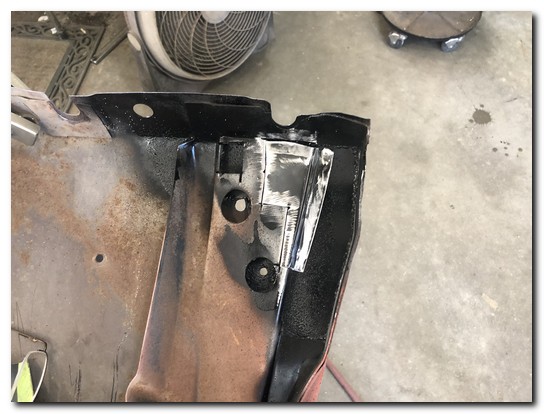
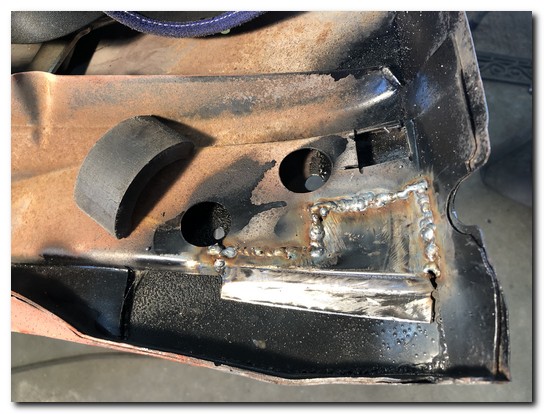
Moving to the inside brace, I needed to hand fabricate the parts to repair the brace.
The main piece is then welded into place.
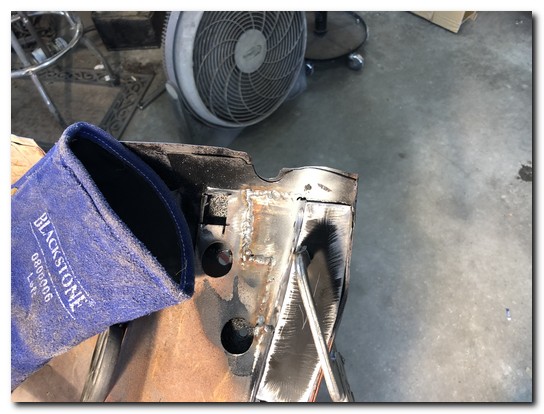
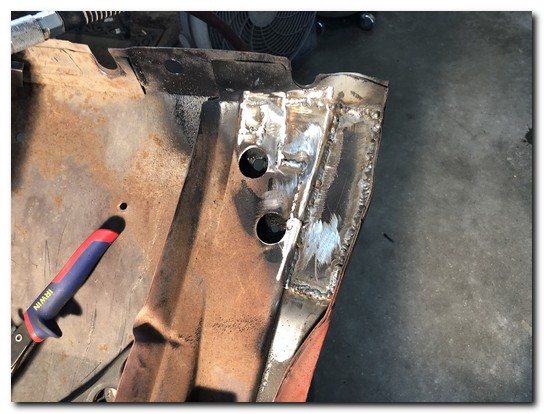
The rest of the replacement pieces are made and welded into place.
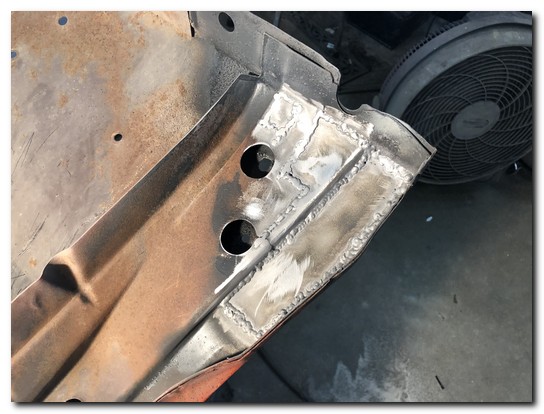
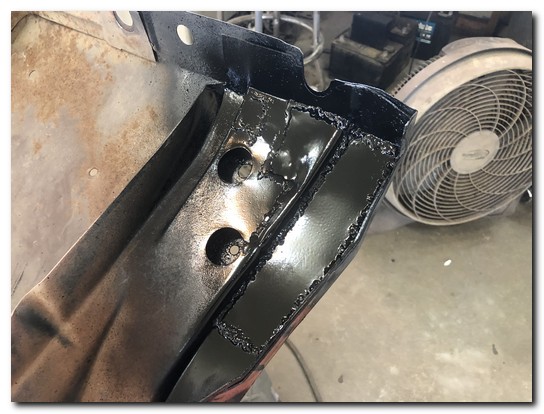
I then sandblasted the area again and painted it with a protective coat.
Just as strong as new!
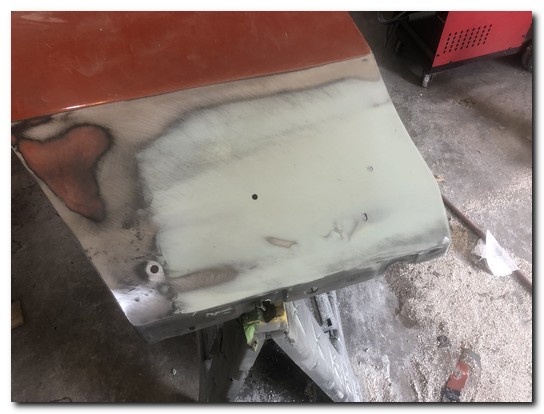
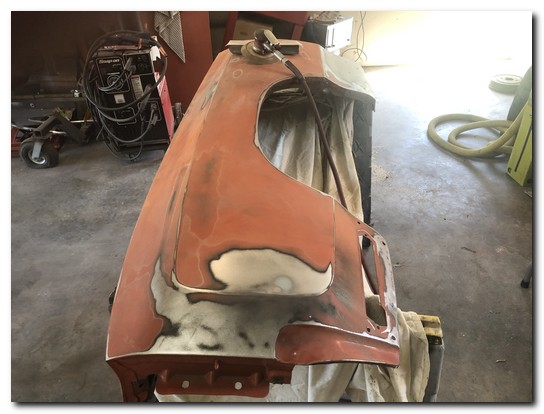
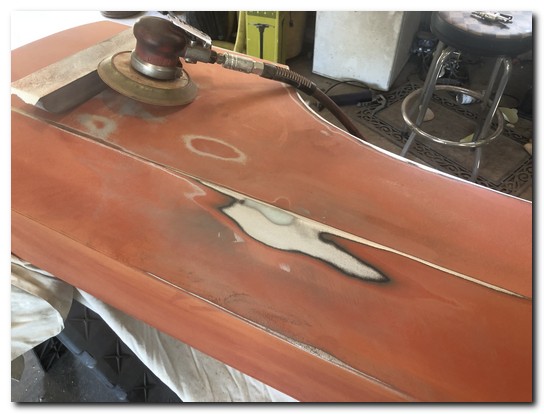
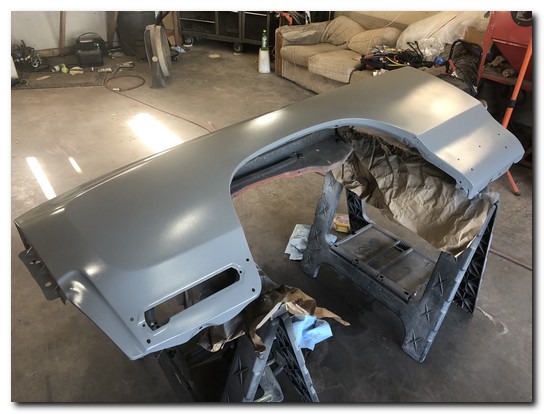
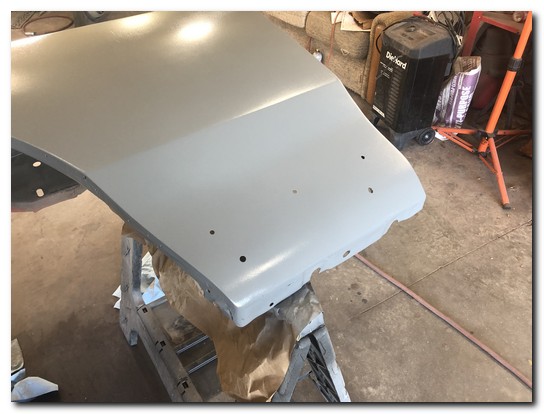
After a couple coats of epoxy primer, it's always really cool to see a panel all in one color.
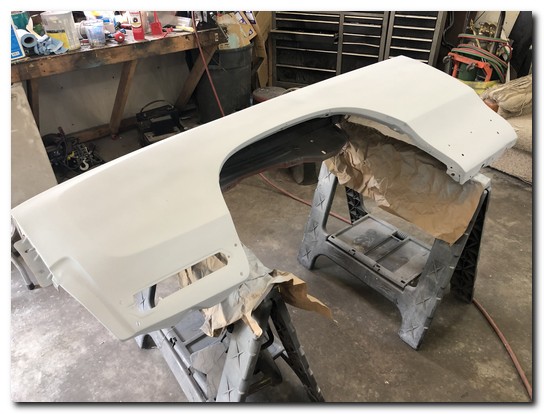
Much more bodywork to come, finally some reassembly and color soon!