57 Rustbucket 1957 Chevy Bel Air

1970 Chevrolet El Camino

Frame & Floor Pan Restoration

Latest update here


Tuesday, September 12th, 2017

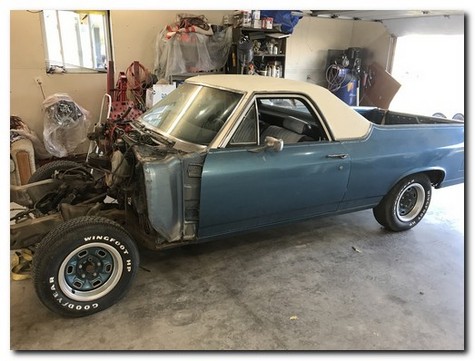
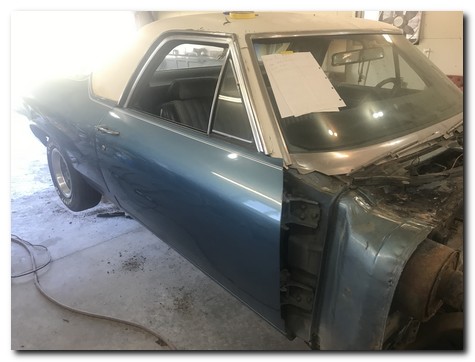
I just pulled this very solid 1970 Chevrolet El Camino into the shop.

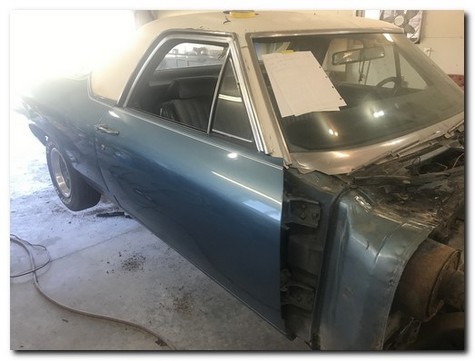
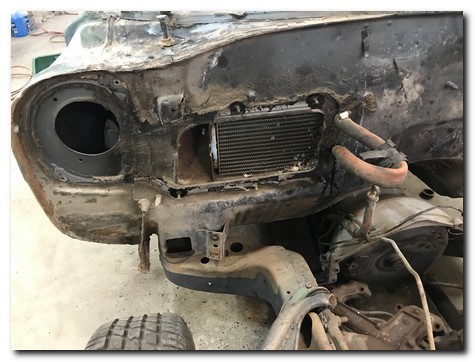
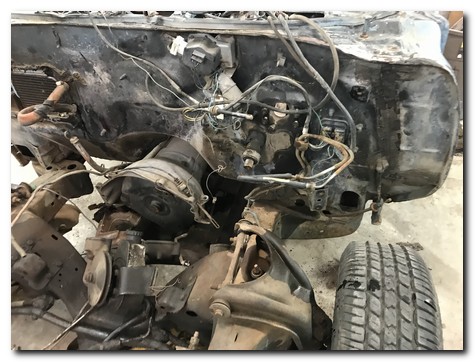
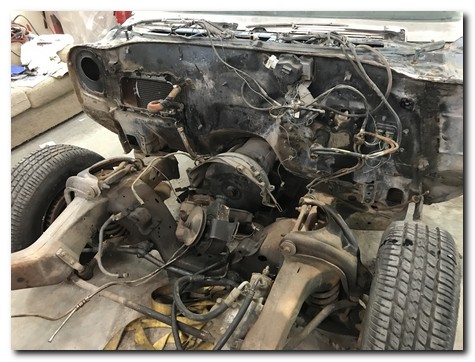
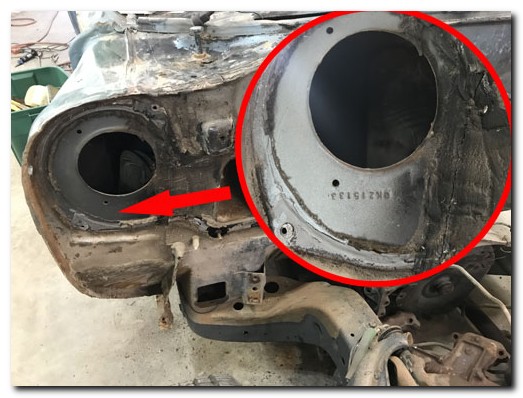
The front clip and engine was previously removed. The customer is requesting we separate the body from the frame and inspect both for rust, rot and damage. That will require a near complete stripping of the body and installing the body on a rotisserie for access to the bottom of the car.

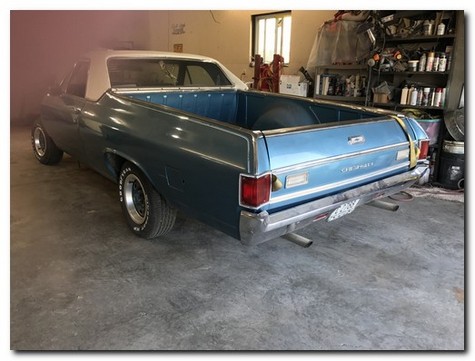
The rocker panels and bedsides are very solid and rust free. I'm hoping this is an indication that the body mounts and other fasteners will come free with minimal effort. Probably not that lucky though!

The plan is to sand blast everything and then powder coat or paint the frame and suspension components, install new front disc brakes and new brake and fuel lines. Of course new body mounts and finish the bottom of the body nicely.

As always we really don't know what we'll find until we get it taken apart.

It's going to be a lot of work and time but the end result is guaranteed to be amazing!


Disassembly

8/25/17
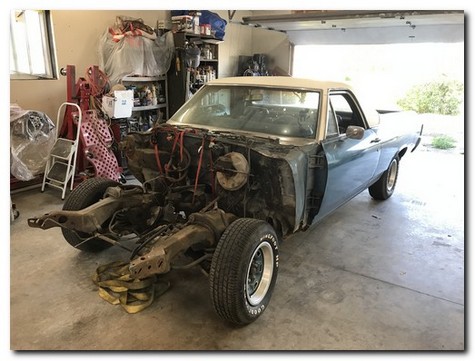
1970 El Camino fresh off trailer El Camino arrival

Fresh off the trailer

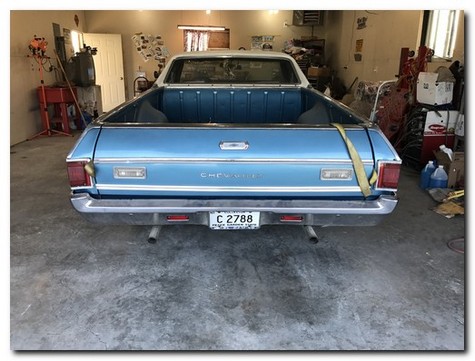
Walk around inspection Remarkably solid

Doing a walk around, it is remarkably solid, a great candidate for restoration

It's been stored indoors and the condition really shows it.
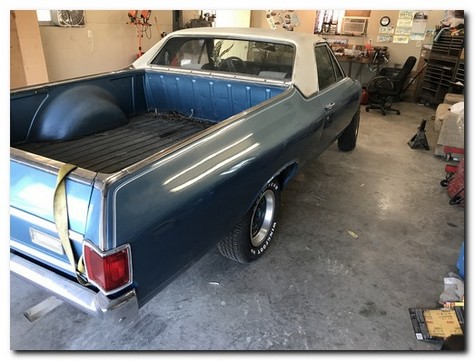
Family owned Ready to restore

The car has been in the client's family for a very long time. The owner wants to start with the frame, suspension and bottom of the car restored.
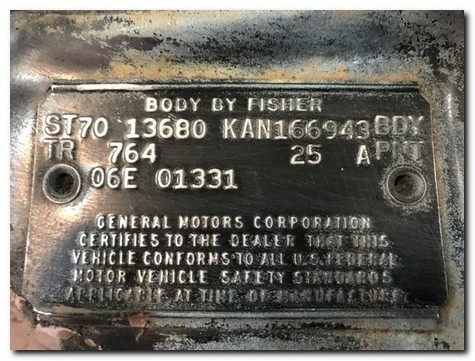
Data plate
Decoding the data plate gives us some interesting information on the car:

ST70 13680 = 1970 Malibu Series El Camino

KAN = Body was assembled in Kansas City, Missouri

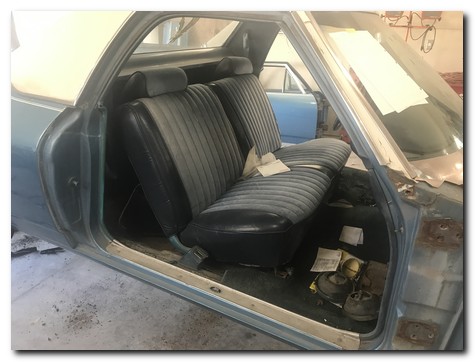
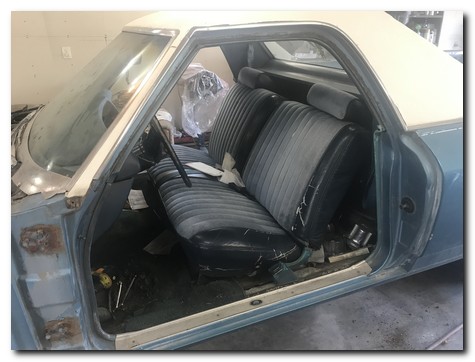
TR 764 = Metallic Medium Blue coated fabric bench seat

25 A PNT = Astro Blue with White vinyl top

Time to get dirty

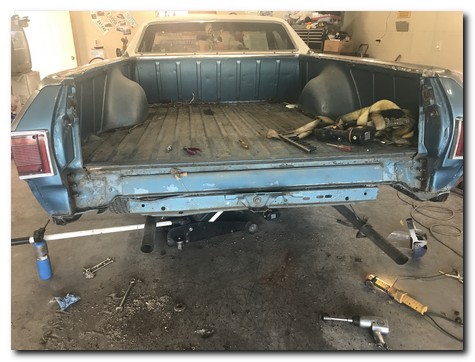
The plan is to lighten the car as much as possible by removing the tailgate, bumper, fuel tank, strip the firewall, doors and seat before separating it from the frame.
Starting disassembly
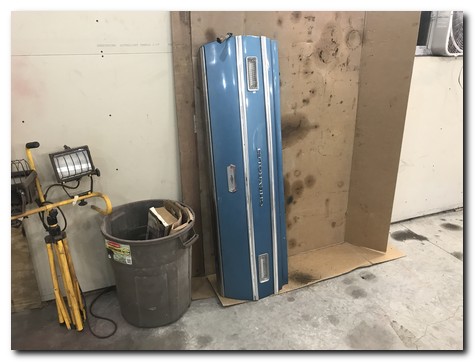
Tailgate removal Hinge bolts

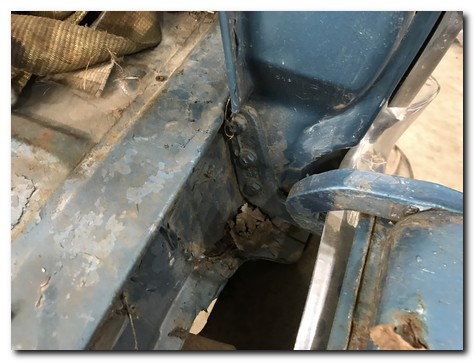
Three bolts at the bottom attach the hinge to the body
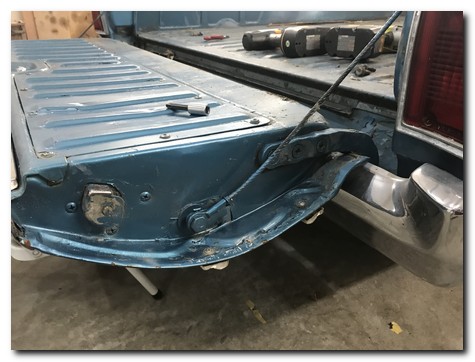
Hinge screws Tailgate coming off

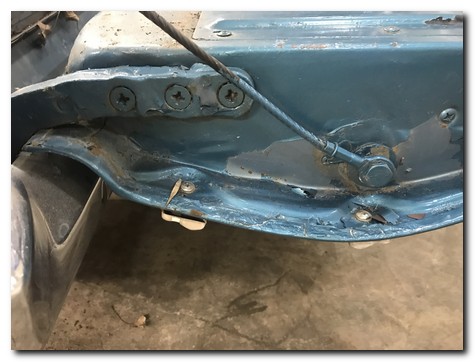
...and 3 large screws hold the hinge to the tailgate
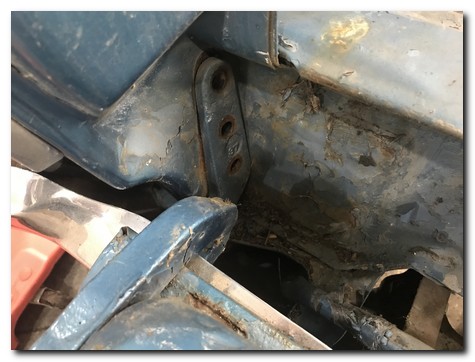
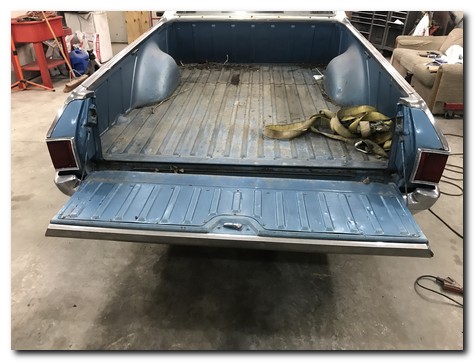
Tailgate removed Tailgate set aside

After the six fasteners and the back up light wiring was removed the tail gate came free and was set aside for the time being.
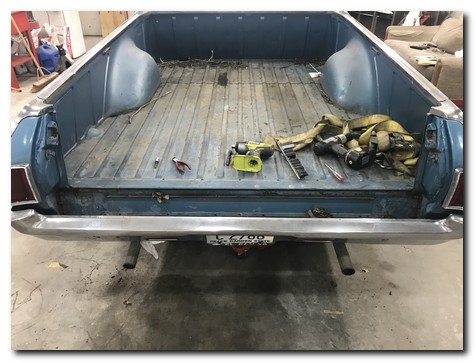
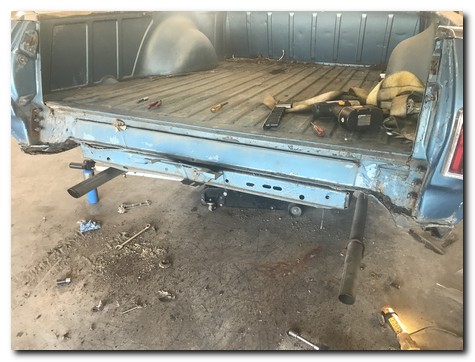
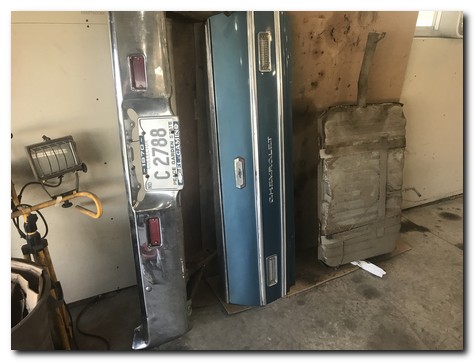
Bumper removal Fuel tank
Rear disassembly Bumper and tank out

After A LOT of heat, knucklebusting and eating a pound of old dirt and rust the rear bumper and fuel tank finally came out. Now it's time to see how cooperative the body mount bolts are going to be.
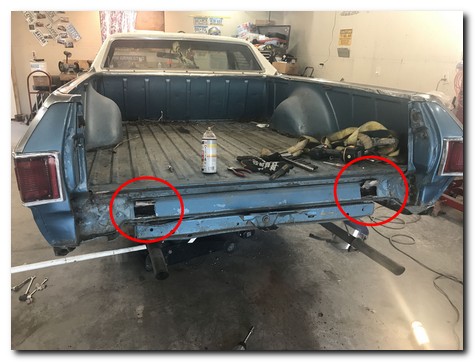
Body mount access
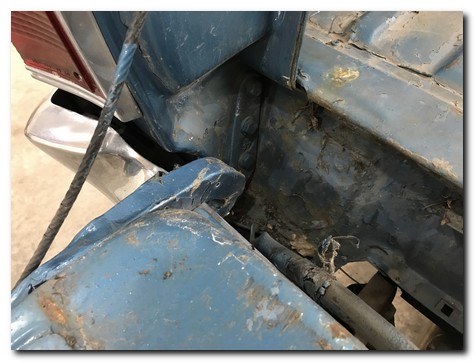
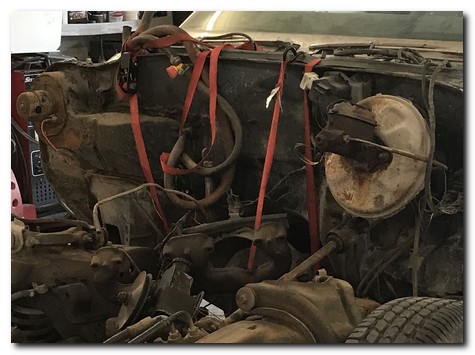
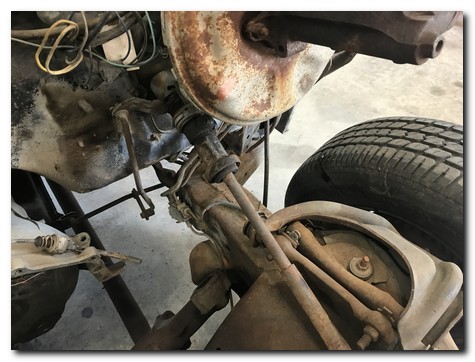
I needed to cut and peel back these two areas to gain access to the rear body mount nuts that were rusted solid and spinning.

The remaining body bolts were removed, some came out, some put up a fight.

Overall they came out pretty easily.
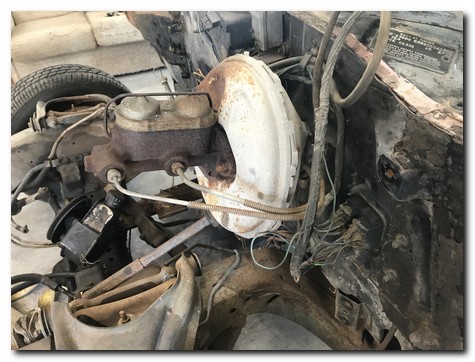
Moving to the front I need to remove the heater and fan assembly, brake booster and master cylinder. In addition there is some shift linkage, parking brake cable and the steering shaft to separate prior to lifting the body off the frame.
Front end work
Firewall stripping Components removed
More disassembly Steering separated
All connections removed
After a few hours all the connections between the body and the frame have been removed
One of the locations a VIN is hidden is behind the heater box near the blower motor. It can be useful to verify the VIN tag is original to the vehicle.
Hidden VIN location

Doors and interior
Now that the front and rear have been stripped I'm moving to the doors and interior to shed some weight.

Removing the doors will remove an incredible amount of weight. There are six bolts on each side holding the hinges to the cowl.
Removing doors Doors off

POOF! Just like that the doors are off. Next the bench seat needs to be removed.
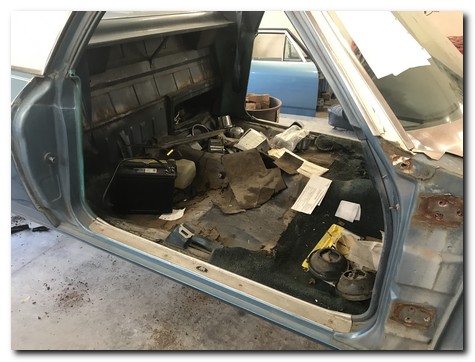
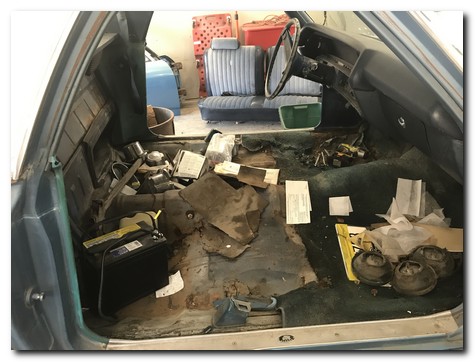
Under seat debris 47 years of accumulation

A whole lot of stuff accumulates over 47 years! Luckily no rodents or remnants of any were found.
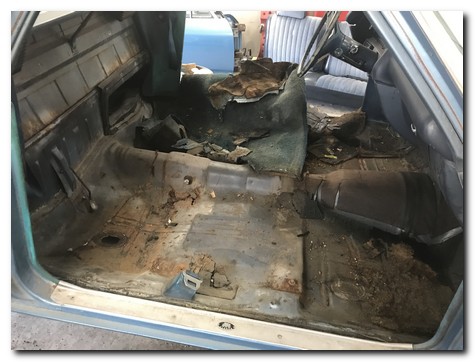
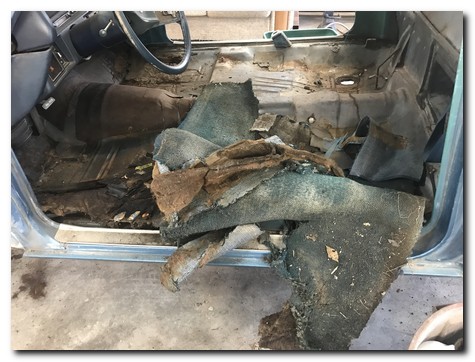
Cleaned out Carpet removed

Cleaned it all out and removed the old carpet. Nothing reusable here!
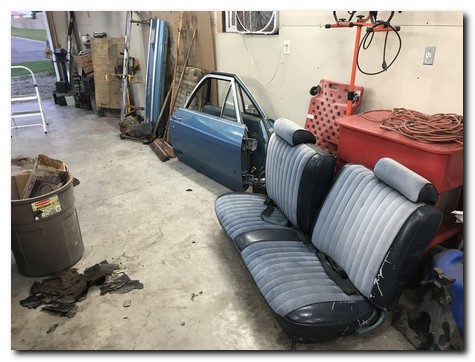
Ready for body off
That's really all that needs to be removed at this point.

There's a pile of parts and a full garbage can.

Time to take the body off!

Lots more to see...


Other Projects @ 57RUSTBUCKET.COM

Page: 2 3 4 5 6 7 8 9

Contact Us!