

Underbody and Brace Repairs
1/18
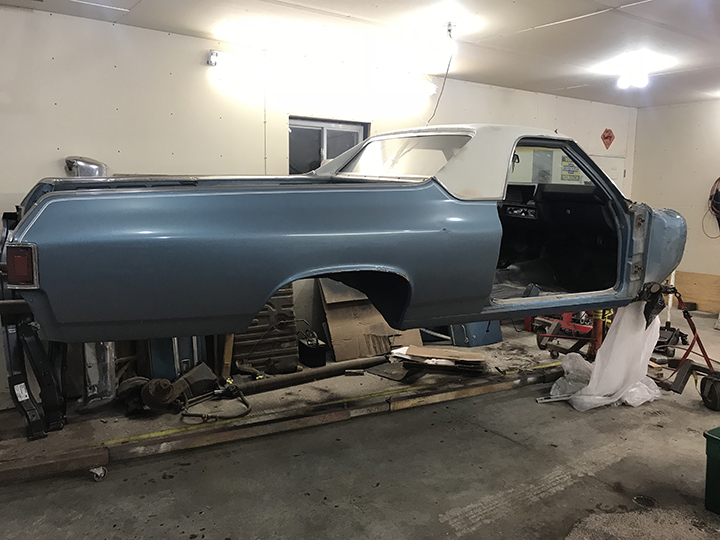
Now that the chassis is done and set aside it's time to get the body ready.
We are going to have the bottom sandblasted. Before I load the rotisserie up on the trailer to deliver it to the sandblaster I want to repair one area on the passenger floor to cowl.
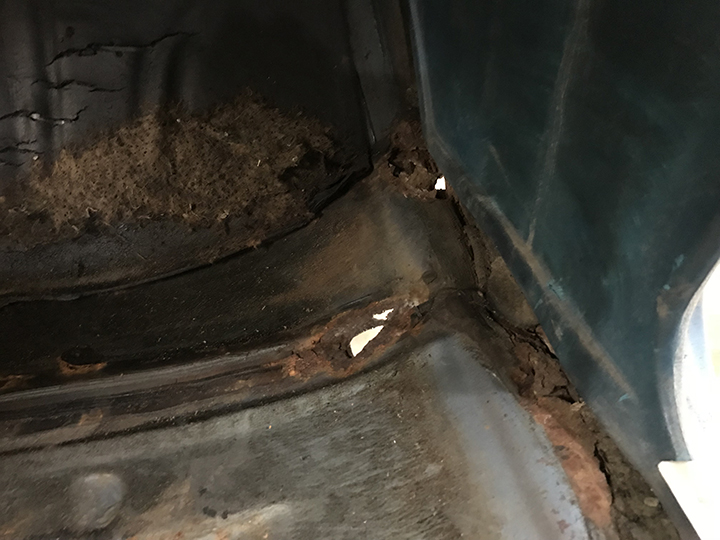
This is the area just behind the mounting point for the rotisserie. I want to make sure it's structurally sound before I trailer it.
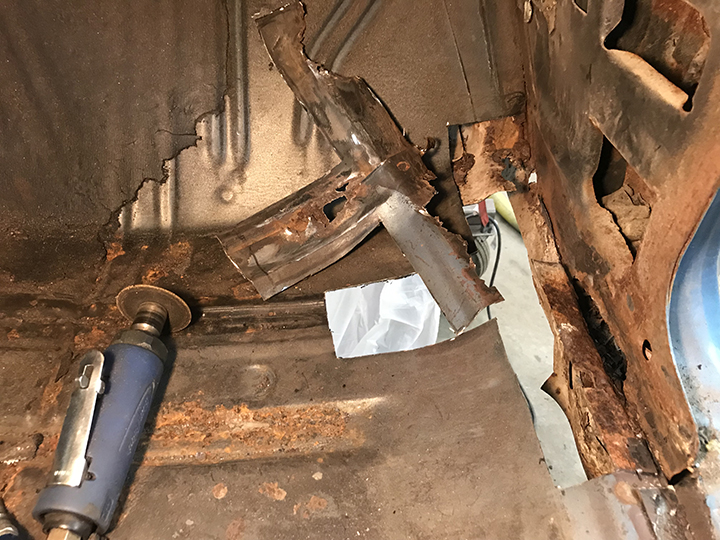
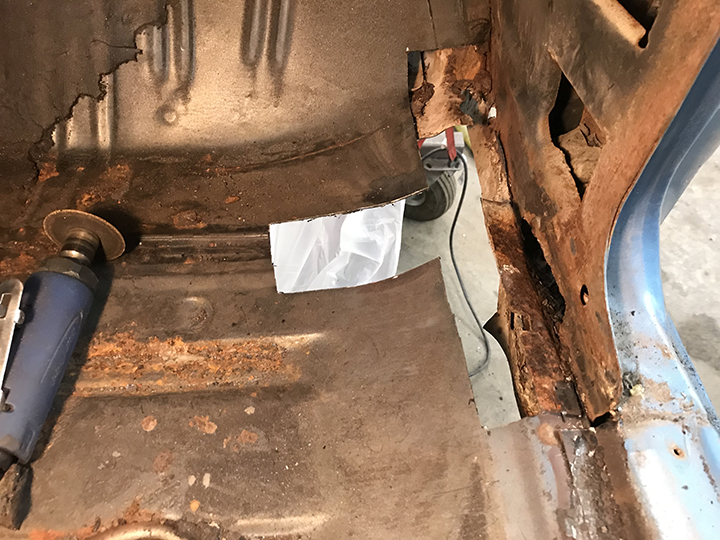
The passenger and drivers floor pans have substantial rust. I'll address this after the underbody braces are repaired.
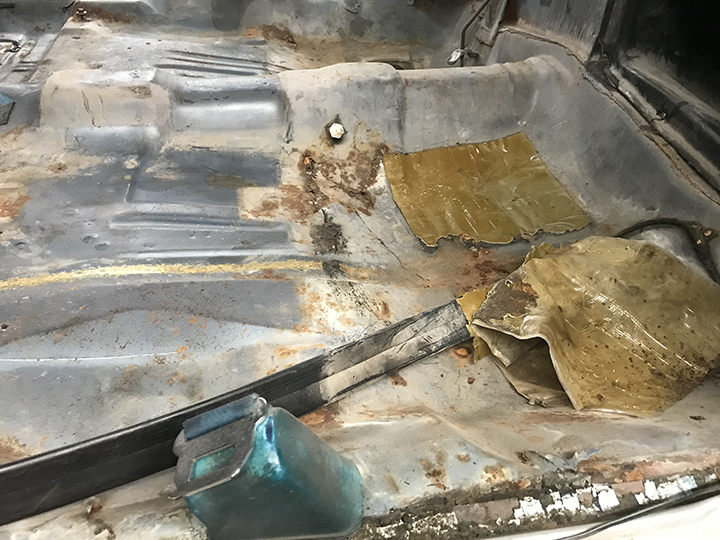
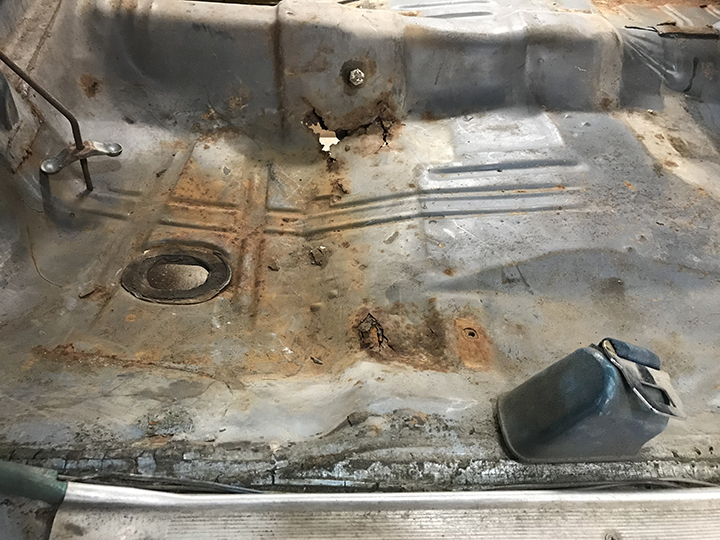
Back to the passenger front corner. I cut all the rust out leaving a good amount of good metal around the edge.
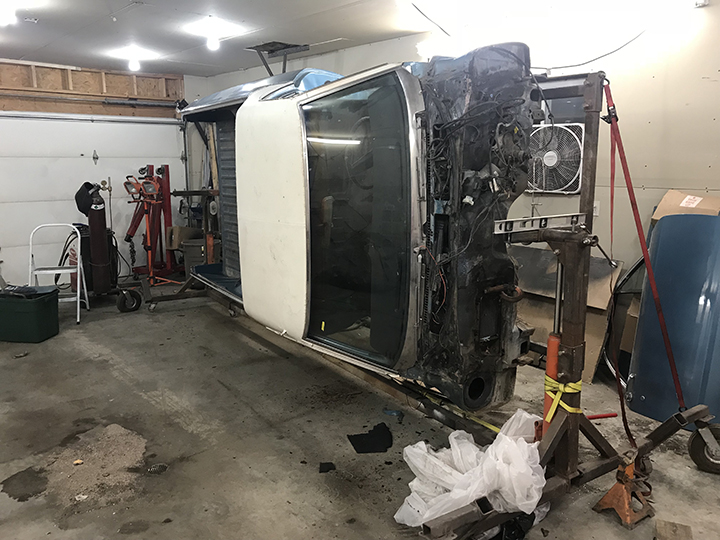
I flipped the body over on its side to gain access to the passenger inner rocker.
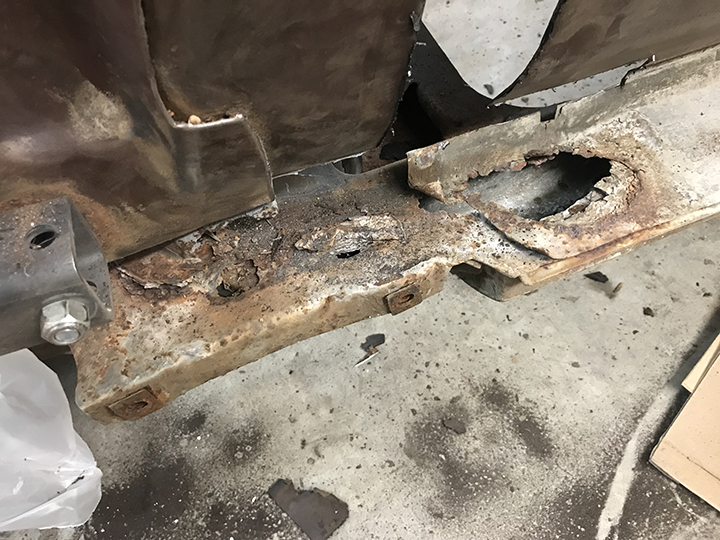
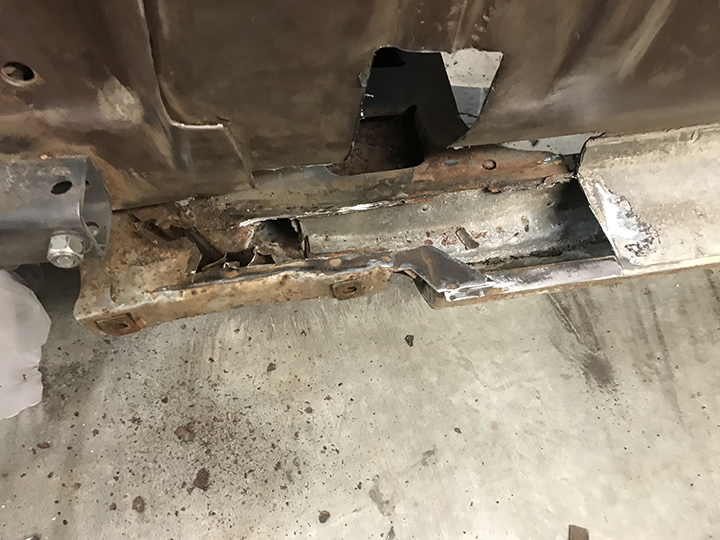
What we are looking at here is the inner rocker panel just below the area of the floor I cut out. The cowl side and the inner rocker panel are badly rusted. As usual the rusted area was cut out.
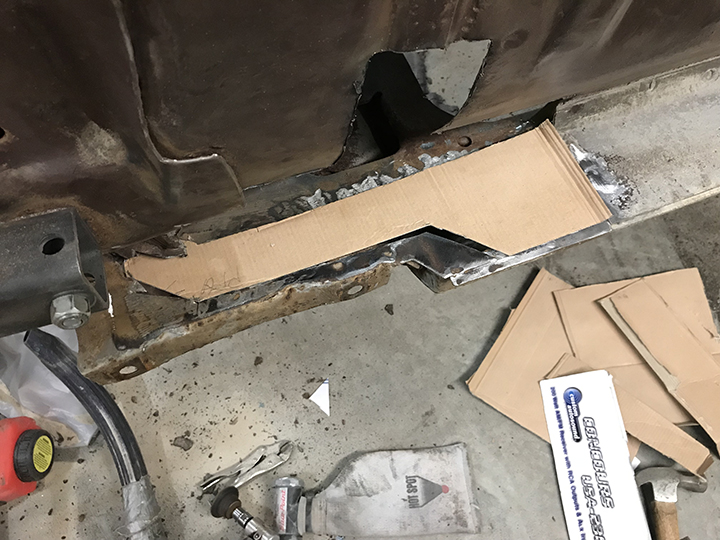
And some waste cardboard was used to make a template.
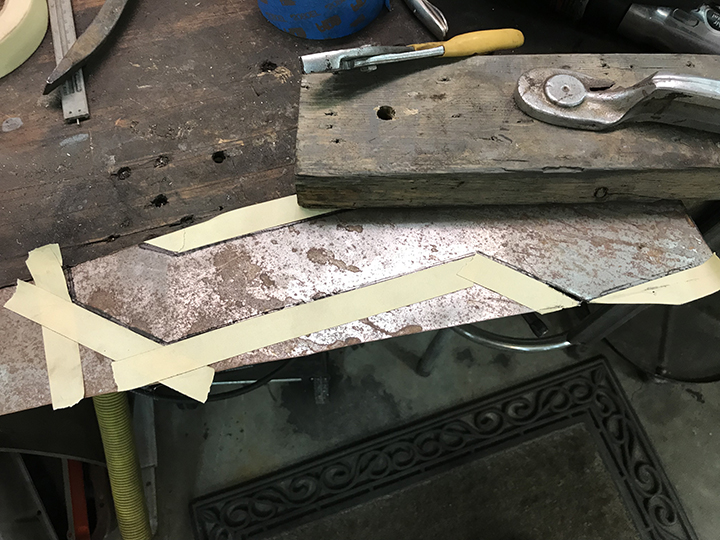
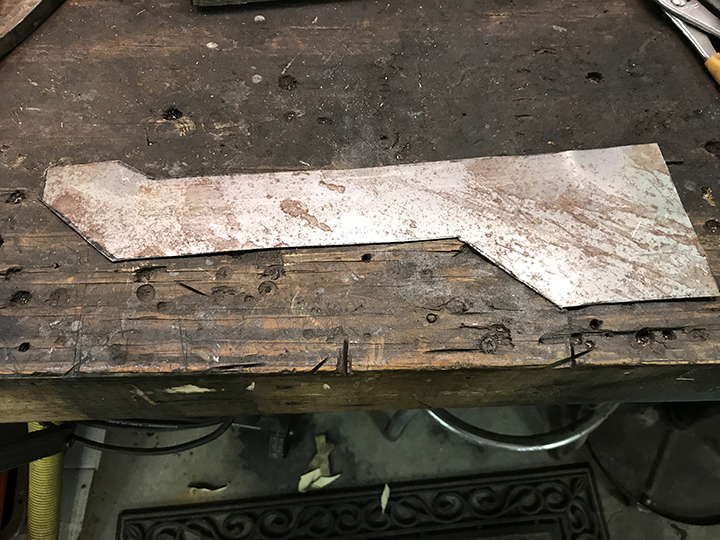
That was transferred to sheet metal and cut out.
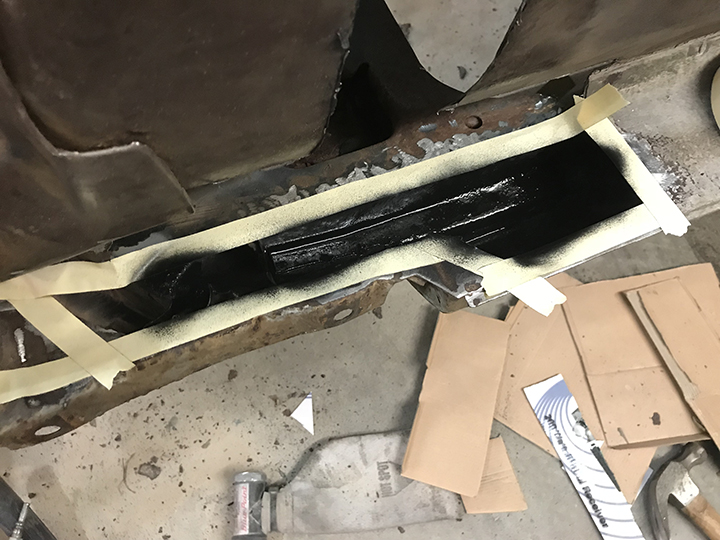
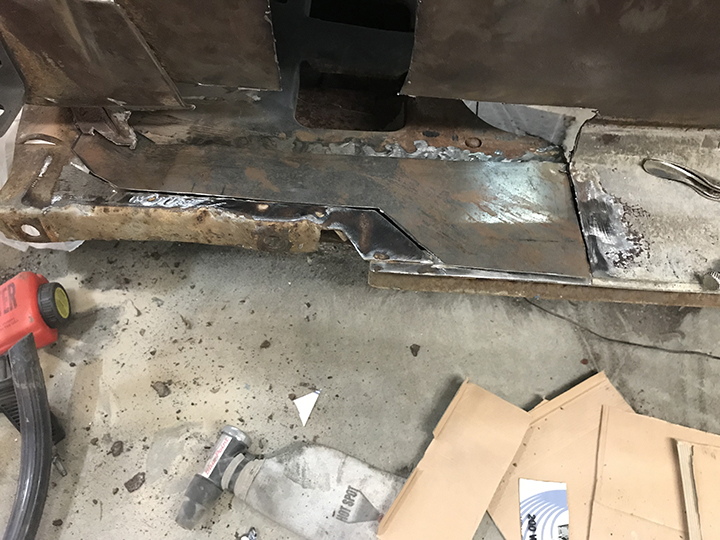
The piece fits perfectly after a little trimming. I cleaned up the inside of the rocker panel as far as I could reach and painted it to add a little protection.
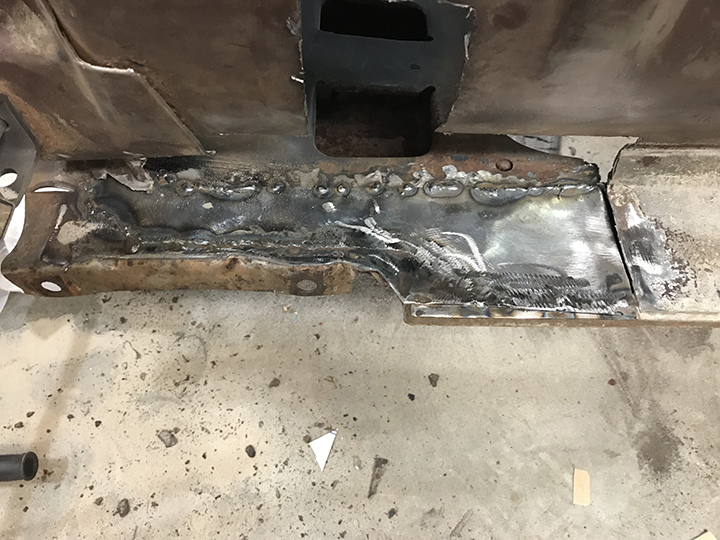
Welded in and ready for the welds to be dressed.
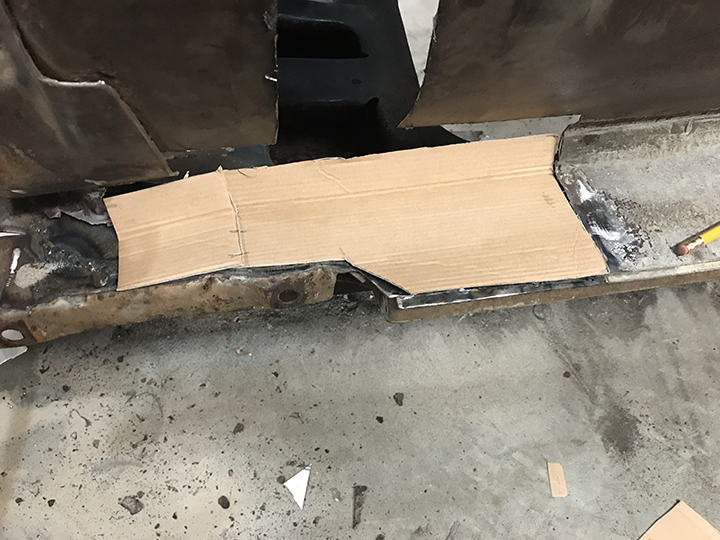
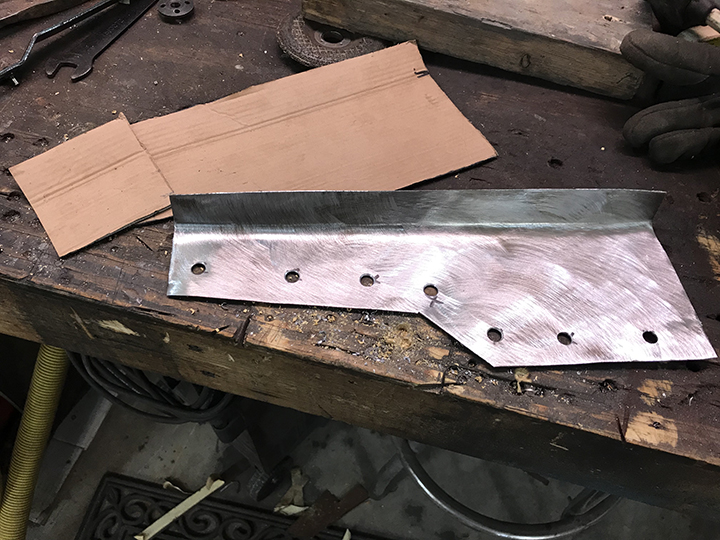
Using the same procedure I created a patch for the inner rocker panel.
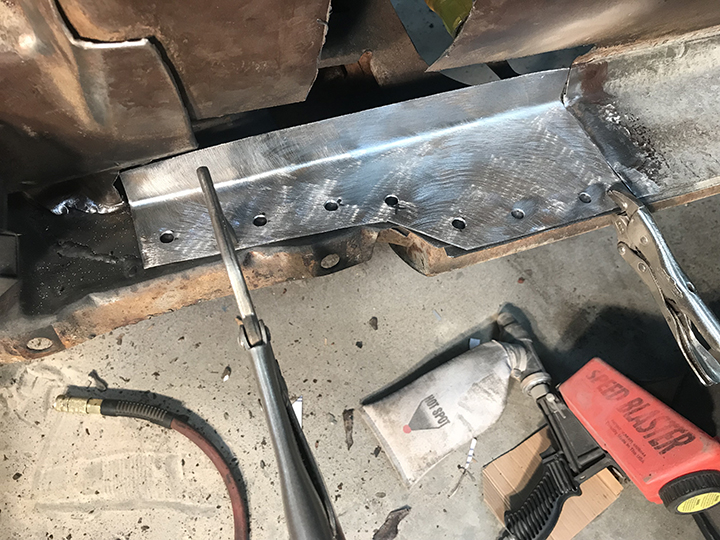
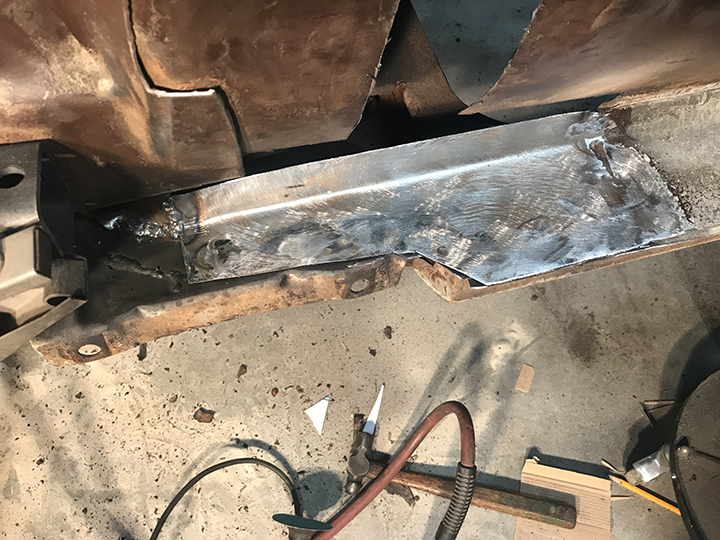
After the piece is fitted it's welded in. The weld and plug welds are dressed and the repair looks terrific.
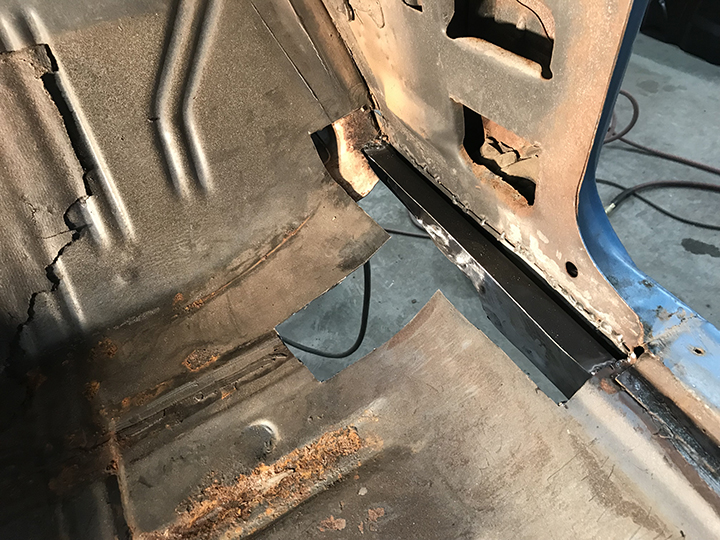
Moving back to the top I removed the kick panel and am preparing the area for repair.
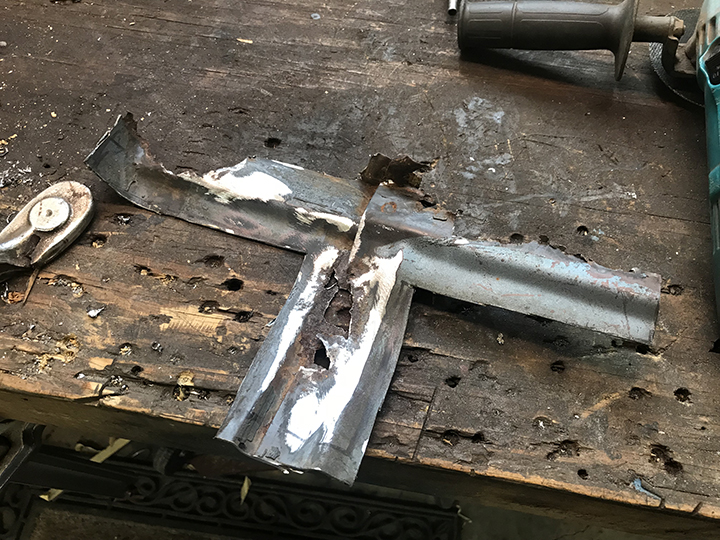
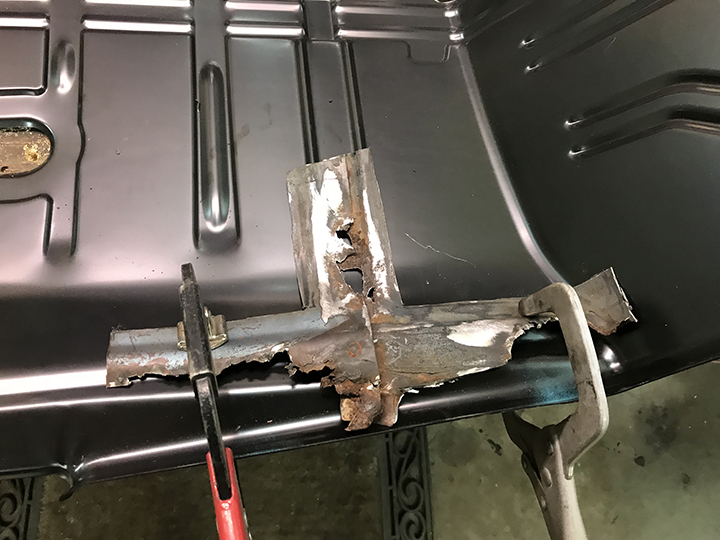
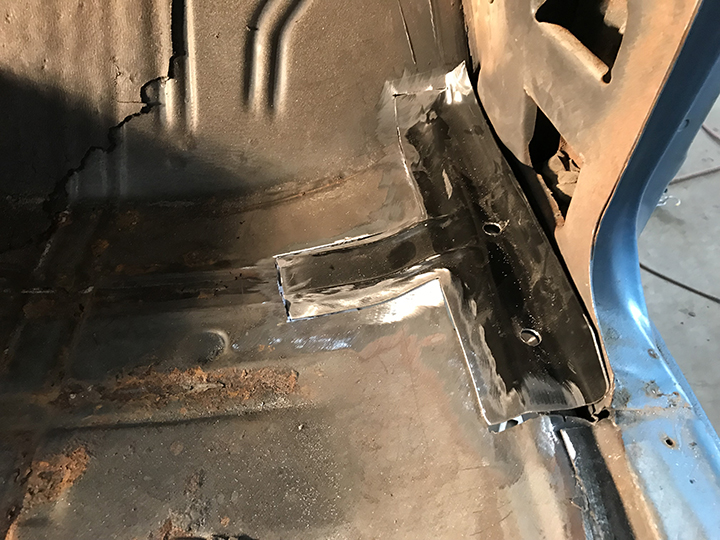
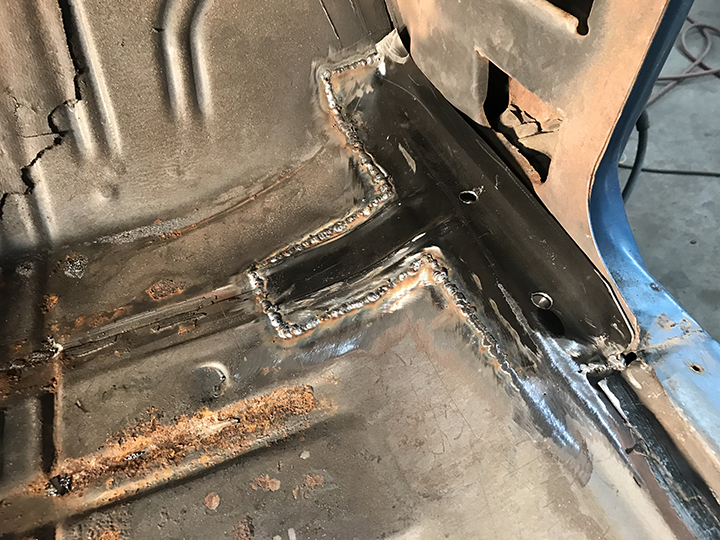
Using the original piece as a template a patch is cut from a replacement floor pan. Once the welds are ground and dressed the repair will be invisible.
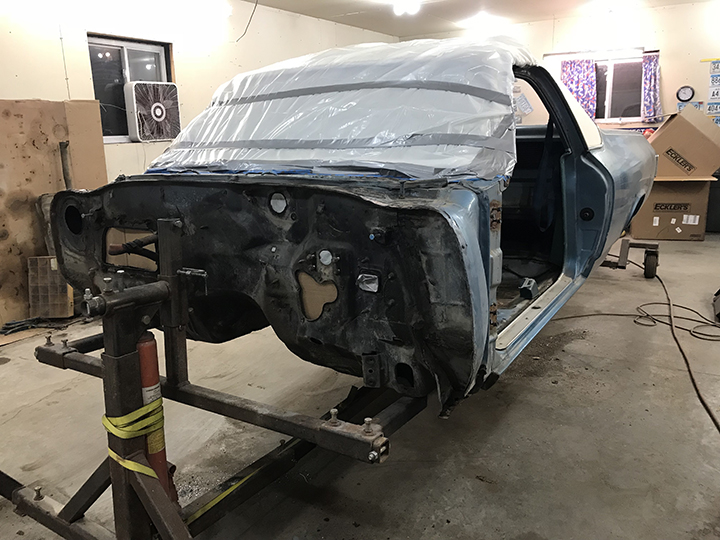
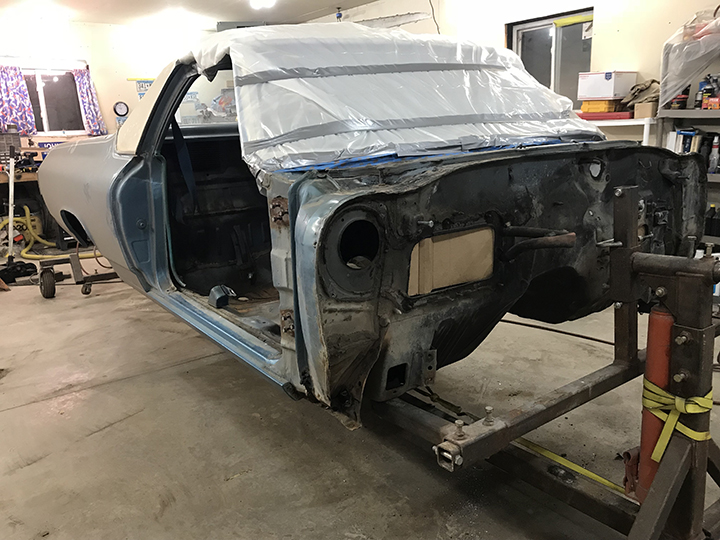
Now that the front corner is repaired it's time to get it to the sandblaster. The firewall will be blasted so I masked off the windshield and stainless to protect it.
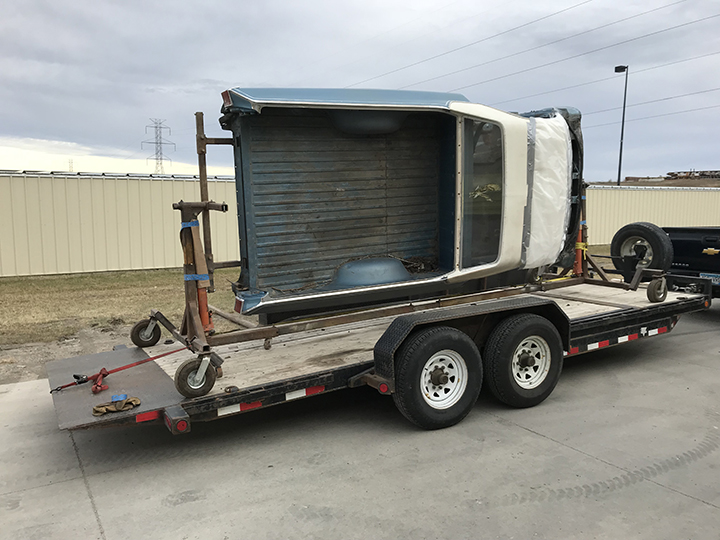
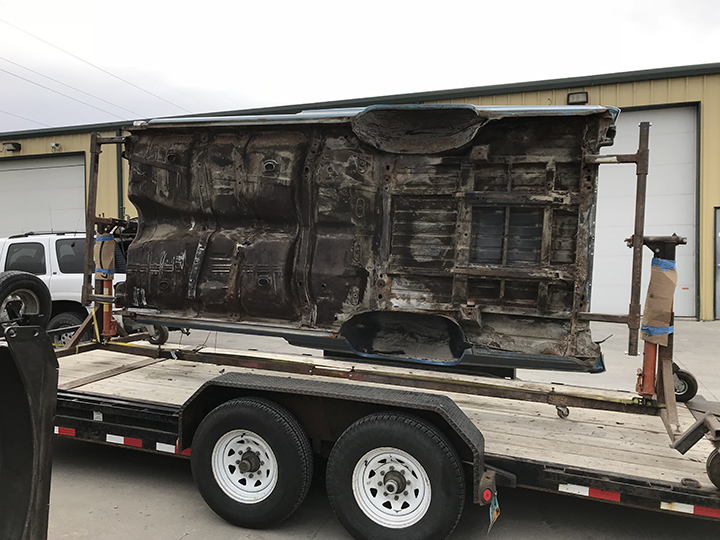
Once we arrived at the sandblaster I rotated it on its side. This would be the BEFORE picture.
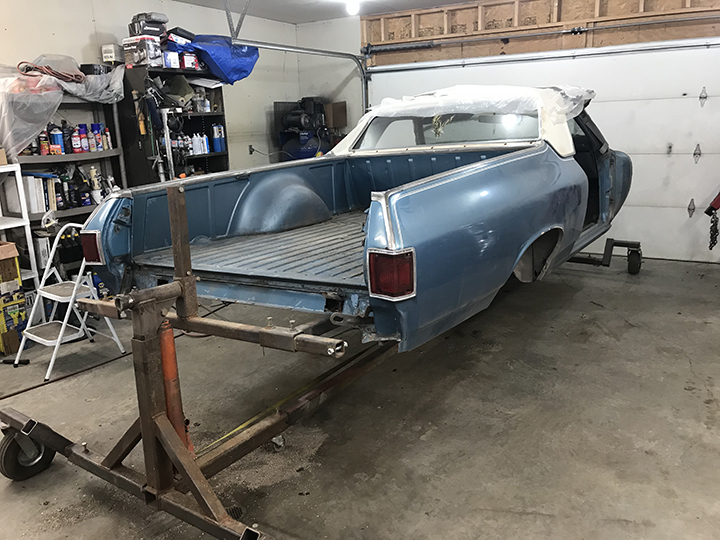
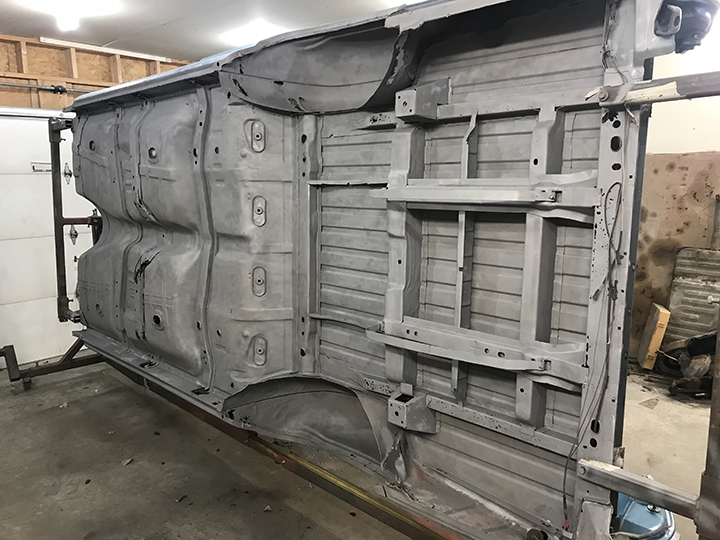
Back in the shop and the AFTER pictures.
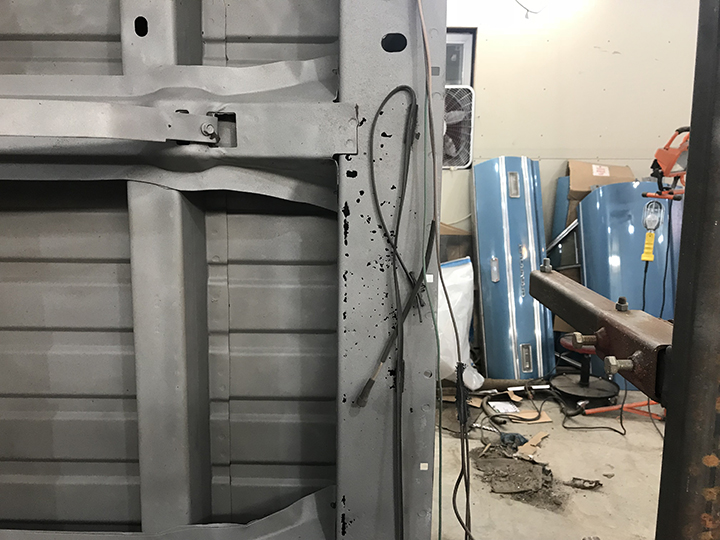
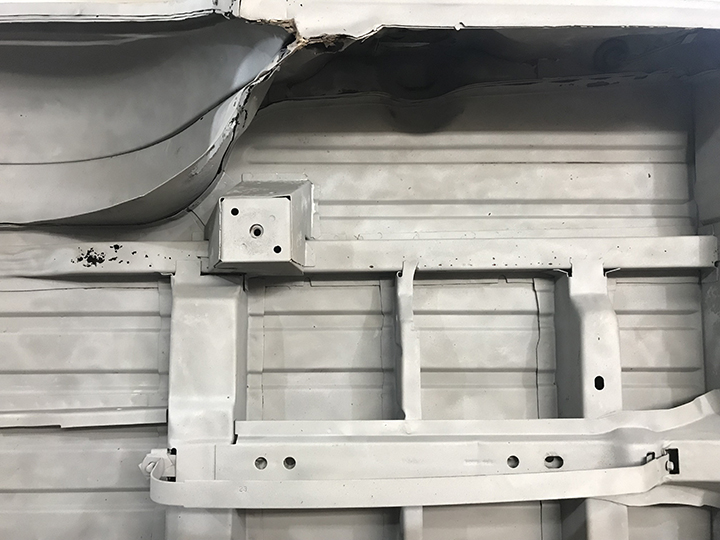
The rust damage is much more severe than first thought. The roll pan at the rear of the bed is riddled with holes like Swiss cheese. The braces under the bed are also rusted beyond repair.
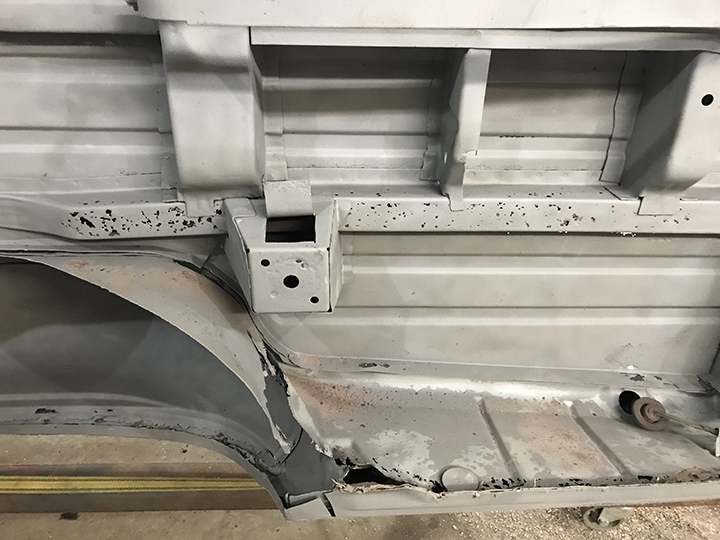
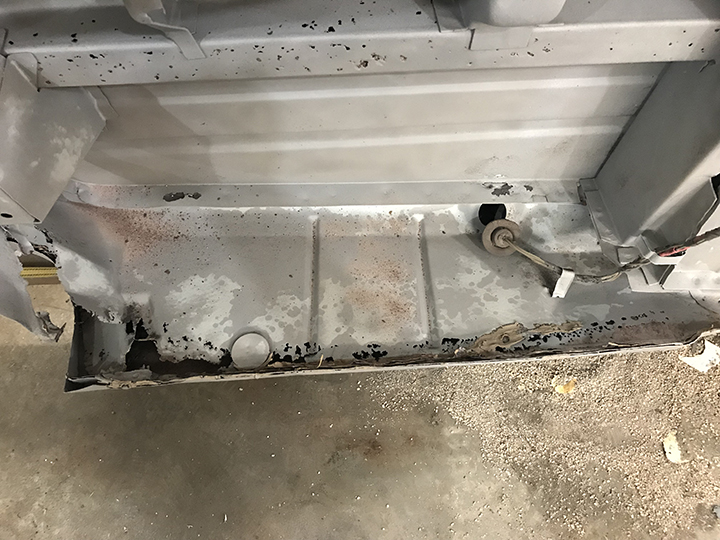
The brace on the passenger side is just as bad. The quarter panel drops are completely destroyed also.

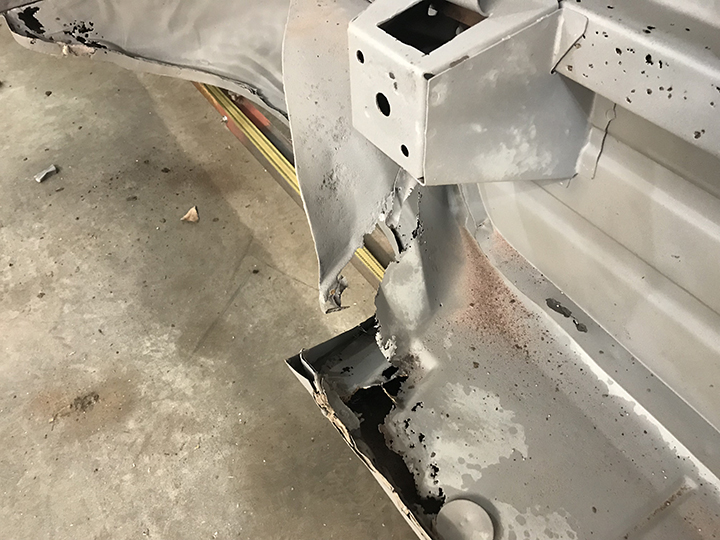
Inner and outer wheelhouses are also destroyed.
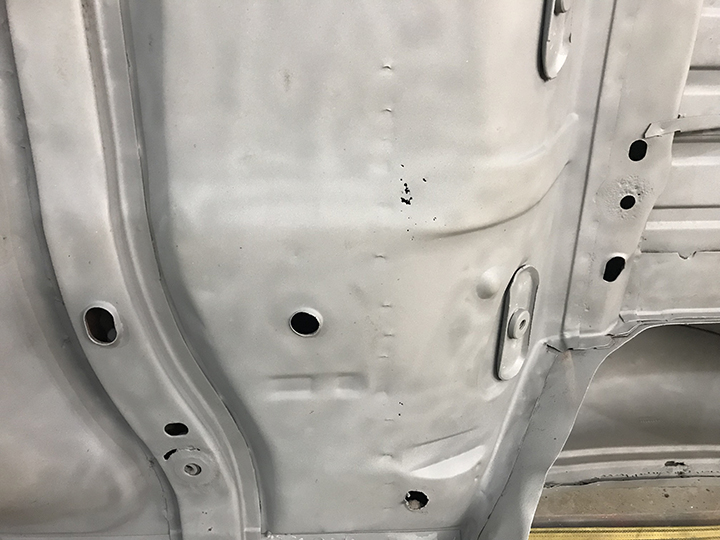
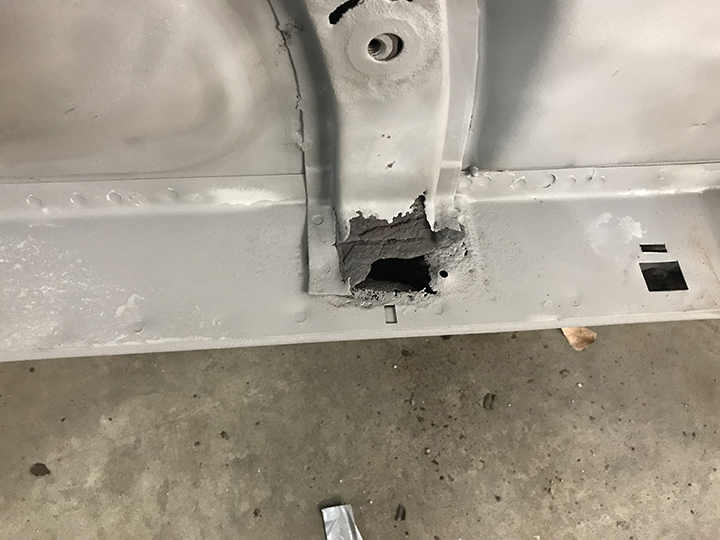
The floor brace ends are completely rusted out. The floor pan on the drivers side is thin as paper and several small holes.
Much worse than initially expected.