

Bed and Wheel Well Replacement
4/5/18
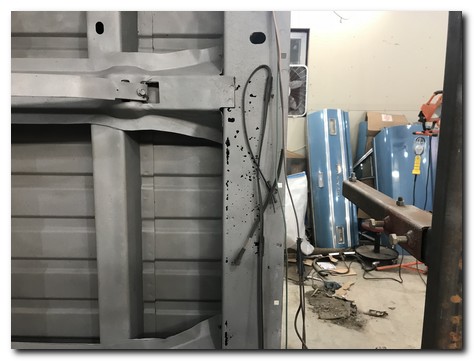
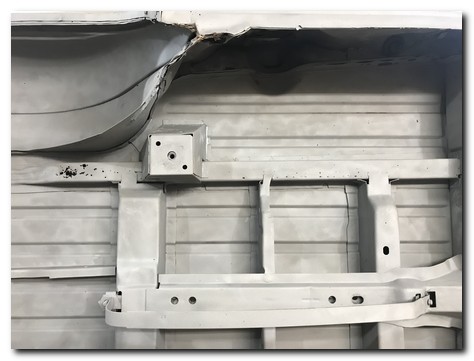
This is what I'm facing next
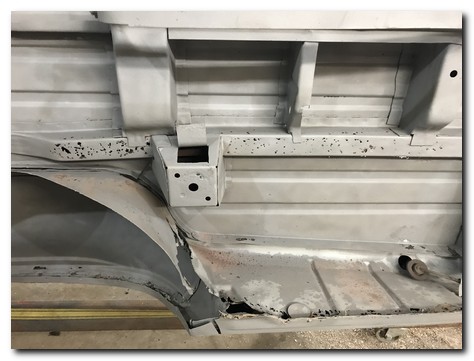
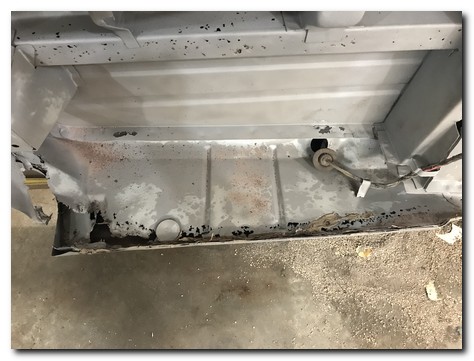
Terrible rot throughout the entire structure
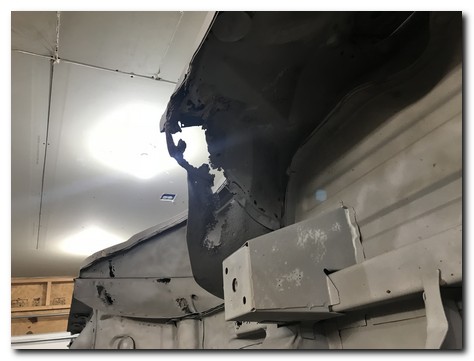
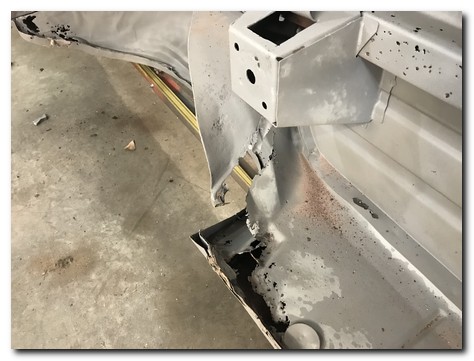
There is very little left of the bed supports, the bed and the rear quarter fillers.
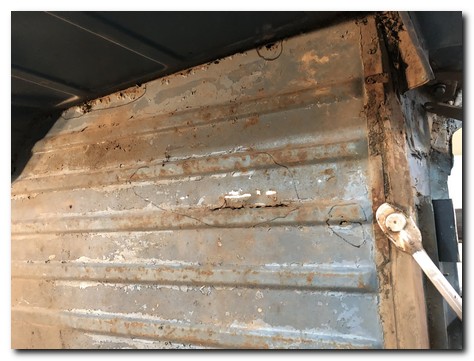
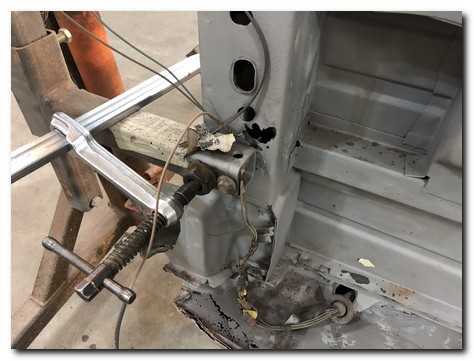
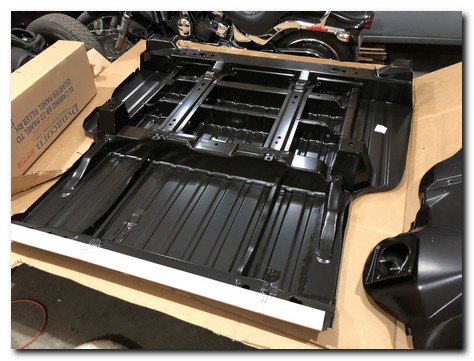
This is what will replace that old rotted bed. It's a very impressive piece. Along with it both wheel wells and quarter fillers will be replaced with new parts.
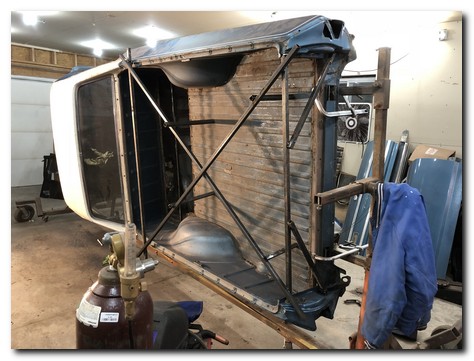
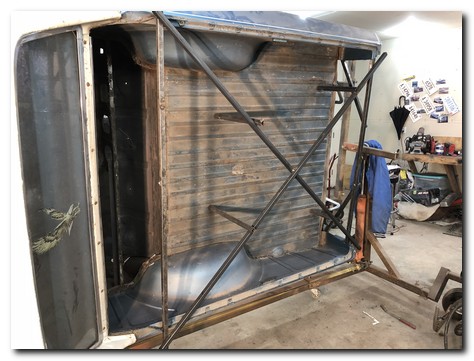
I'm going to be removing nearly all of the structural integrity of the back half of the car. I built a support structure of 1x1 square steel tubing. This will hold everything in perfect alignment while I'm working on it.
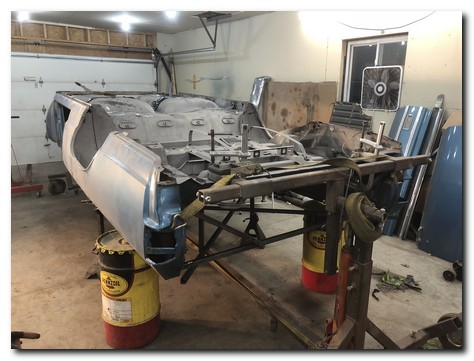
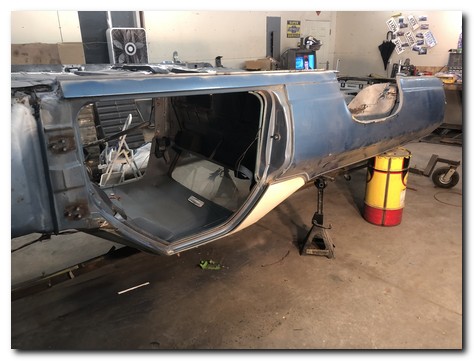
I rolled her upside down and used two large oil cans and two jack stands to support the rear area in exactly the correct position.
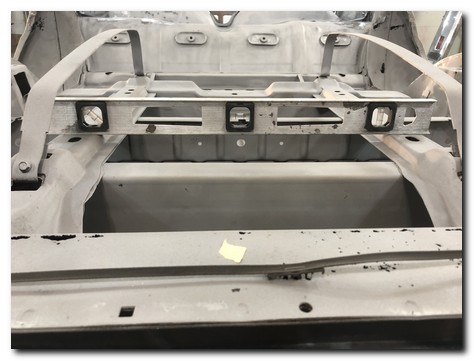
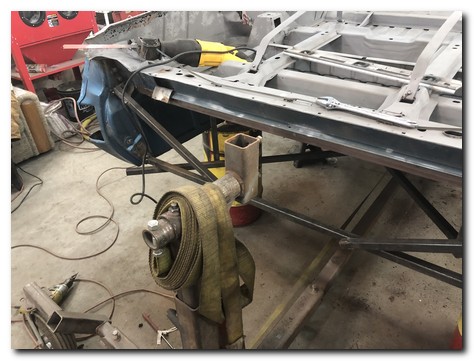
After verifying everything was level front to rear I removed the rotisserie from the back of the body.
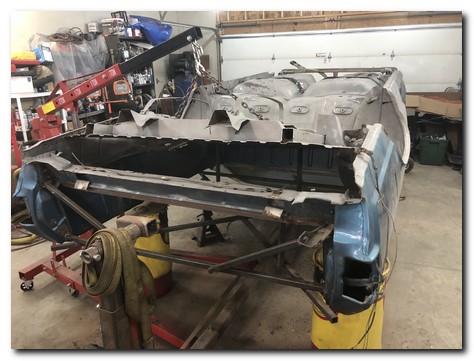
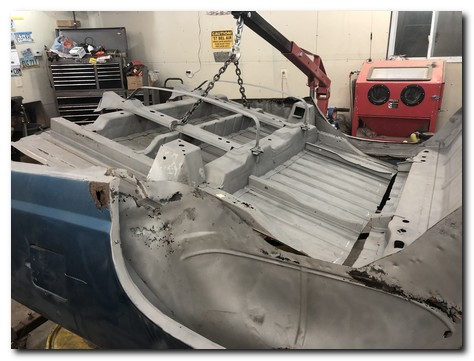
Using a reciprocating saw I spent forever cutting around the perimeter of the bed.
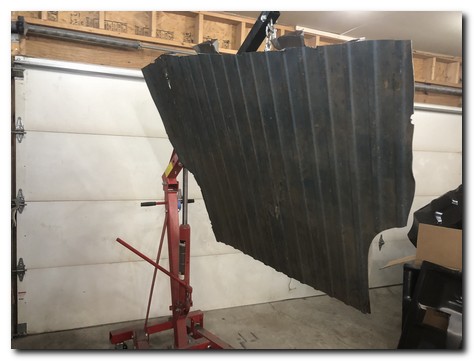
With a little help of the engine hoist I lifted it free like a can opener.
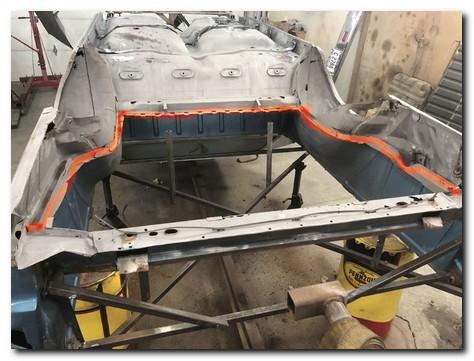
I now need to drill 12 billion spotwelds around the area highlighted to remove the remnants of the bed.
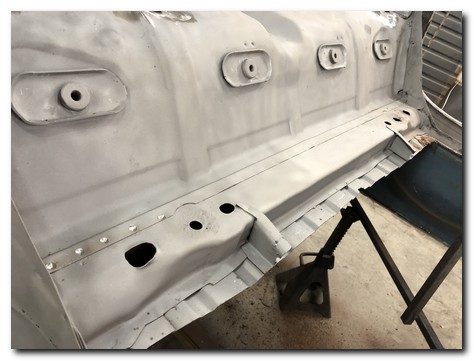
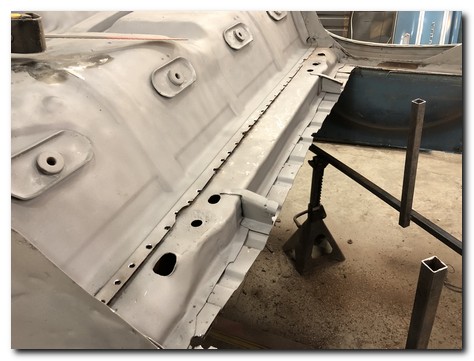
Just a whole lot of drilling and breaking free of some very old metal.
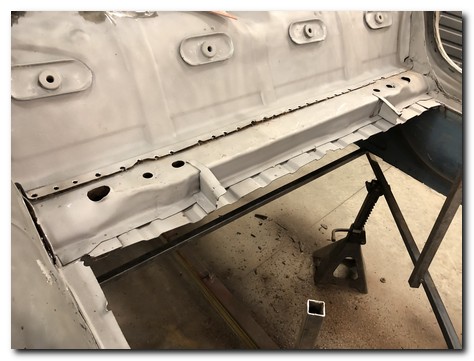
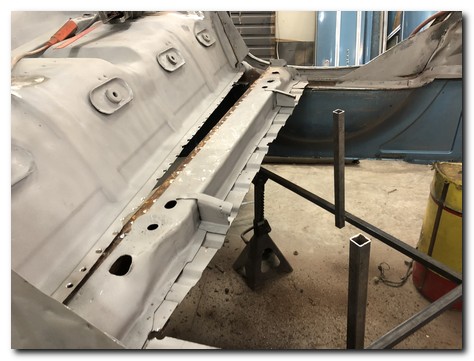
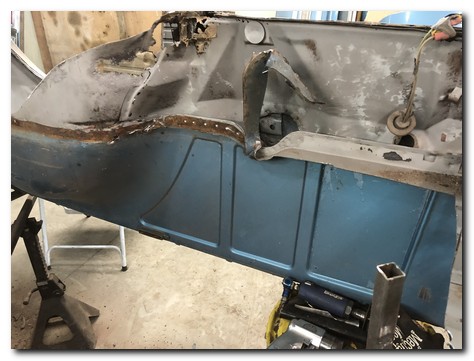
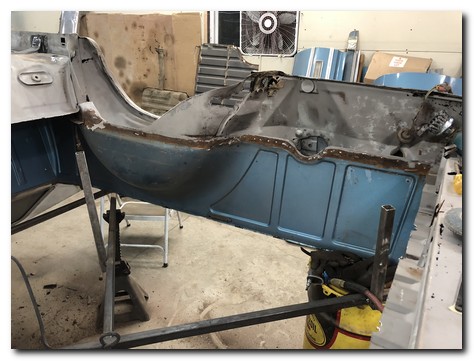
And just continued to drill around the wheel well and into the rear area.
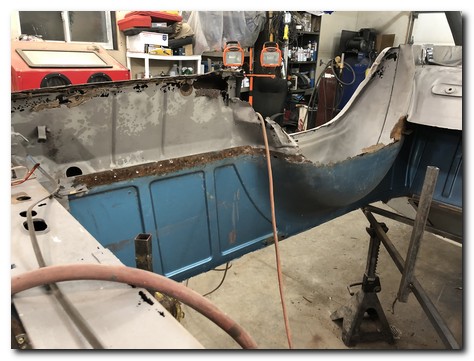
A look at the passenger side, a lot of work left to be done.
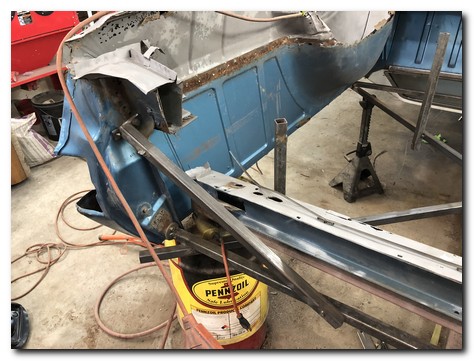
Once the rear main support is removed it's clear why the support structure we built is needed to keep it all together.
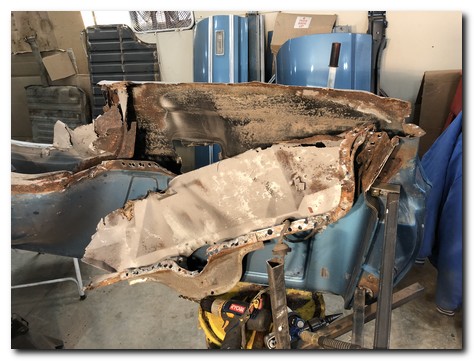
Finally the driver side filler is pulled free.
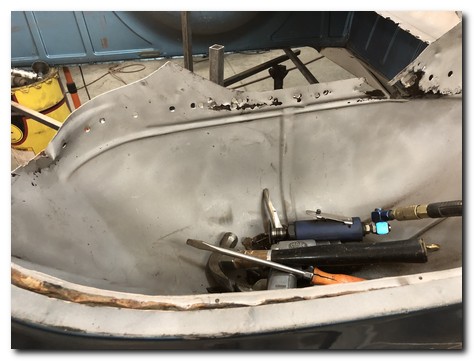
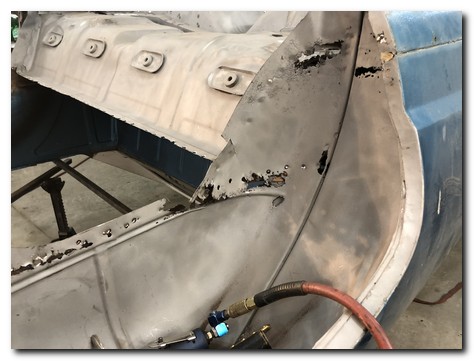
The wheel wells are spotwelded in dozens of areas. It clearly needs to be replaced.
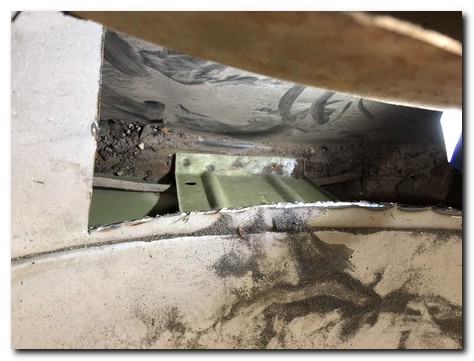
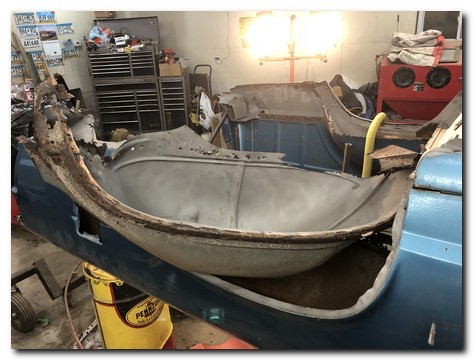
The picture on the left is looking straight down into the bed side. There is a support that is welded to the top lip of the wheelhouse. I won't be able to reattach this without removing the bedside. The bedsides will be replaced at a later date. Finally the drivers wheel well comes free.
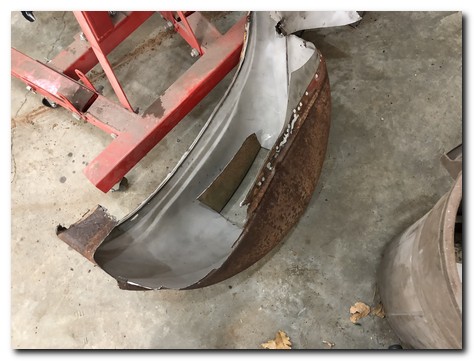
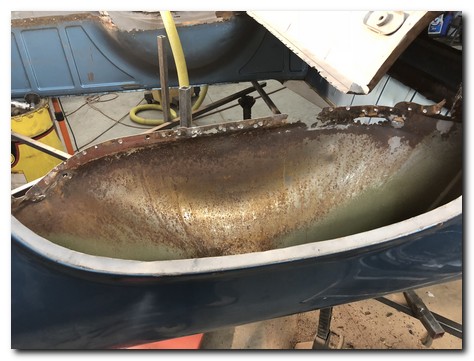
Just a rusted mess. I will need to fabricate some patches for the inner bed side and then can proceed with beginning to fit the new parts.
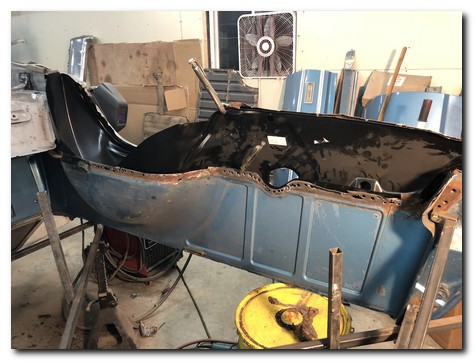
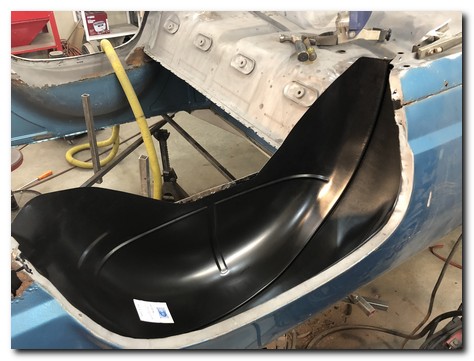
After patching, test fitting the well and filler panel. Starting to look good!
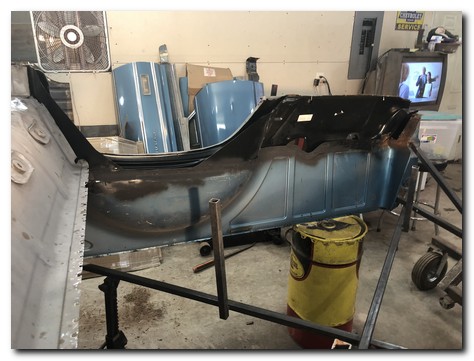
Big jump between pictures. It's all plug welded together with a protective layer of paint. The new parts fit really well after a few modifications.
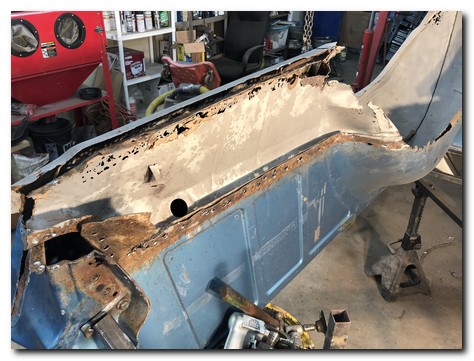
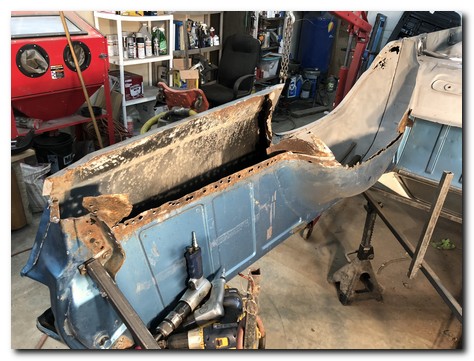
Moving to the other side I once again drilled all the spot welds from the filler panel and removed it.
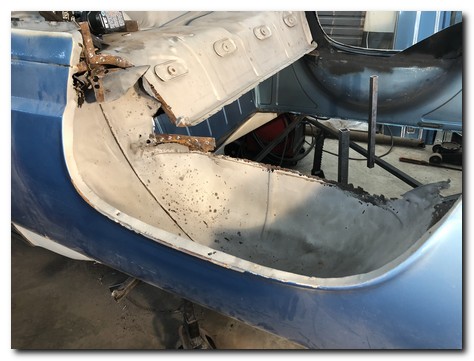
A very ugly mess of rust on the wheel well. Nothing we can't fix though.
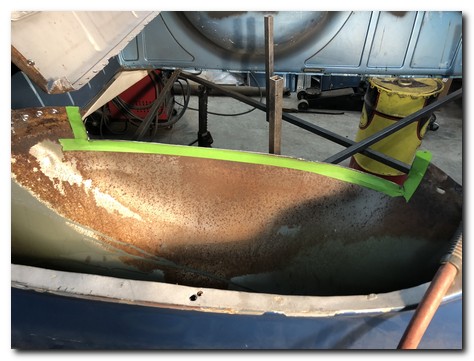
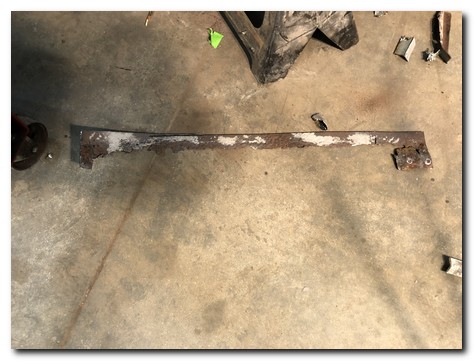
Cutting out the rot is first on the list.
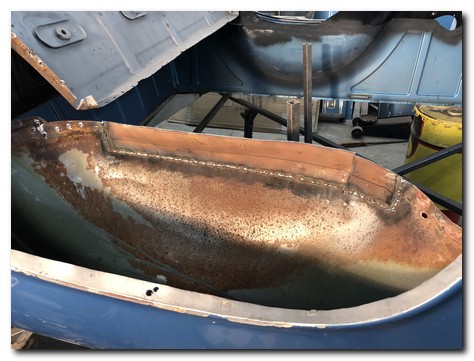
I worked this small piece of metal a long time to get the correct shape and making it fit. It curves in 3 different directions and has to dip back in for the bed to be flush with it.
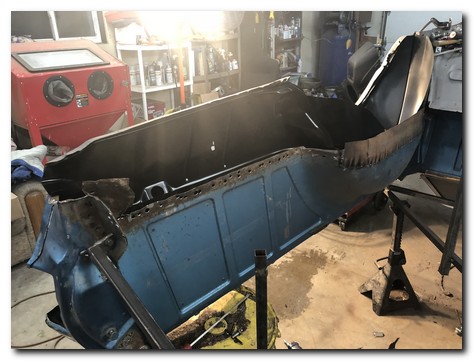
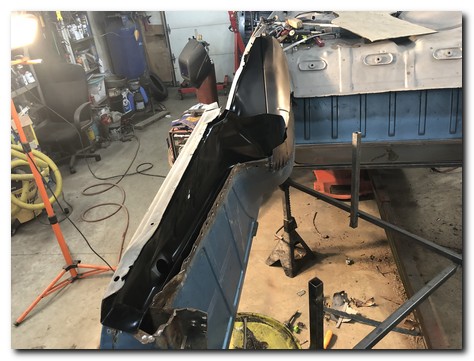
Test fitting the new wheel well and filler panel.
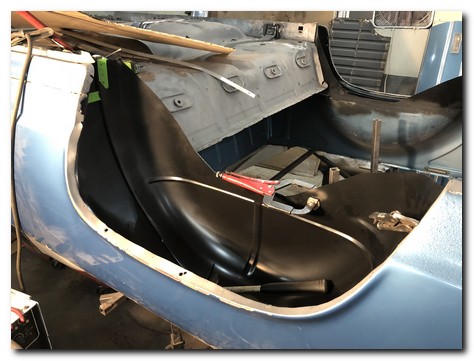
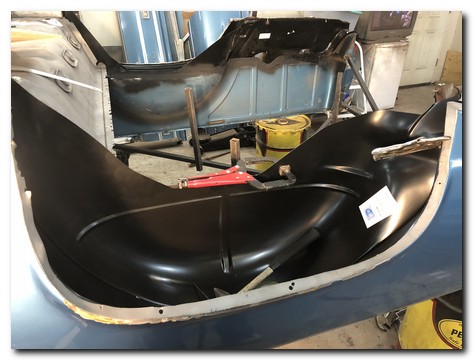
Clamping everything in place and marking where holes need to be placed for the plug welding.
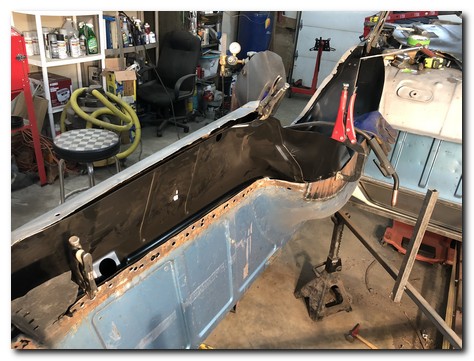
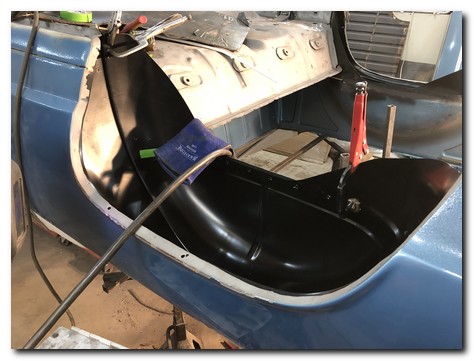
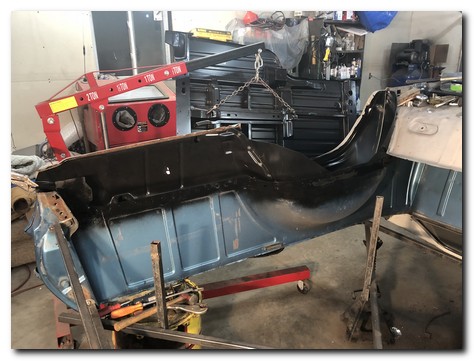
All solidly welded in, plug welds ground down and a protective layer of paint.
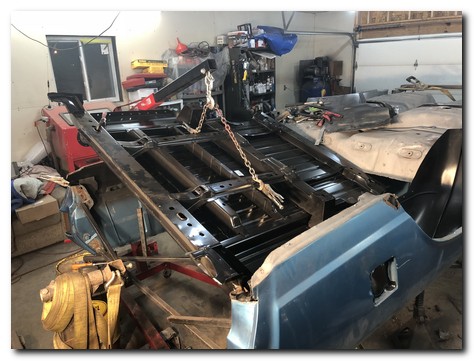
I again used the engine hoist to handle this huge heavy bed. It took a bit of prying, wiggling and forcing to get it into the correct position. It fit a lot better than I expected.
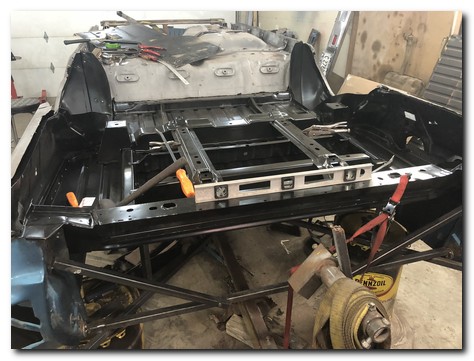
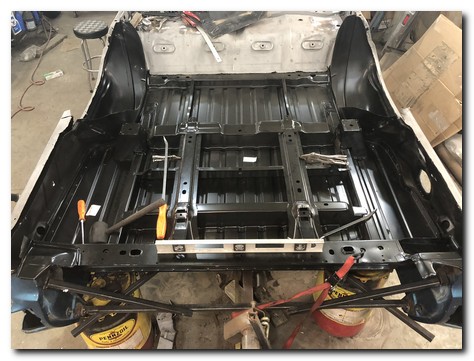
I took all the time it needed to verify it was back in the exact same position as the original. I had taken a dozen different measurements of the original before I removed it. I was able to get the new bed exactly back to where the original was.
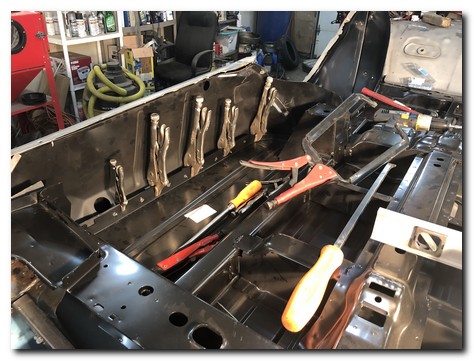
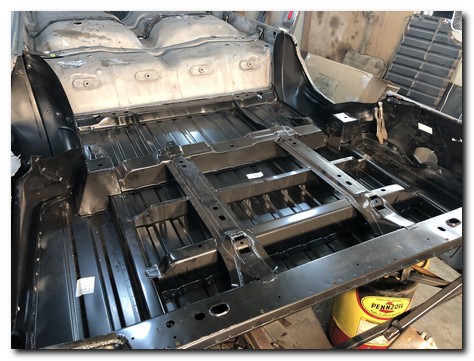
I had pre drilled the holes to plug weld on the sides and rear. I clamped everything in place and welded it all together constantly checking to make sure nothing moved.
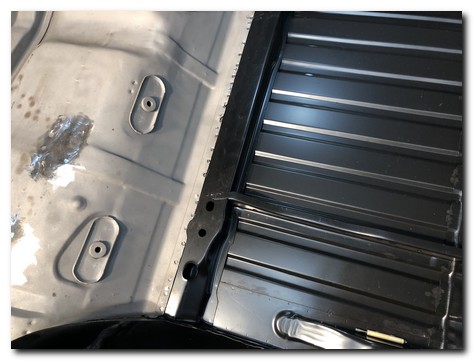
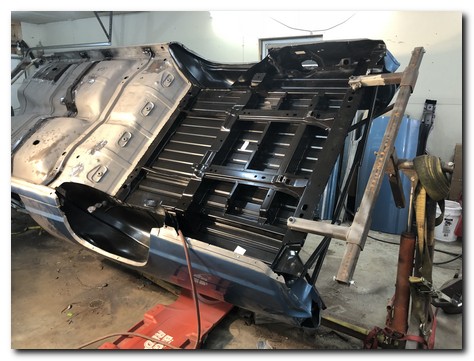
Along the front edge I used several self tapping screws to hold it in place. It was a difficult area to get to while it was on its back. Once I put the body back on the rotisserie...
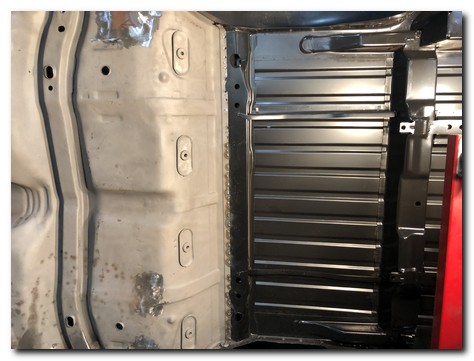
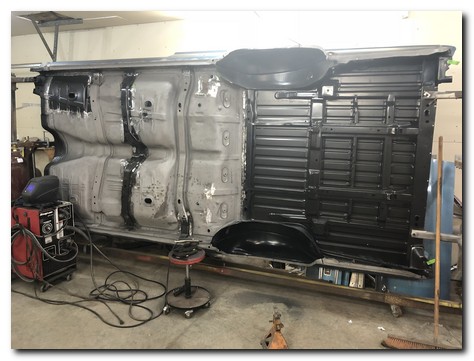
...and rolled it on its side it was much easier to weld that area. It's all brand new!
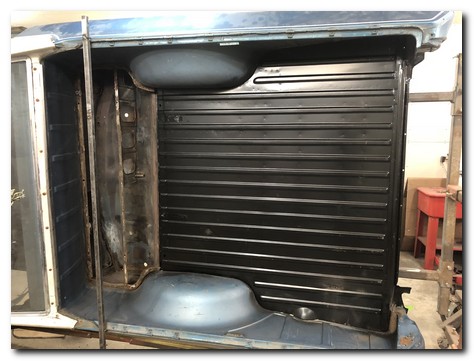
Looks great from the top as well. Fit like a factory part.
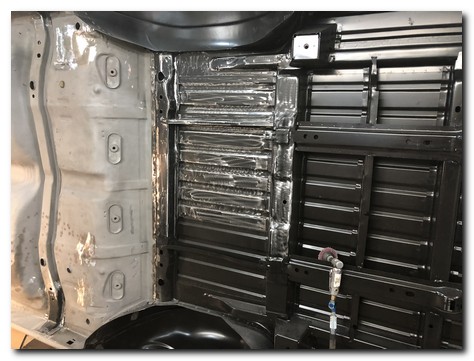
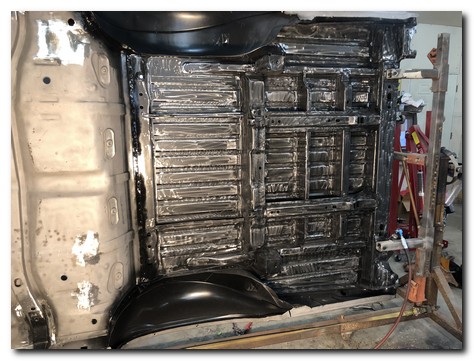
I began the job of scuffing every nook and cranny of the new parts to prepare for primer and bedliner.
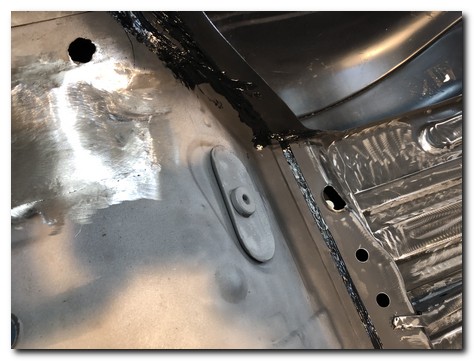
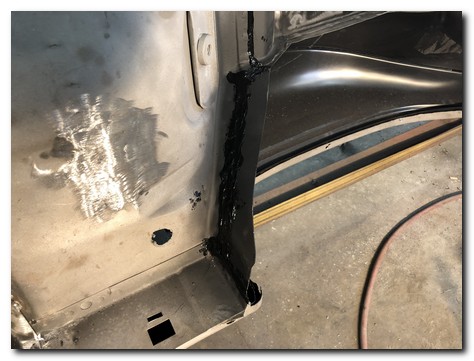
I followed that with seam sealer on every place that two panels came together.
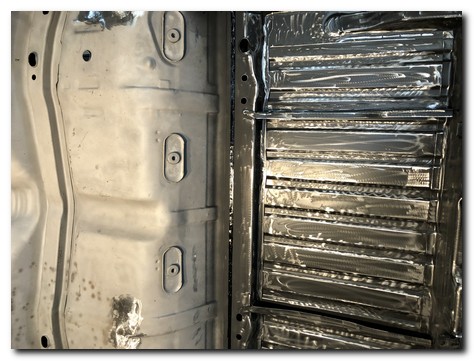
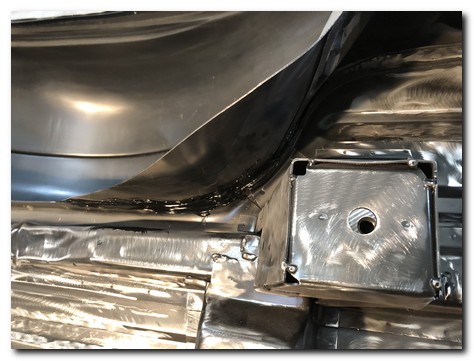
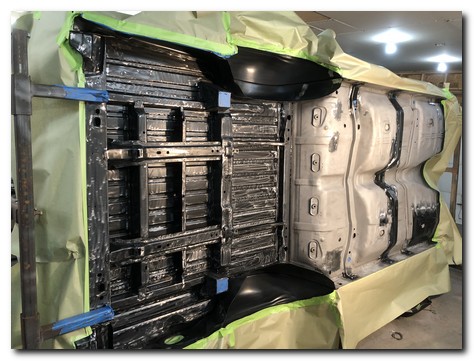
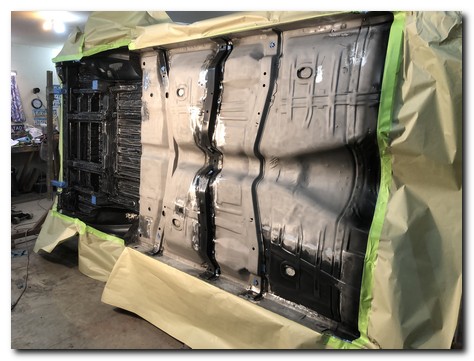
Getting closer, the perimeter is masked and I wiped down every inch with wax and grease remover.
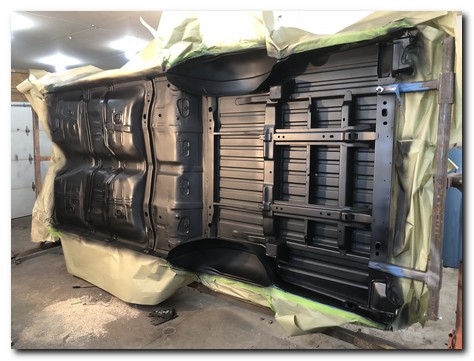
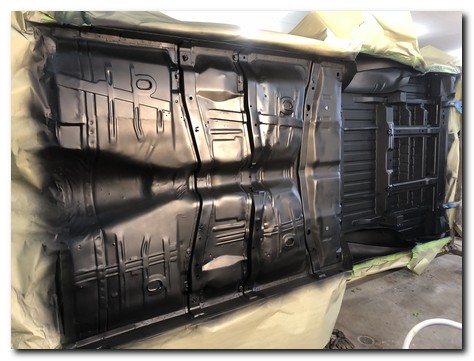
Looks great! Two coats of black epoxy primer. It's incredible how making it all one color brings everything together.
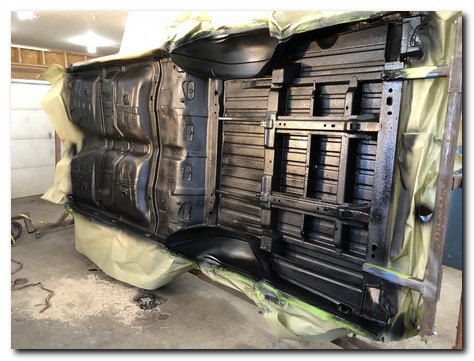
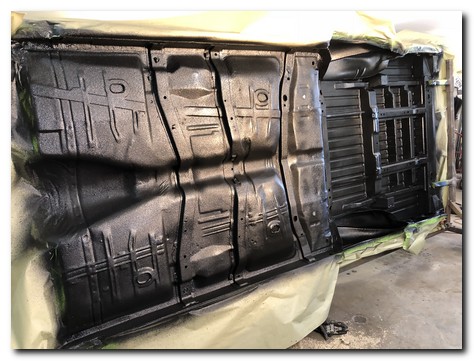
Followed by black bedliner. It was a challenge to get into some of the areas under the bed.
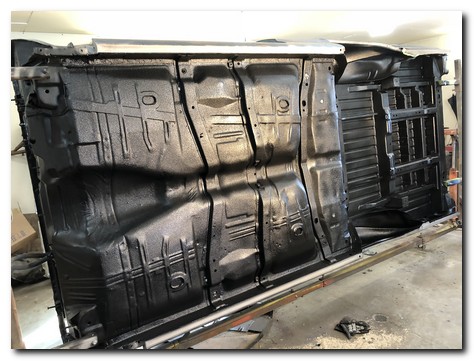
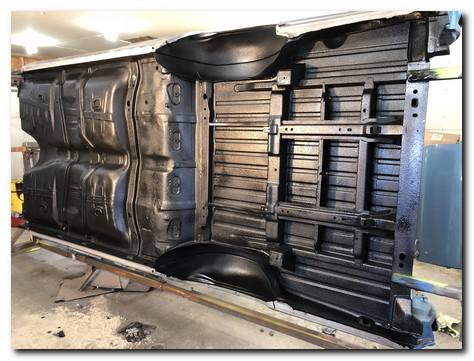
Off with the masking and ready for another 50+ years.
Guess it's time to put everything back together now.