Frame Repair
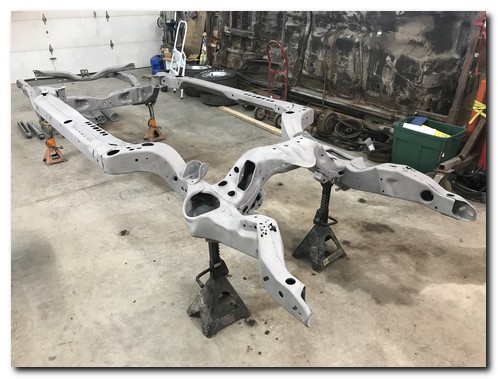
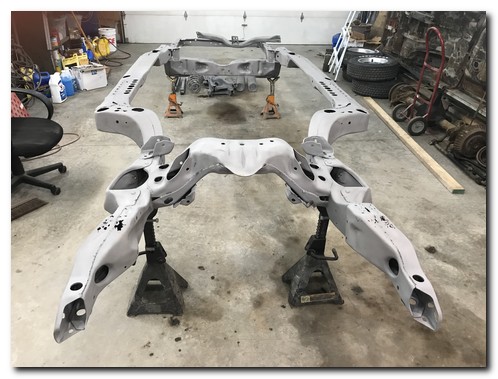
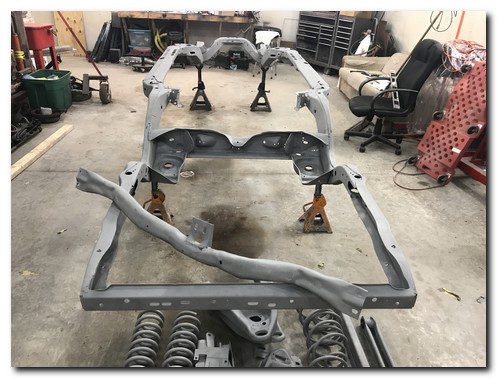
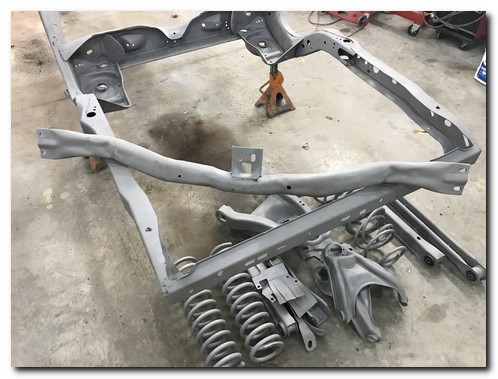
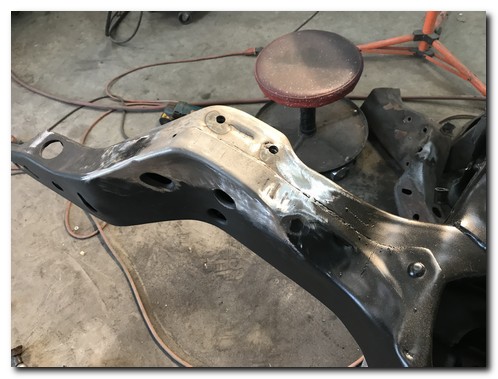
The frame and related components are back from the sand blaster. Overall it looks really good, there are a few trouble spots though.
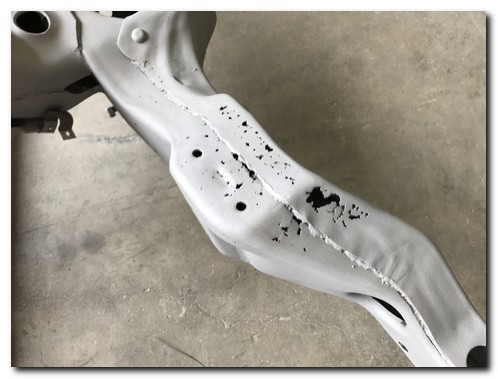
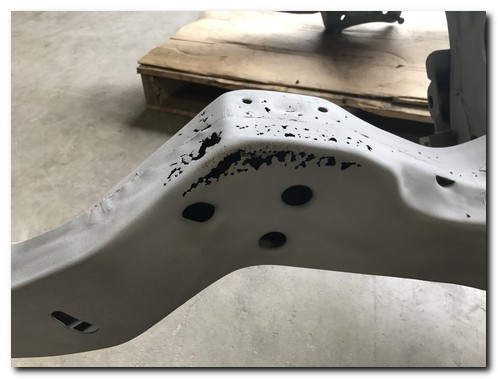
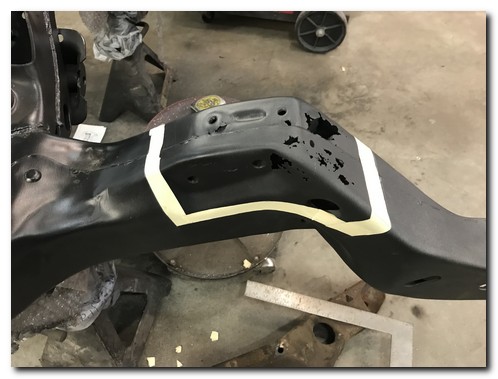
The lower portions of both front frame horns are riddled with rust, literally like Swiss cheese. I've never seen this on an A body frame before.
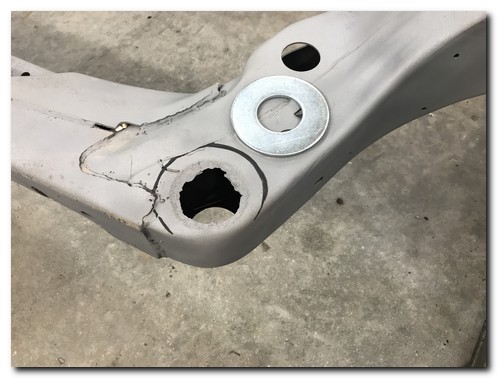
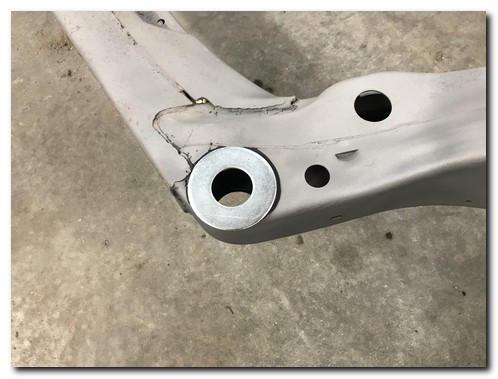
As expected there are a couple body mount holes that need rust repair. This is actually a simple repair that I've seen a lot of people turn into a big deal. First of all forget about buying the EXTREMELY overpriced repair washers from the well known restoration vendors. Go to your local hardware store and pick up a large washer with the proper inside diameter for less than a dollar.
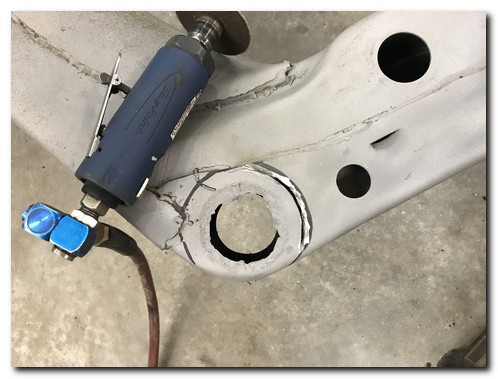
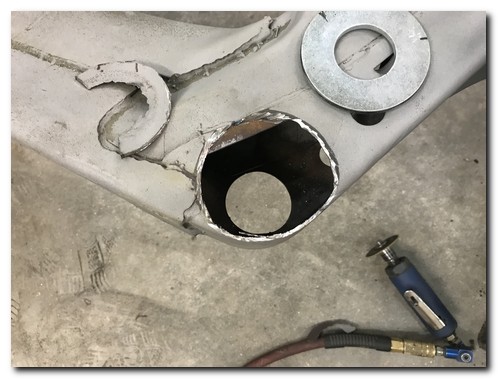
Center it properly and run a marker around it. Cut that area out with a cutoff wheel.
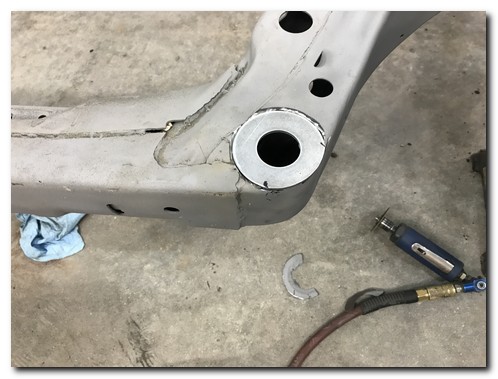
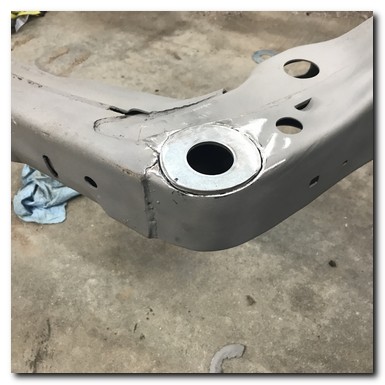
Work the area slowly until the center is in the proper place. At this point grind the edge of the washer to fit the outside curve on the frame.
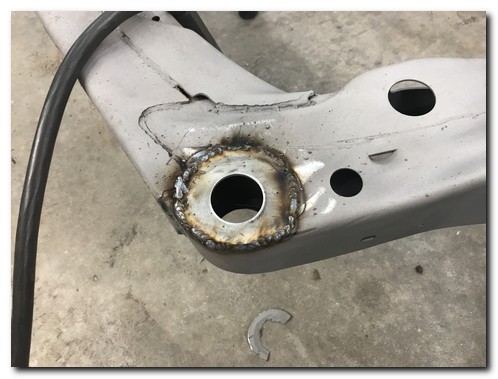
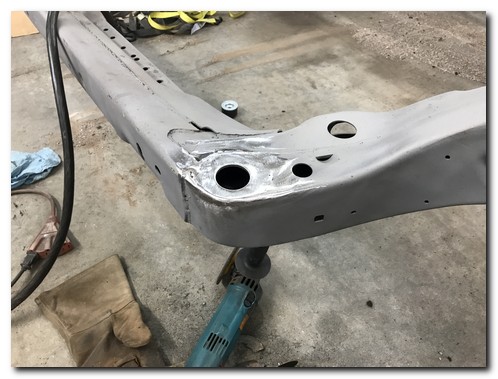
Weld in the washer and dress the weld with a grinder.
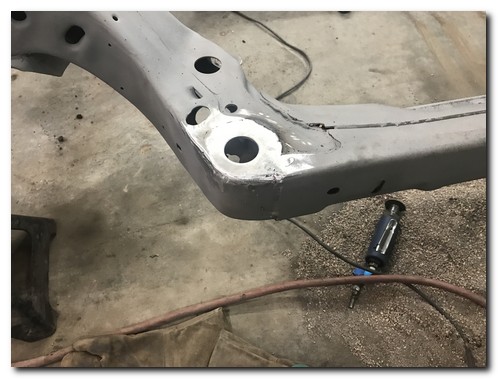
This is a simple very inexpensive repair to a common problem. It is visually seamless.
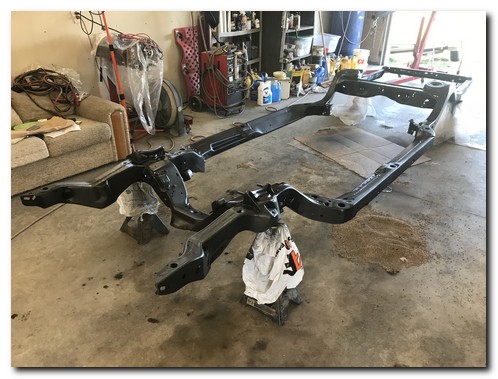
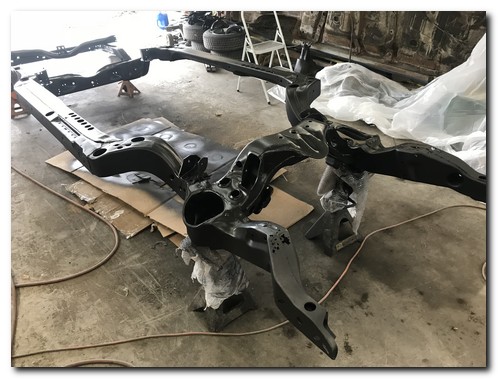
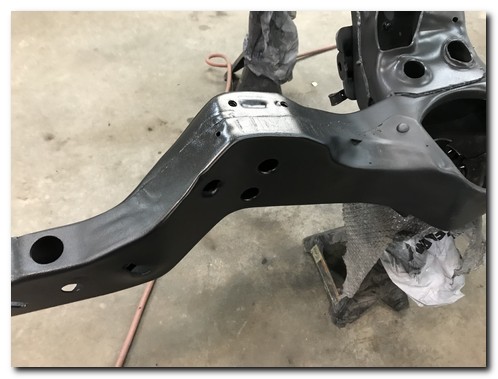
I then gave the frame several coats of black epoxy. Top and bottom being careful to get in all the cracks and crevices.
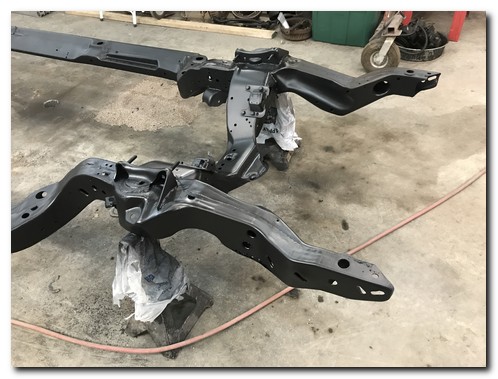
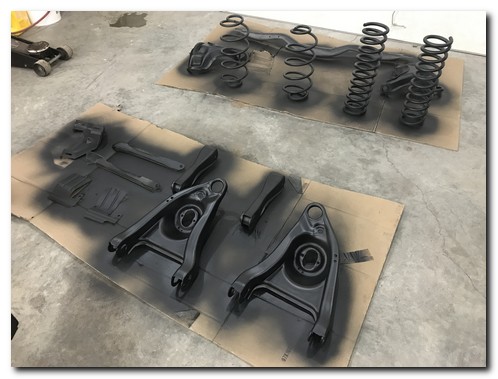
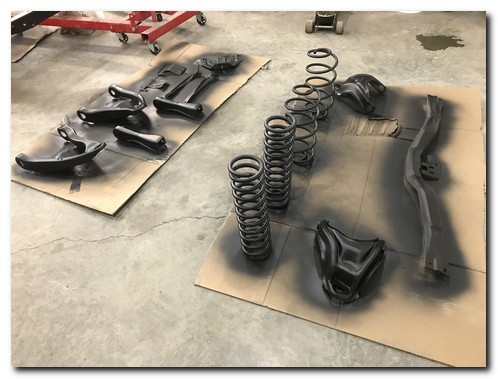
The remaining suspension components were also painted at the same time. Everything looks like new!
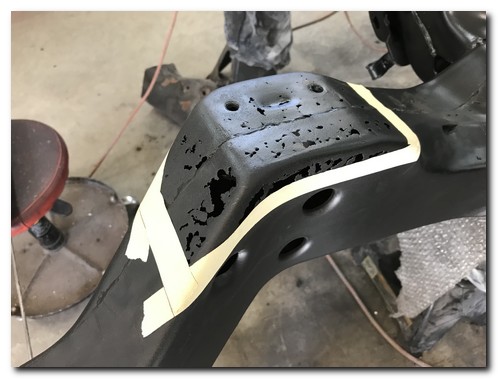
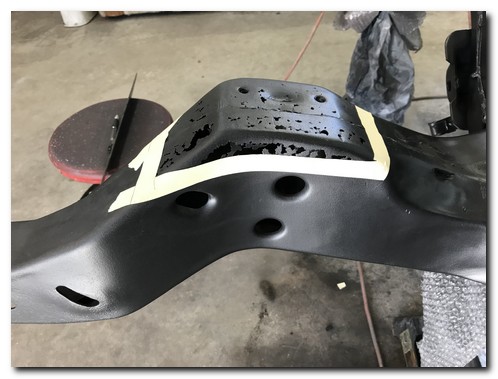
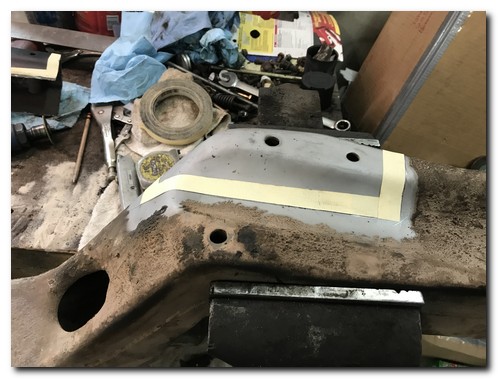
This is the passenger front frame horn bottom. I've found two very nice frame horns from a donor frame and will need to graft them to this frame. I spent quite a bit of time measuring and deciding what to remove and what to keep. I will be cutting to the outside of the masking tape.
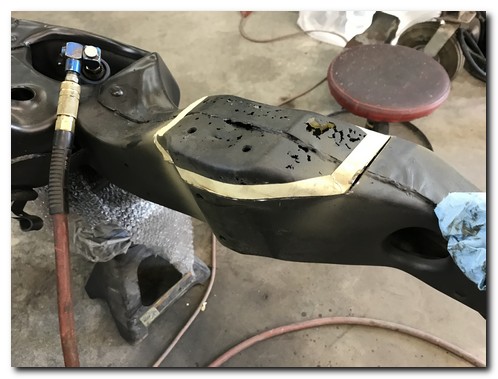
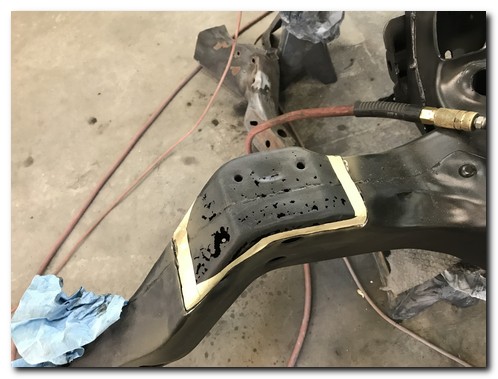
Slowly cutting around the marked area.
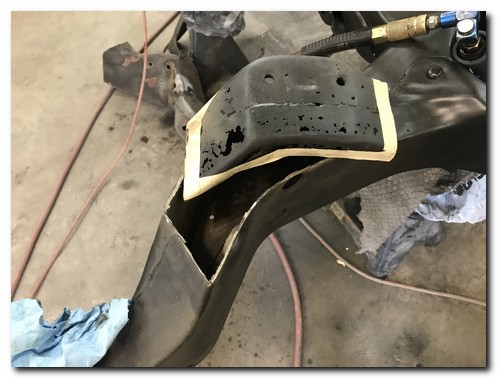
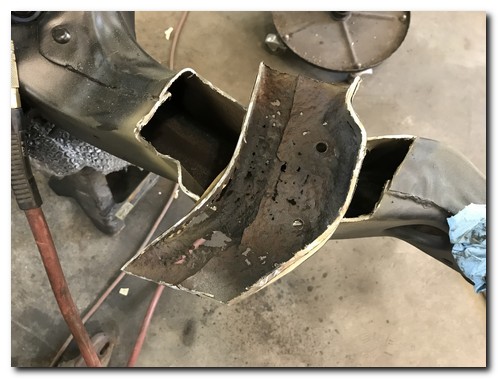
The rusted area is removed leaving a good margin to ensure there is a solid foundation to weld the repair piece to.
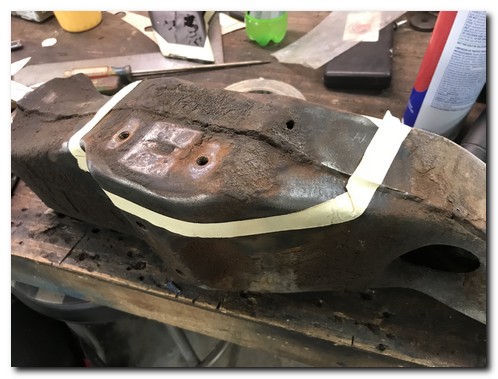
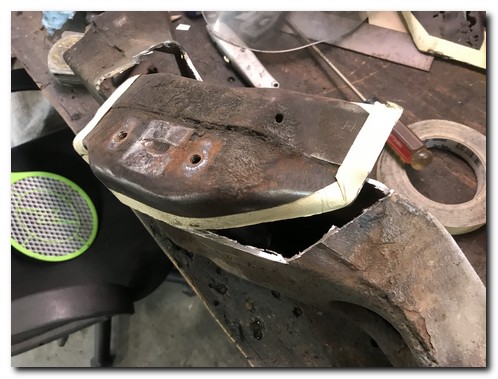
Taking a lot of time I used the same measurements to mark off the donor horn. I cut it a little "fat" to leave a little wiggle room to work with.
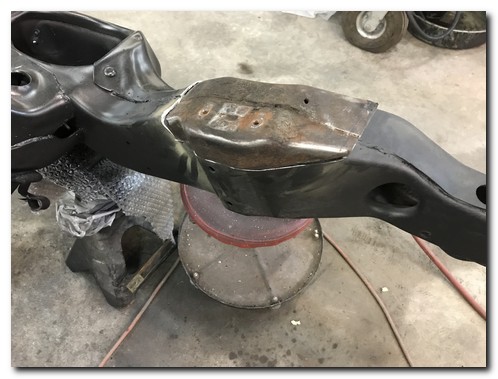
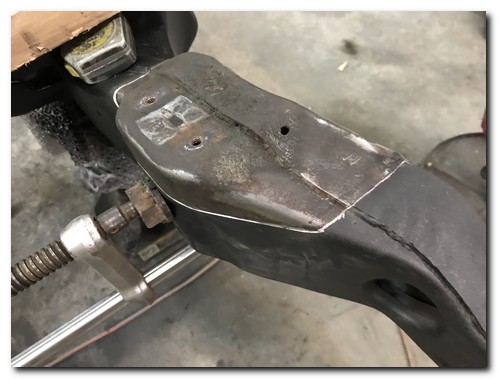
The initial fit is very nice.
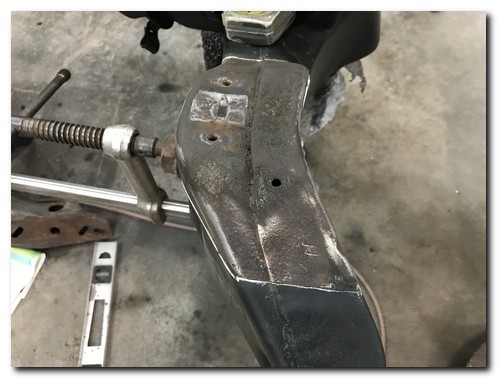
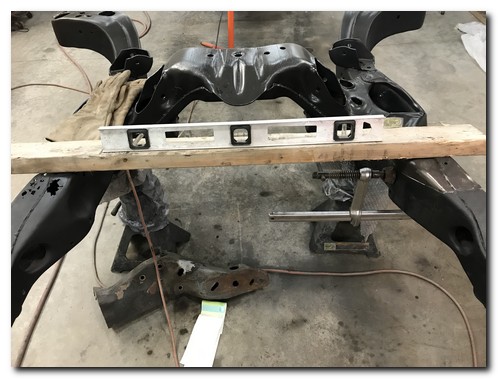
Working slowly with an angle grinder, I sneak up on the perfect fit to the hole in the frame.
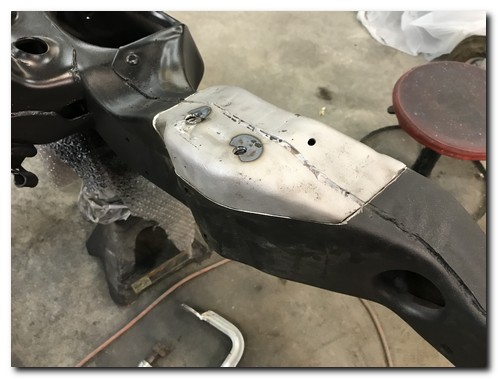
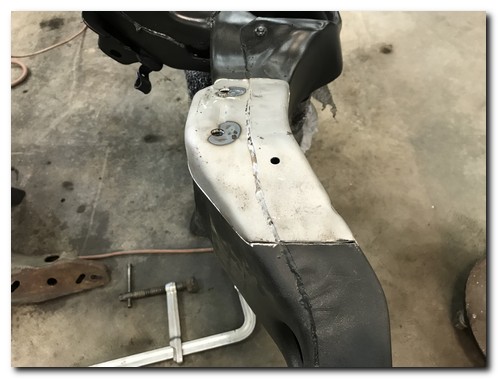
I've recorded a bunch of measurements before cutting out the original piece and verify they agree with the new part.
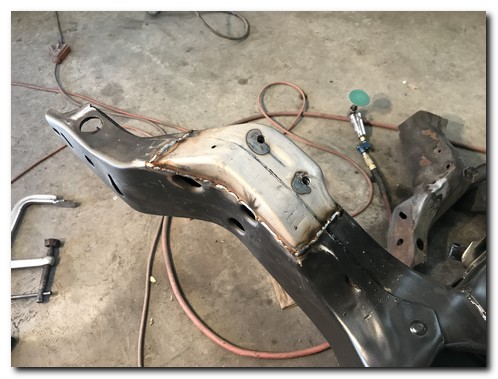
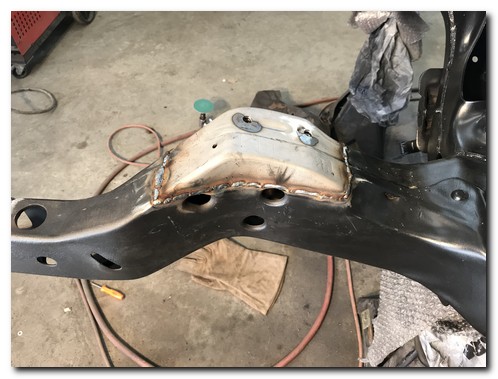
Once I was confident it was correct I welded it in place.
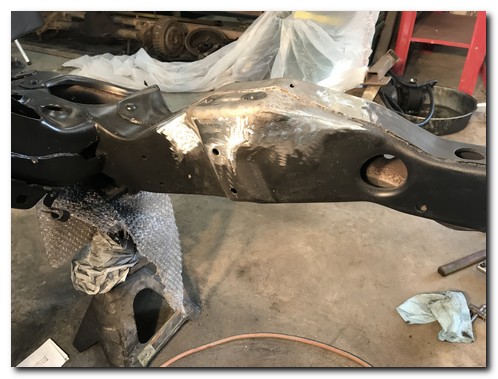
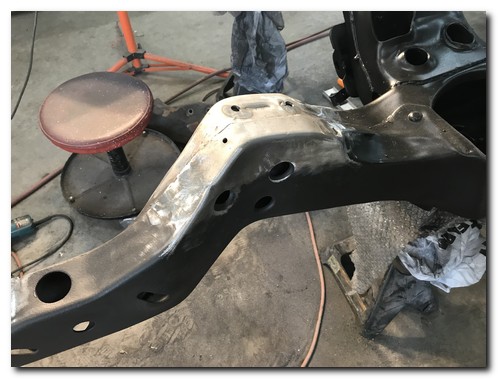
After dressing the weld with a grinder and sander the seam disappears.
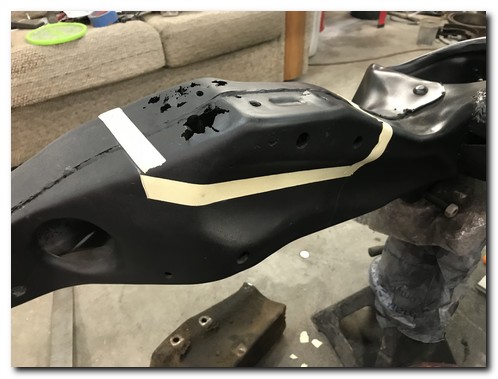
The drivers side is done the same way. The steering box is bolted to this area of the frame so the positioning must be much more exact.
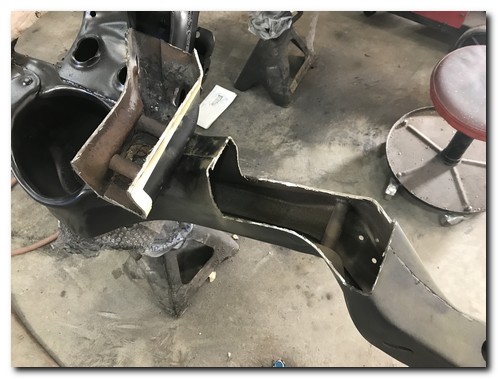
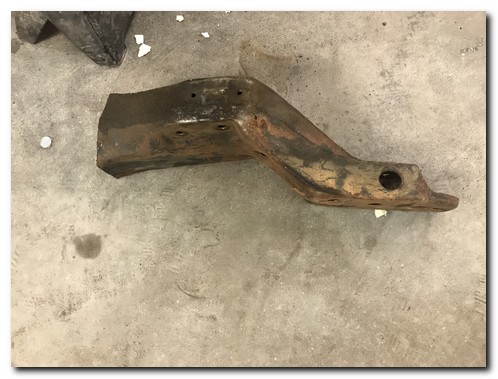
The area cut out and the donor horn.
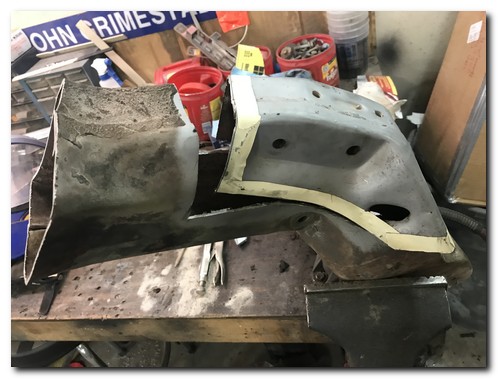
The needed area carefully cut from the donor horn as was done on the passenger side.
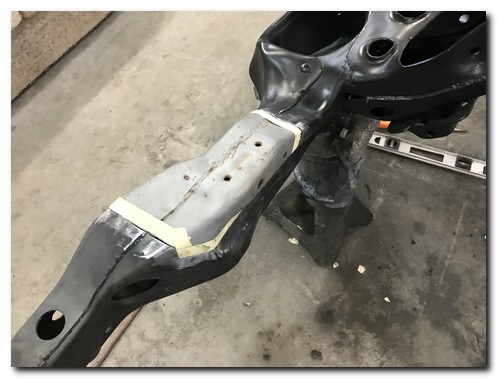
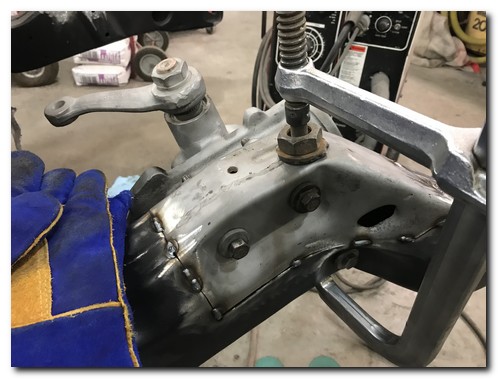
The fit is checked and "tuned in". I mounted the steering box to verify and maintain proper alignment.
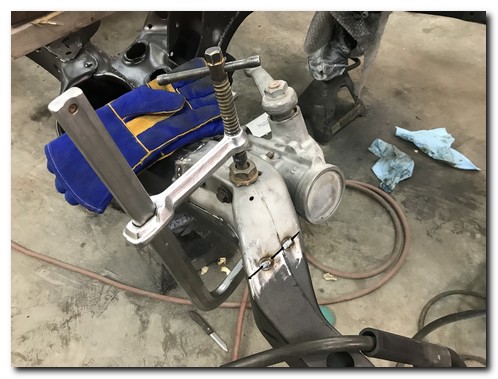
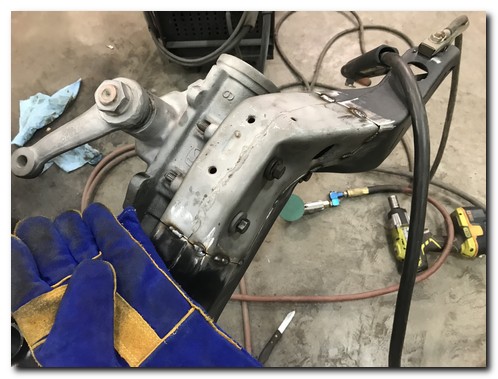
Further checking and welding.
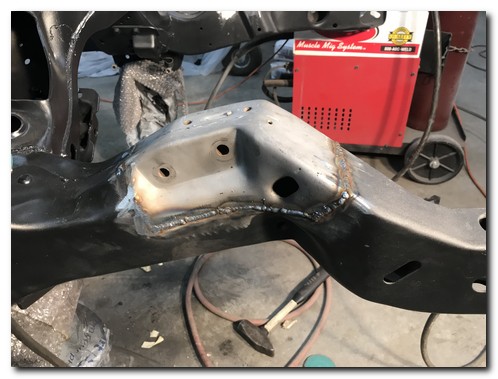
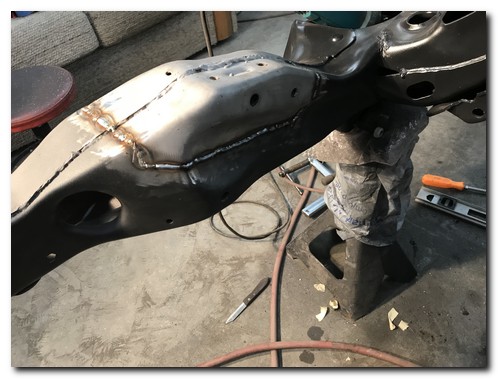
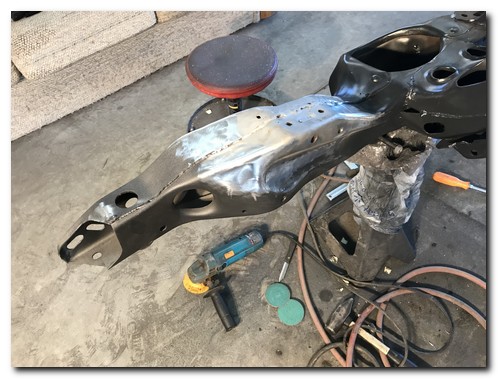
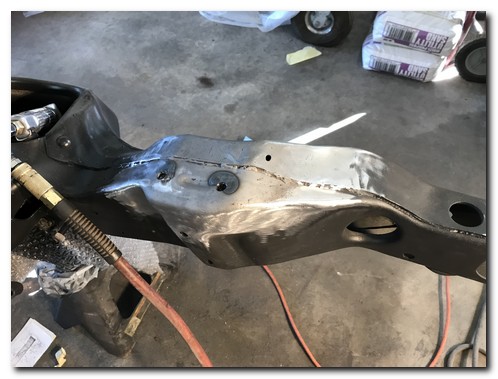
Getting it all cleaned up.
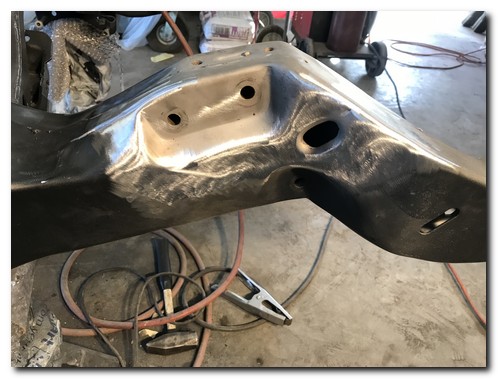
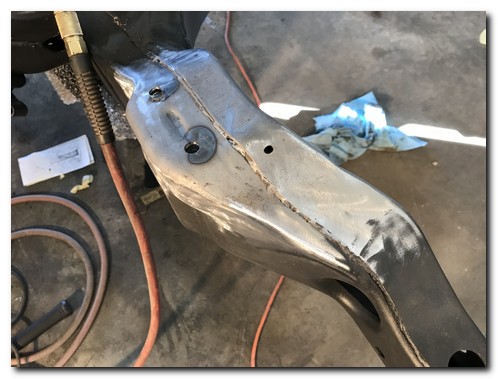
Like it never happened, both sides look terrific!
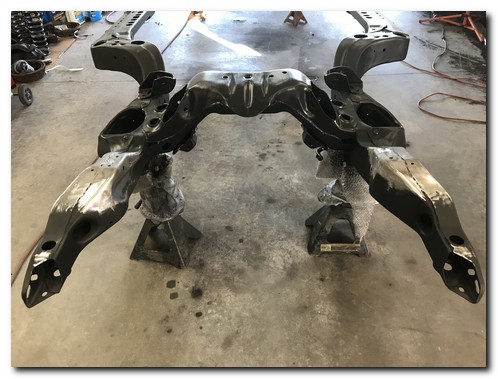
A final coat of epoxy.....
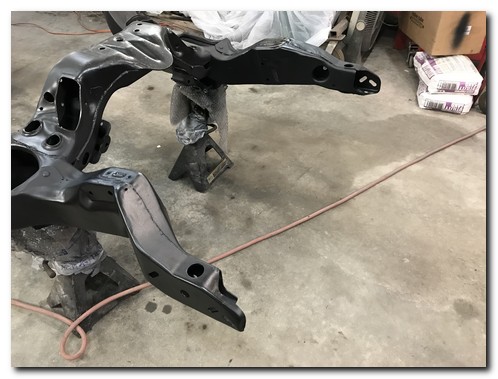
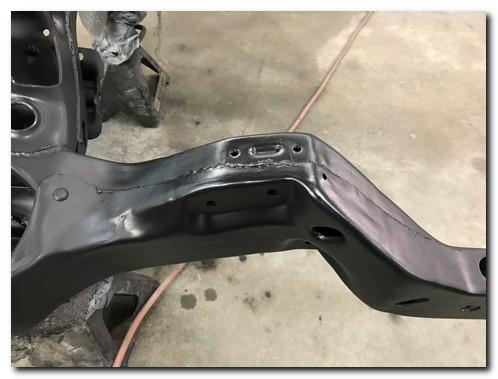
It looks as though it just came from the factory.