

Floor Pan Repair
2/26
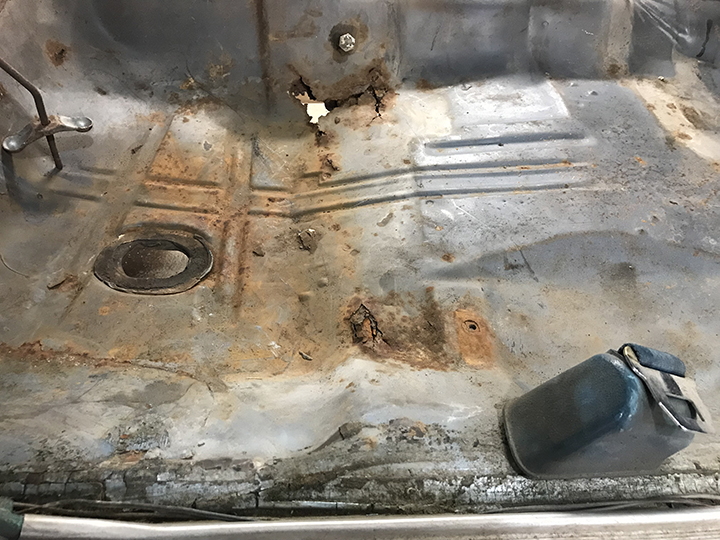
There are several areas of rust through that need to be addressed. Now that the structure of the braces is in place it's time to tackle the holes!
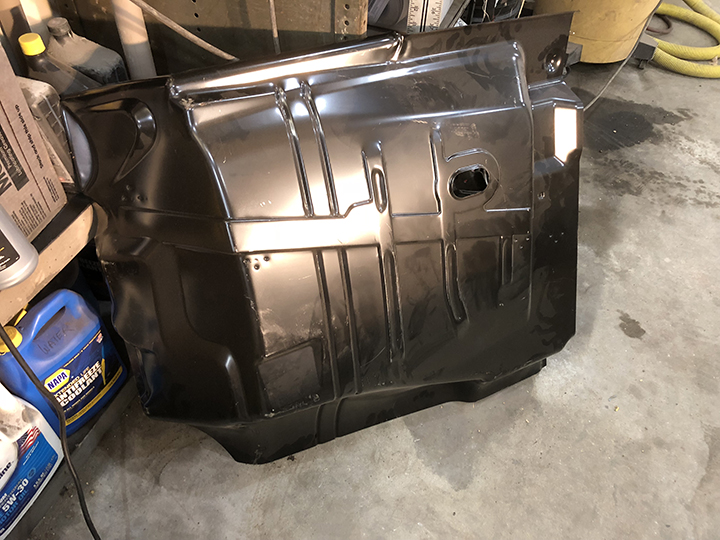
I've got four separate sections of the floor. I won't be replacing the entire floor, just patching where needed.
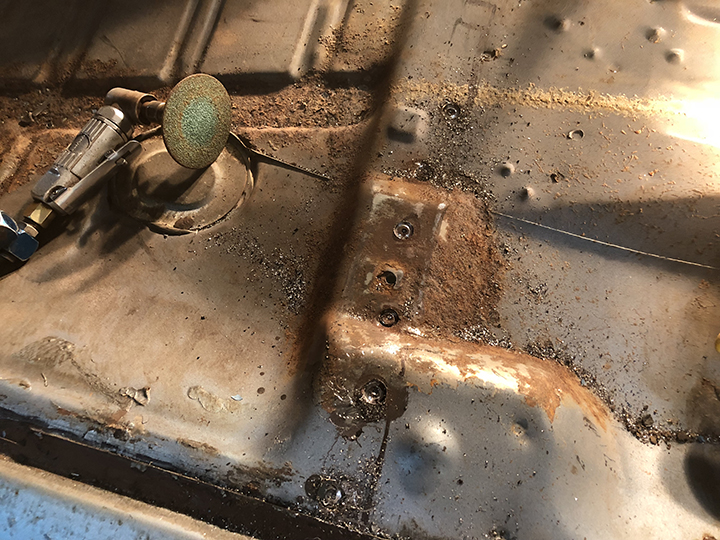
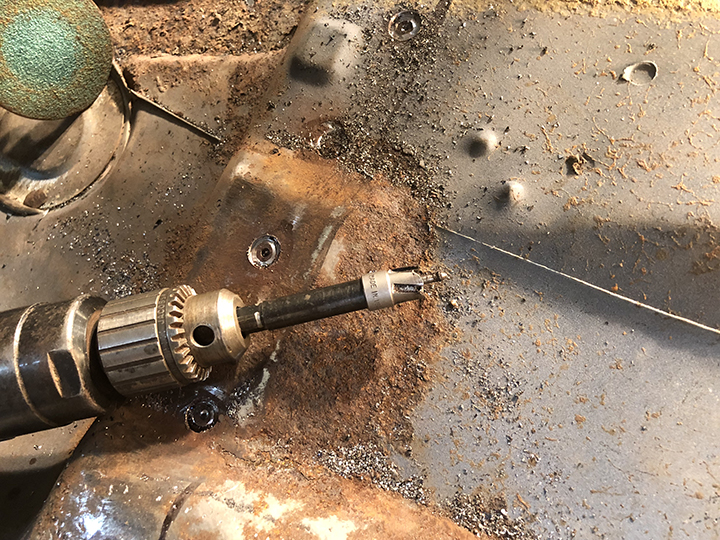
This is the drivers front floor pan. I'll be cutting out a section that is spot-welded to the floor brace. This tool is a spot-weld cutter and quickly separates the two pieces of metal.
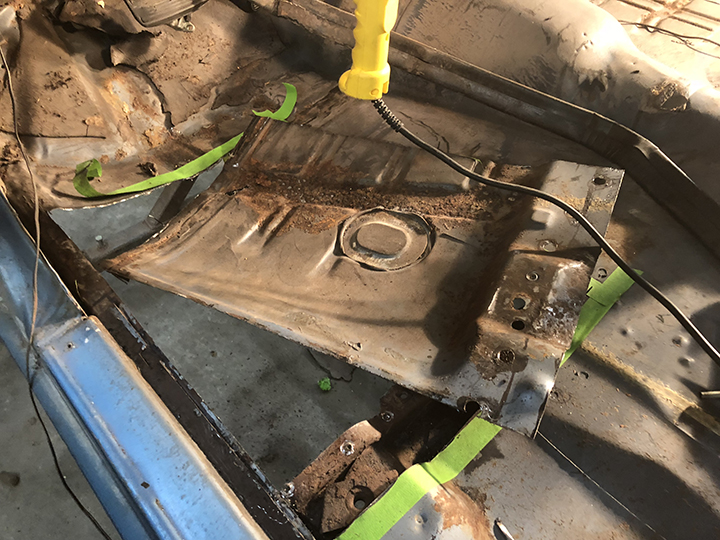
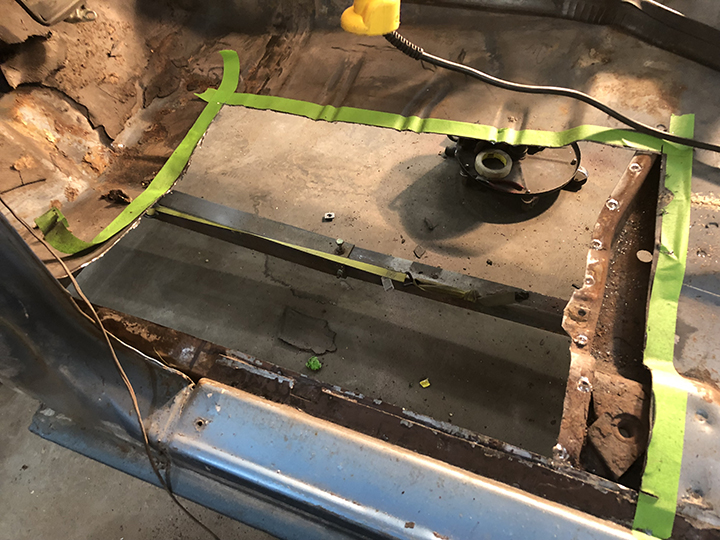
After some work the rusted section comes free. One of the seams of the new patch will be centered on the brace. That will hide one side of the welded patch from beneath.
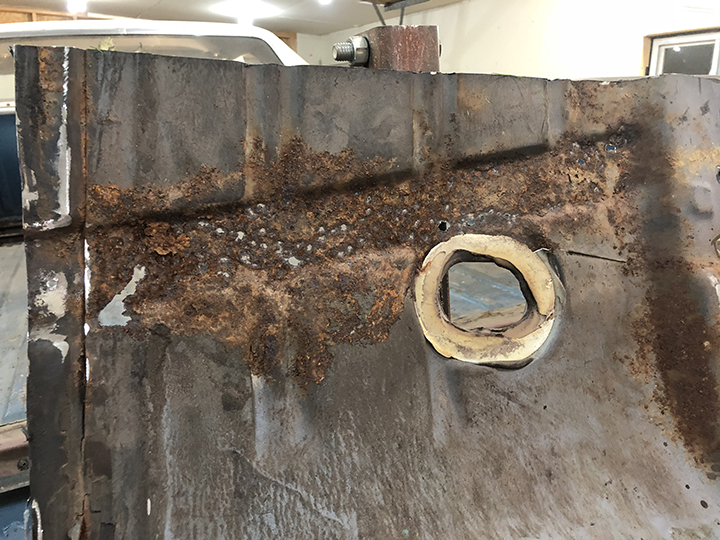
You can clearly see how badly rusted through the pan is. This depressed area is where the wiring harness runs from front to rear. Moisture laid in this low area and ate right through it.
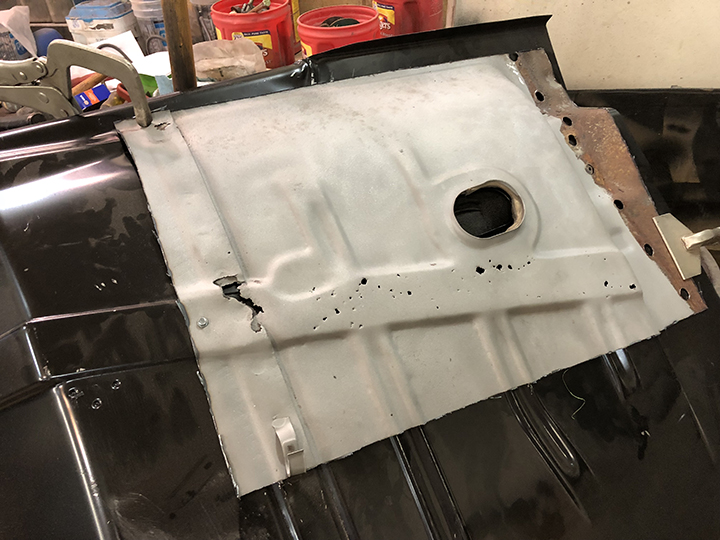
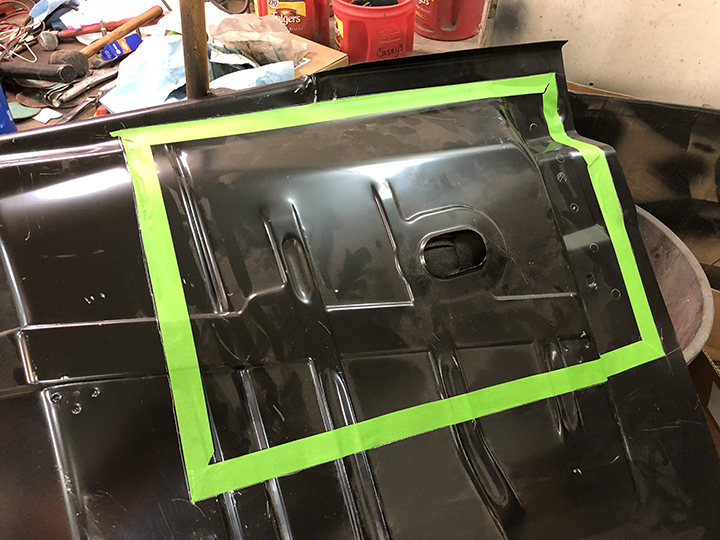
Using the cut out portion as a pattern, I clamped it to the new sheet metal and traced around it. Then tape was used to mark the area to be cut.
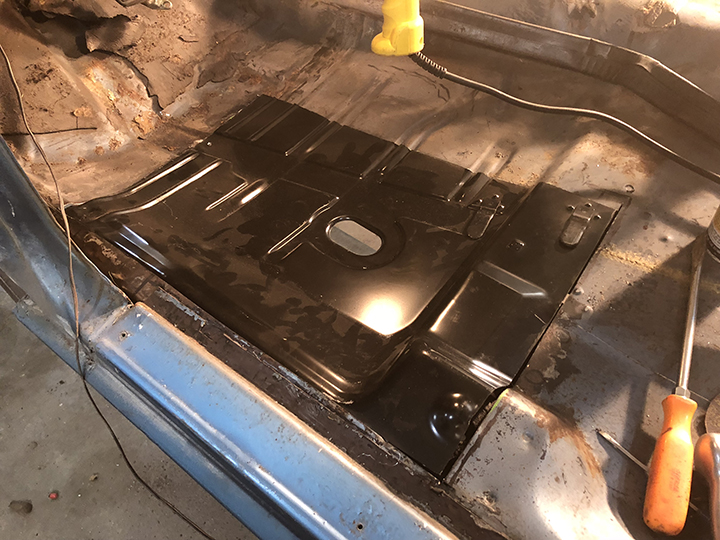
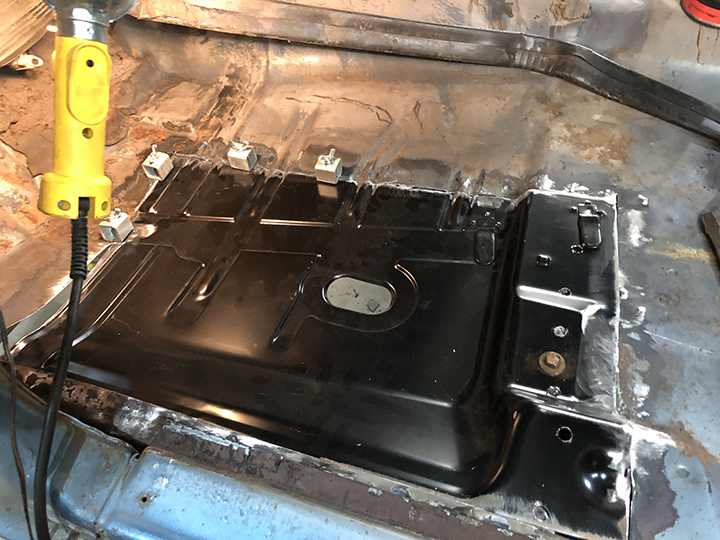
After a little trimming the patch fits nearly perfect. All the edges are ground to bare metal and clamped into place.
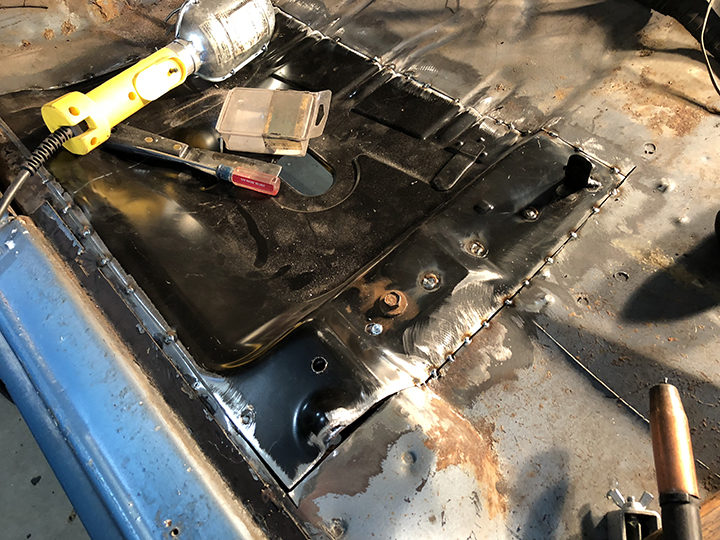
I tacked the piece in around the entire perimeter.
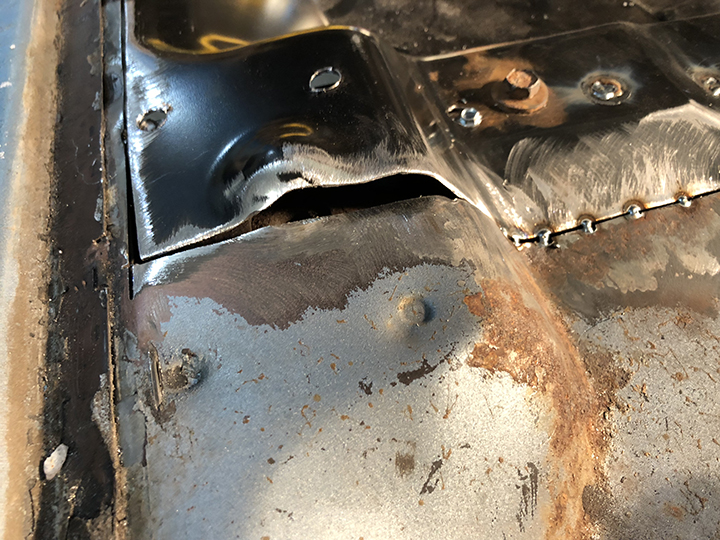
One area that wasn't anywhere close to be correct was this portion above the body mount. It sits way too high. This can be fixed pretty easily.
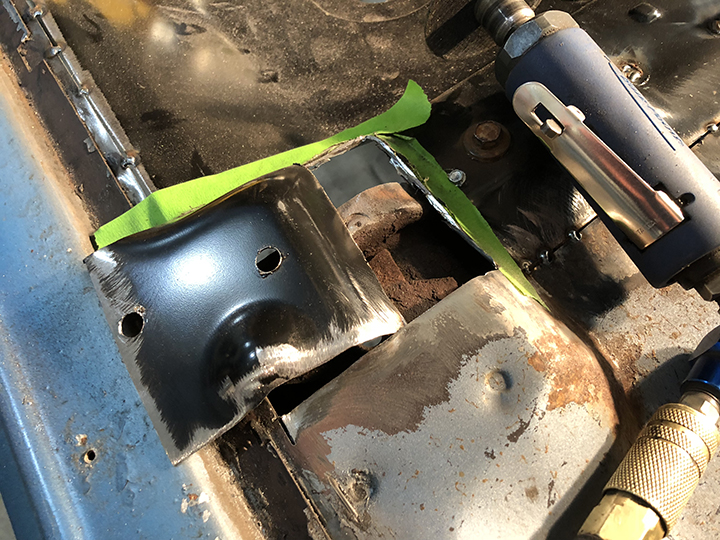
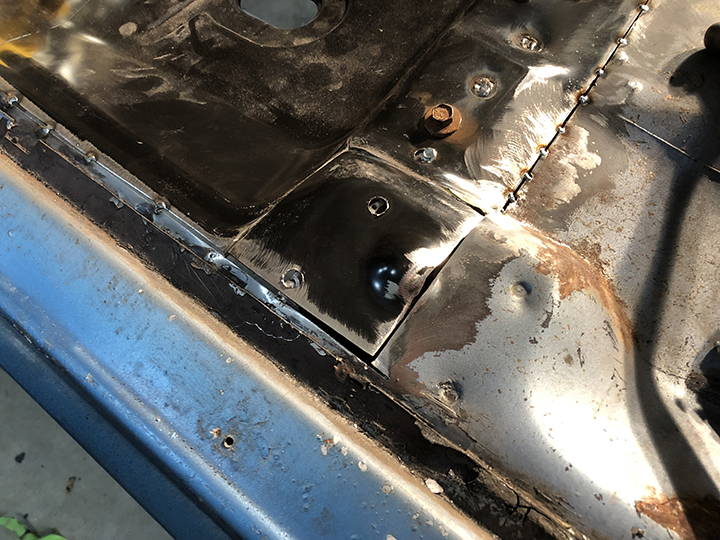
I cut the piece out and ground the edges to lower where it meets the floor.
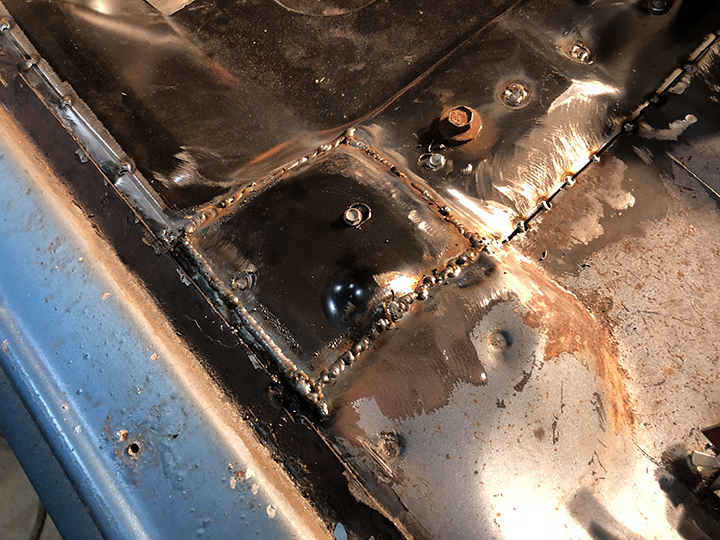
Once I was satisfied of its fitment I welded it in place.
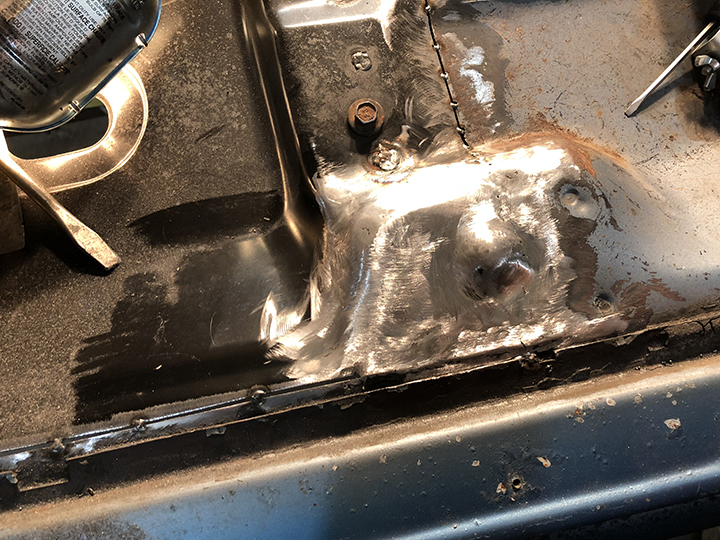
After some work with the grinder the welds disappear and the repair is seamless.
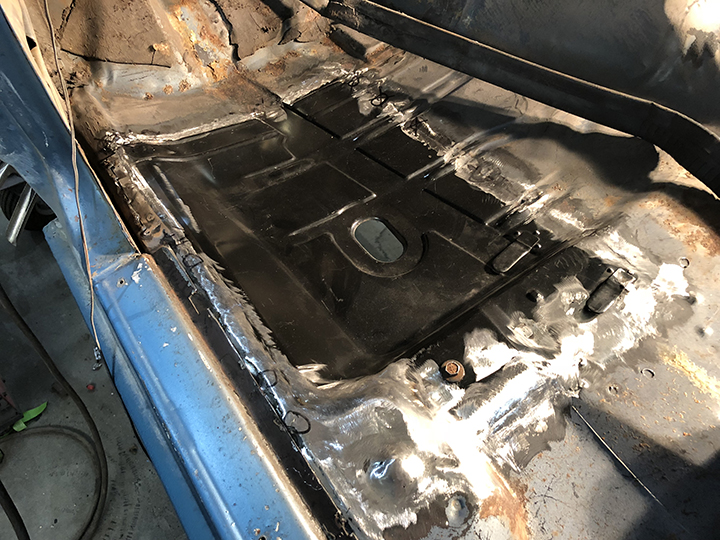
After dressing the rest of the welds the drivers front floor pan is as good as new again.
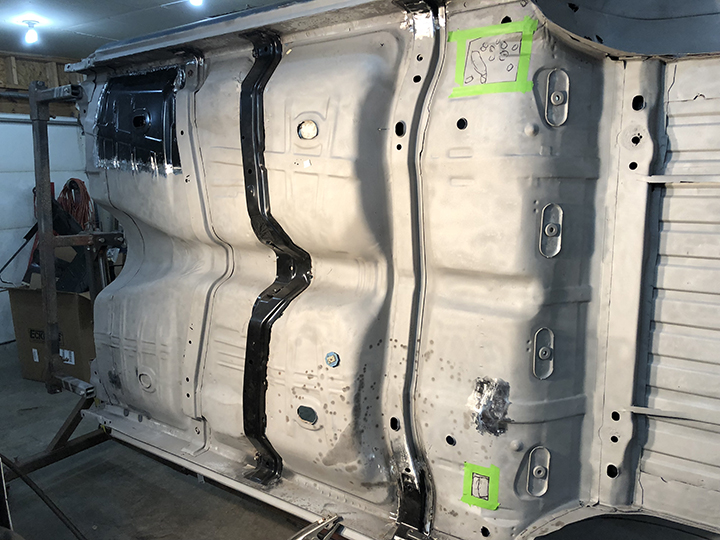
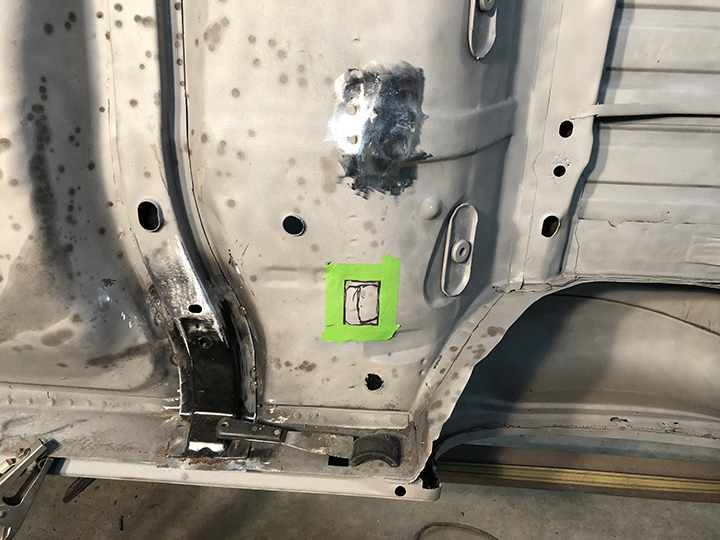
Next I'll move to the rear and take care of a couple small areas in the rear. I've already finished one small repair as you can see.
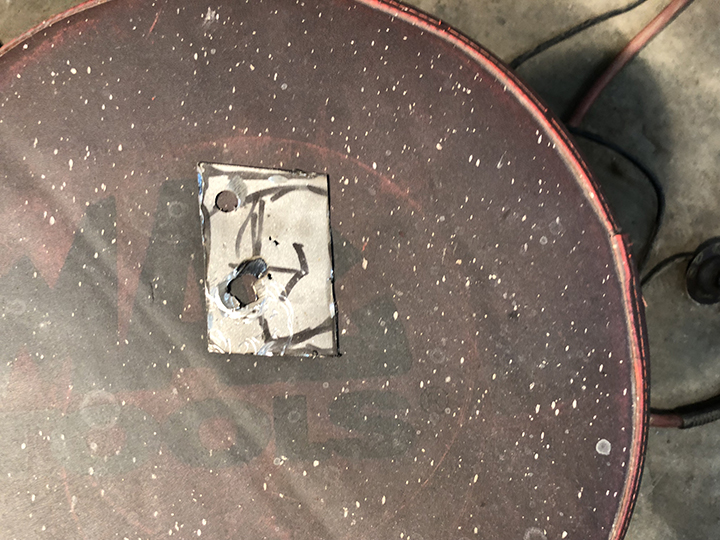
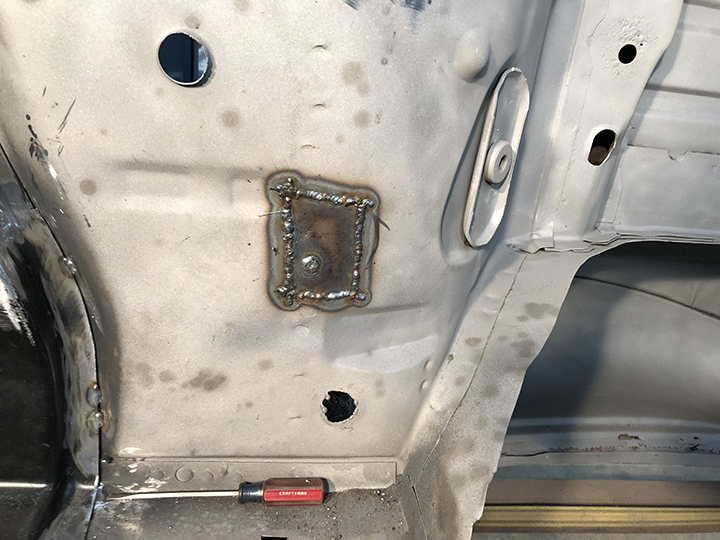
Using the same procedure I cut the area out, used the removed part as a pattern and welded it in place.
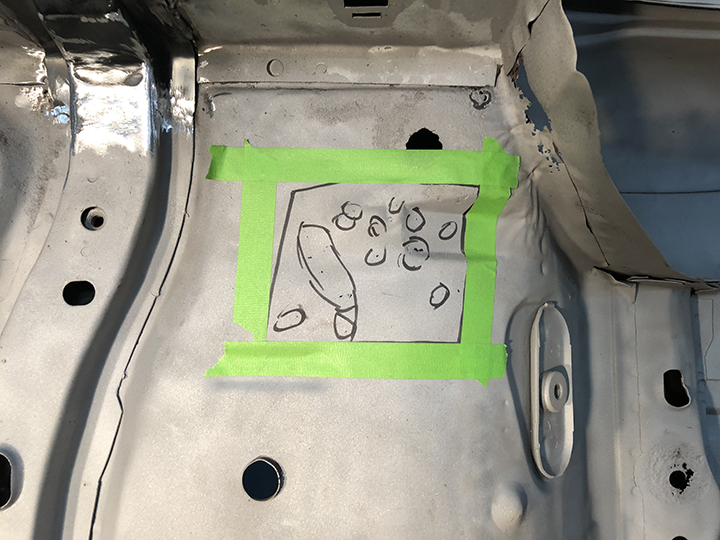
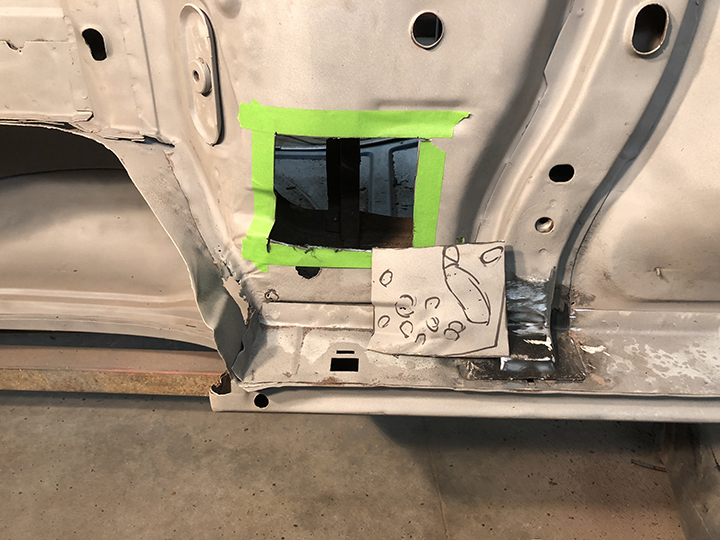
After rolling the car over I cut the rusted area out. This piece has a unique challenge due to the fact it has a couple rounded areas that depress into a channel.
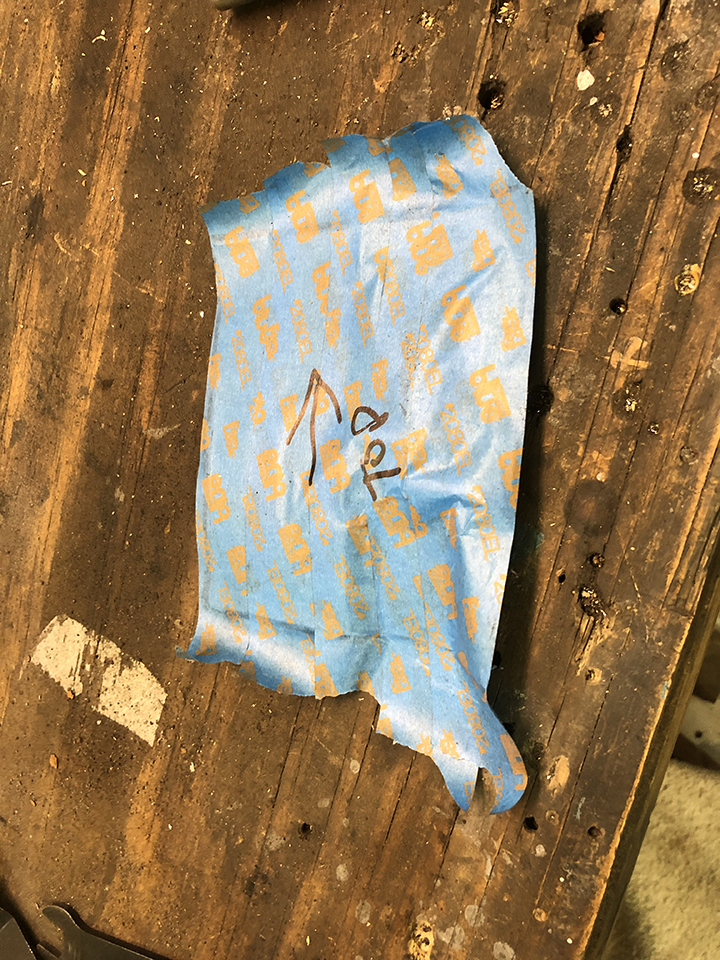
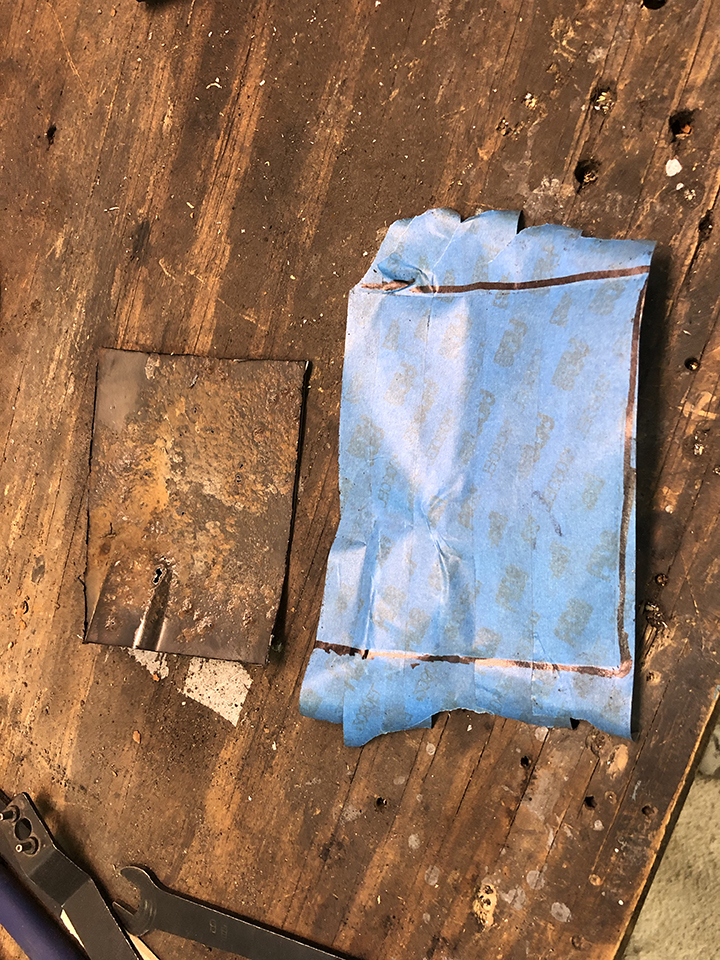
In order to get an honest pattern to transfer to a new piece of metal I used tape to completely cover the piece and form into every curve and crevice of the part.
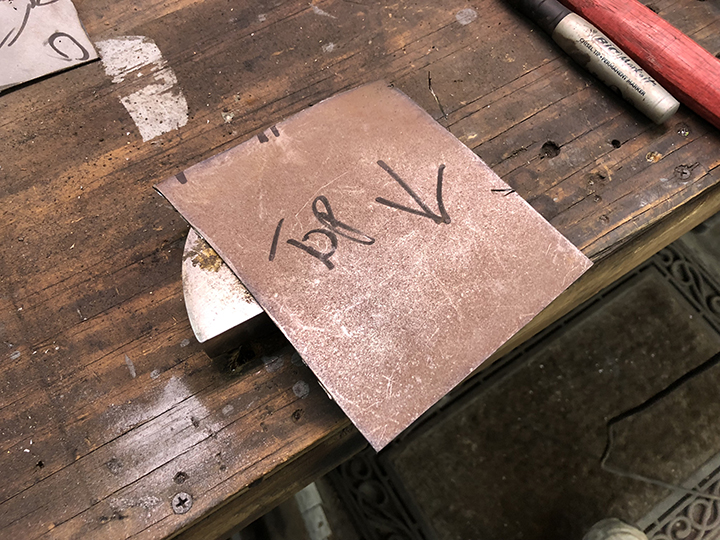
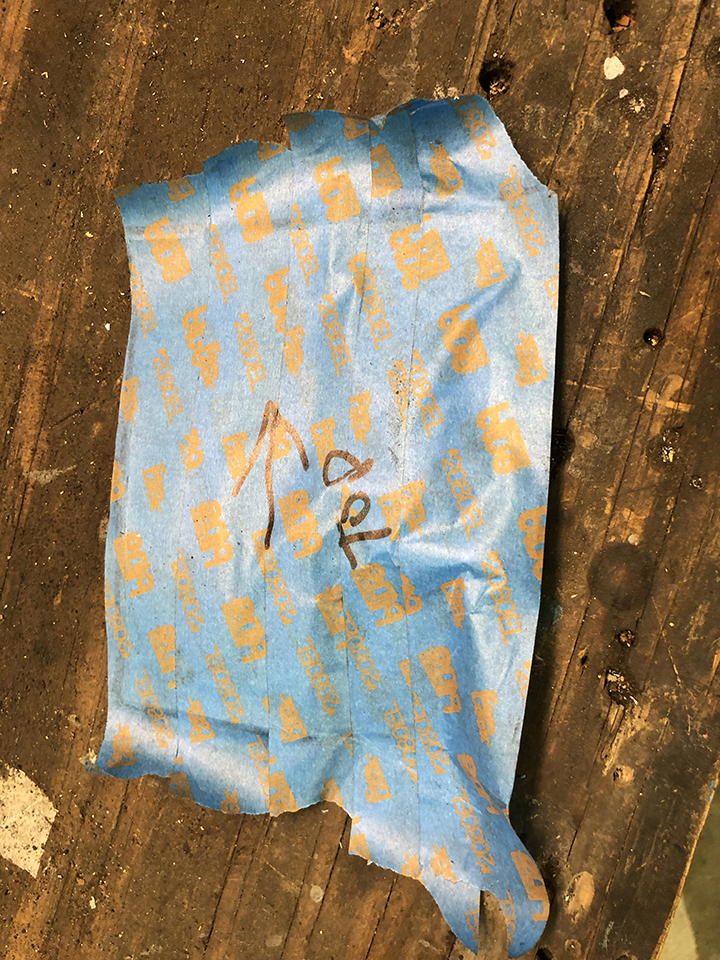
After removing the tape I have a nice pattern. After transferring it to the metal and cutting it out it's ready to install.
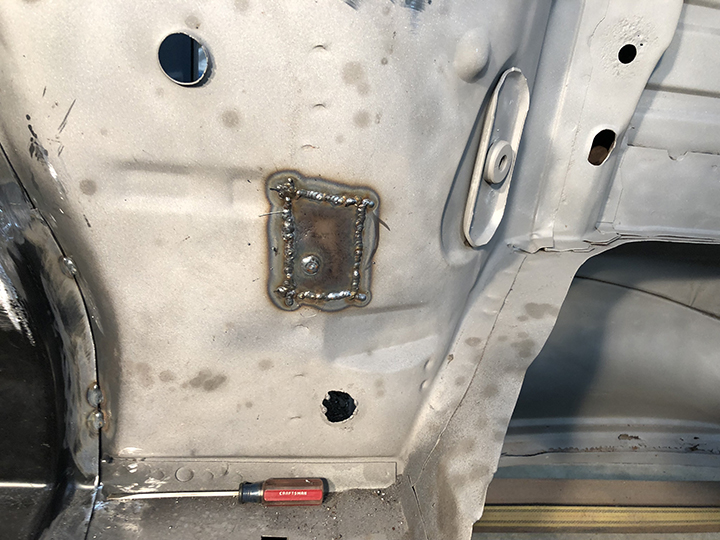
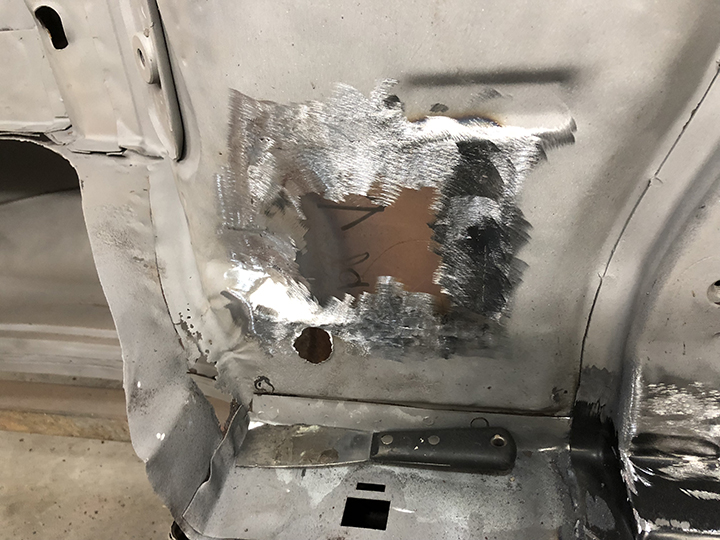
It fit perfectly and looks terrific.
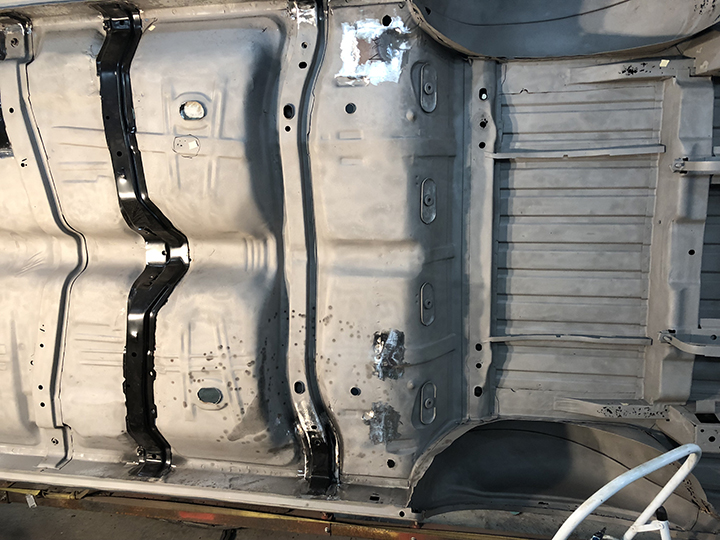
All the areas of the rear are once again solid.
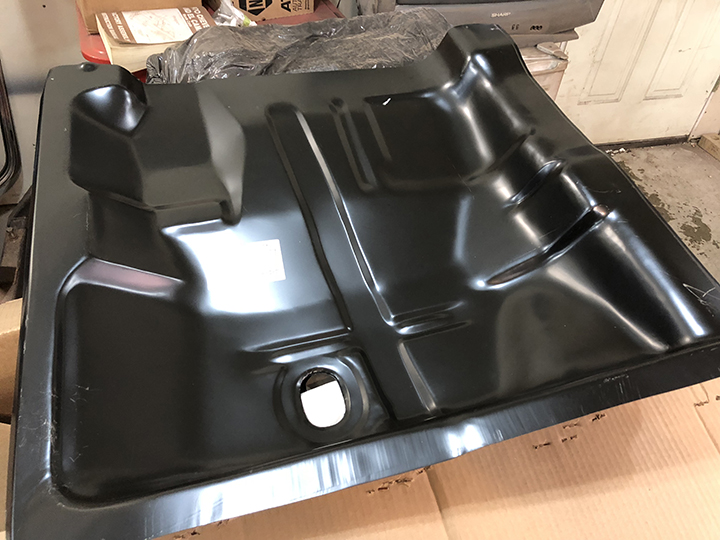
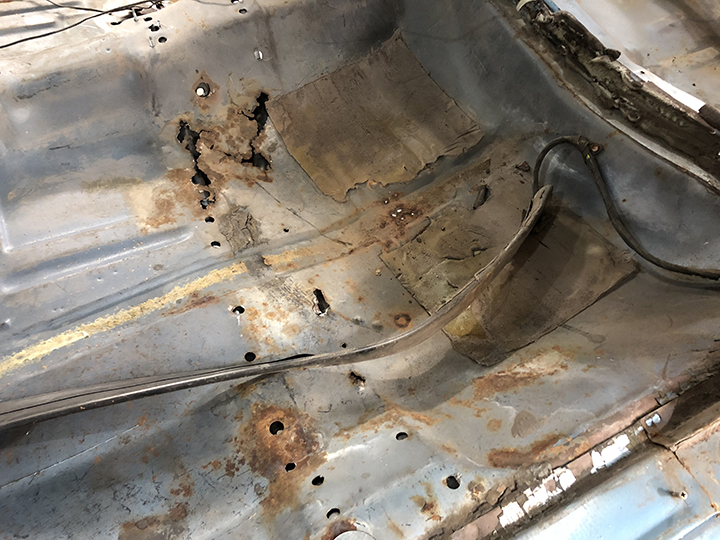
Here are the new and old of the rear section of the drivers side floor pan.
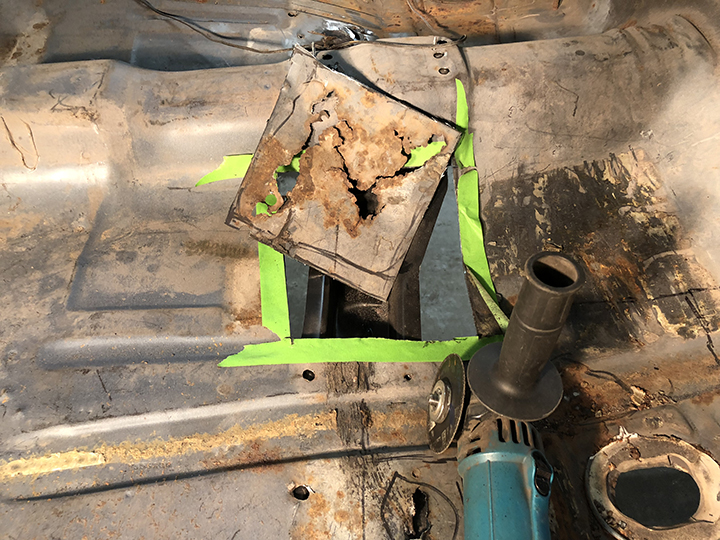
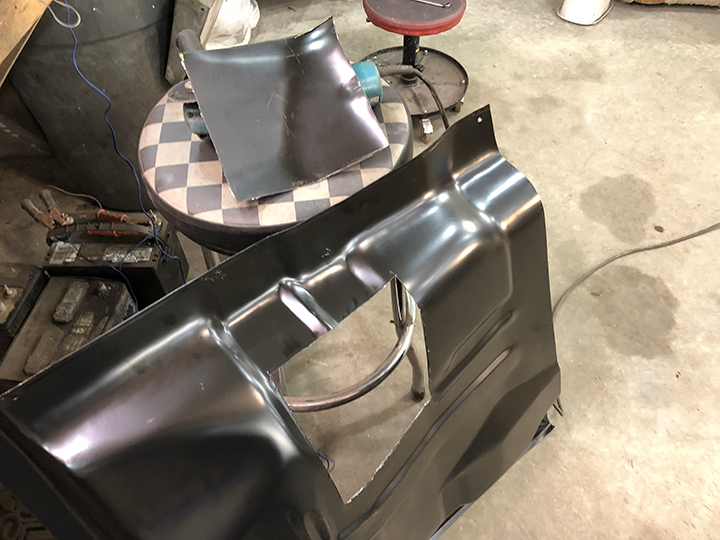
As before the area is marked and cut out...
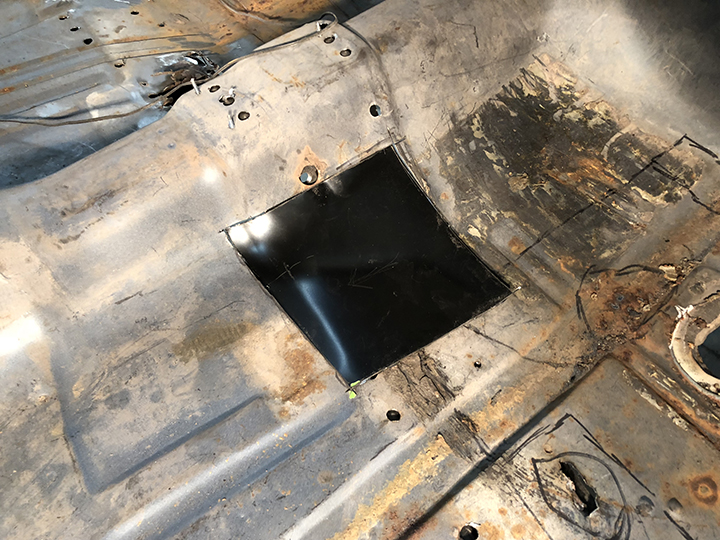
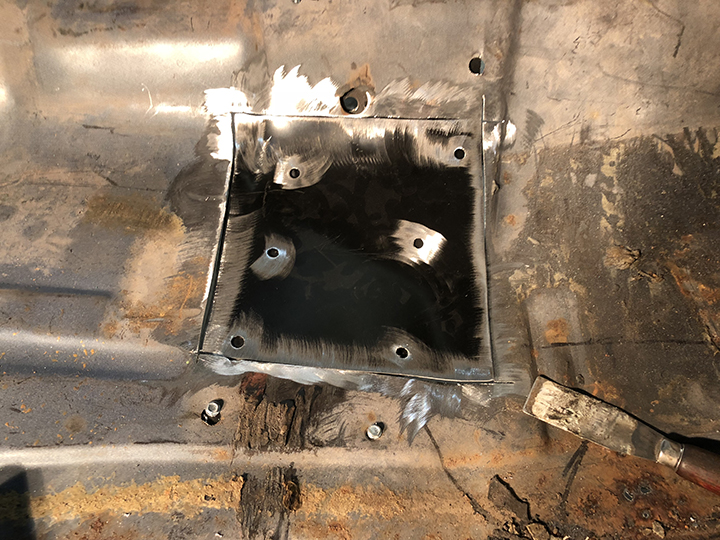
...then used as a pattern and welded in.
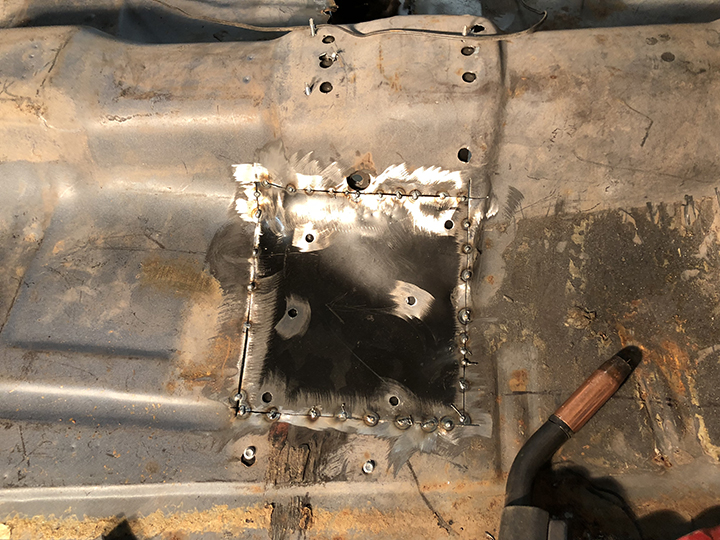
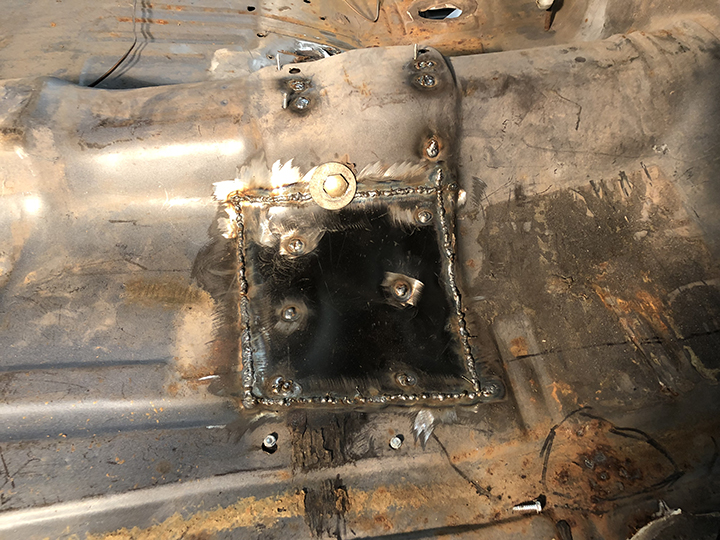
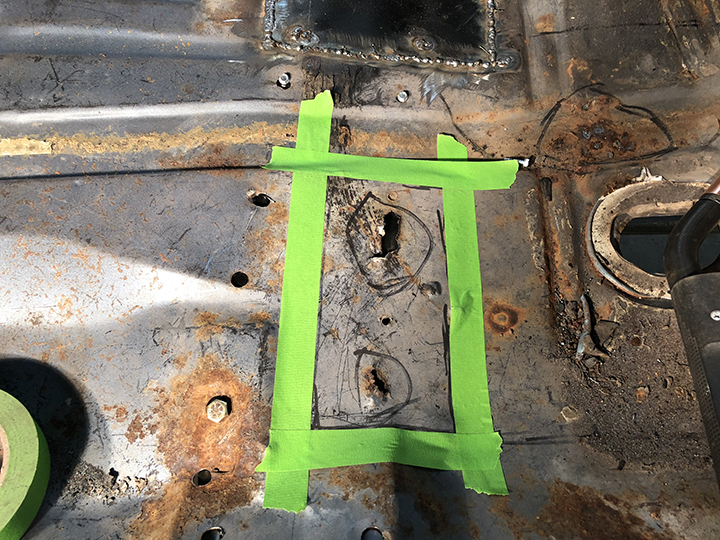
And the same again with the smaller area.
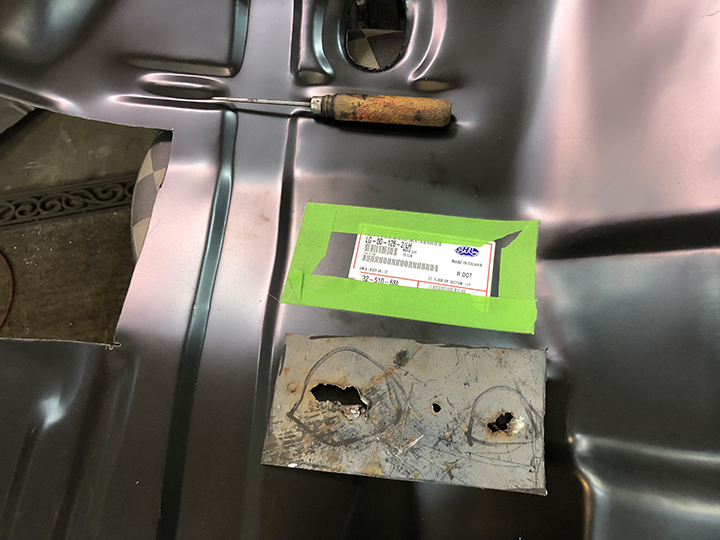
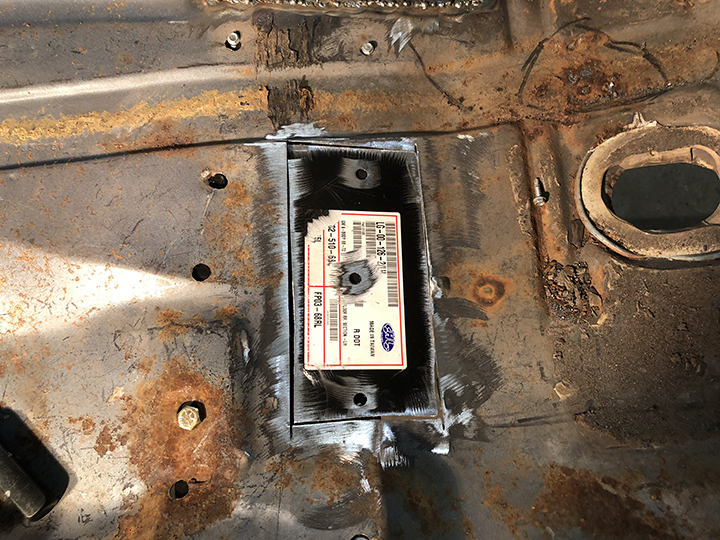
And again and again.
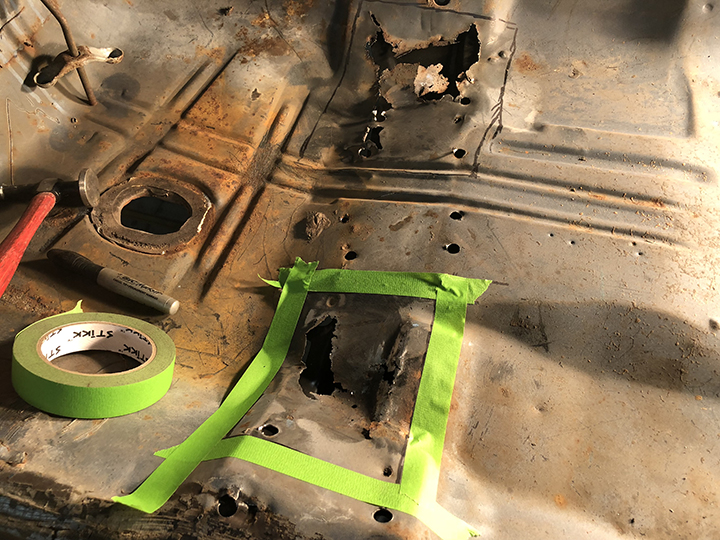
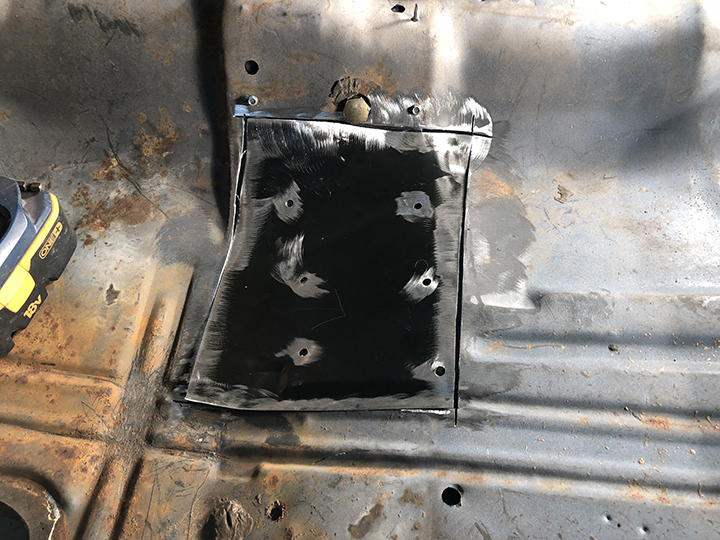
Until all the areas are completely repaired and solid as new.
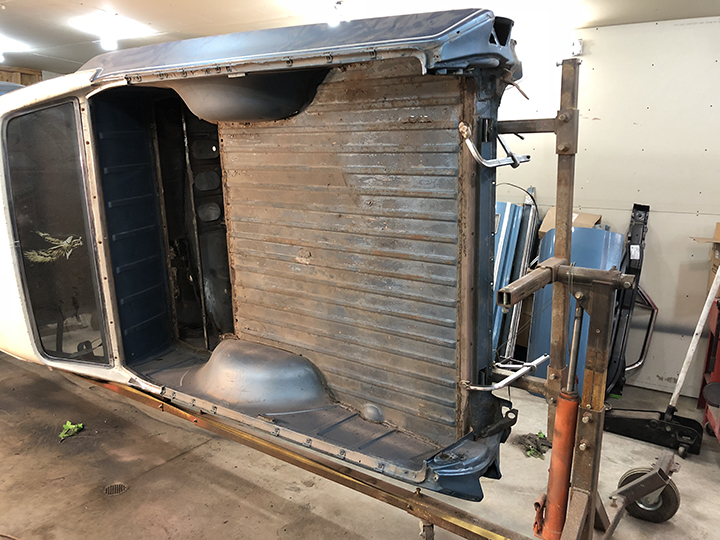
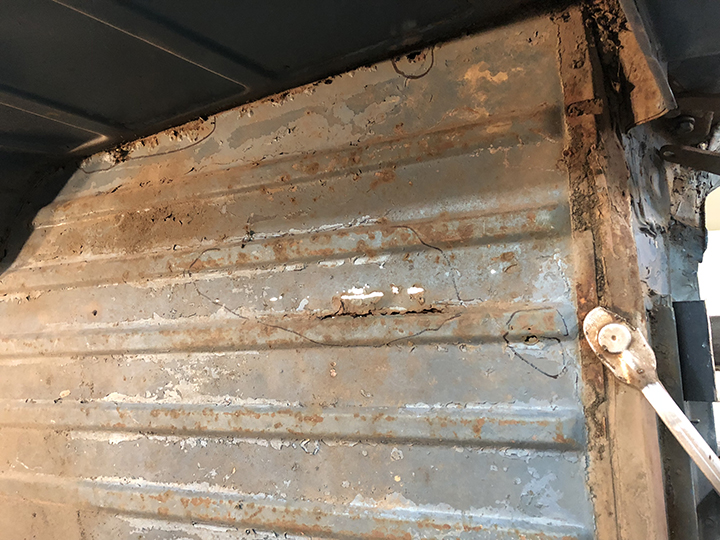
This is what's next, the entire rear end is filled with rust. I'll be replacing the bed, filler panels and wheel wells. It's going to be one hell of a job.