PAGE 49
8.0 hours
Not a whole lot to report this update. I'm focused on getting the drivers rear quarter replaced. I didn't intend on having to do this but as usual the Belle has thrown me a curve ball.
I'm not going to go into a great deal of detail on this as I already bored you to near death on the passenger side rear quarter.
The one big difference from the passenger side is where I'm going to cut and join the new rear quarter to the door jam.
I've worked the drivers B pillar and door jam to get it really nice already. I don't want to cut it out.
Soo, I'm going to butt weld the new quarter a half inch or so back from the door jam. This area should be work hardened enough to prevent any serious warpage.
Here we go cutting up VERY EXPENSIVE panels again!
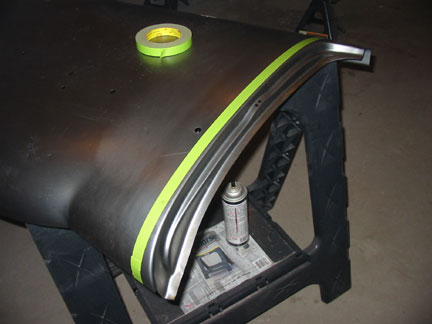
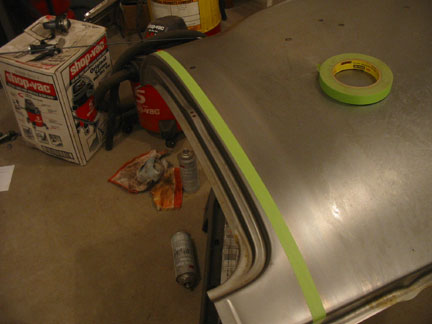
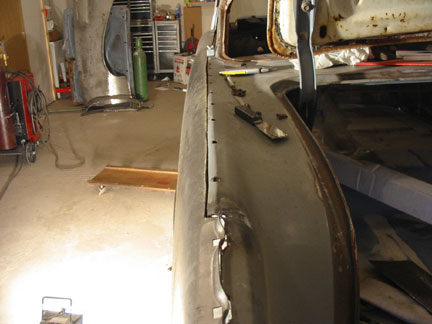
The pics above and to the right show where I cut the door jam area off the new drivers rear quarter.
I cut it right at the door jam area to leave myself alot of room to "fit" it correctly to the existing door jam area.
OK the truth is I'm a big chicken ! (not a bad thing when doing these repairs)
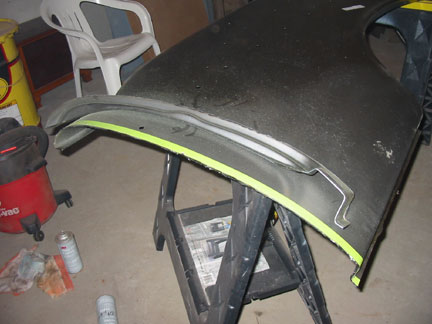
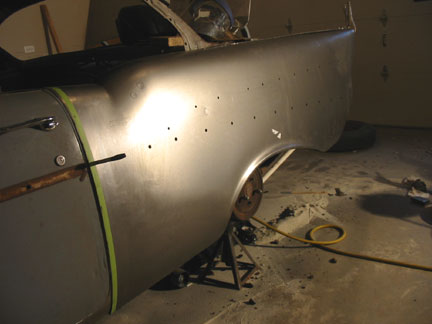
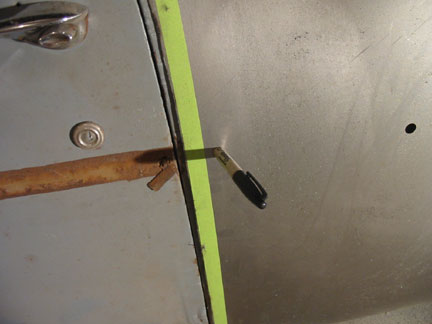
Here is the quarter set in place over about 6 inches of the existing quarter on the old girl. Note I used an old sharpie to index the new quarter trim mounting hole to the old quarter underneath.
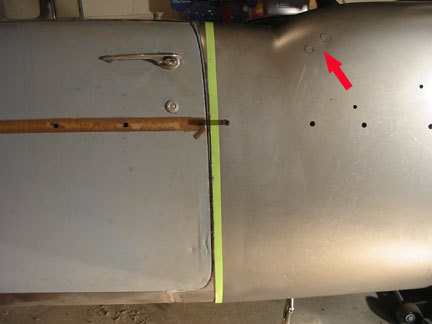
The red arrow is showing a couple areas that the panel has a few small dents.
These will be easy to repair with the quarter off the car.
I wish I could blame these on shipping, my ex-wife or somebody else, but I did it. I dropped the quarter while un-packaging it.
As I did on the passenger side I carefully measured and then cut along the top of the rear quarter. This is so nerve racking making sure the cut is correct and not ruining a brand new expensive panel.
Now here's where the difference comes in from the other side.
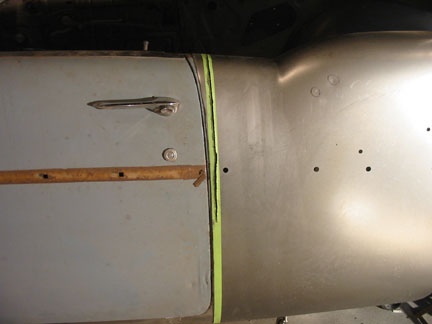
As I said earlier I overlapped the new rear quarter over several inches of the old part.
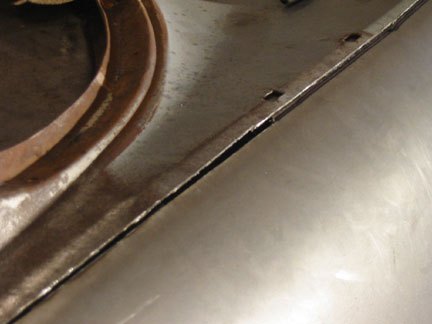
The picture to the right shows where I cut through both panels at the same time, this should leave me with a nice gap for butt welding.
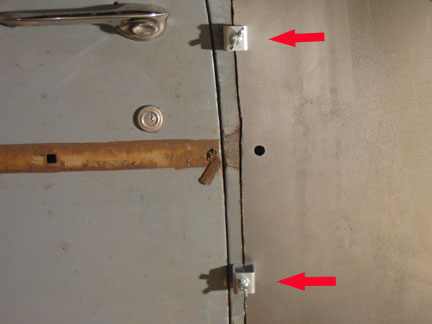
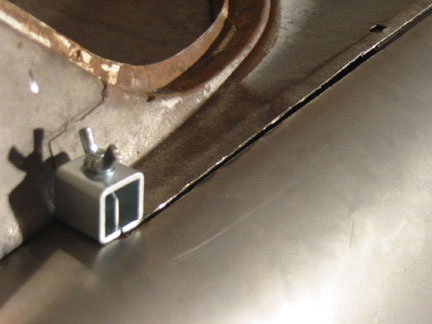
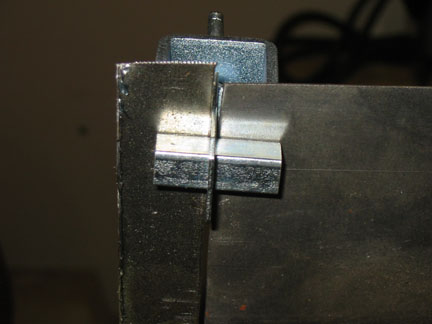
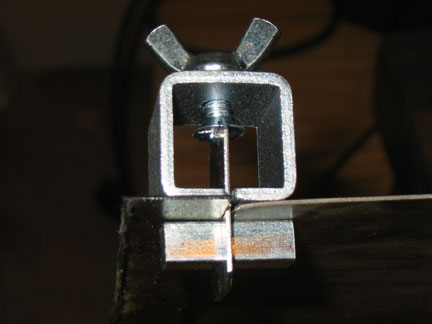
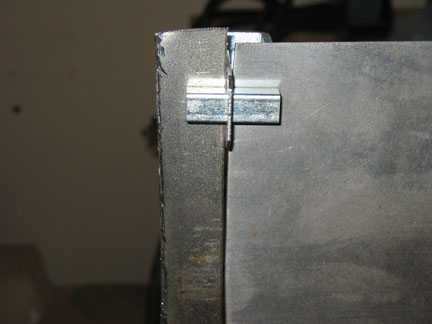
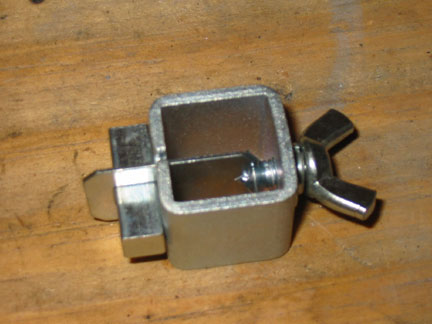
Here is a neat little critter that I haven't shown you before.
As you can see in the photos these little helpers hold two panels together with a nice gap between them.
They really help while butt welding two panels together, I need all the help I can get!
See ya soon for hopefully the last of the sheetmetal work!
Go to page
 Back
Back