 Back
Back

I used my spotweld cutter to cut holes through the floor pan about every 4 inches or so.
PAGE 27
Saturday 6/5/04 through Sunday 6/13/04
10.0 hours
I apologize to all for the delay in updating the site. There has been alot of distractions and responsibilities that have taken priority over the old girl.
Truth is I've been waiting patiently for the girl from Overhaul'n to come by and help!
I have however found some time to give her the attention she needs.
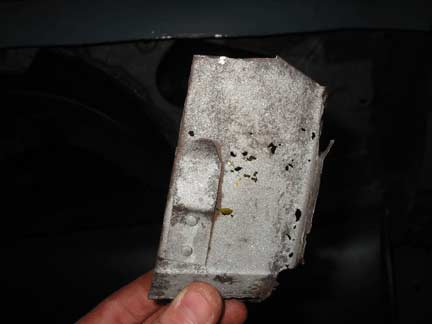
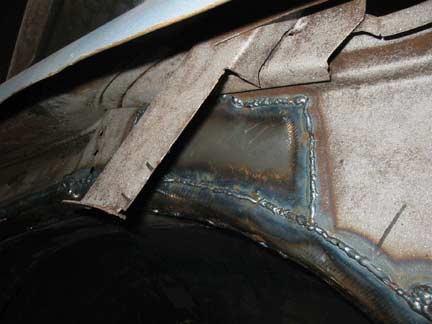
What your looking at is the lower C pillar that's completely hidden behind the passenger quarter panel. As you can plainly see the front portion of it is completely riddled with rust. The picture on the left is the portion I cut out.
The clip on the lower left of the piece I removed is a retainer for the rear window trim. I'll need to transfer this part to the new one.
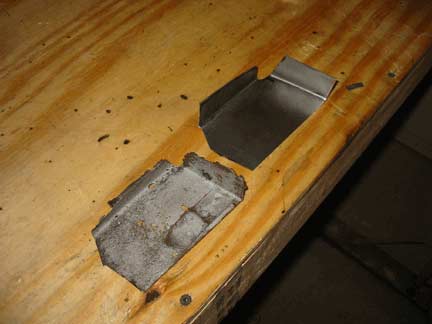
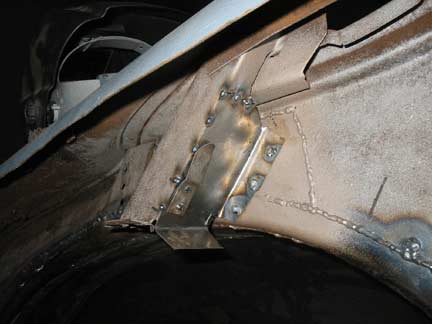
On the left is the old part and a new piece I formed from 20 gauge sheet metal.
The picture on the right is the same part welded in place. I removed the clip from the old part and attached it to the new piece with a couple small spot welds.
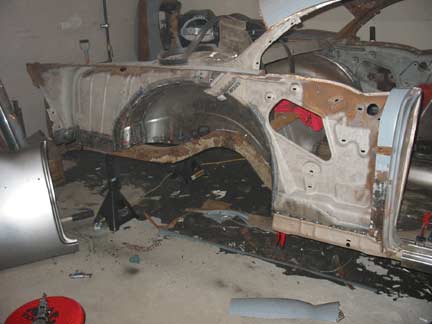
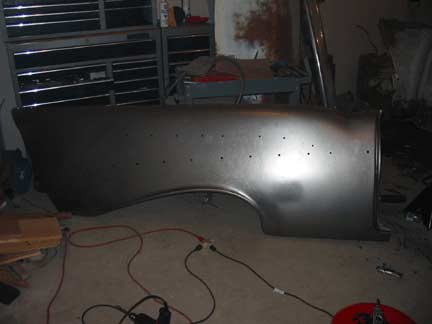
Ok here we are, all the inner trunk wall sheet metal has been repaired, now I need to replace the rear quarter.....I'm afraid very afraid!
I trimmed most of the old quarter back leaving myself a healthy margin to work with. Then I stopped and asked the fellow members at CT who have done this repair a ton of questions, I also read everything I could on the subject.
I'm still scared, this is a very expensive piece of metal to start cutting and welding. Well I decided to just jump in and let the chips fall where they may....
Then I thought about it a little more and decided to attack another job first.
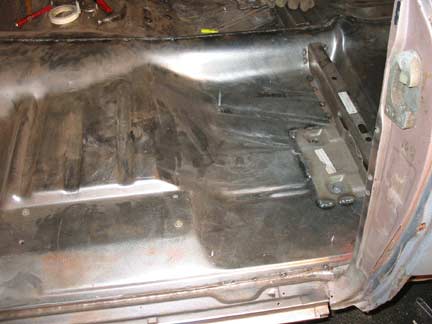
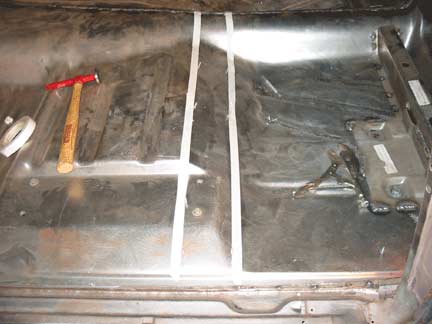
Up till this point the floor braces have only been screwed together with self tappers. I really think it's best to get this all welded together and solid before installing the quarter. Besides it allows me to sidestep the quarter installation until later.
The picture on the left is of the drivers floor pan where the forward floor brace is located, on the right I used masking tape, a measuring tape and more self tappers to locate the brace from above.
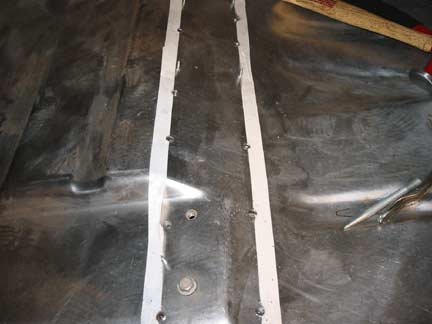
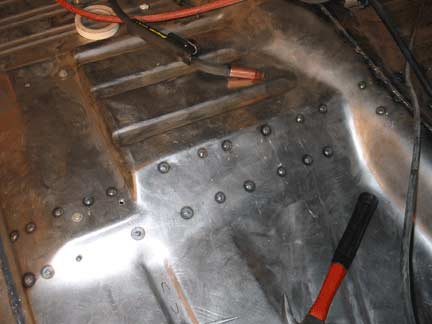
Then I used my new mig welder to plug weld the support to the floor pan.
It was very easy and the only advice I can give is make sure both parts are fitted tightly to each other and when welding start in the center of the hole and work outwardly to melt the thinner floor pan metal into the pool you've created on the brace.
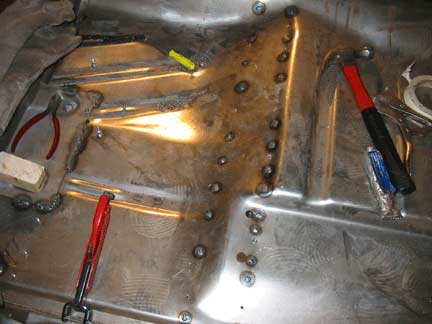
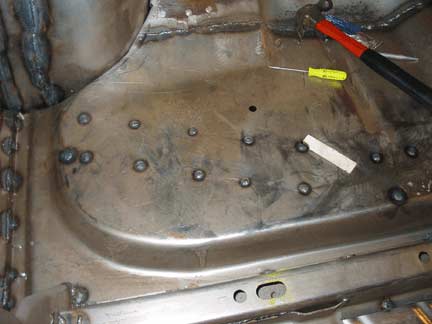
The passenger side and the rear long brace were done in the same manner. I chose to weld these from the top to keep a cleaner look from underneath and lessen the work of dressing and grinding the welds.
In addition I have the 55 running and getting it road worthy, she's a prize and I'm enjoying being able to actually drive a classic instead of just dreaming.
Next is the rear quarter install....I hope I don't embarrass myself with this repair!
Check back and see how it turns out.

I captured this incredible rainbow on the way home, it gives me a bit of hope!
Saturday 6/19/04 through Sunday 6/20/04
8.0 hours
My mission this weekend was to finish welding in all the floor braces and inner rockers.
First I removed the outer rocker panels, they were only screwed in place for alignment at this point.
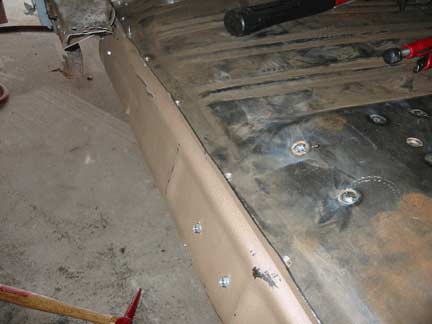
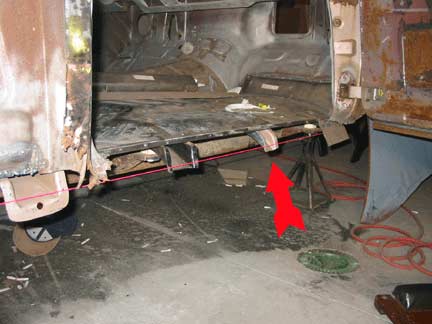
The red arrow indicates the floor brace halfway between the cowl brace and the long center brace.
There really isn't any alignment points for this support so I used a piece of string to verify all the floor support ends were in perfect alignment.
I've jumped back to the drivers side for this pic.
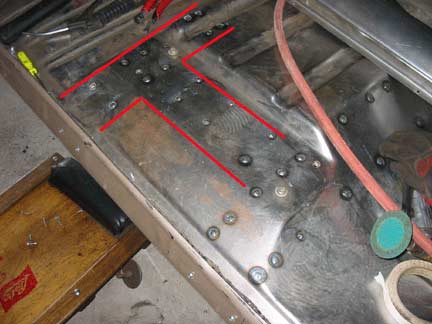
The red lines indicate where I drilled holes from the top and plug welded the support and the seat mounting support in place.
I reattached the inner rocker to the floor supports with self tapping screws.
I sighted down the panel to verify it was actually true and straight.
Odd, it seems to be true and straight, this is going a bit too easily, I'm getting nervous.
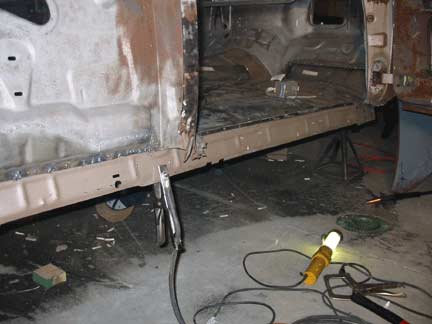
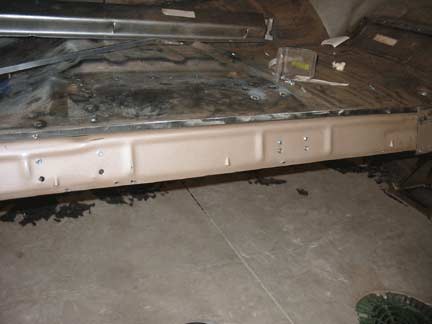
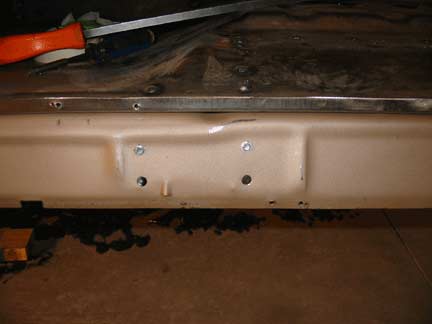
Then drilled holes through the inner rocker from the outside using the screws as a guide.
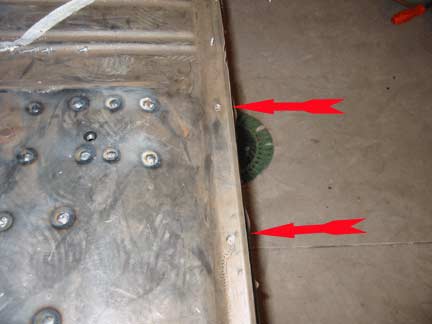
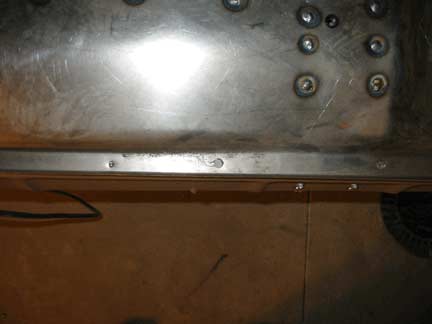
I also drilled holes straight down through the lip of the floor pan between screws to fasten the rocker from the top.
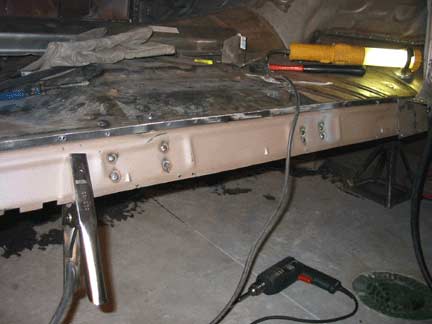
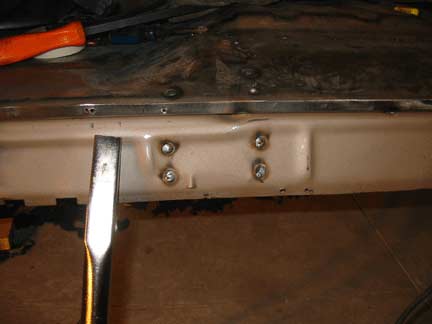
The holes were then plug welded, the screws removed and those holes opened up and plug welded on each support end.
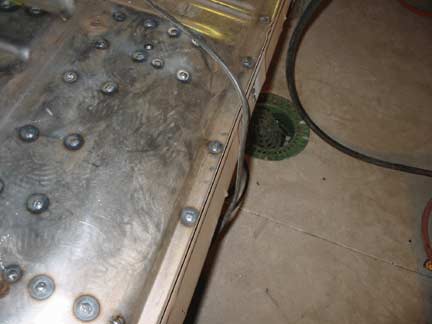
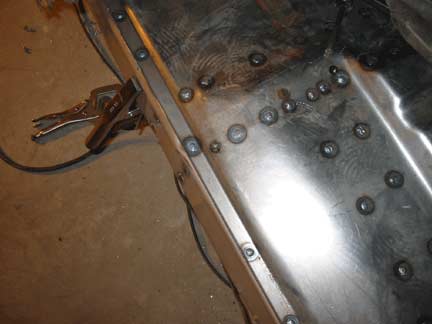
I then welded the rocker to the floor pan using the same technique.
It's all pretty solid now, the next job is getting the outer rockers welded in place for good!
In order for this to be done properly I must once again do my magic on the door adjustment. I want the doors to be perfectly aligned to the body to get the gap between the rocker panel and door to be as good as possible.
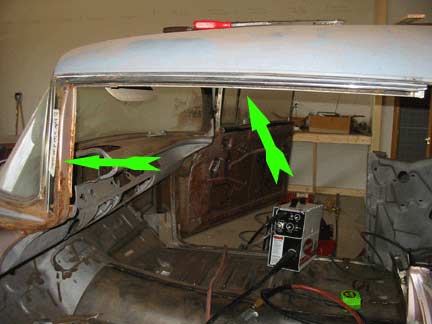
To make sure I have everything lined up I installed the door flipper and A pillar stainless on the drivers side...
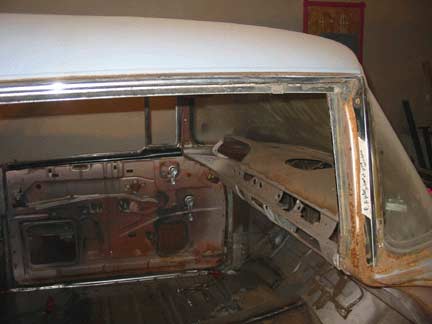
And the same on the passenger side.
I want to make sure the door and window fit properly with the trim in place and contact the flipper properly.
After verifying the door alignment I plan on welding in the outer rockers and then moving to the rear quarter repair and replacement.
I feel like I got alot accomplished, I am a bit concerned by how easy it was though....I have a feeling of impending doom!
More next week.
Go to page