 Back
Back

PAGE 31
Saturday 8/28/04

I was anxious to get over to the shop this weekend.
After getting the primer laid down last weekend I was re-energized and looking forward to moving ahead on the rear quarter replacement.
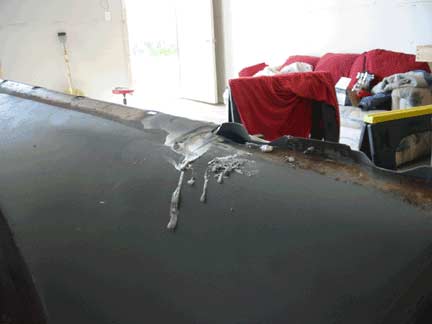
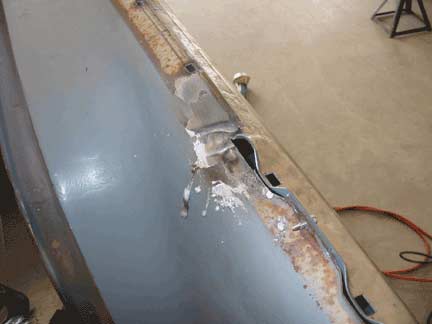
First I used a propane torch to melt the lead from the seam on the outside of the passenger fin. I used a rag to wipe away the molten lead in the area I'm working on.
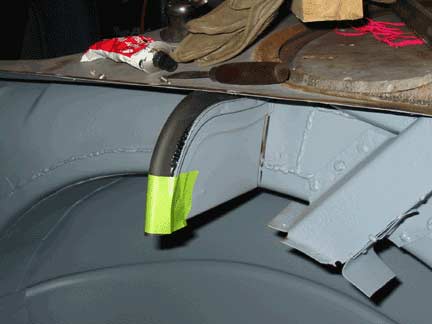
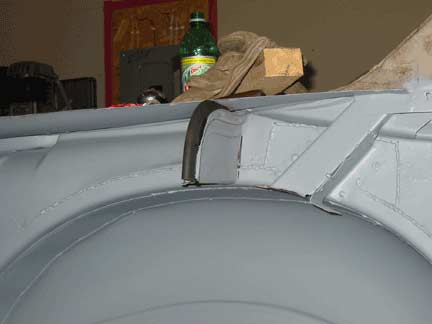
Next I screwed the inner support back in it's original place.
Then the rubber seal was installed using 3M weather-strip adhesive. The original weather-strip was actually stapled in place.
Then the support was welded from the inside of the trunk through the holes I had made while removing it.
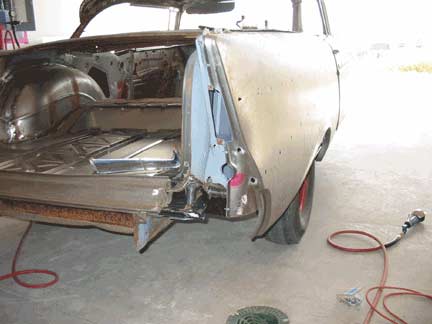
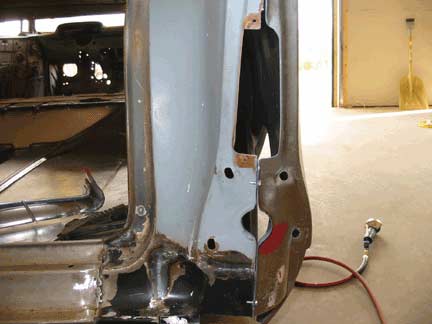
Finally I placed the rear quarter in place and lined everything up in the rear. Once again self tapping screws were used to hold it in place for fitment.
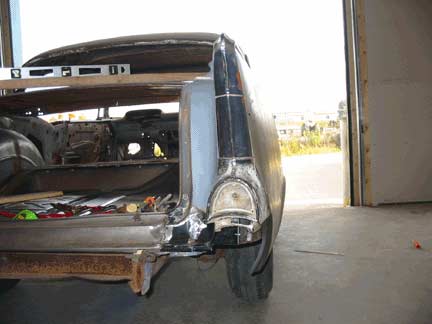
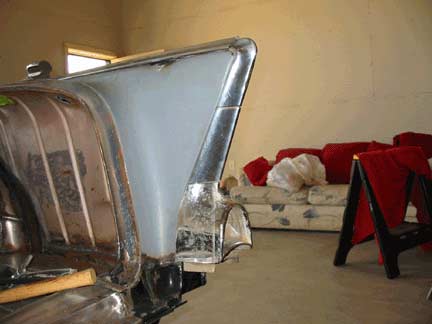
These pictures actually took several hours. I used the rear trim to judge where the panel needs to be tweaked and adjusted...
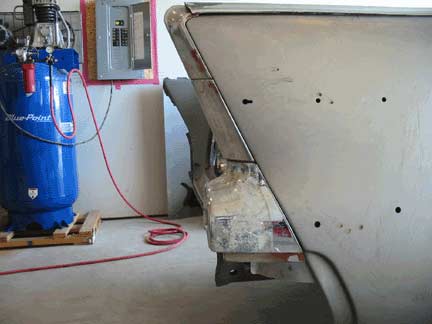
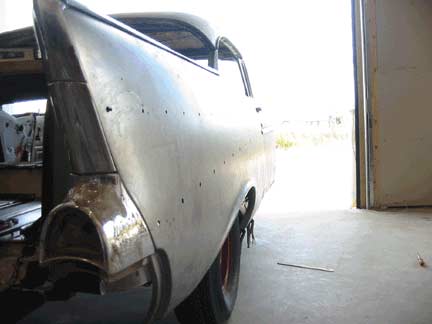
It's important that these pieces fit properly and tightly...
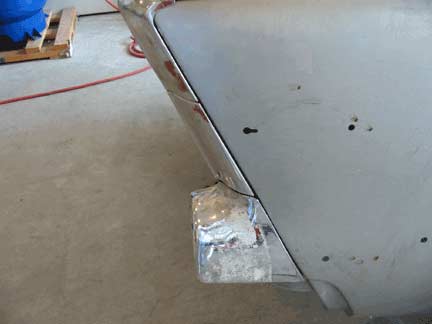
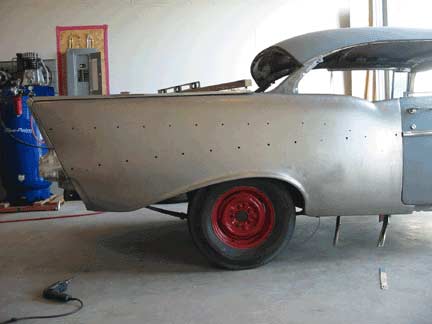
I cannot tell you how many times I removed and reinstalled these trim parts to verify proper alignment. It was a very, very tedious job.
The results were very pleasing however.
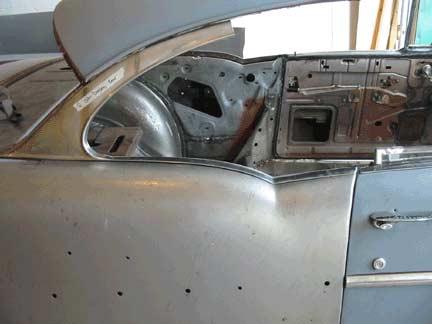
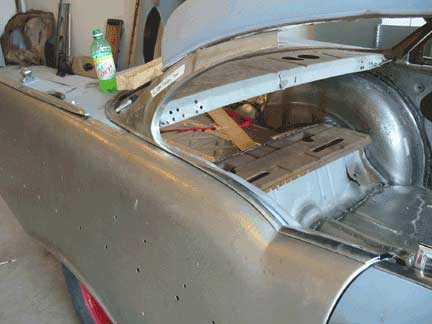
The C pillar trim and the trim along the top of the rear quarter were also put in place to verify proper alignment.
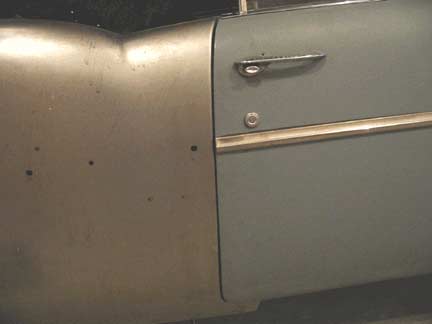
I was able to achieve a very respectable door gap also. It's about the size of a paint stick.
I was very concerned I'd need to cut this new panel to get the gap correct, and I still may have to.
I'm worried the panel is bulging out too much now over the rear wheel from pushing the lower part of the panel to the rear in order to get a good door gap.
I'll need to wait for my next visit to determine that!
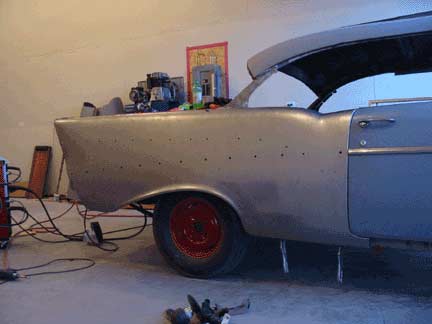
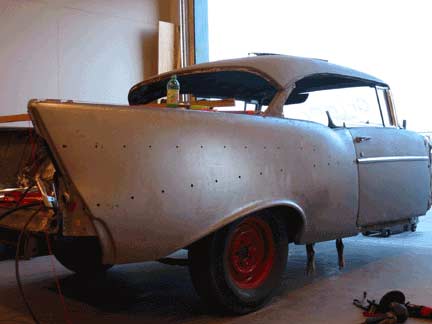
She looks good! I mean really good!
I'm really fired up with such a major improvement.
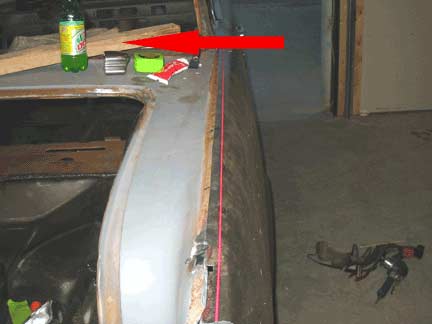
Next I'll need to make some cuts and start welding. The pink string is my rough line to cut on in order to leave the original square holes that are used to retain the trim on top of the fin.
NOTE to PEPSI: There are 5 gratuitous shots of Mountain Dew on this page alone, if I don't hear from you soon I'm switching to COKE products! :)
Go to page