PAGE 33
12.5 hours
I'm in a bragging mood today!
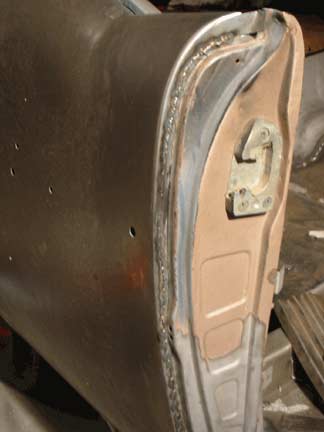
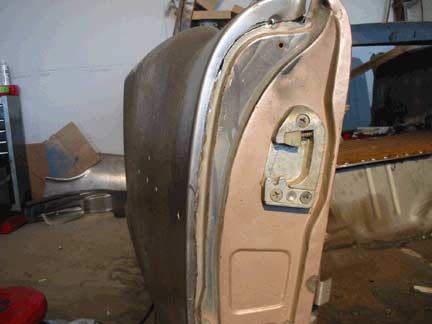
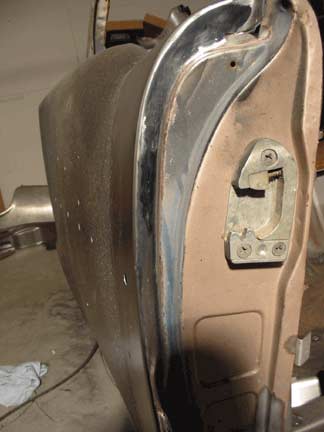
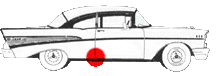
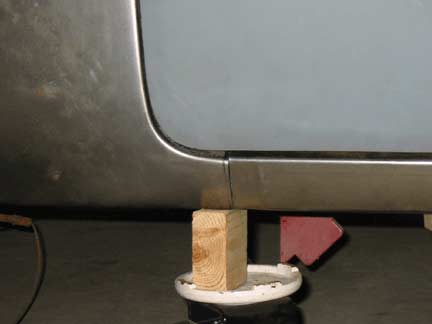
This is the passenger side door jamb.
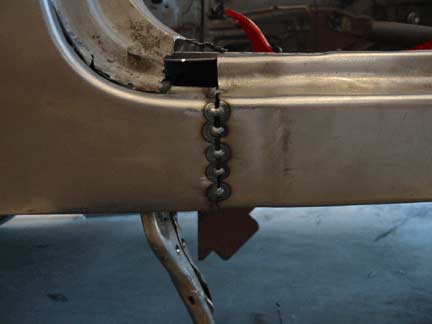
I cut the length of it from top to bottom once again leaving a dime sized gap for welding.
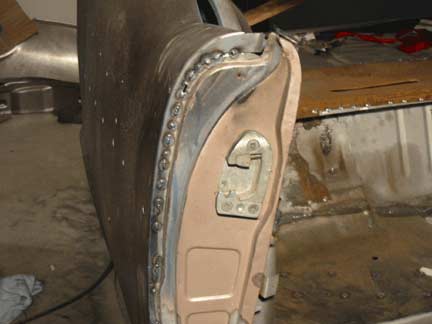
Then I slowly placed tack welds every few inches, then going back and filling in between welds,
I was a little more aggressive in my welding here due to the stiffness of the work hardened metal. I wasn't quite as concerned about warpage.
Here's where I start bragging!
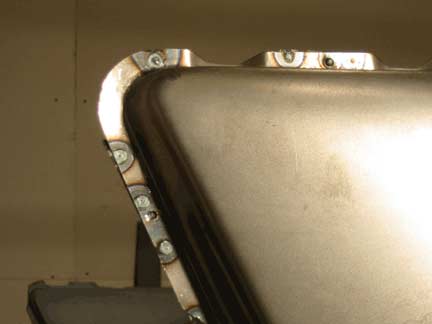
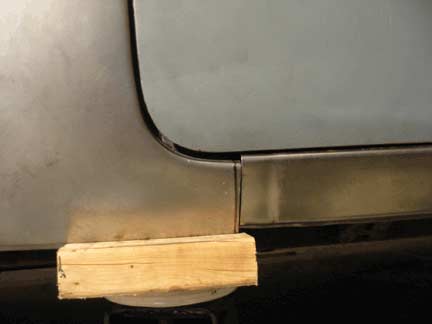
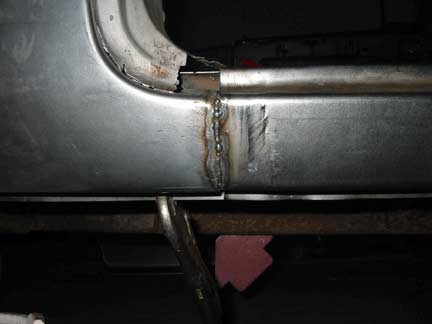
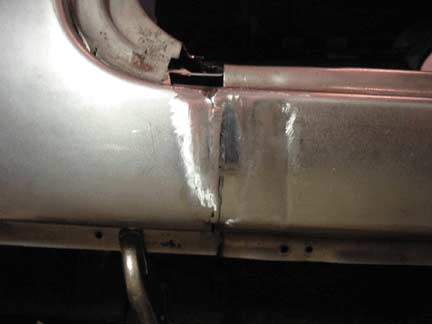
the two photos below are after a very careful grinding of the welds.
The seam is invisible! I'm so amazed I could do this. It's way out of my ability!
I then plug welded the C pillar support shown to the right.
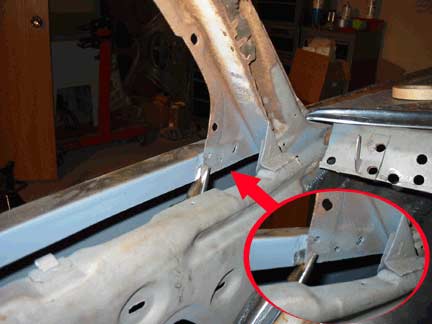
I moved to the rear and plug welded the rear of the quarter.
It's all one piece now! Just as good as when it left GM.
Once again reality reared it's ugly head to show me who's boss.
The door gap at the rear was very wrong and the rocker clearance at the front was way too tight.
Time to sit back and think a bit.
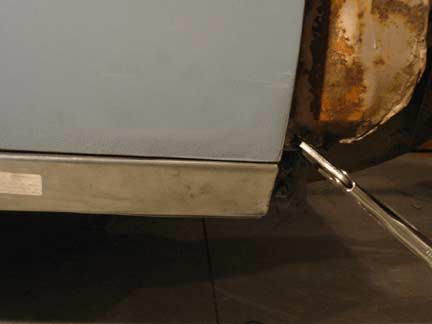
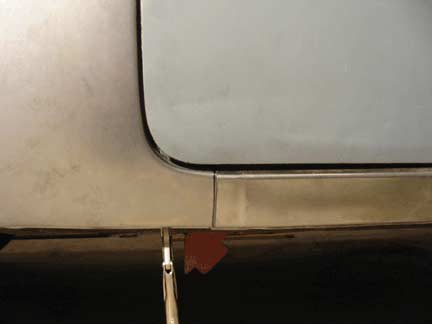
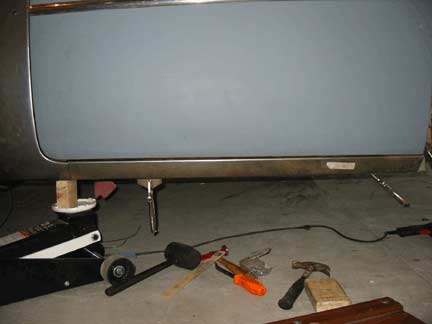
By pushing up slightly on the rear quarter and lowering the rocker I was able to achieve a very nice gap. Well within the factory specs.
Incidentally, both the quarter and rocker were flanged to allow the two parts to slide one inside the other. This just wouldn't work or fit. I decided to butt weld this area as well.
Using sticks, strings, straight edges and the good old eyeball I verified it was all straight and true.
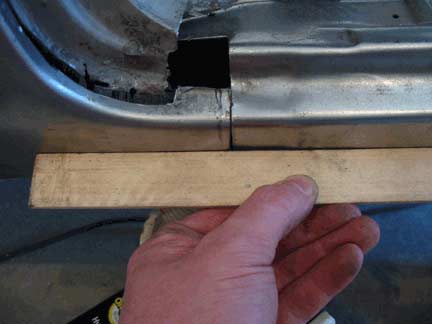
As before I filled the gap with tack welds and slowly filled in the gaps.
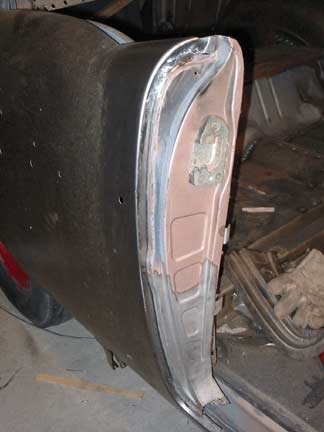
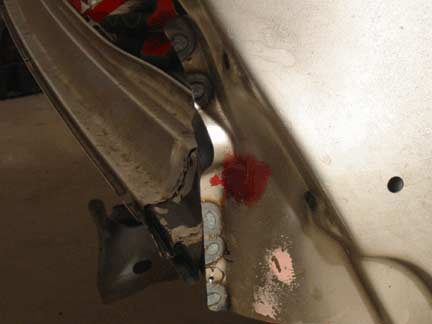
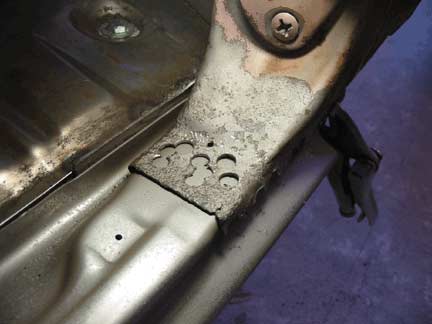
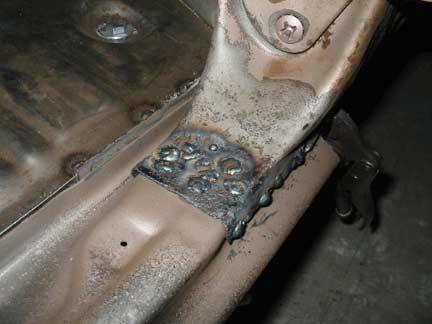
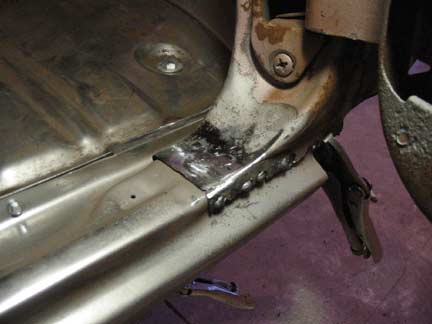
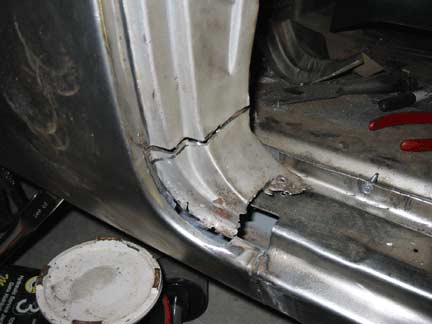
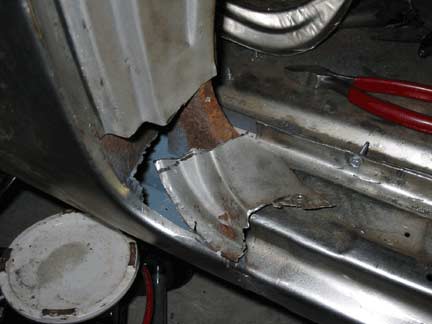
Here is the A pillar attachment point. As you can see i had one heck of a time finding all the spot welds holding her together.
The picture on the right looks UGLY!
Let me grab a grinder and get things cleaned up.
Much better!
Now on the the lower portion of the B pillar.
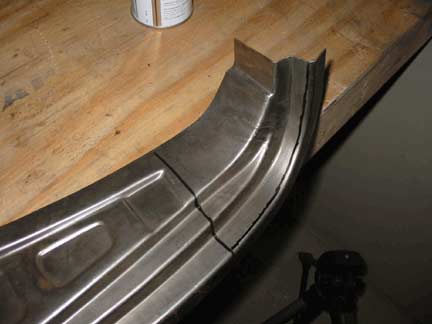
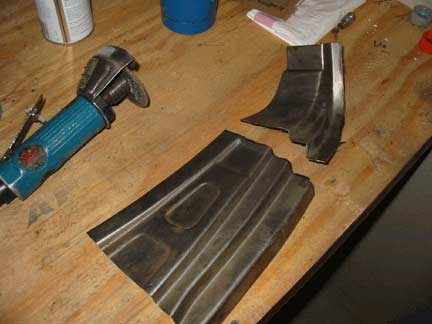
Shown here is a replacement part. I'll only be needing and using the lower portion of it.
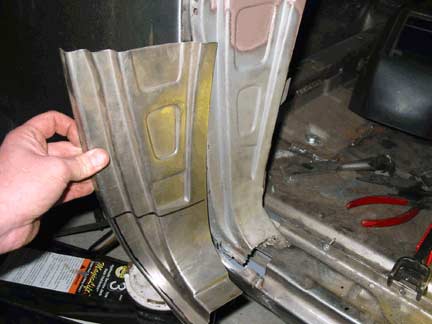
Another expensive part cut in two! I've got to quit doing this.
Then the lower portion of the B pillar was cut out leaving a very healthy margin of overlap compared to the new part.
I'm out of time this weekend.
Come back soon and see how it goes.
Go to page
 Back
Back