PAGE 20
4.5 hours
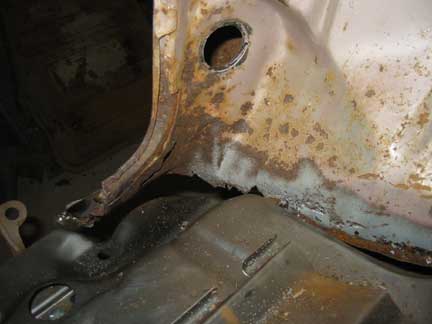
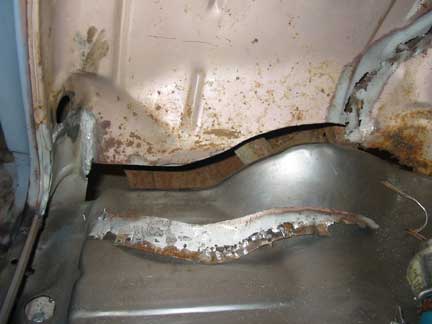
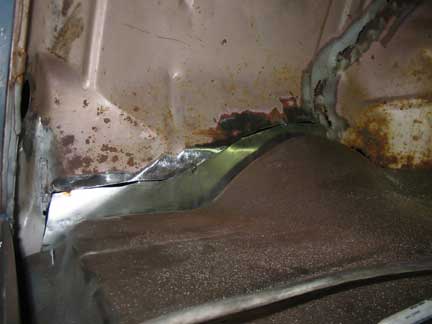
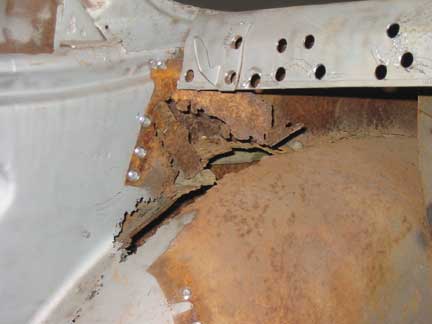
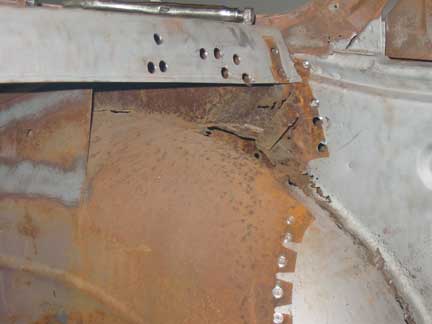
I took on the drivers trunk corner today. It's about in the same shape as the passenger side.
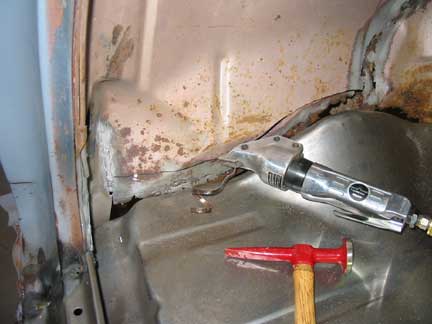
After cutting out the rusted out area I used my little sand blaster to clean up around the area and behind it as much as I could. I inserted a block of wood between the trunk floor and inner trunk wall to gain some room to work in.
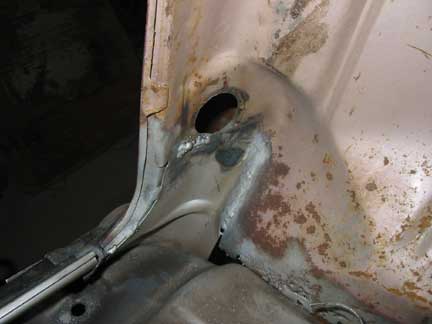
Then I pretended the replacement part I had purchased would fit.
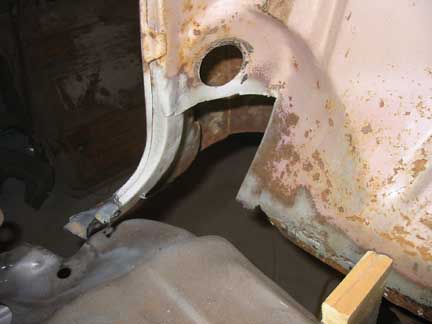
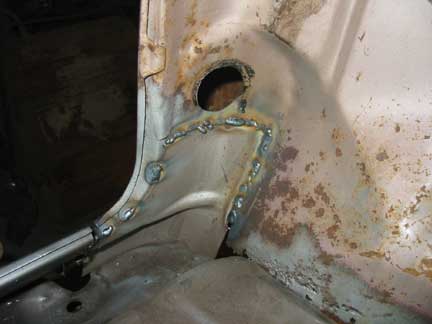
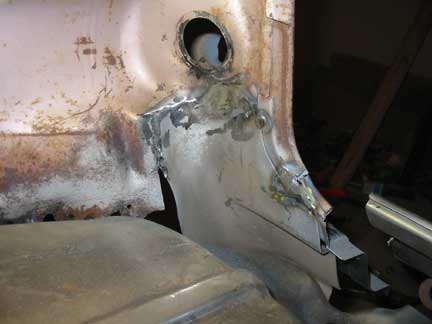
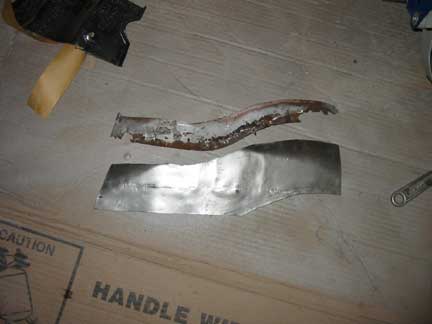
Once again I was disappointed. This time I was at least prepared. I spent a lot of time forming the jokingly called replacement part to fit properly. Then I welded it in.
14.5 hours
I caught the old girl in an unusually good mood this weekend. She didn't fight me at all.
It's about time!
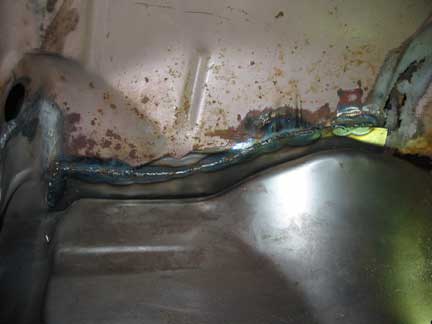
I dressed up the welds on the inner trunk corners a bit. They look pretty good!
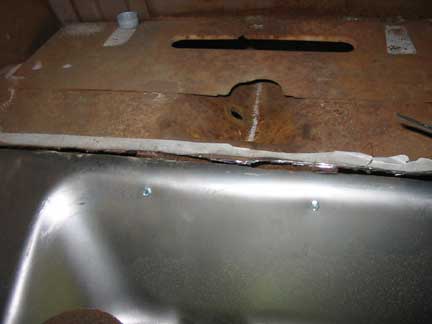
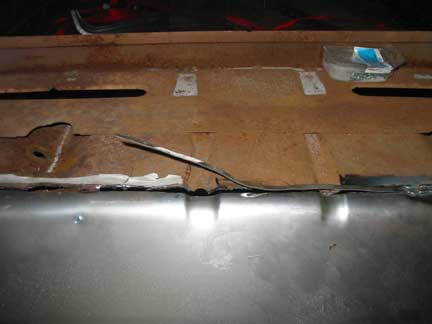
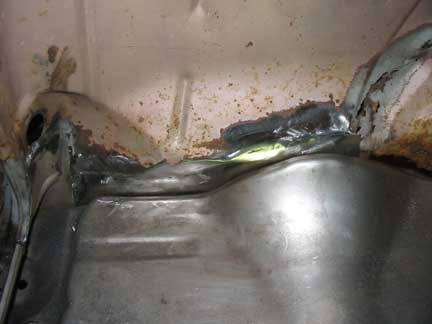
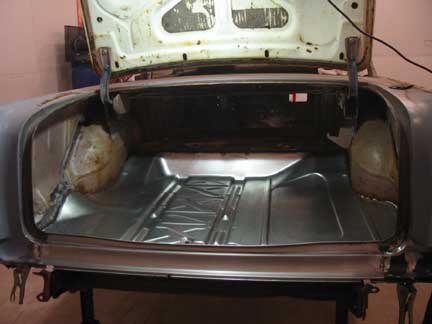
It's now time to get the trunk floor welded in at the front. As you can see after all my preaching of measuring twice and cutting once I screwed up and left a good 1/4" gap. I used a strip of metal that the pneumatic snipper leaves behind to fill the gap.
This doubled my work. I had to carefully weld each side of the narrow strip without burning through. If you look closely you'll see two separate welds.
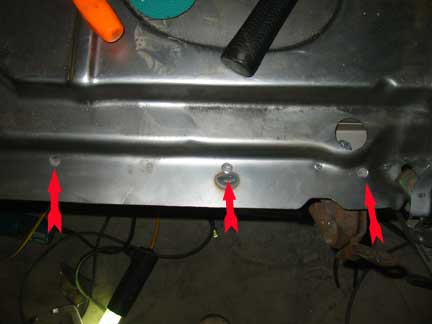
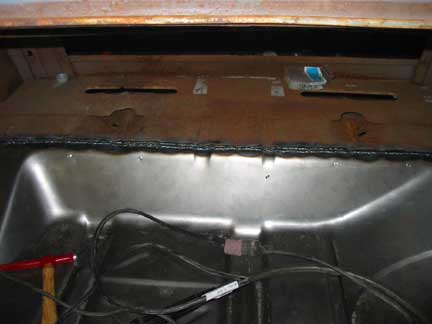
Next on the agenda is to get the trunk floor attached to the rear support.
I punched several holes through the top of the trunk floor.
I welded through the holes and ground them down.
The trunk floor 'aint goin nowhere now'
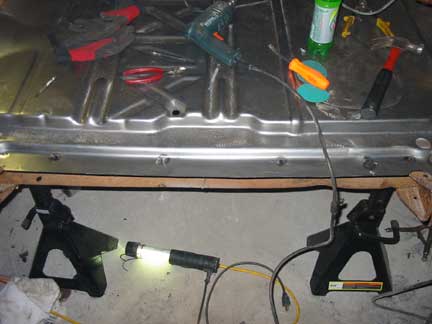
Things are just clicking along, I want to keep the wave rolling. I used the snippers to cut the rusted area of the rear lower trunk wall on the drivers side.
I've watched American Chopper too many times and thought it was going to be easy to fabricate new sheet metal parts.
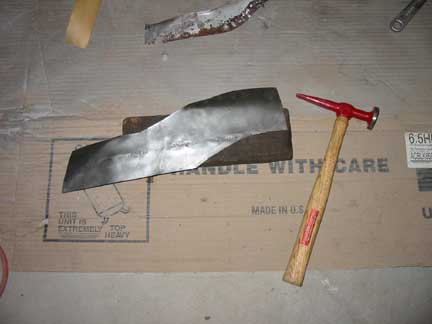
I used some very expensive and hi tech gadgets to form the replacement part. That's not any old 2x4 or hammer!
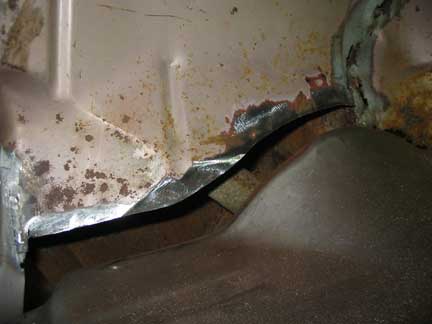
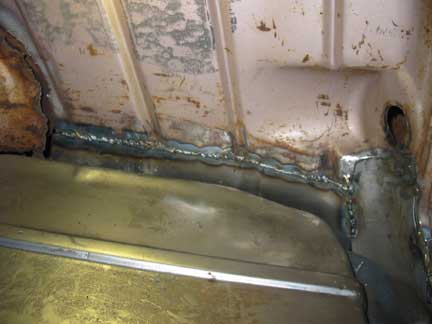
Using a grinding wheel on my die grinder I cleaned the metal of old paint and rust. The picture on the right shows the new metal tacked in place.
The new part is welded in, then dressed with the grinding wheel.
The result was a seamless repair. I took many pictures to show how good it looked, none of them did it justice. It looks like one continuous piece of metal. I'm really proud of this repair.
The same was done on the passenger side.
This side presented a few problems due to the ribs in the metal.
I haven't dressed these welds yet. It looks pretty good though.
Hey I'm getting this welding thing down!
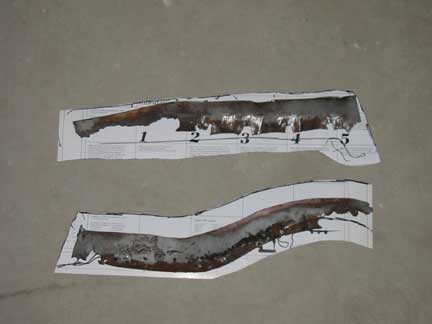
Stepping back a bit, I used some thick cardboard to make templates of the parts before I cut and shaped them.
An old calendar gave up November and December for the cause.
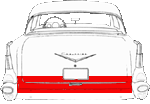
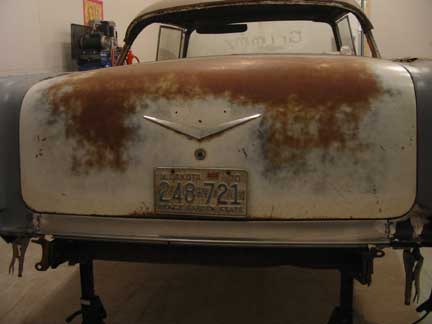
I welded in the trunk tail pan after checking the trunk lid gap a thousand times. This was one area I really was nervous about.
It looks great! All the time put in checking and rechecking was well worth it.
I'm on a roll!! There's no quitting now!
My next victim is the back seat support. This needs to be removed to gain access to rusted out area behind it and to replace the wheel tubs.
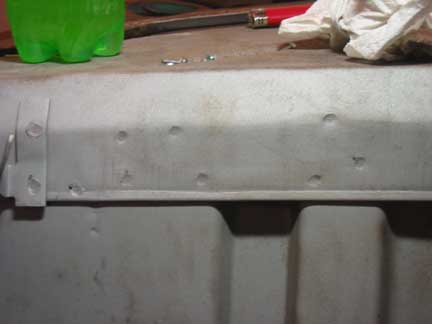
The rear seat support (or whatever it's properly called) is held in place by one million spot welds.
Chevy didn't want this part to fall off!
Here is my trusty spotweld cutter.
I center punch the spotweld with the punch shown and then proceed to destroy three spotweld cutters to get to the pictures below.
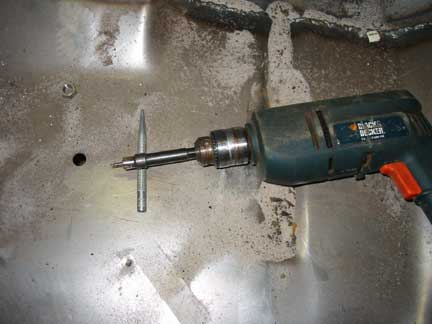
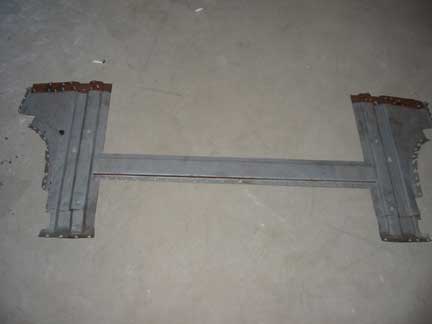
Once all the spotwelds are cut and my hands have developed the symptoms of palsy......
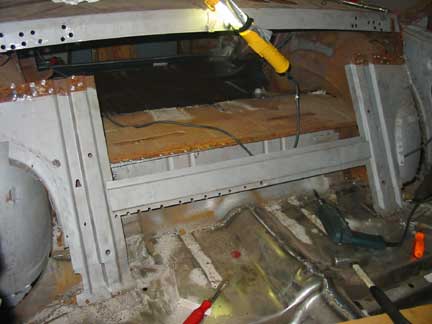
It finally came out.
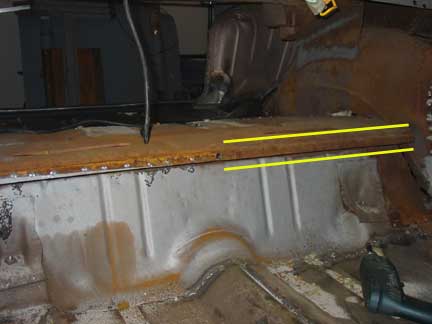
For those of us that try and achieve perfection while restoring these cars and beat ourselves up because we can't get it as "perfect" as the factory did I offer you this.
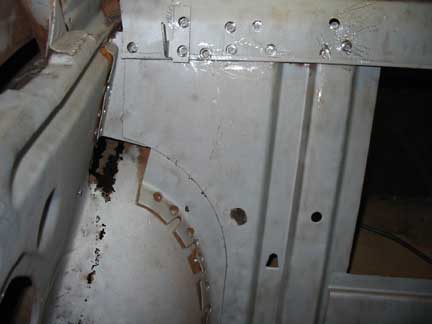
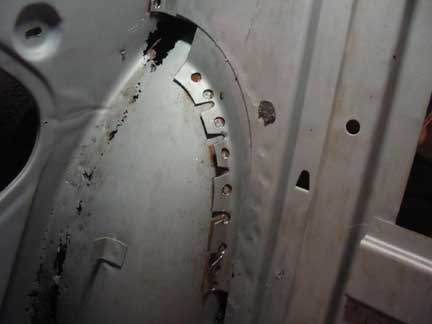
The factory missed the entire drivers side of spotwelds as shown by the yellow lines. The support wasn't orientated true with the pan behind and no welds were even attempted.
It reinforces the truth that these beauties were made by people and people make mistakes. Imperfections give these cars character.
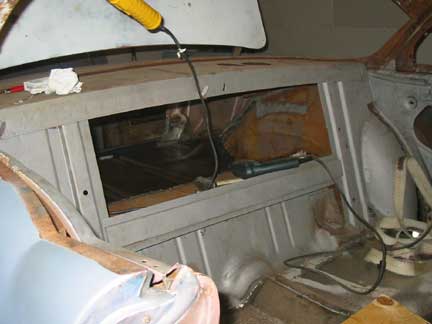
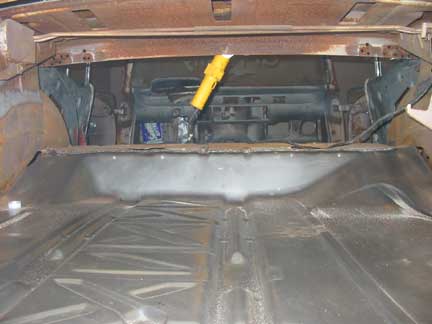
For now there is nothing to impede the view from trunk to dash.
Reality sets in here. This is the area under the package tray directly behind the rear seat. There is some major rust here (that's a real surprise!).
I'll need to fabricate patch panels once the area is sand blasted, new wheel wells are in and the trunk hinge mounts are removed.
It was a good weekend, I got a lot done. She's coming along.
Go to page
 Back
Back