 Back
Back

As you saw on the last page I finally found some rust on the old girl.
This is the trunk gutter on the drivers side directly above where the drivers side trunk hinge mounts.
PAGE 44
Saturday 9/17/05

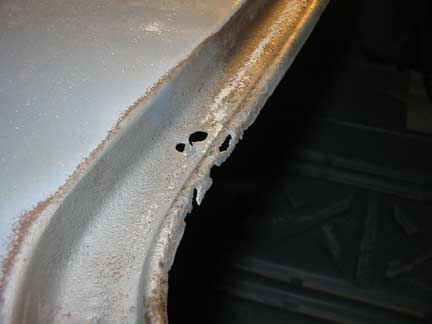
As you saw on the last page I finally found some rust on the old girl.
This is the trunk gutter on the drivers side directly above where the drivers side trunk hinge mounts.
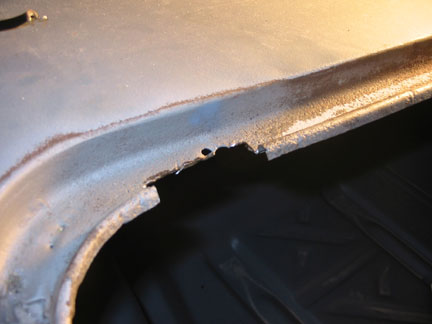
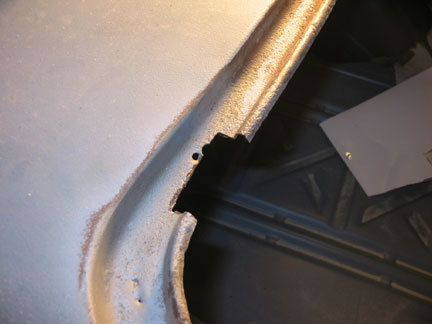
Using my trusty cut-off wheel I surgically removed the cancer ridden metal.
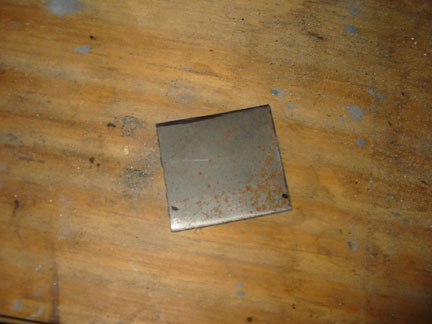
Here is the replacement part. Just a small square of sheet metal. Doesn't look like much does it?
A little bending, hammering and using a vice and drill bit to form the curves....
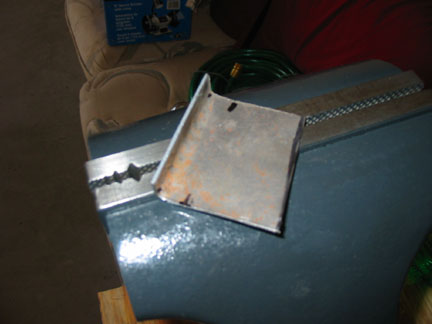
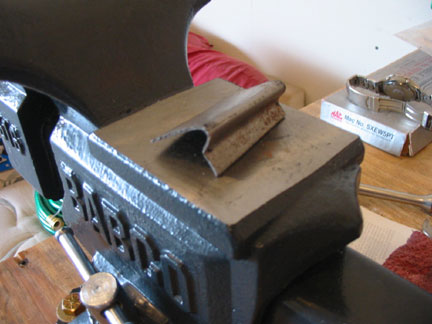
I came out with this part. Still doesn't look like much.
After several test fits and minor adjustments .....
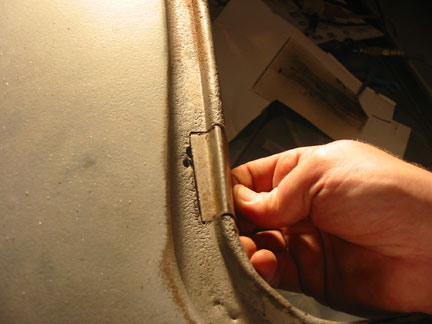
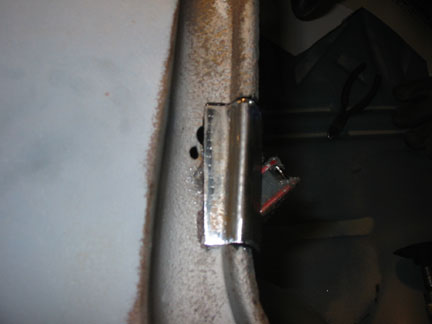
I was finally satisfied with the fit.
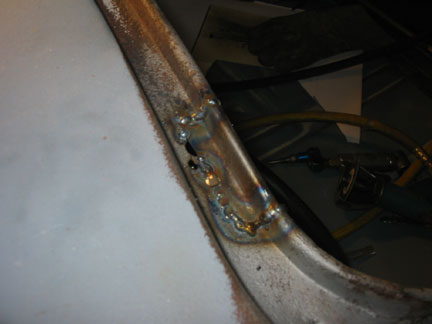
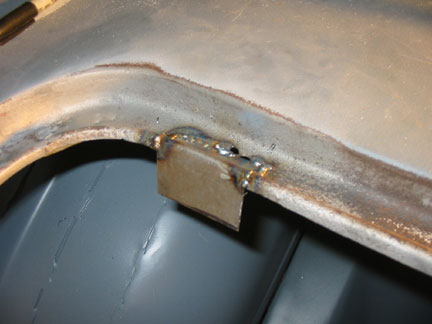
Then that puppy was welded in. Not too pretty, but it'll get better.
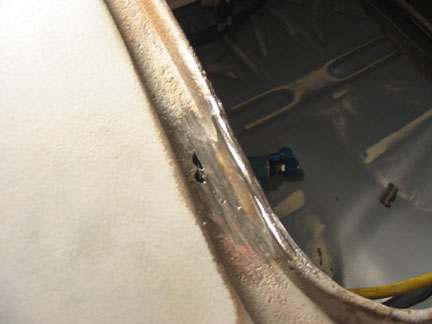
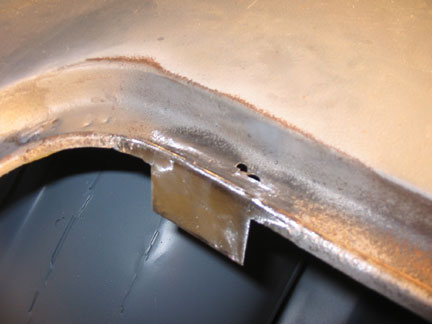
A little work with the grinder and it's beautiful. Don't worry about those holes I left, that's where I need to spotweld the hinge back on.
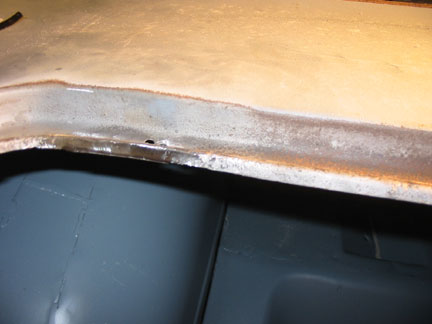
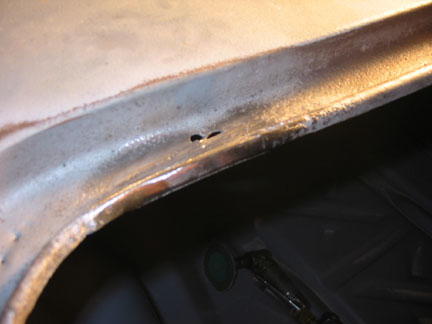
After cutting the lower part off flush, the repair is invisible.
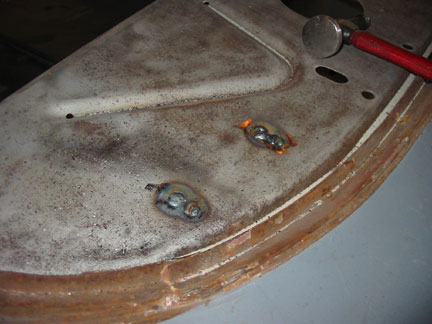
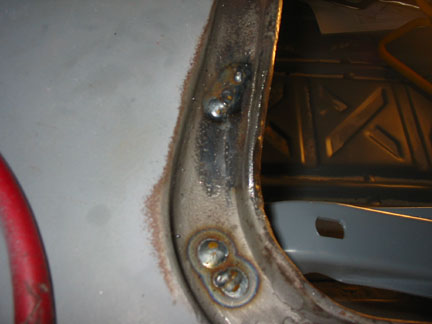
On the left, the drivers side trunk hinge welded to the rear package tray and the right picture shows where the hinge is attached to the trunk gutter.
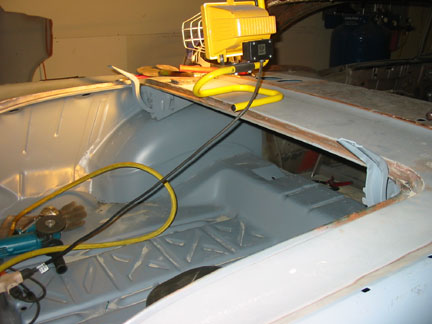
Two trunk hinges! Sometimes I thought I'd never see this again!
Sunday 10/30/05
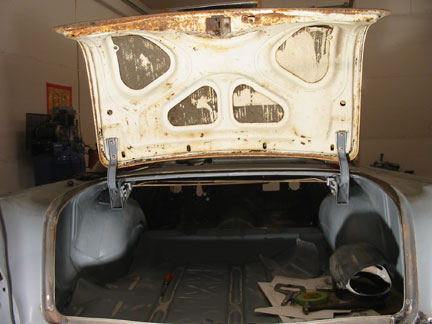
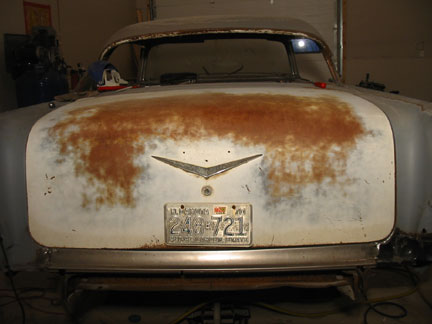
Today I reinstalled the trunk lid. I wanted to make sure everything was still in alignment and true.
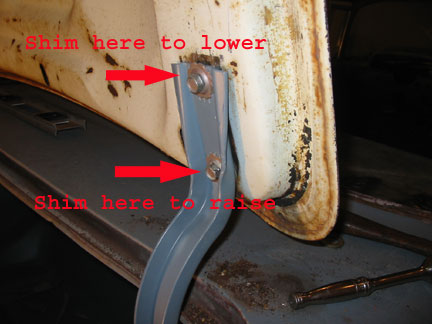
In addition to the front to back and side to side adjustments of the trunk lid, raising and lowering the front of the lid to match the level of the body can be achieved by adding shims to the front or rear hinge bolt as shown above.
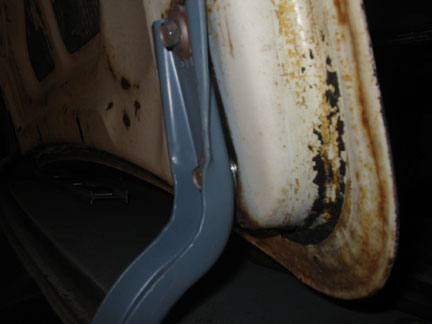
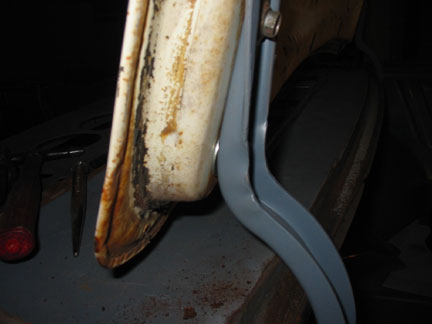
If you look closely at the area between the hinge and lid on the bottom bolts you'll see where I added some small washers to bring the forward part of the trunk lid to match the body.
I'll need to get the lid adjusted perfectly and then due to poor planning I have to remove my tail pan in order to prepare and prime the rear of it. You gotta love doing things twice!
Go to page