 Back
Back

I used vice grips to hold the passenger side trunk hinge in place. It was easy to align the hinge to the holes I drilled to release the spotwelds a million years ago. The red arrows indicate the four places the hinge is welded to the body. Two welds are located in the package tray and two more in the gutter for the trunk.
PAGE 43
Sunday 8/27/05

5.0 hours
About time for an update, don't ya think?
Okay, the trunk area has been sandblasted and my inferior welds repaired. (FINALLY!!!)
I blew all the sand that collected everywhere out of every nook and cranny. Then I cleaned scuffed and wiped down all the white metal in the trunk area.
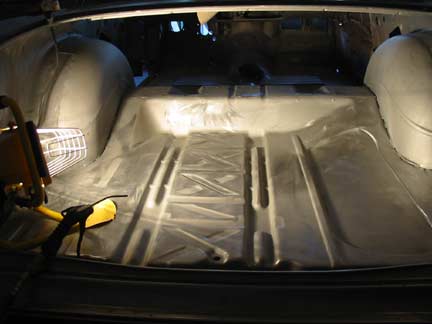
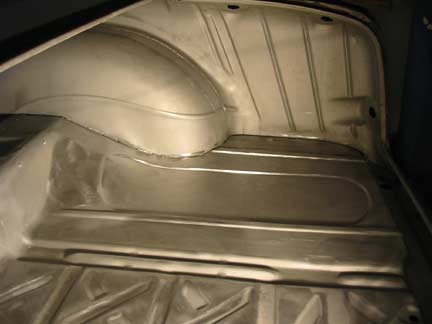
Masking off the areas I don't want to get primer was next.
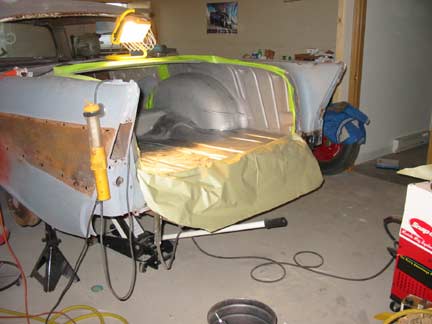
I prepared the PPG DP50LF epoxy primer as described on page 30.
Two nice thick coats later I have a gray trunk! Ohh what a feeling!
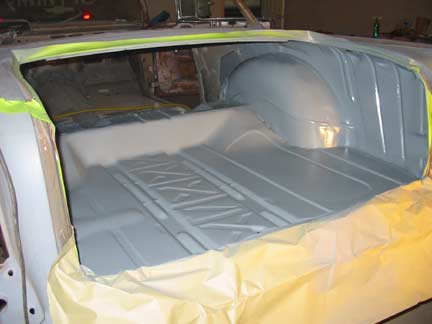
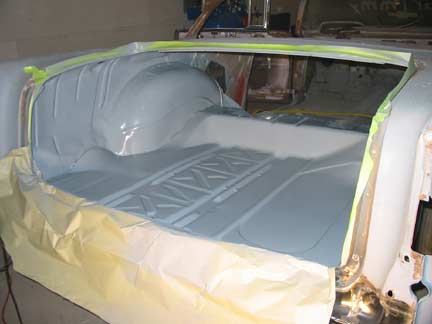
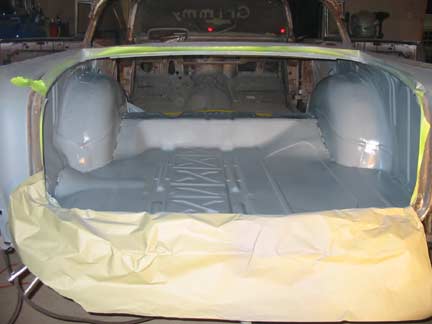
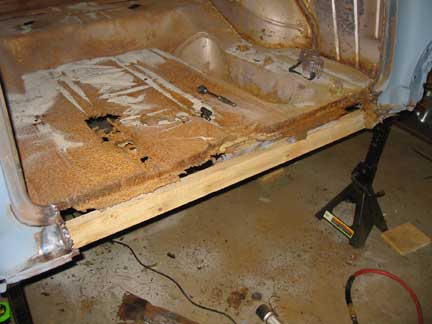
Hmmmm.... I'll take the trunk on the left thank you.
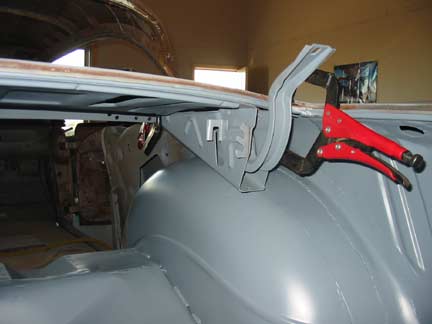
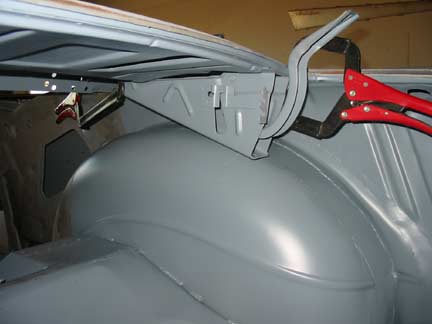
Time to reinstall the passenger trunk hinge. Reassembly is such a foreign concept to me!
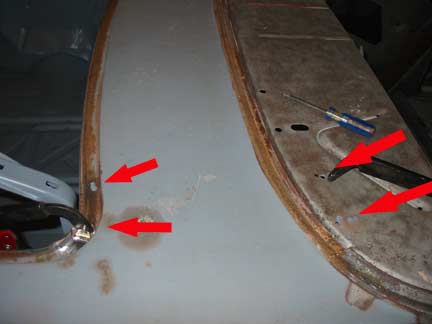
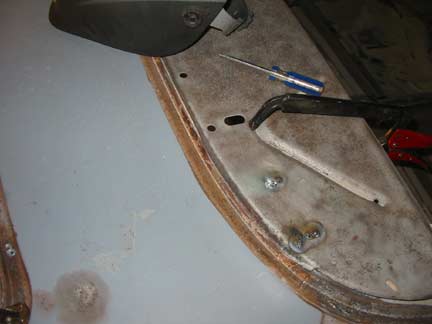
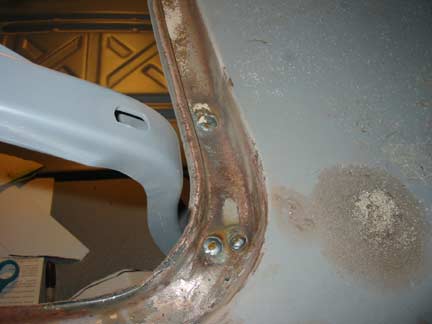
All spotwelded in and solid as a rock.
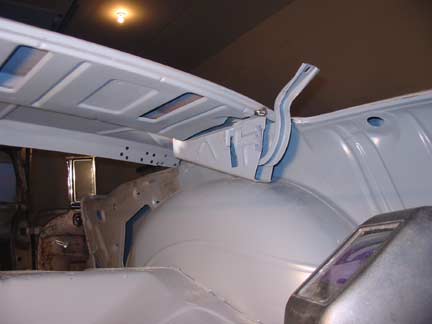
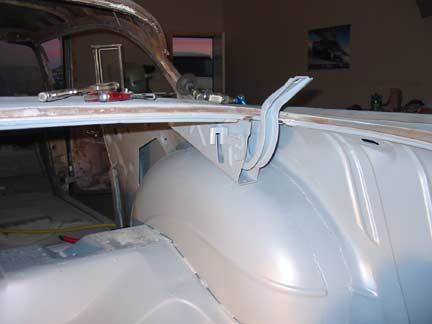
Another angle.
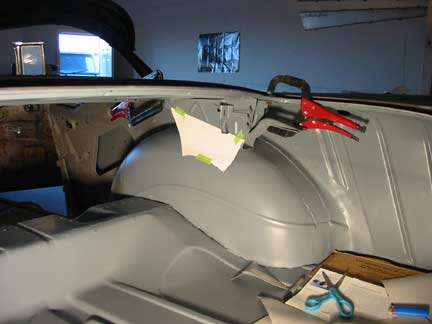
Originally there was a support from the trunk hinge to the wheel tub. This is an important structural support for the rear deck area. I used a piece of cardboard to try determine what I needed to manufacture for this area.
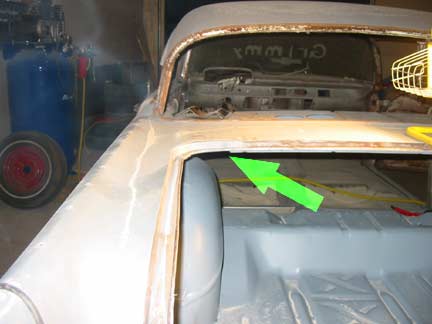
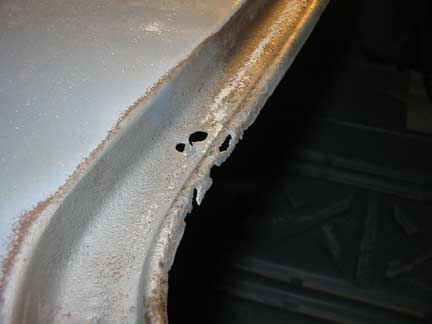
The green arrow indicates a rusted out area of the trunk gutter on the passenger side. I must admit RUST on my baby was a bit of a shock!
Go to page