 Back
Back

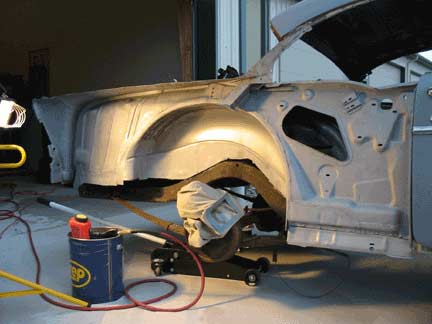
I worked into the night with the help of some portable lights.
Just about the time I was taking this picture I started hearing thunder and seeing lightning!
All this fresh bare sheet metal! It's gonna get wet!
PAGE 30
Sunday 8/8/04
It was a beautiful Sunday afternoon so I rolled the old girl outside to do a bit of sand blasting.
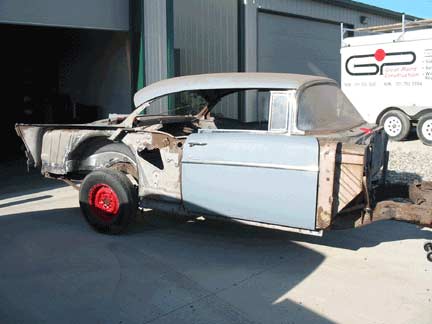
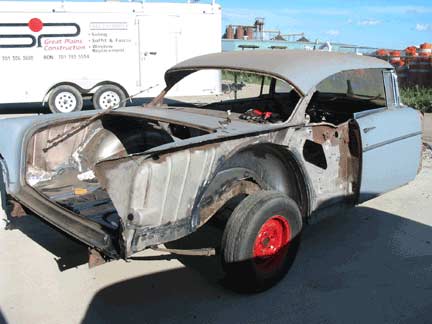
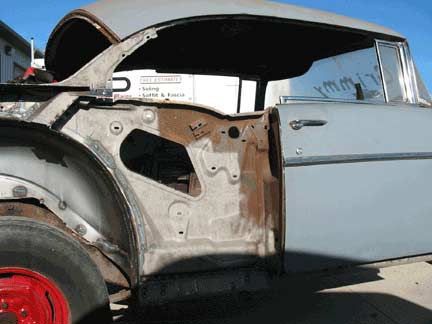
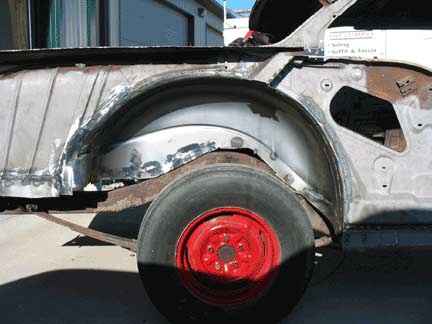
My goal was to get the inner quarter area sandblasted and some of the welds dressed and cleaned up.
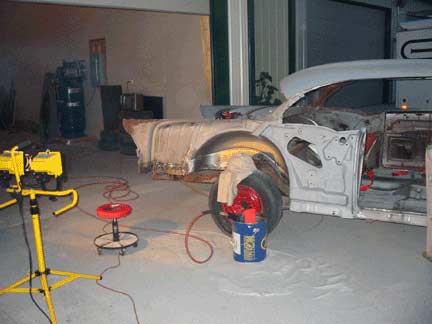
I worked into the night with the help of some portable lights.
Just about the time I was taking this picture I started hearing thunder and seeing lightning!
All this fresh bare sheet metal! It's gonna get wet!
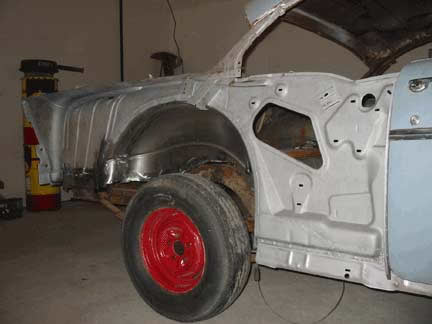
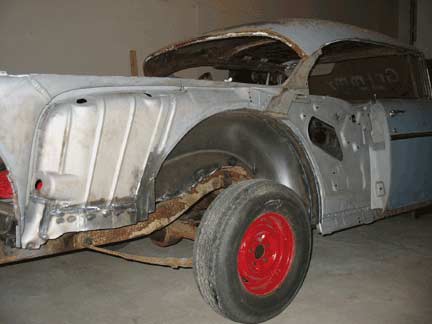
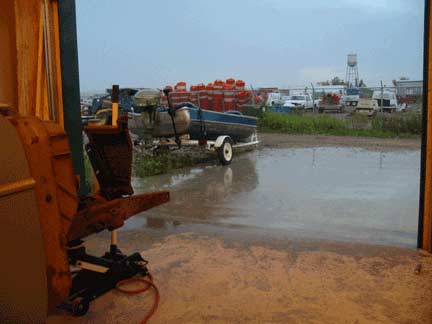
I barely got it pushed inside before the clouds cut loose.
The area in front of my shop looked like Miami beach. There was alot of very wet white fine sand.
I guess I'm done for this weekend.
Saturday 8/21/04 through Sunday 8/24/04
Once again I found myself outside in the twilight getting covered in silica sand.
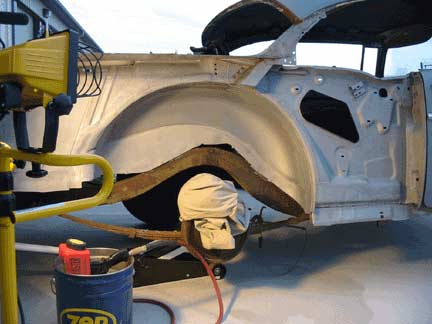
The results are outstanding. It really makes all the dirty work worthwhile.
Mother Nature is really against me! It started to pour rain again!
I was more prepared this time and got the old girl back in her nest before a drop touched her now shiny skin.
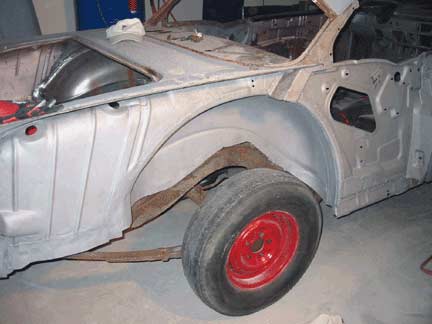
I finished what little blasting that was left inside the shop.
There was perfectly clean metal from the rear of the door to the tail.
I'm anxious to get some primer-sealer on this as soon as possible.
I mixed up enough primer to cover the inner quarter.
I am using PPG DP50LF epoxy primer. It's a light gray color and is used to seal the metal.
The body work and filler will be applied on top of this primer. It's mixed 2 parts primer to 1 part activator
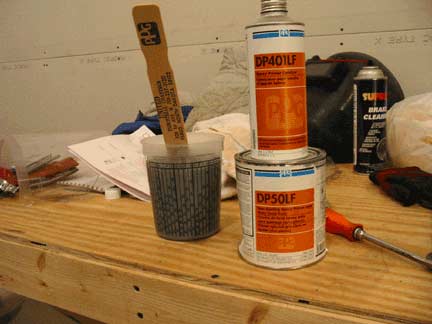
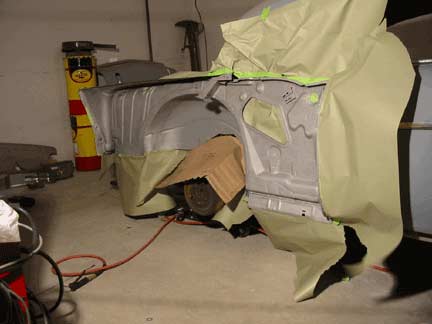
The primer needs to sit for one half hour, before spraying.
I used this time to metal prep, clean and mask off the rear inner quarter.
I really didn't want the primer getting on everything.
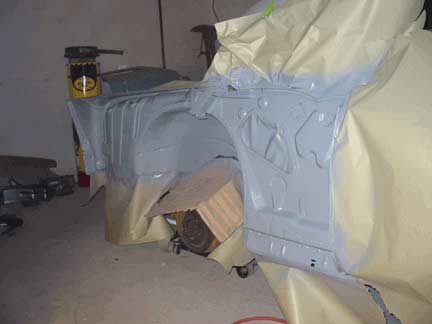
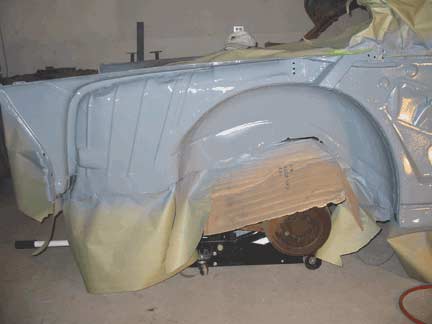
This is after one coat. I'm really grinning now! Mostly from the paint fumes!
It really feels great to see some nice new fresh color on the old gal.
One more coat to go, I've got to wait for about 15 minutes, I better get some fresh air.
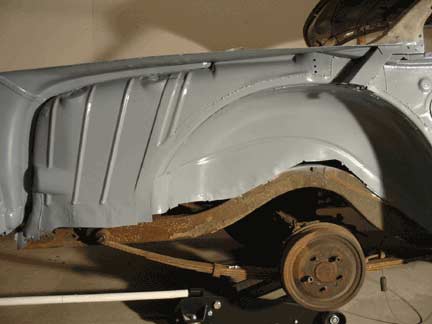
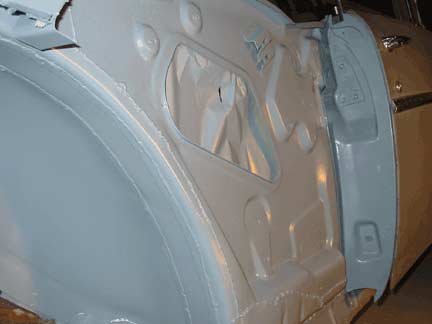
After the second coat I removed the masking paper and tape.
I am more than pleased with the results. I'm finally getting fired up about this project again.
Sunday
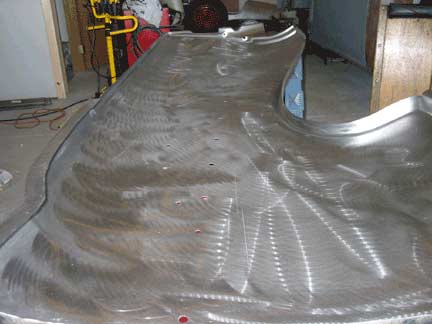
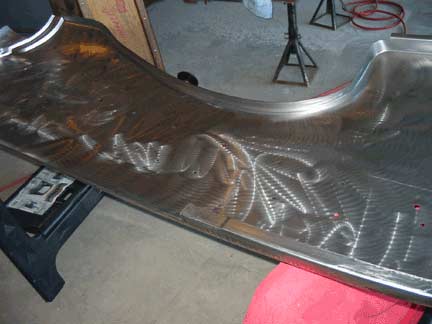
Now it's the new quarter panels turn.
I started by cleaning all the packing grease off the panel (holy cow there is plenty of that!), then I used my DA sander to roughen the surface a bit to allow the primer to "grab on" to the metal.
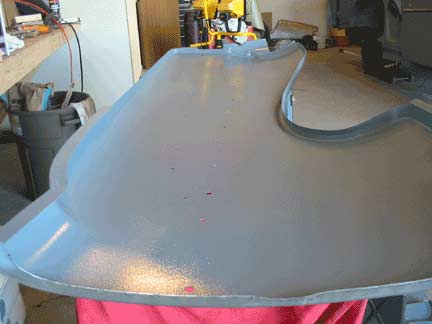
After spending a lot of time cleaning and prepping the metal, the primer was mixed as before and sprayed.
This should protect it for many years to come.
I'll seal the outside of the quarter after it's installed.
I also cleaned and primed the rear quarter brace....
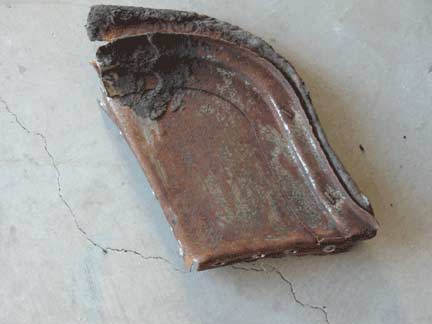
As it was removed from the car....
After a thorough sand blasting...
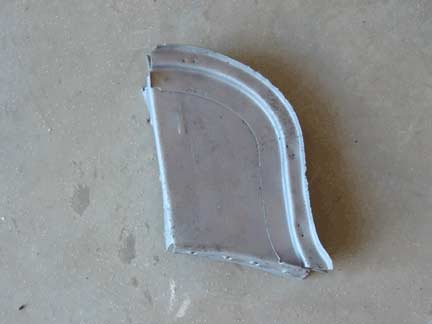
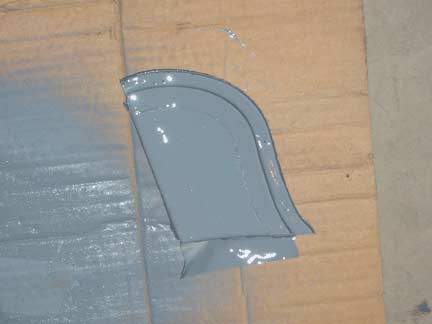
And it looks like new after a couple coats of epoxy primer!
Go to page