 Back
Back

This door Bad! Needs to go away.
PAGE 50
Sunday 9/4/11
4.0 hours
What? Nearly five years since an update and your still checking? That's incredible.
Well it's been a long time since I was able to work on the Belle. Life had some pretty strong and persuasive ideas about what was gonna take my time and finances up for the last half decade.
I am so very happy and excited to be able to get back to work on the old girl.
Thank so many of you for taking the time to drop an email to me, they gave me hope and a desire to resume what should have been completed years ago.
Enough of the sappy stuff, let's see if I can still turn a wrench.
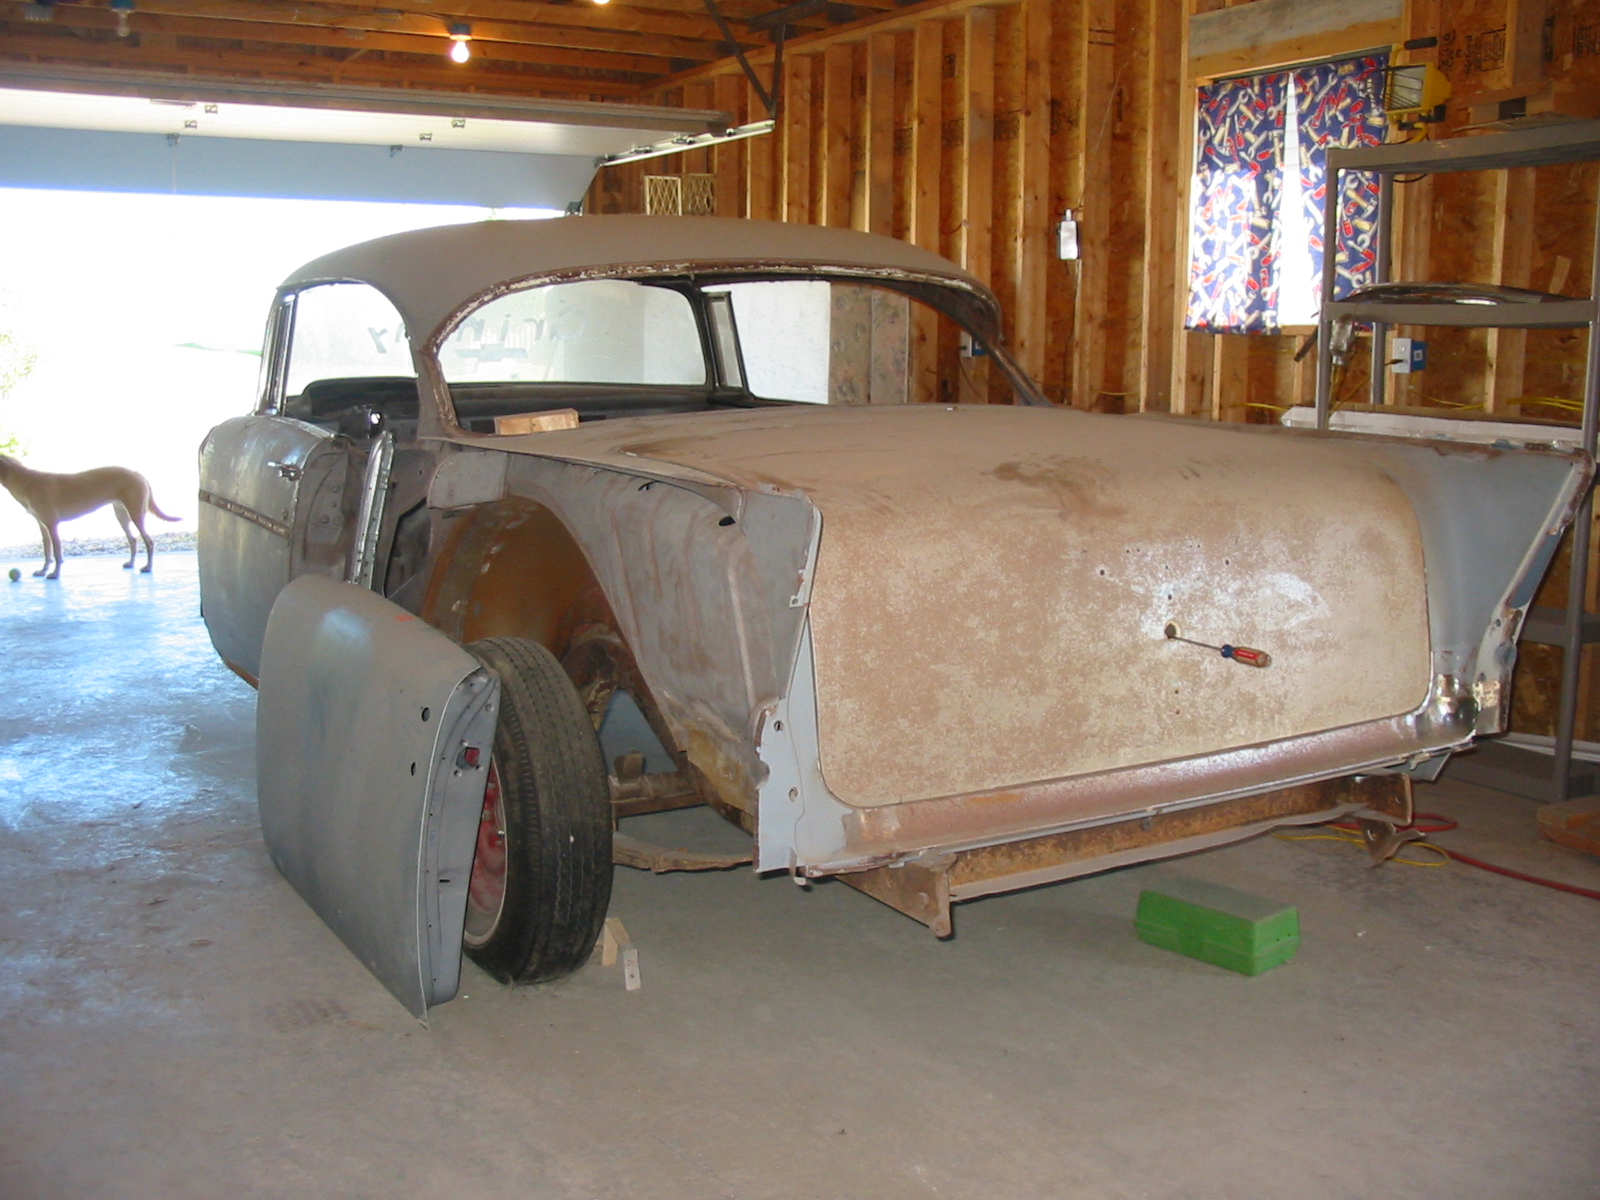
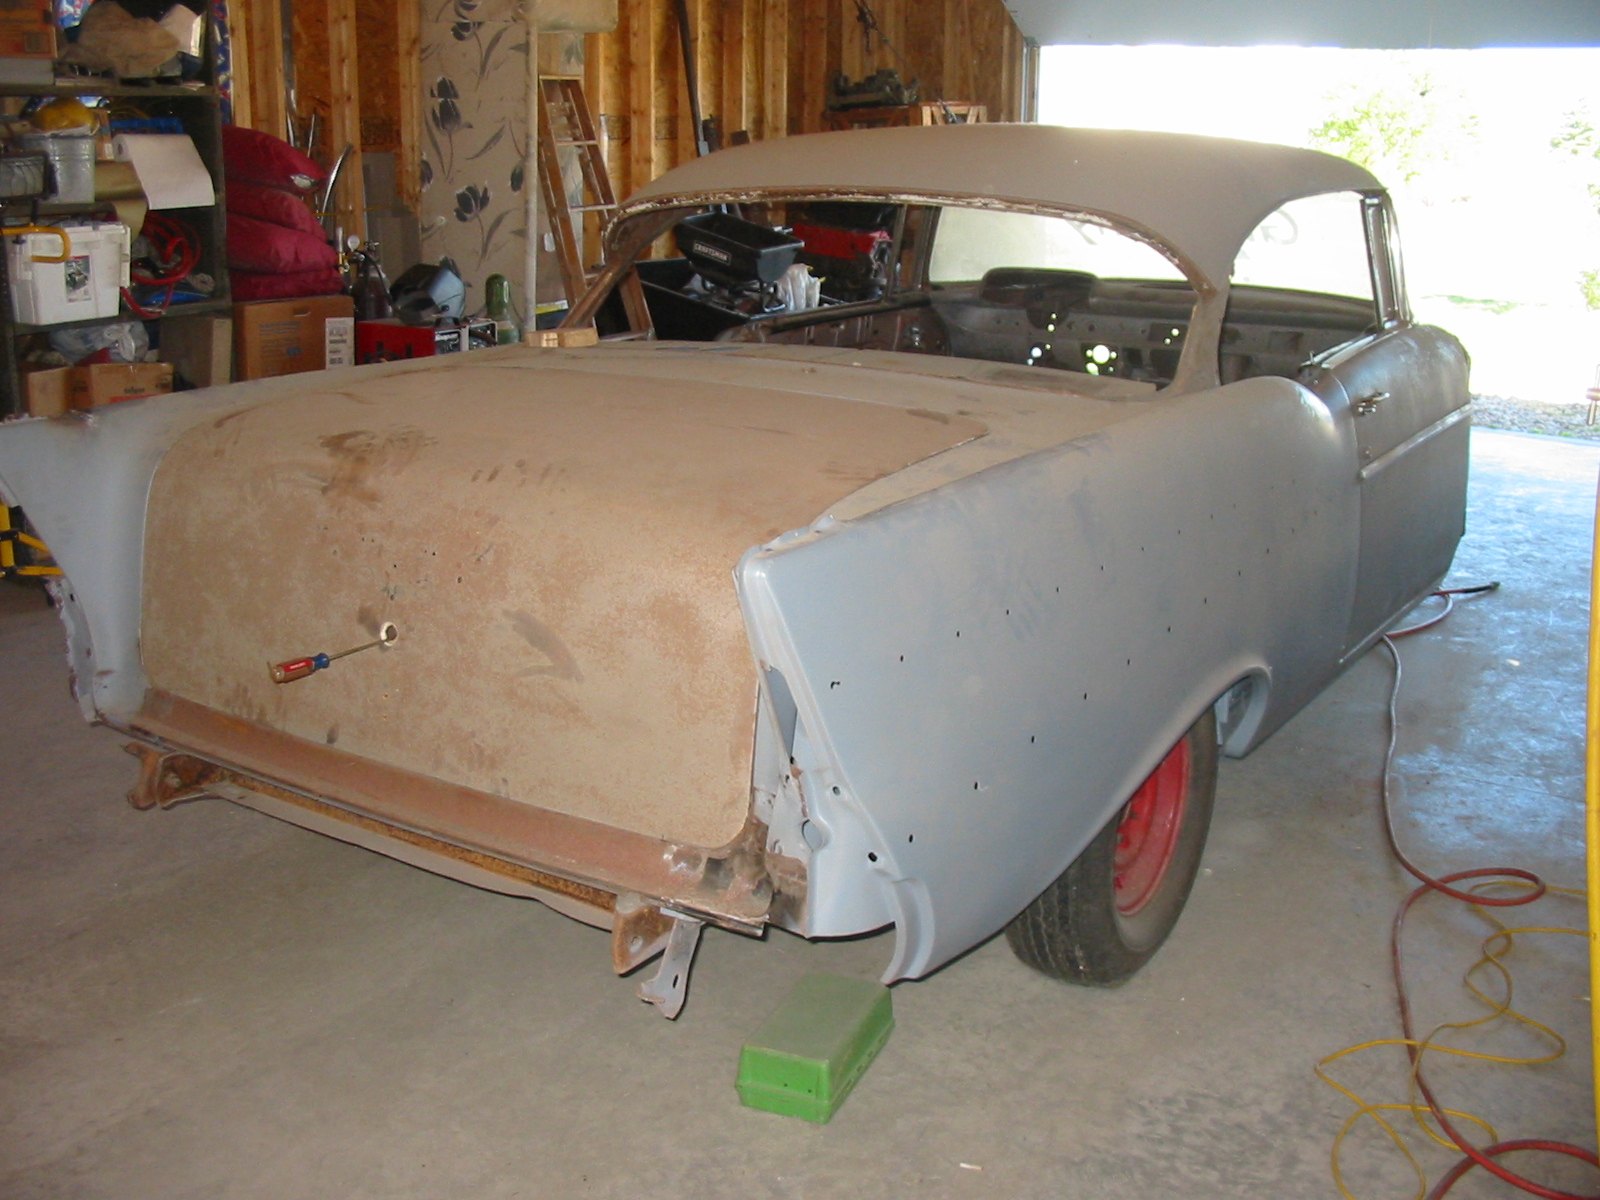
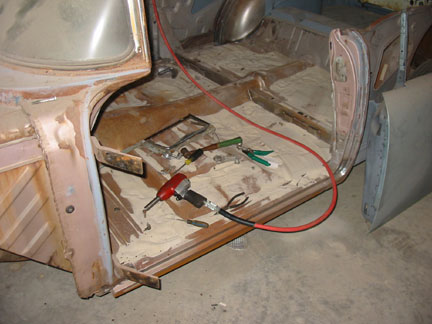
This is how we left her. Other than a new home to rust away in she is exactly where I left off in 2006. I'm a little grayer and she's a little more patinaed.
Frankly I'm disappointed no one called Overhaulin' for me and got her all pretty. Chip probably wouldn't have taken her on anyway.
Down to business. When we last met I was anxious to get the drivers rear quarter welded in place, very anxious. I've had a lot of time to think about this and came to the conclusion that the new door should be installed and adjusted first. This way I can make any adjustments to the B pillar that may be required.
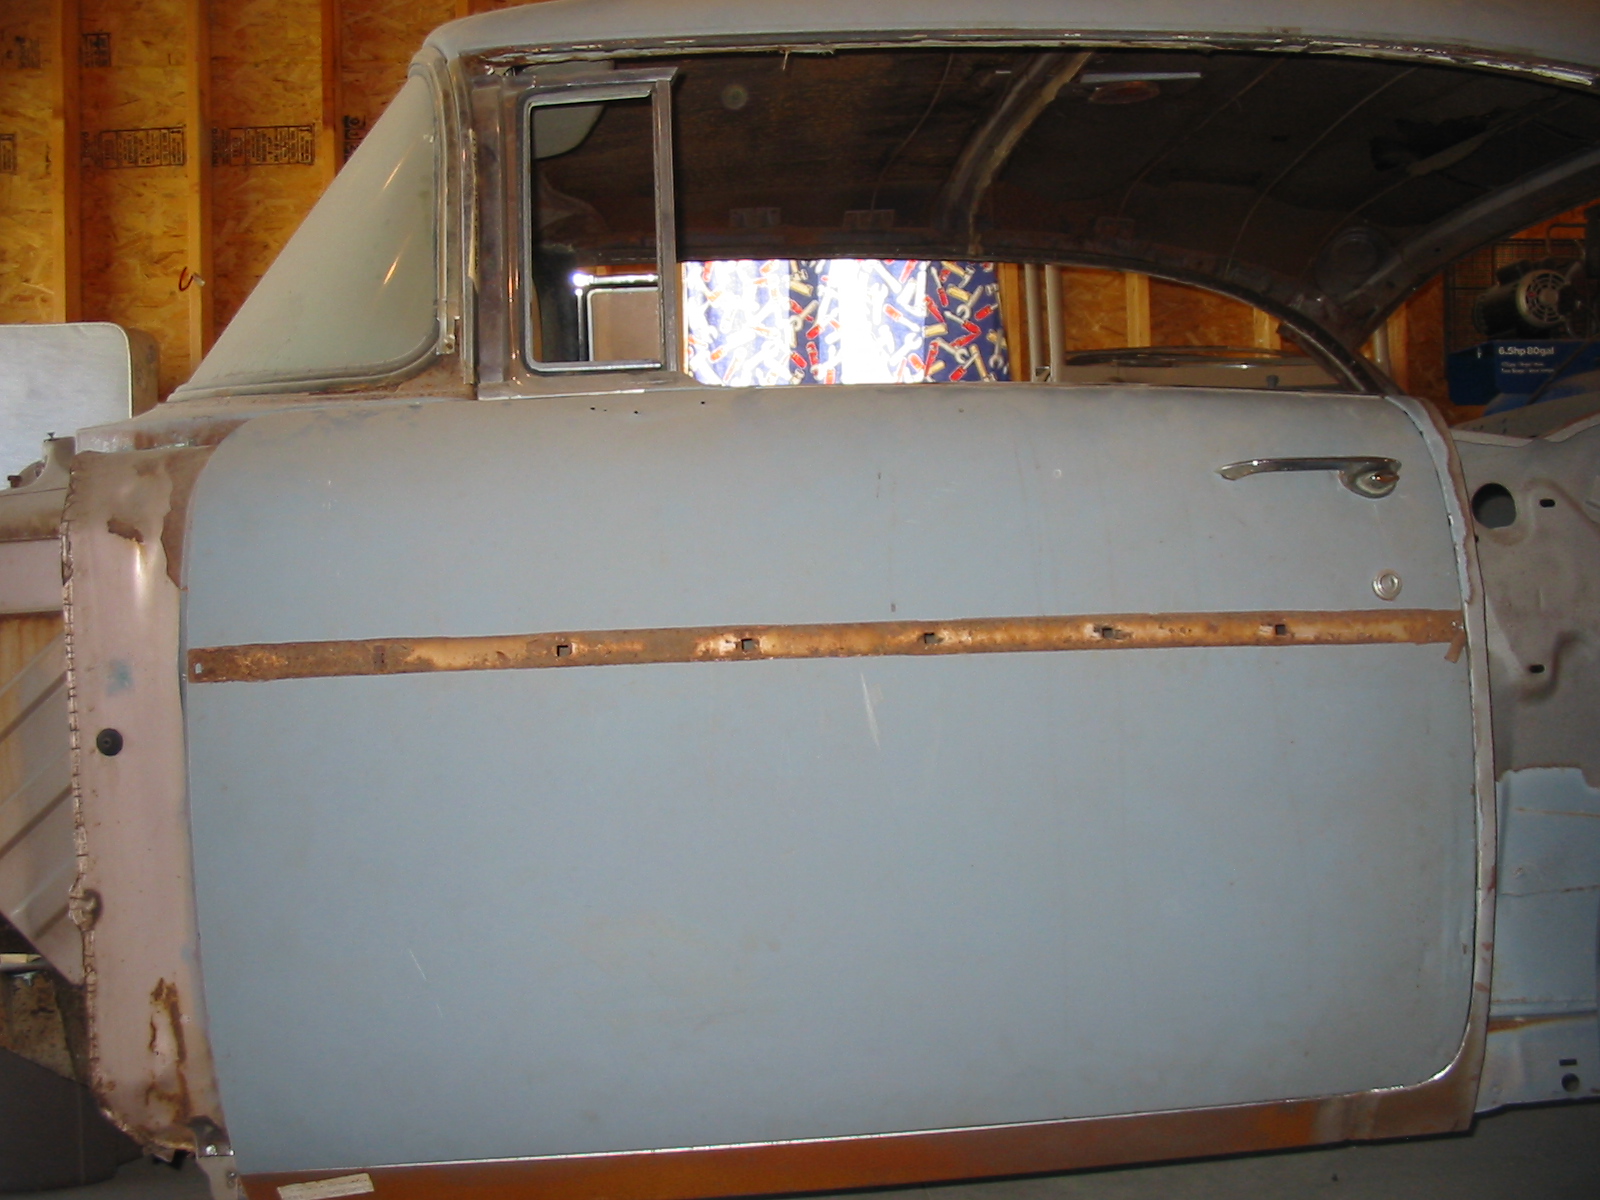
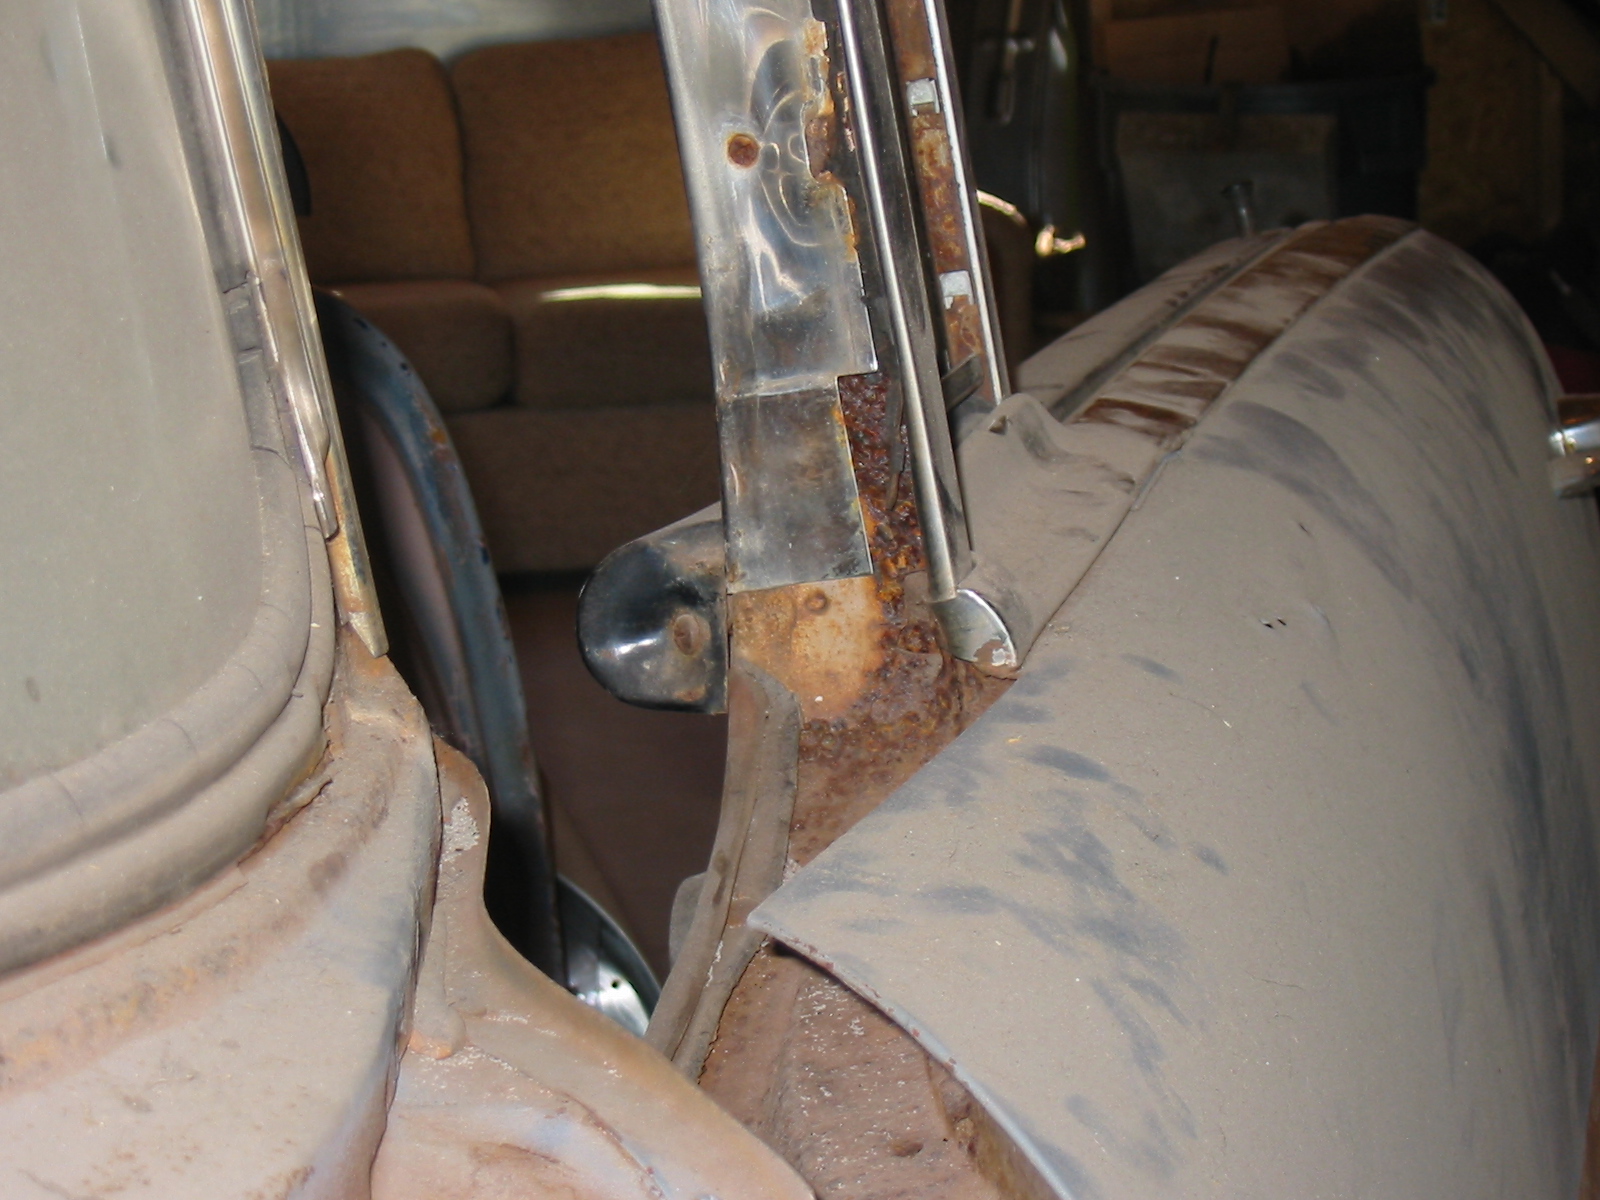
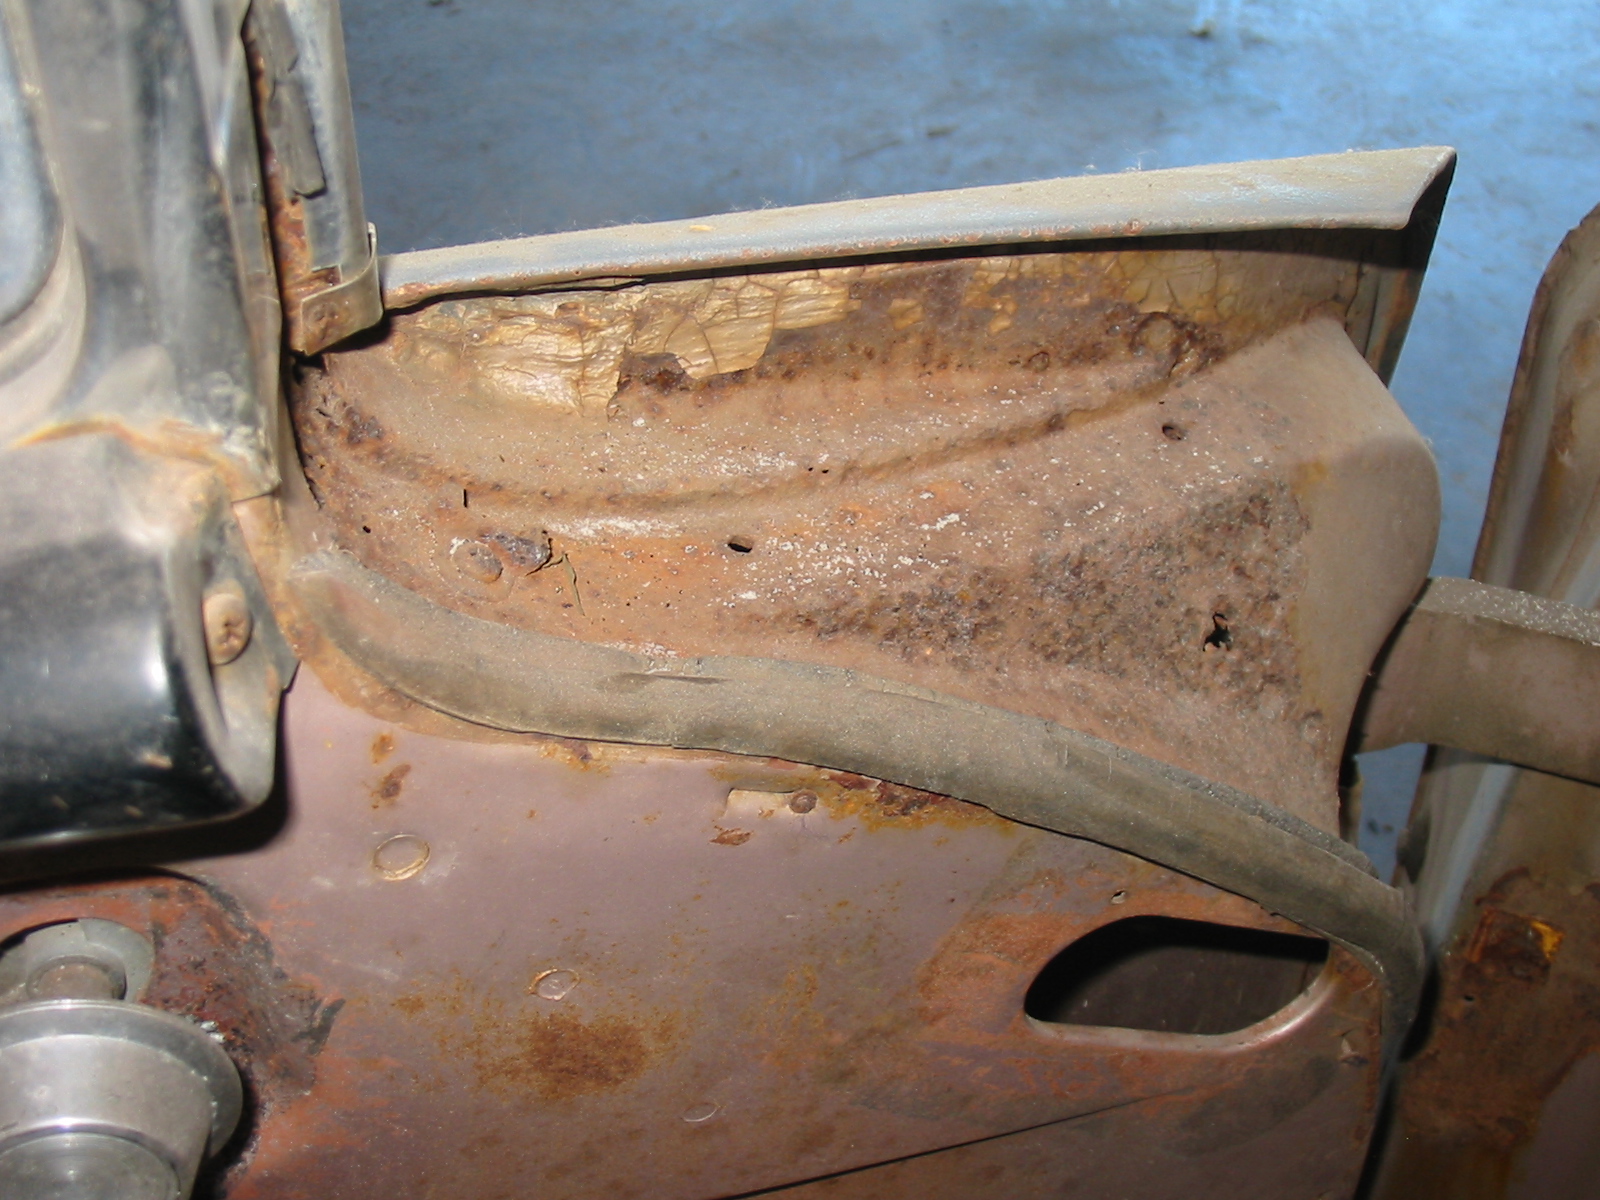
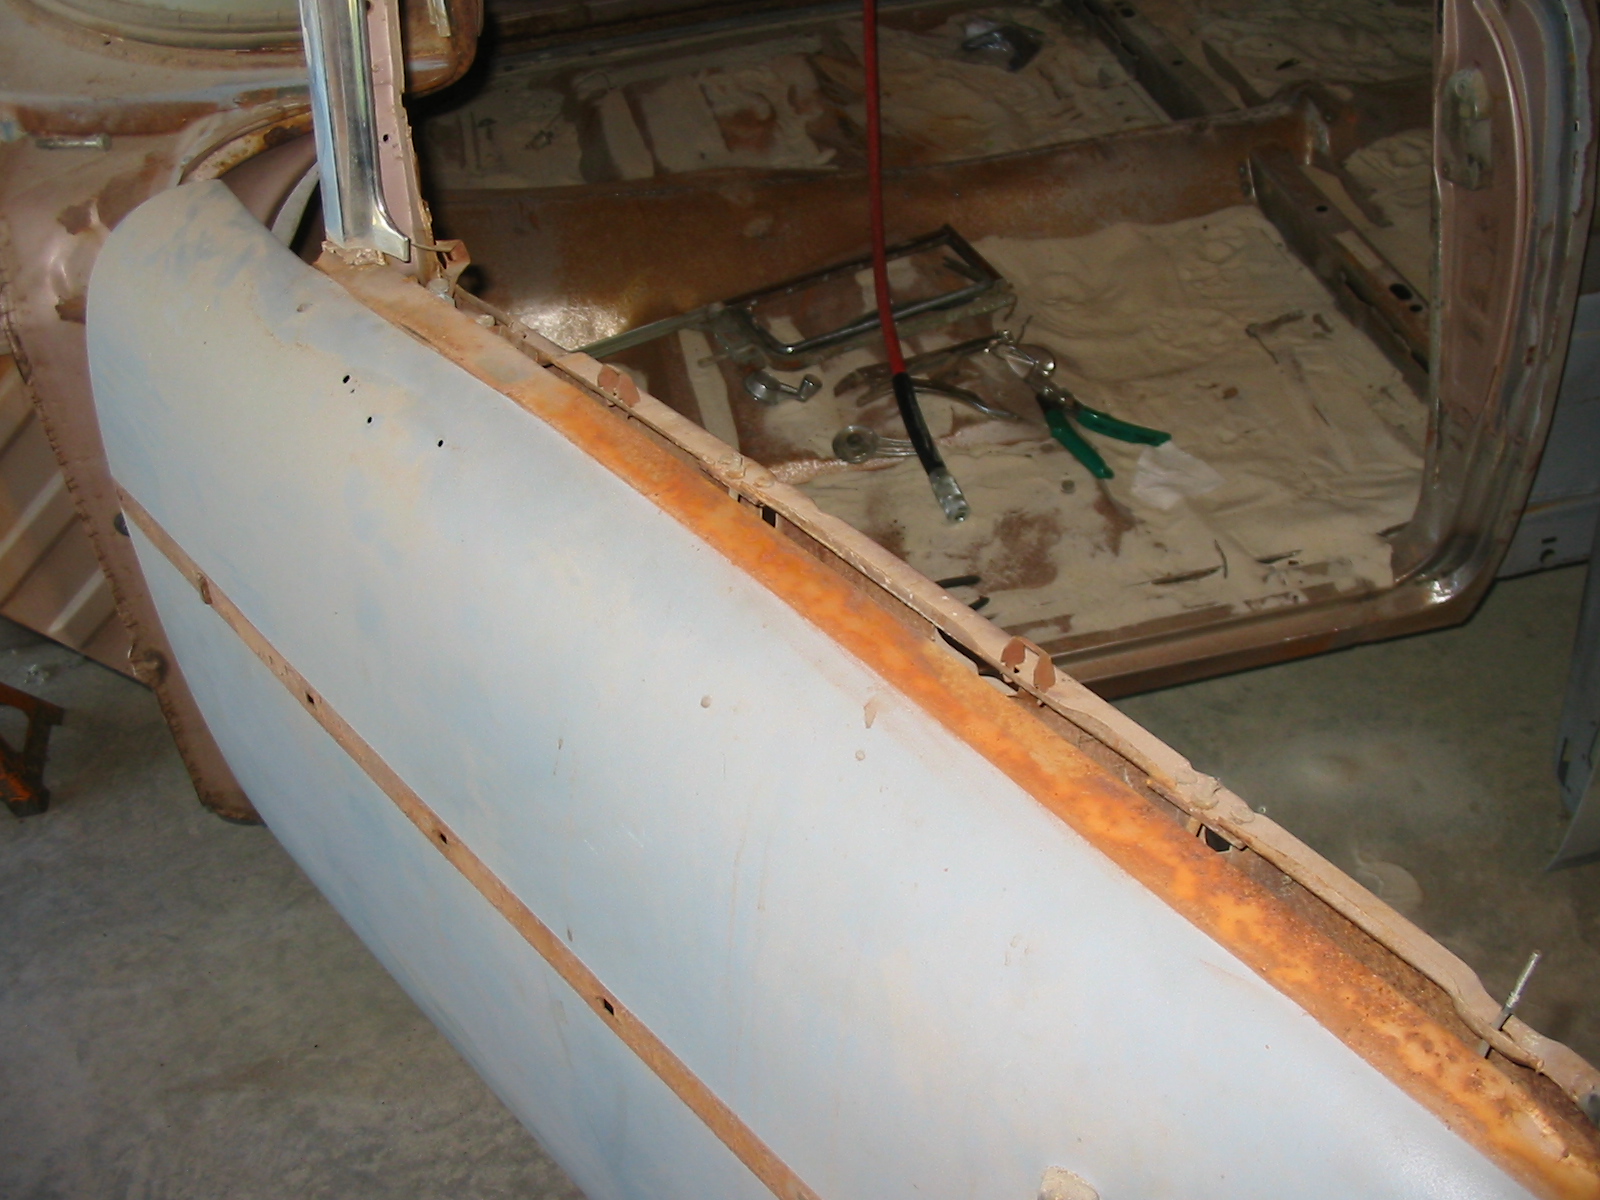
It's terribly rusted out at the upper front of the door, directly in front of the wing window. The lower portion of the door is surprisingly pretty good. I could have patched this and reskinned the door but I have had my fill of patching rust holes and opted for a new one instead.
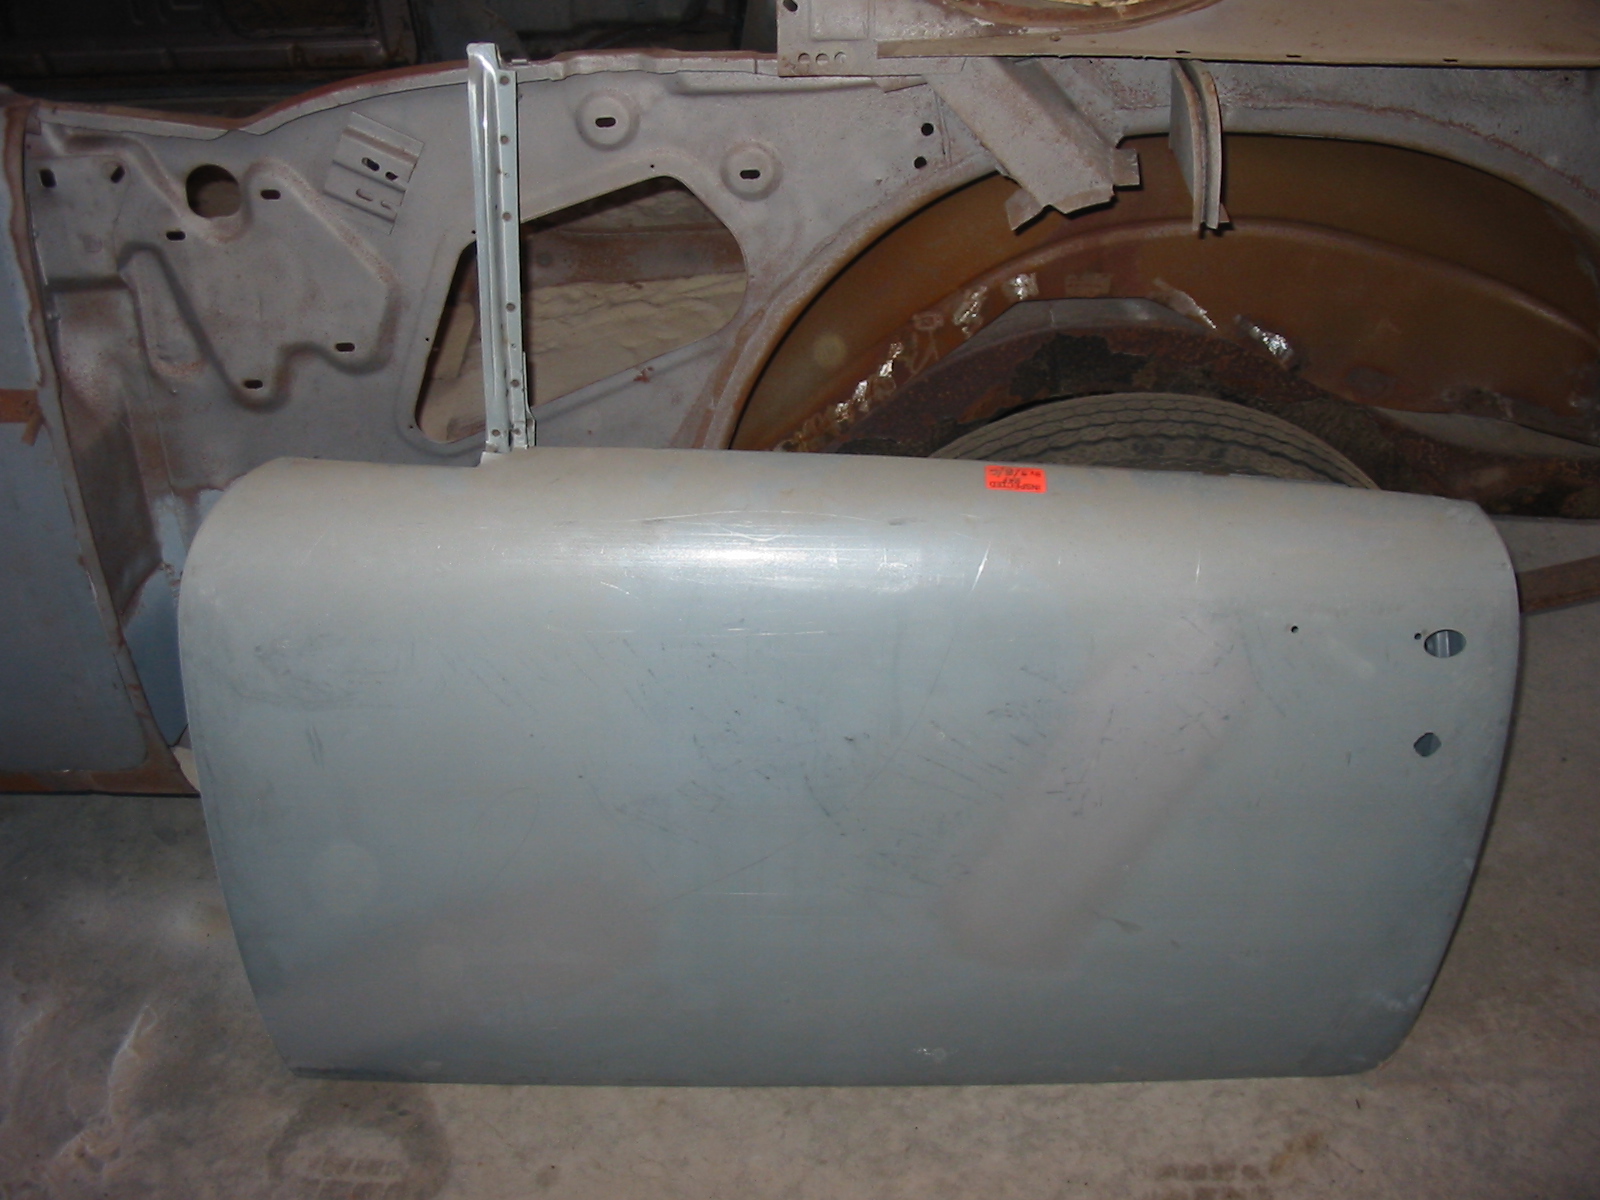
This door GOOD, get on the car!
I want to put many of the moldings and door latch on the new door to help align it with the firewall and new rear quarter. It seemed to me that it would be significantly easier to strip the old door while it was mounted to the body, than on the ground or workbench.
I'm going to remove the moldings in this order:
1. The stainless at the front of the wing window pillar.
2. The wing window itself.
3. The molding beneath the wing window.
4. The stainless that wraps around the pillar.
Looks easy enough.
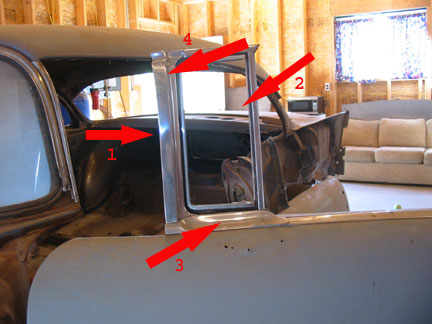
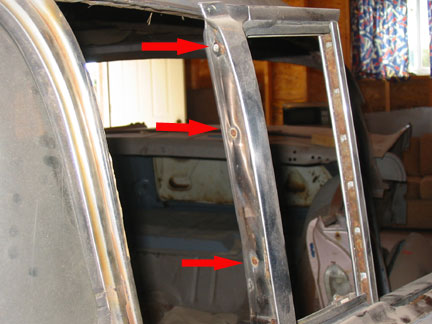
Three simple Phillips screws and one coming down from the top. This old girl must have really needed some attention as she cooperated completely and none of these screws that have been in for 54 years stripped or broke!
And it slid right off! This is too easy!
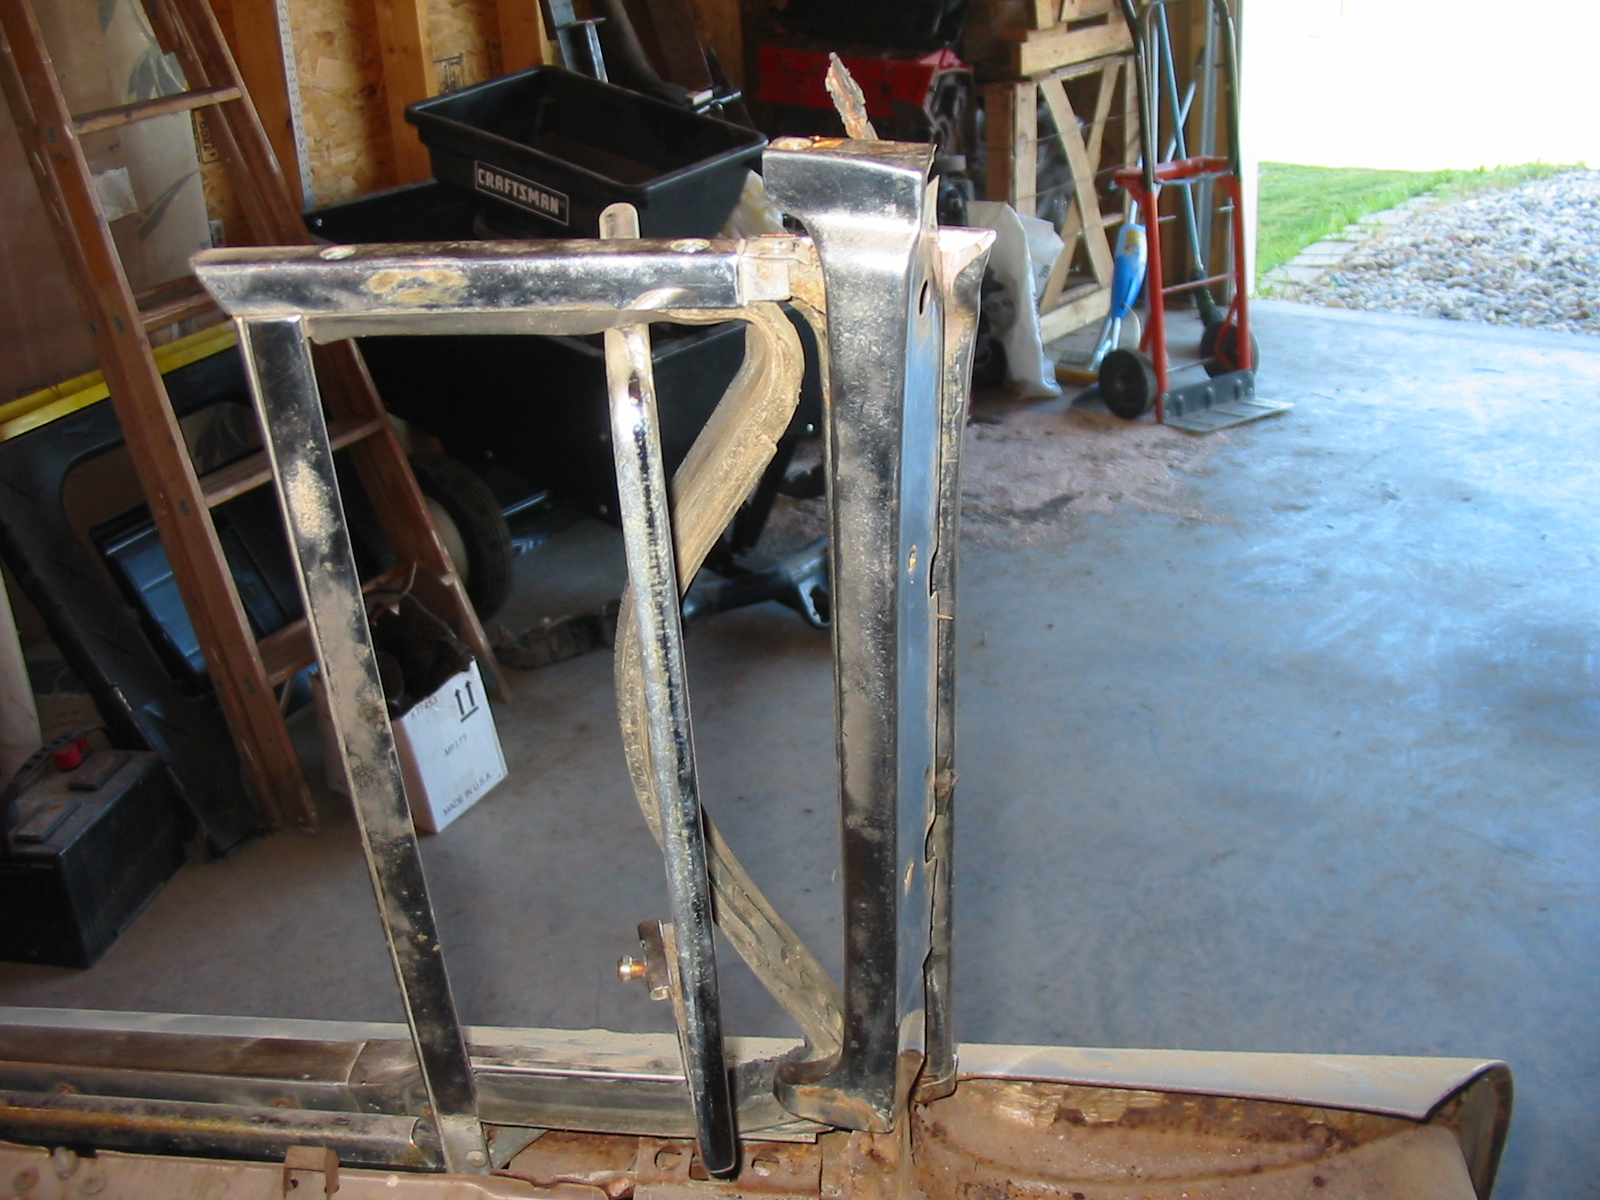
Next on the agenda is the wing window assembly itself, gotta get this out of the way to access the mounting screws for the other moldings.
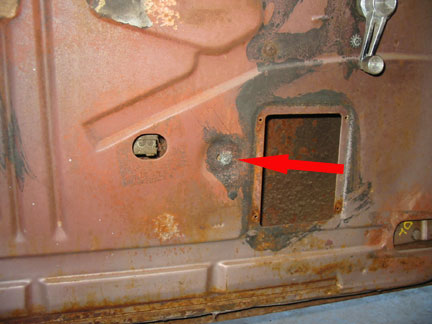
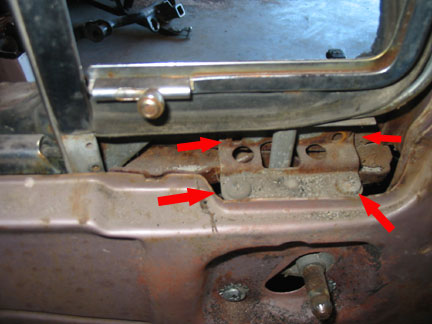
The wing window is held in by a stud with a nut and lock washer at the bottom (left picture) and four Phillips headed screws at the top.
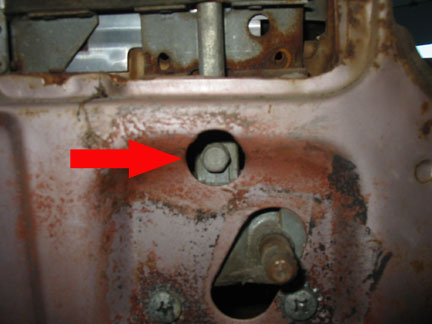
There is also a 7/16" bolt that connects the shaft for the window to the window regulator. This was also removed and carefully kicked across the floor to keep me busy for several minutes on the hunt for it.
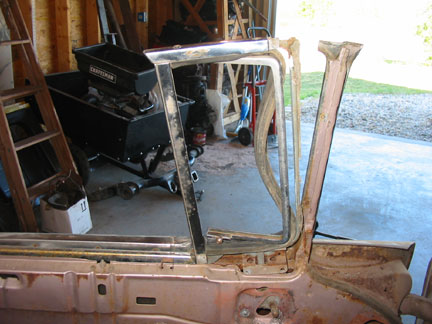
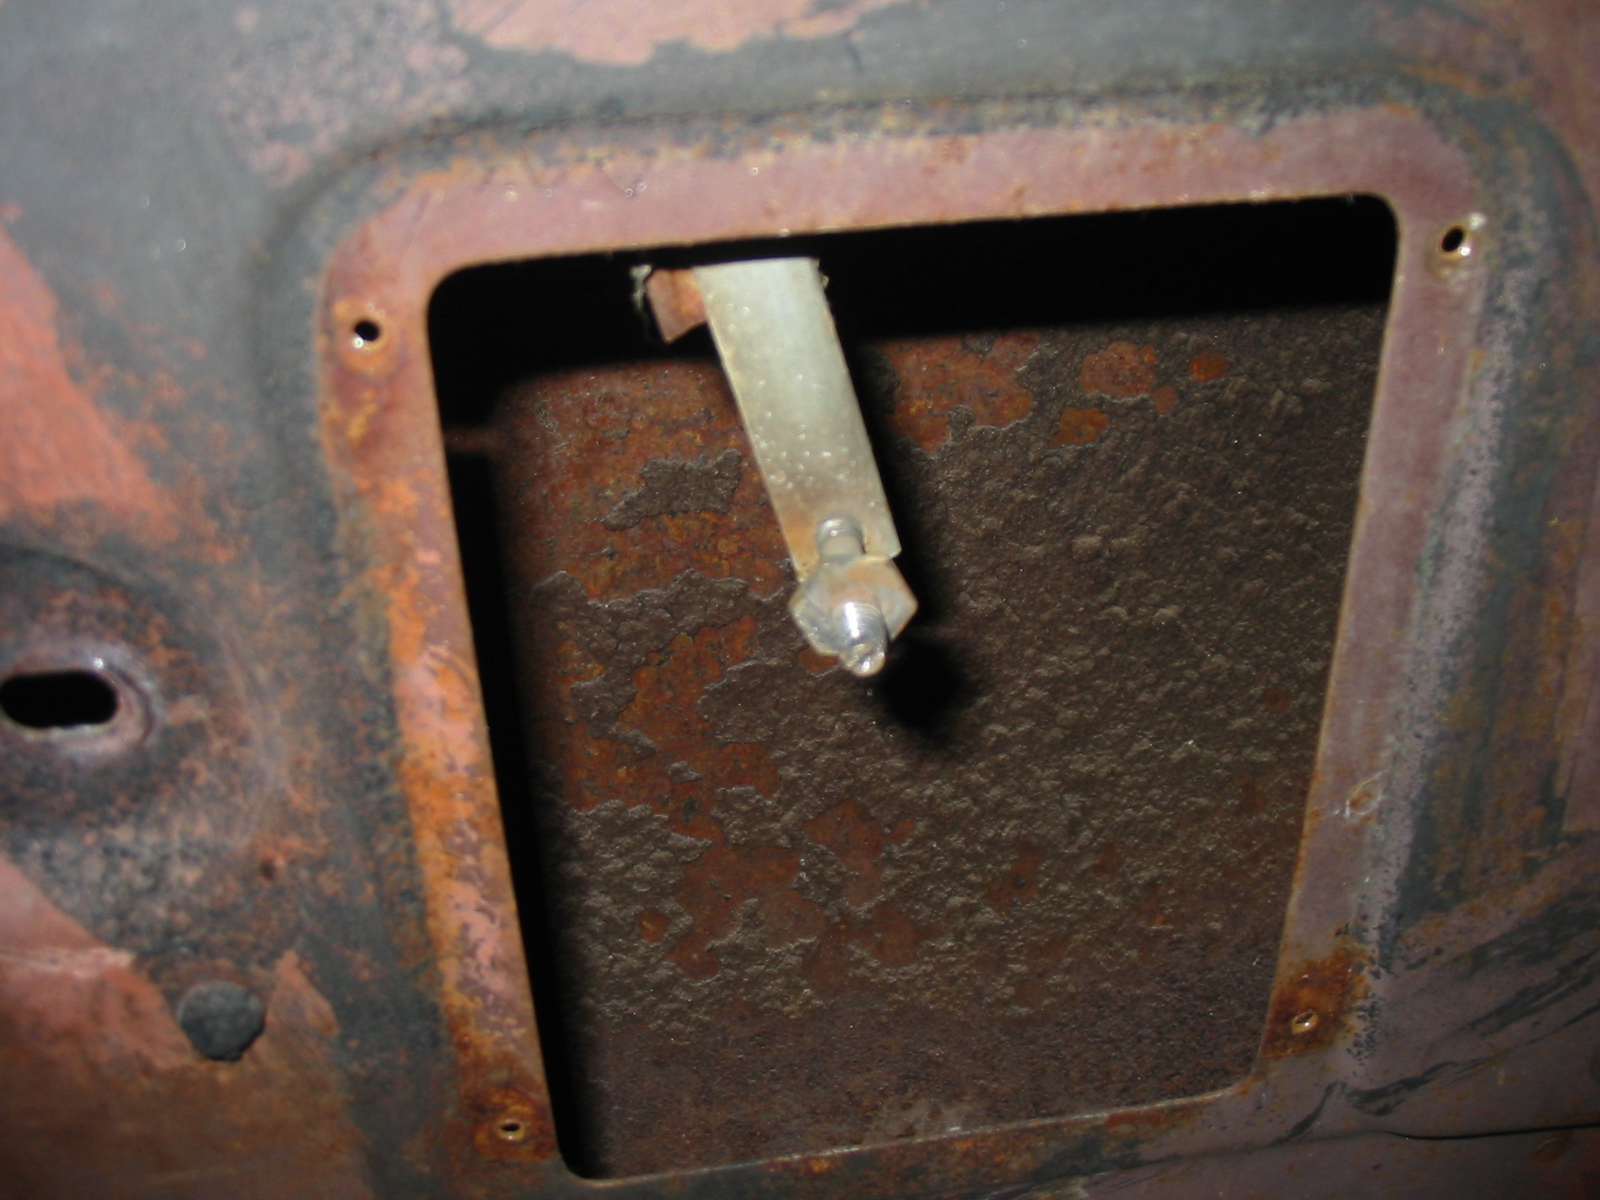
Tilt the window and frame back, remove the stud from the lower brace to clear through the window opening and it's out!
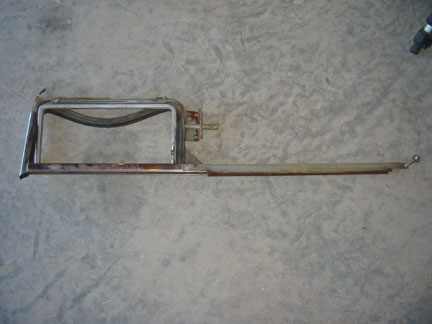
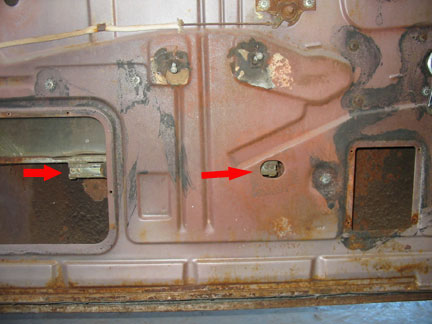
The window has to come out next to allow me access to the screws for the molding below the wing window and the molding that runs across the top of the door. There are four screws holding the window to the lower channel. They also unscrewed way too easily.
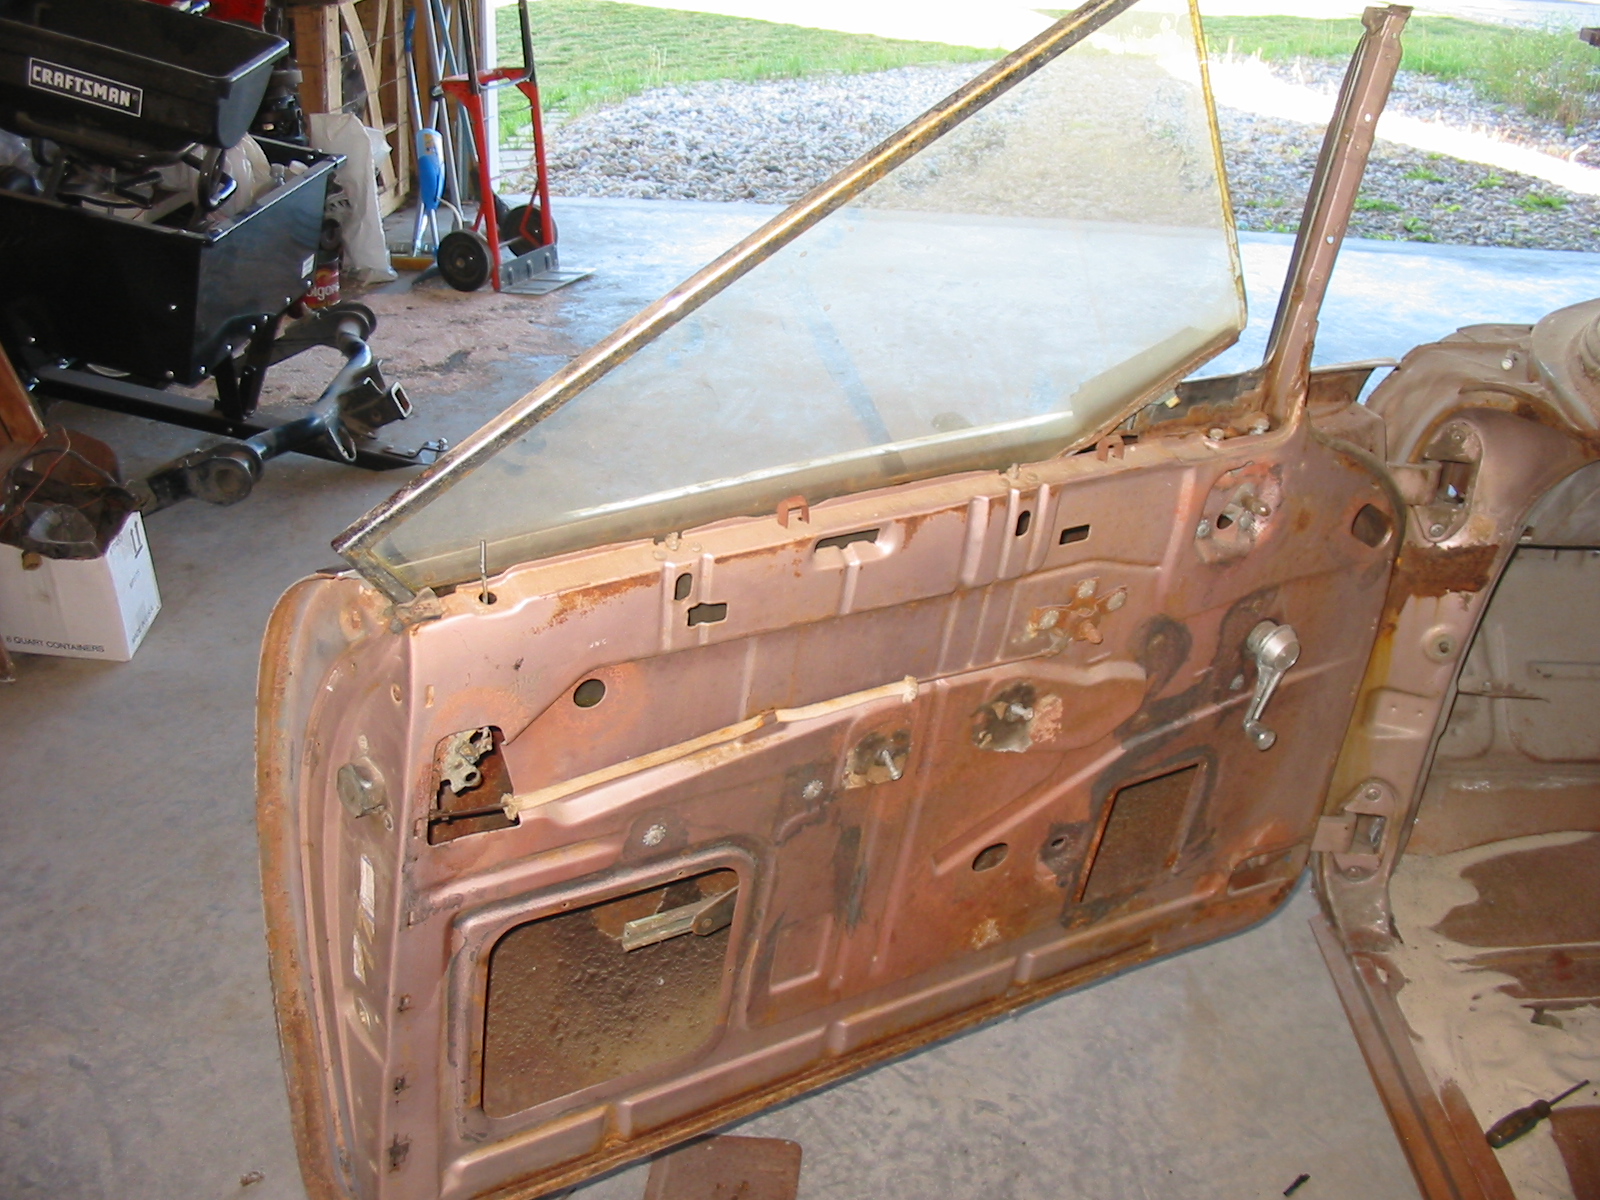
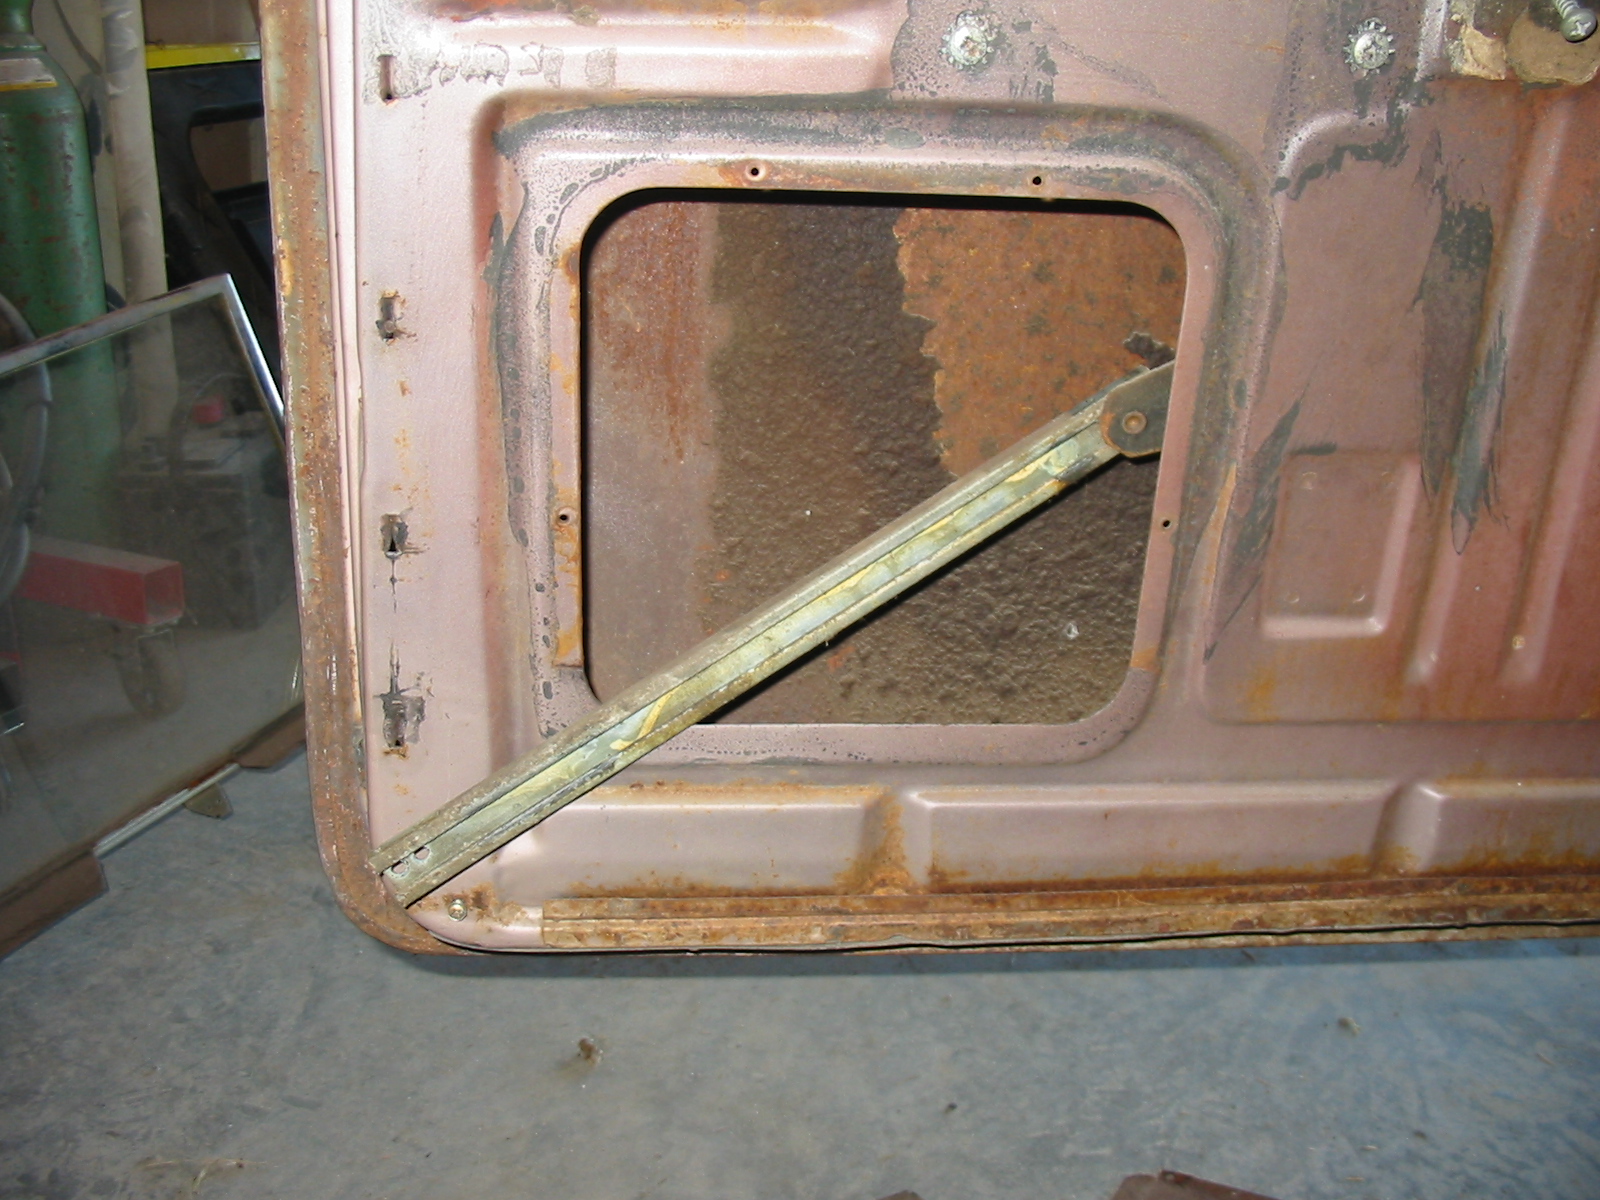
The window is rotated and lifted out of the door, and then I removed the lower window track.
Two screws holding the molding beneath the wing window and it's free.
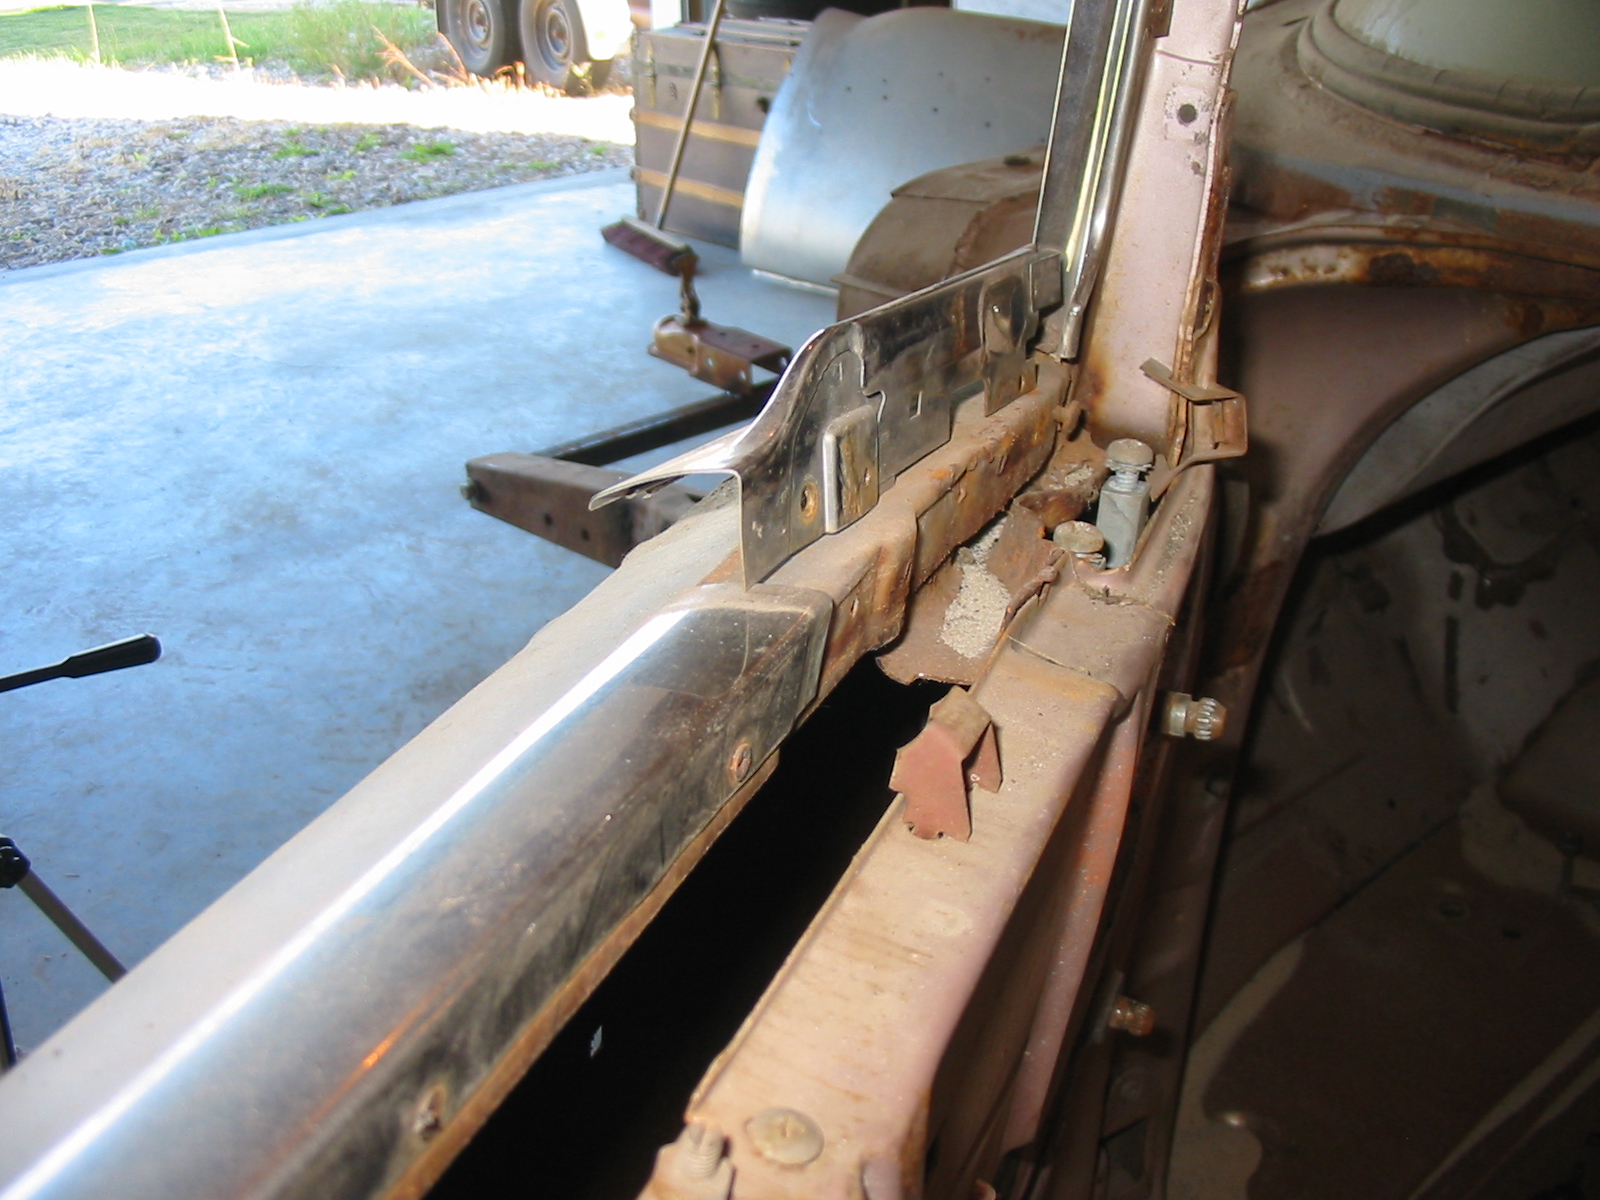
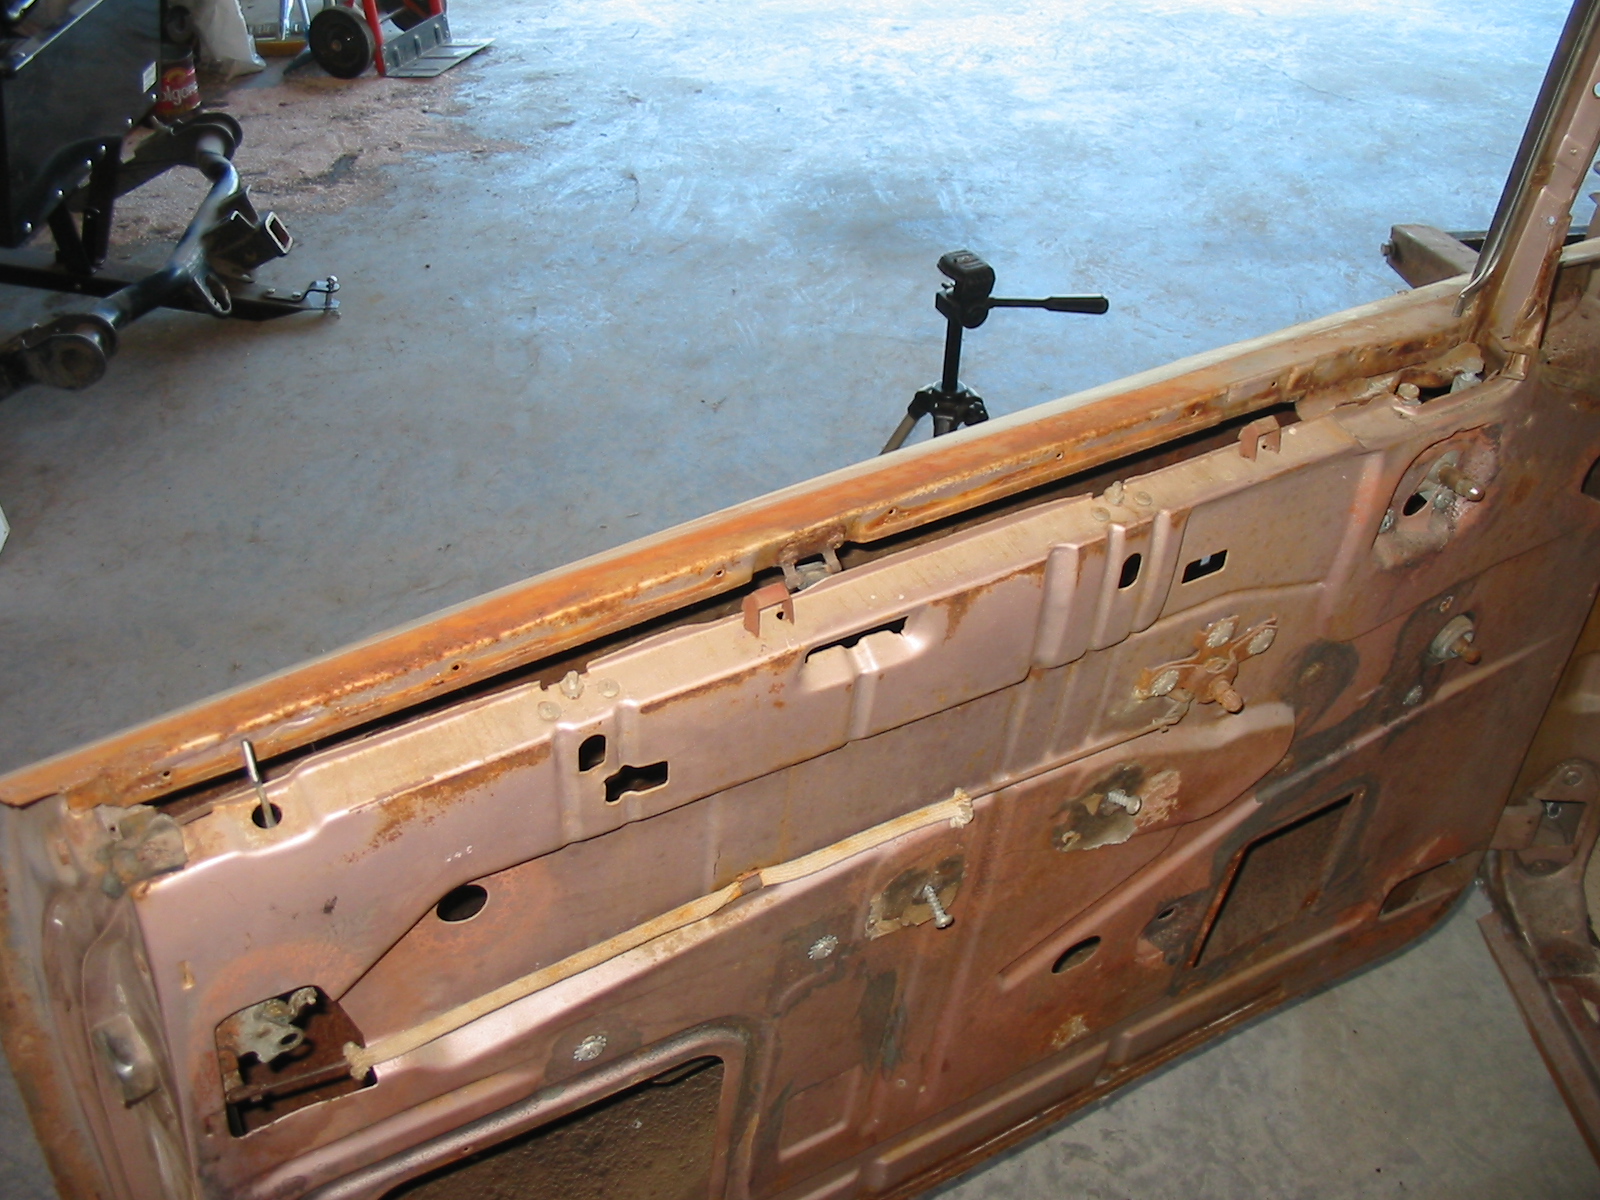
A few more screws and the long piece across the top of the door came loose. These moldings are in terrific condition and should only require buffing to bring them back to like new condition.

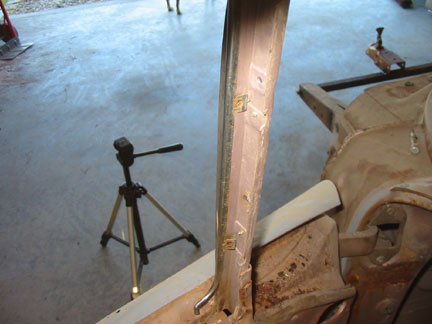
This piece really perplexed me at first. Two screws retained it on the rear side and it simply wrapped around the front. Because of the contour it couldn't be slid up and over the pillar. What to do?
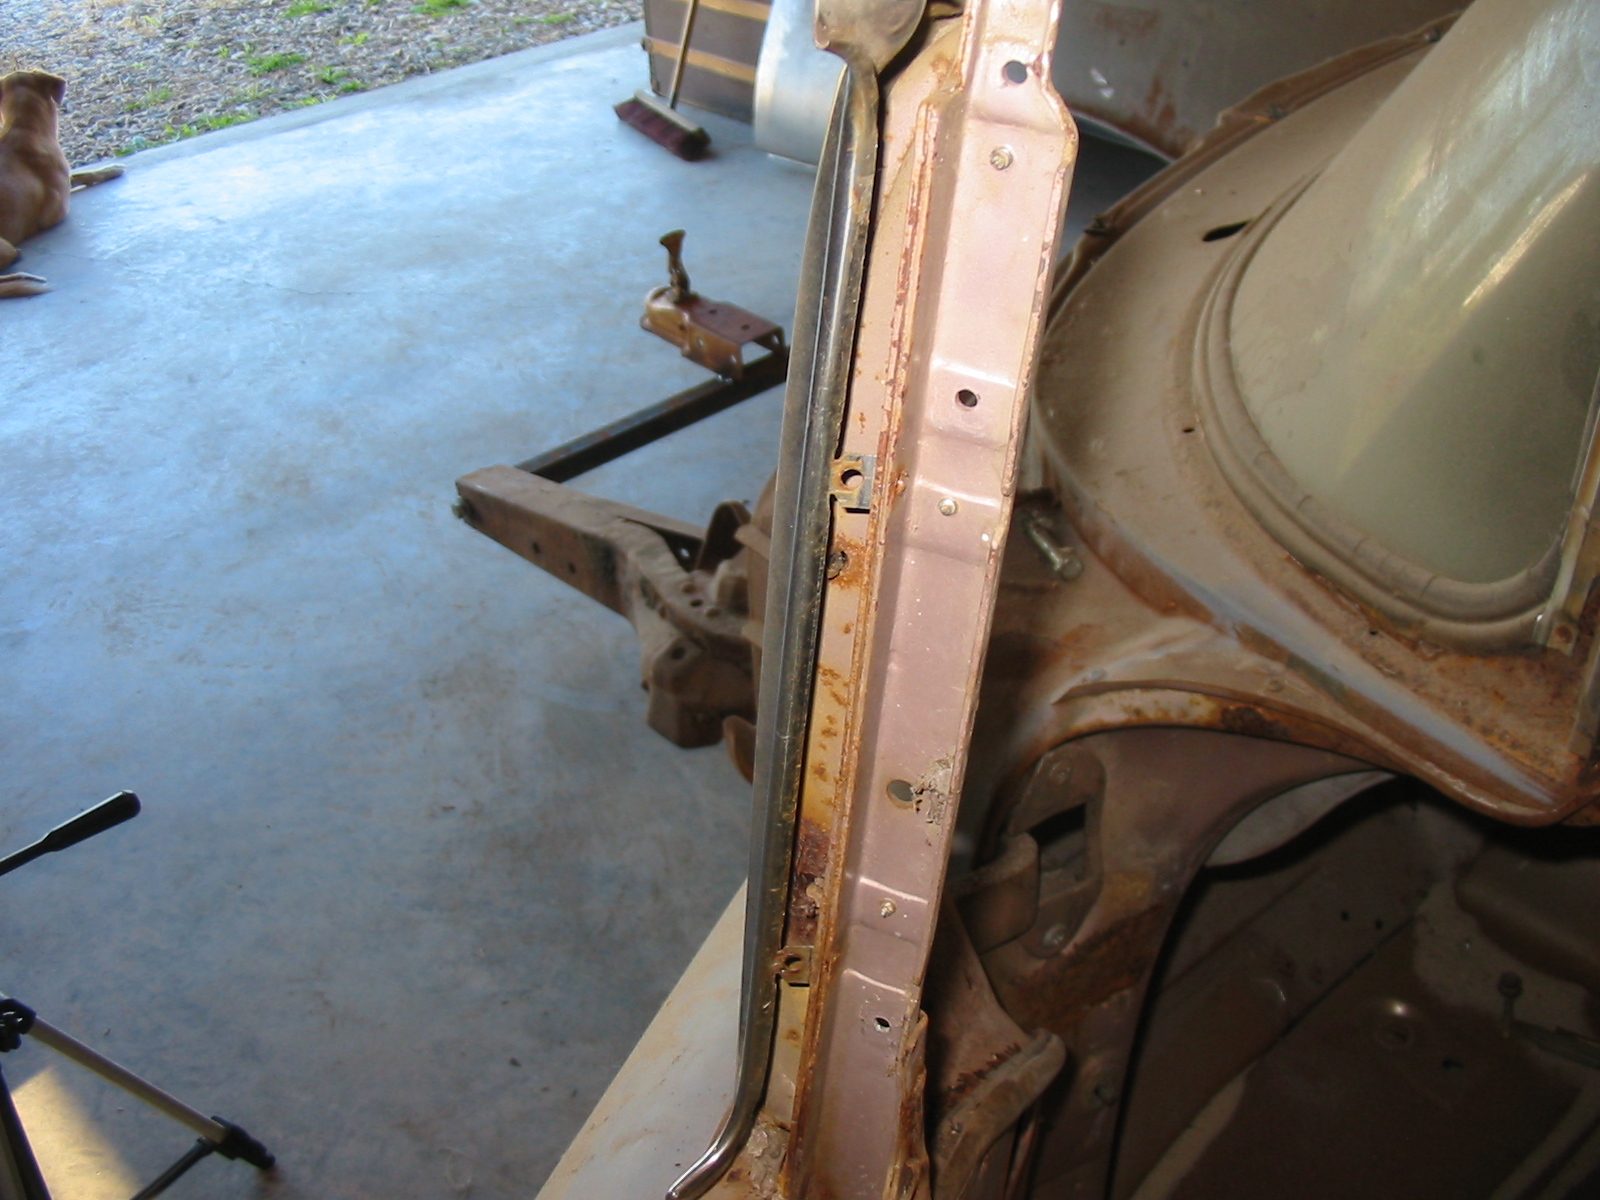
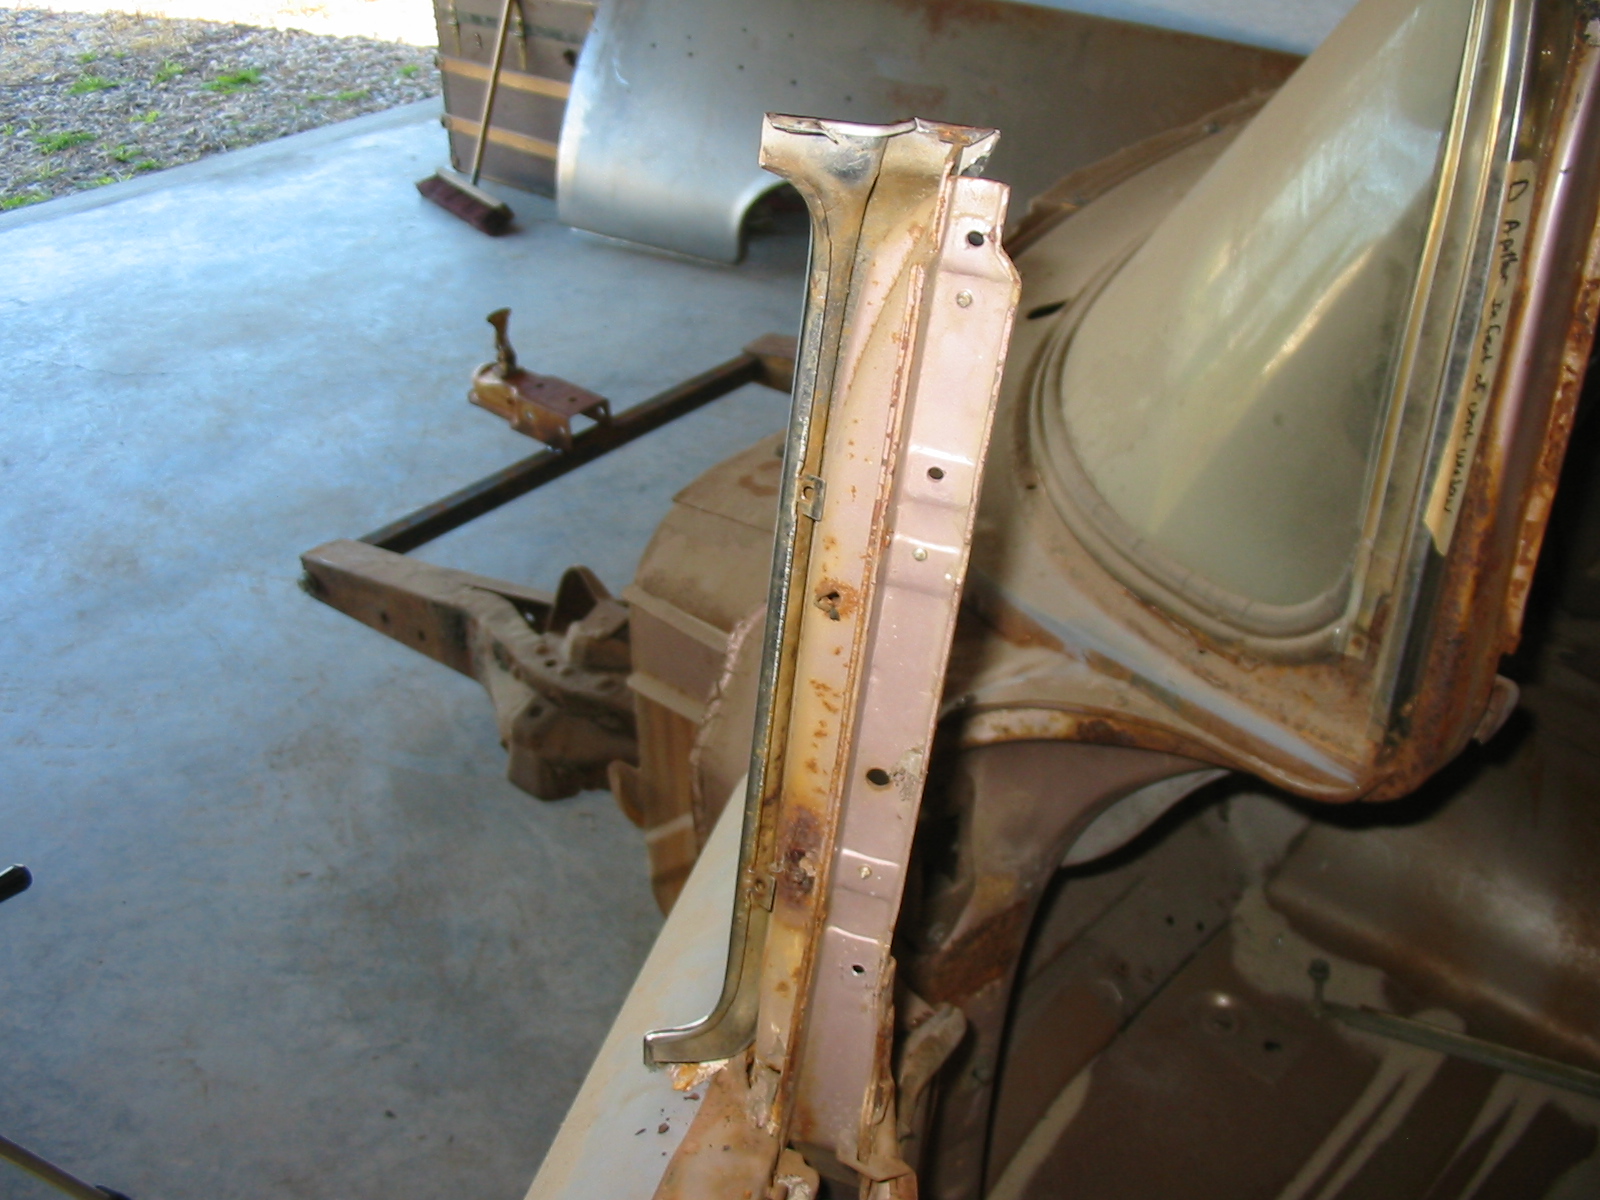
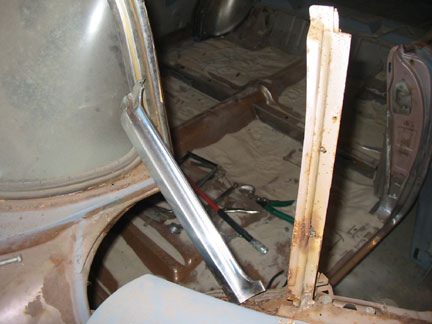
I found that I basically had to "unwrap" it from the pillar. I was pretty uncomfortable doing this as the piece is pristine. It all worked out ok in the end.
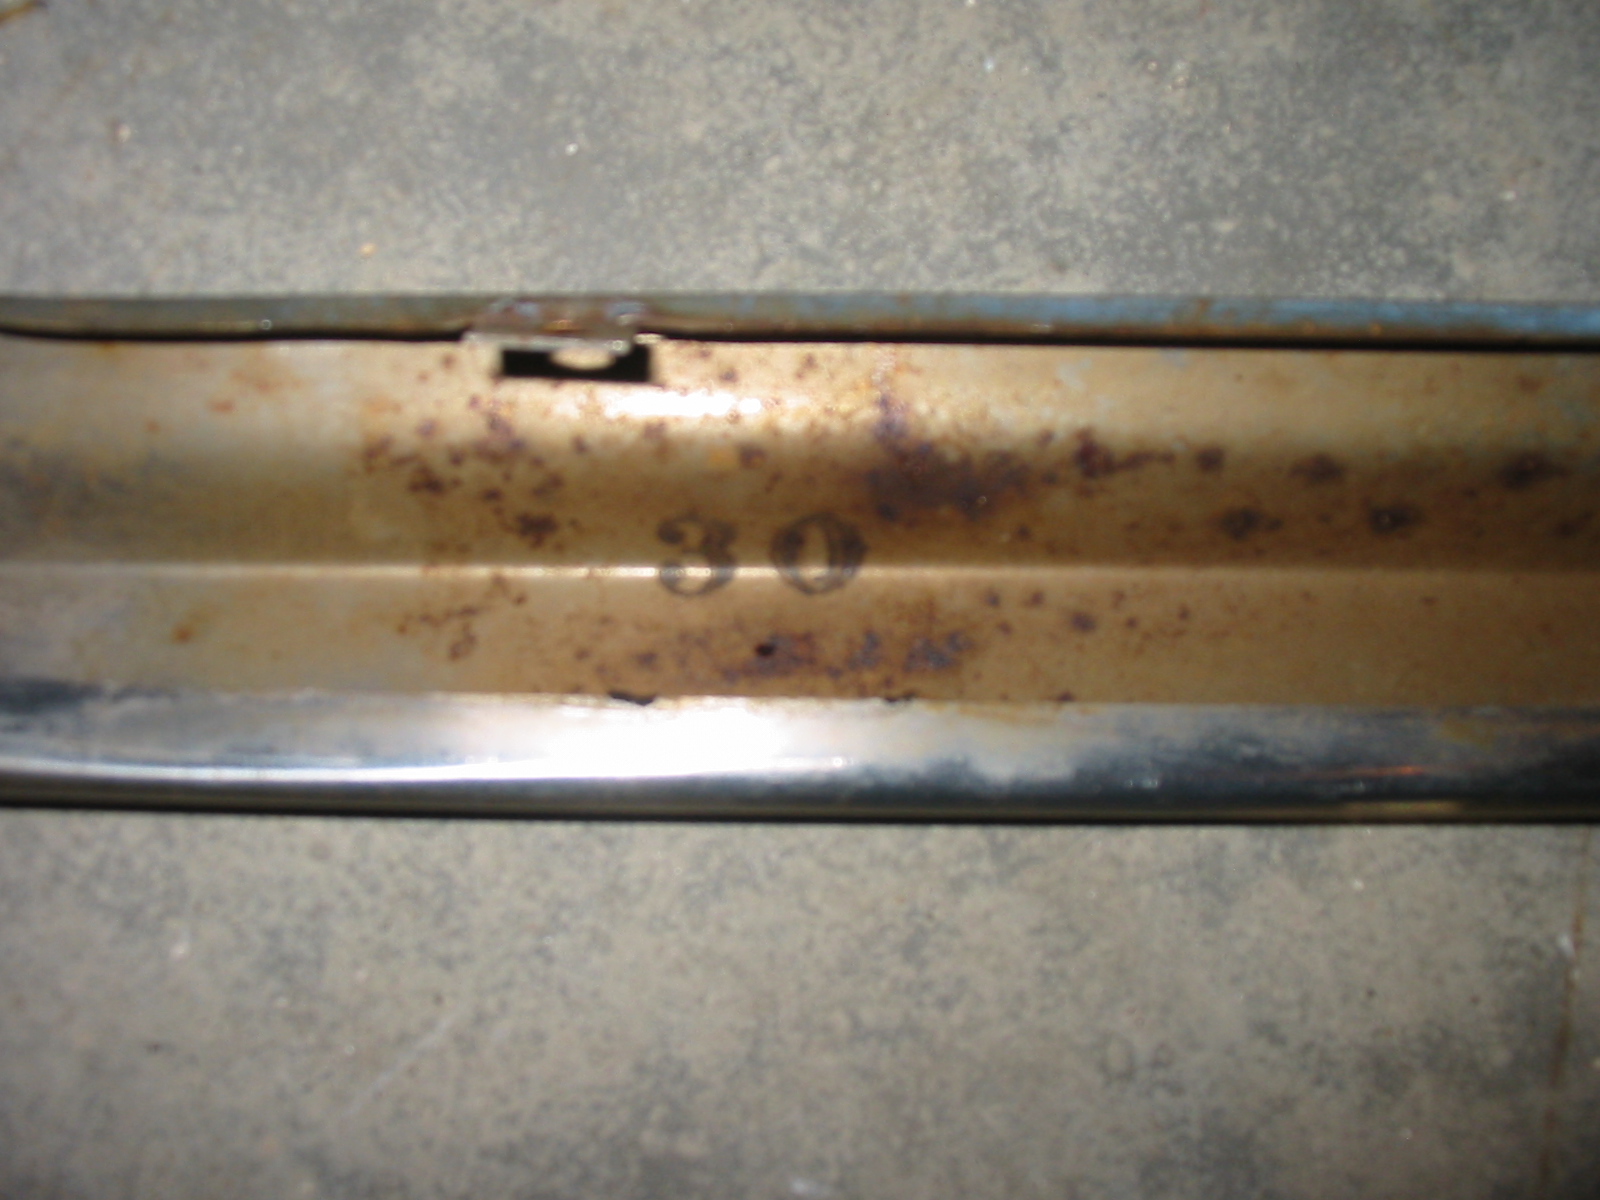
I thought this was kinda cool there was a 30 stamped on the inside. I have no idea what it means. If anyone knows I would love to hear from you.
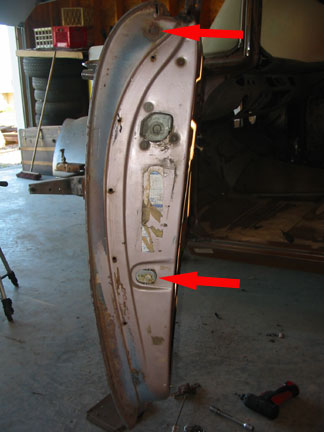
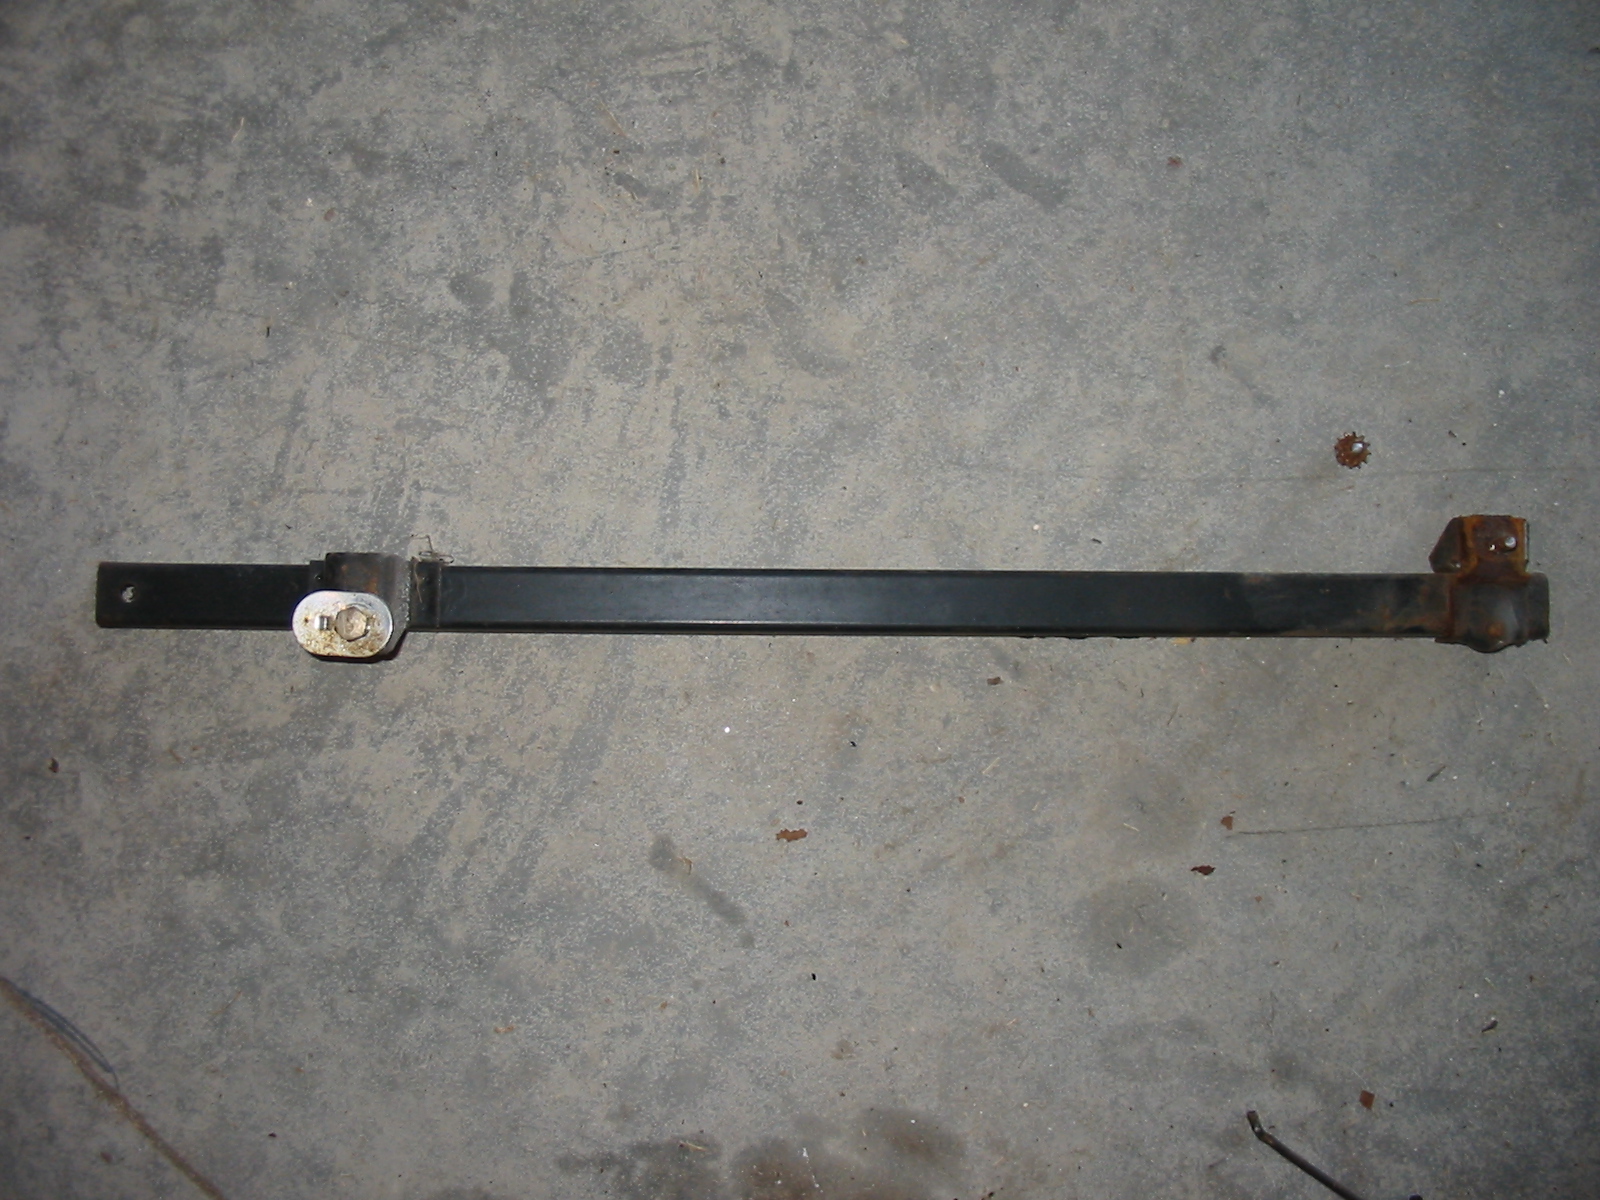
I also want to remove the latch and transfer it to the new door temporarily. I needed to remove the rear window channel. Two bolts and it's outa the way.
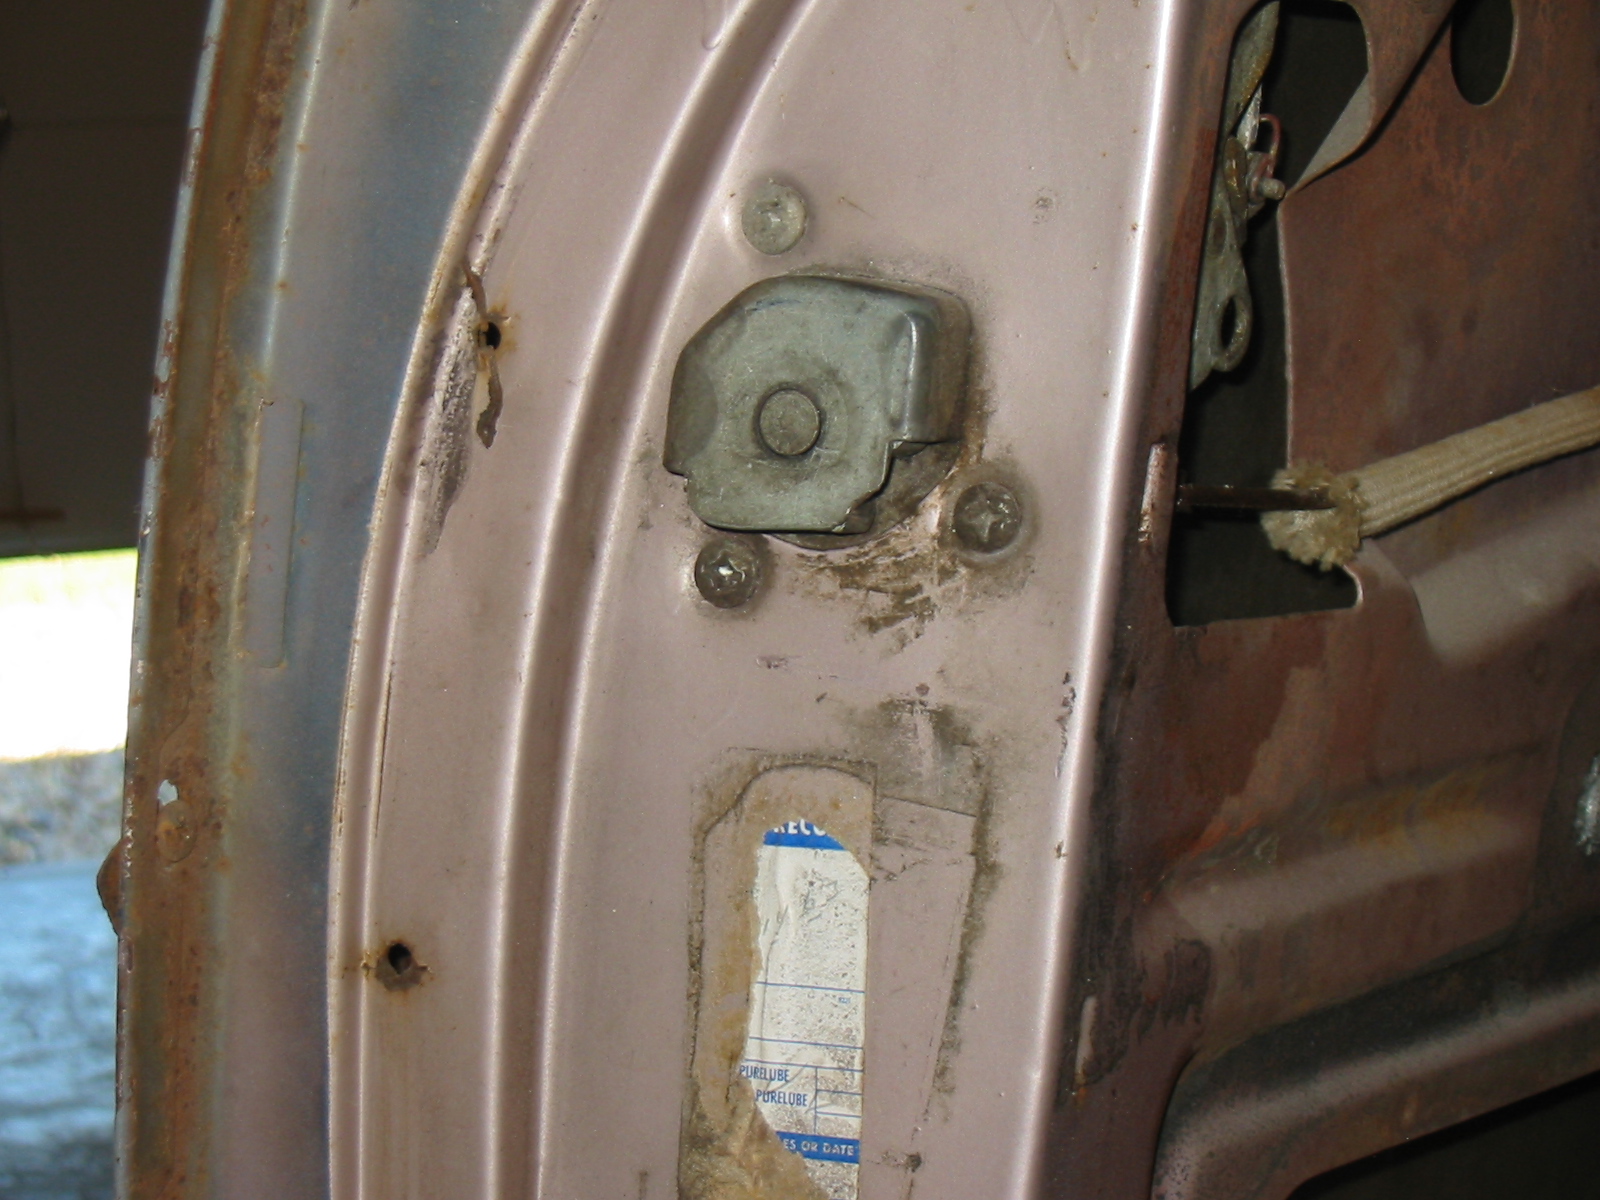
Four screws on the latch.....
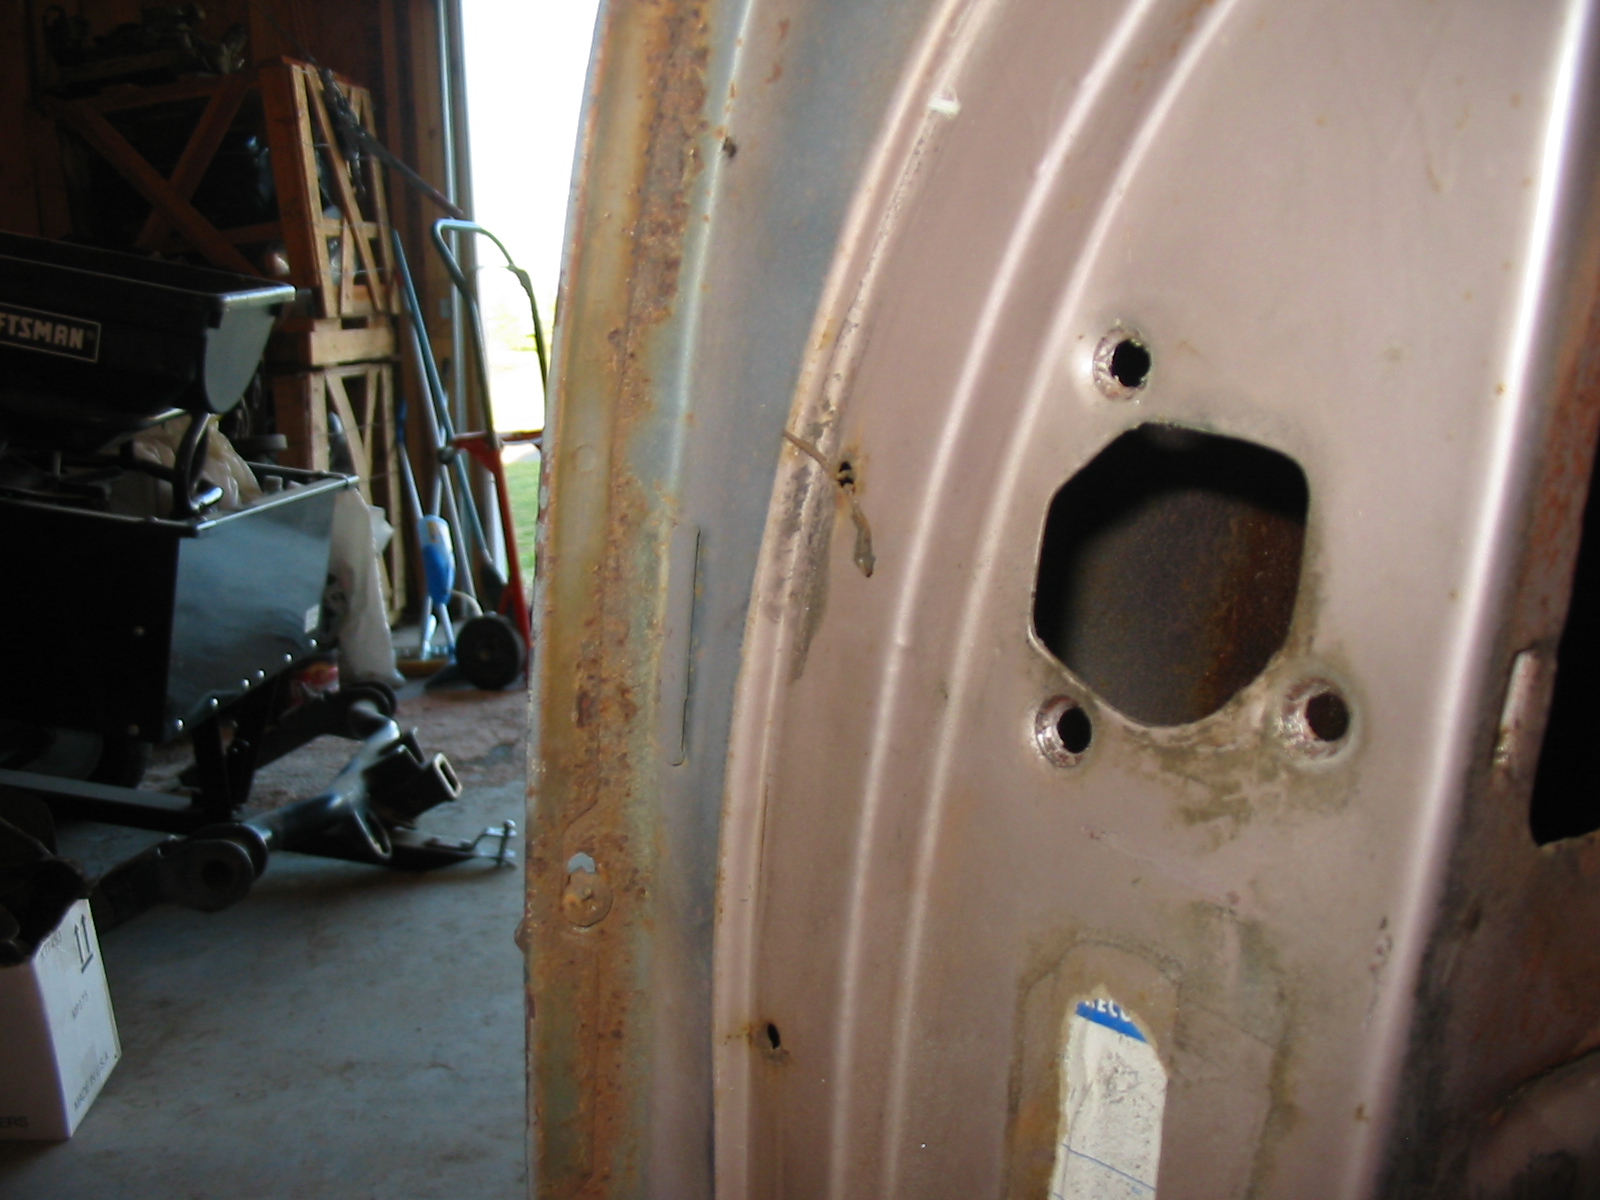
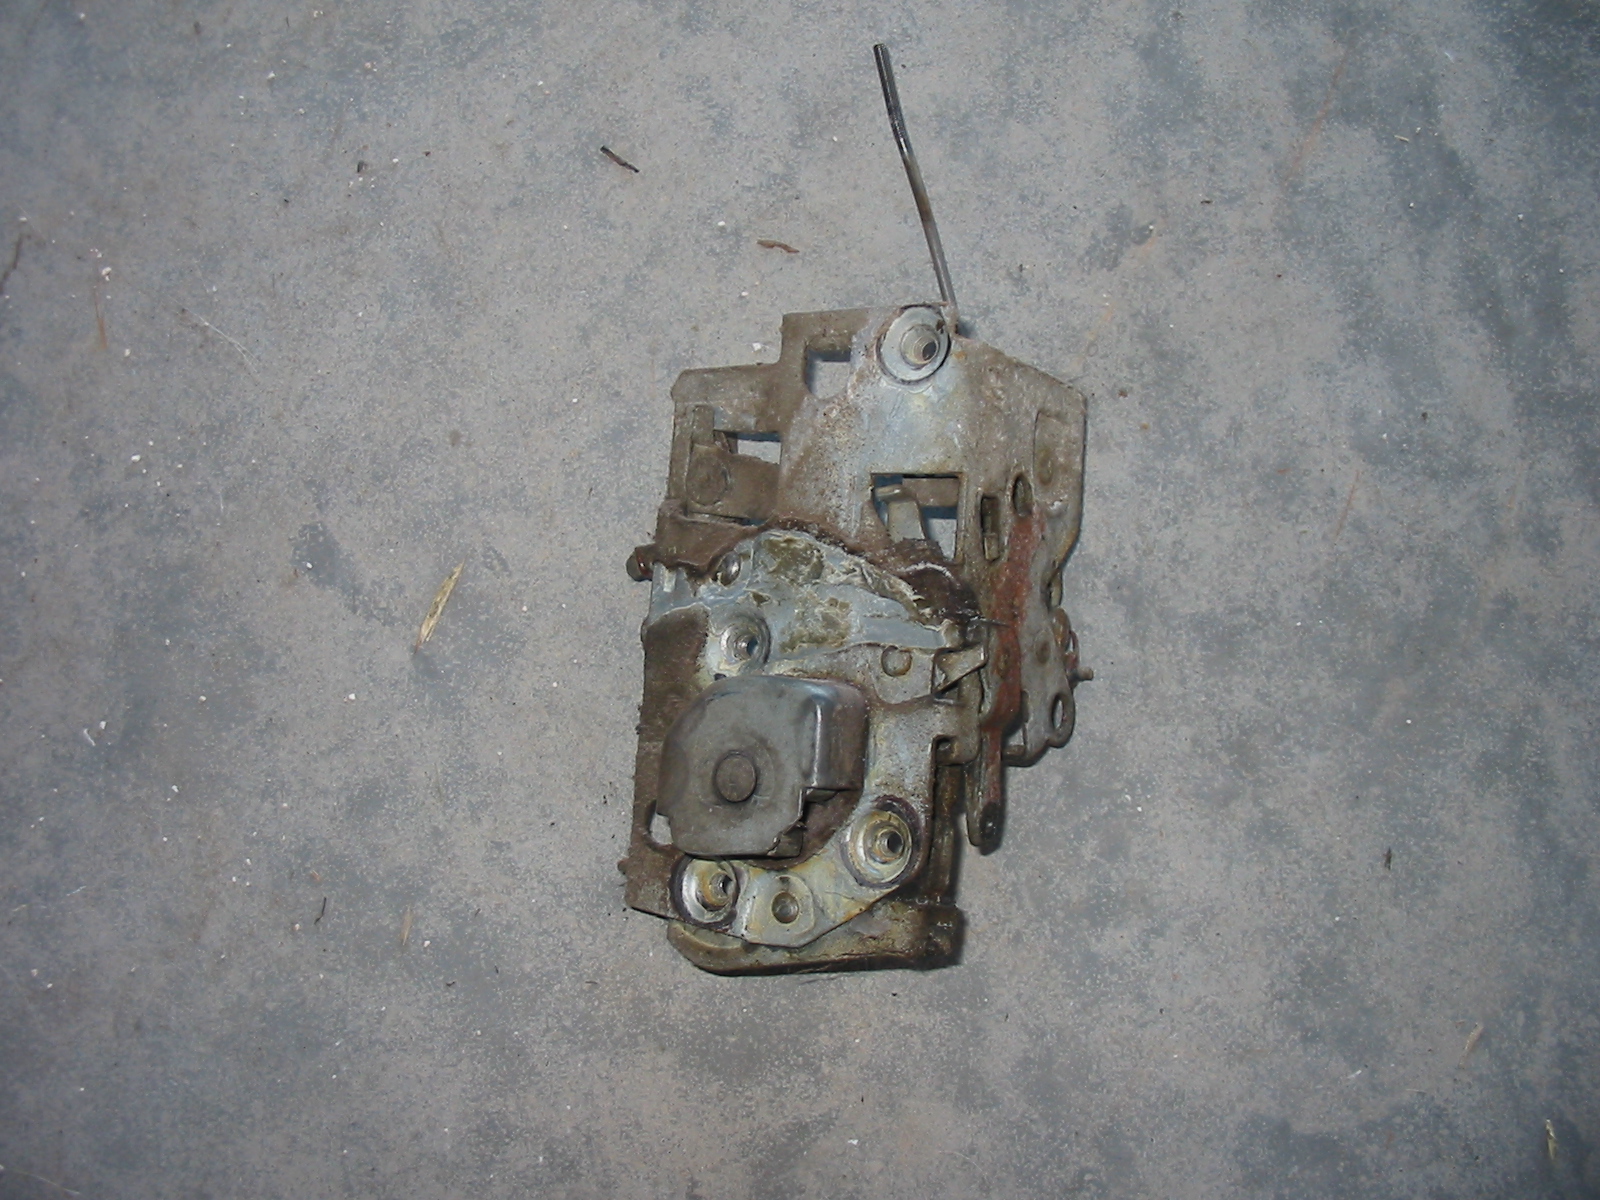
And it's laying on the floor. Ready for it's new home after a little TLC.
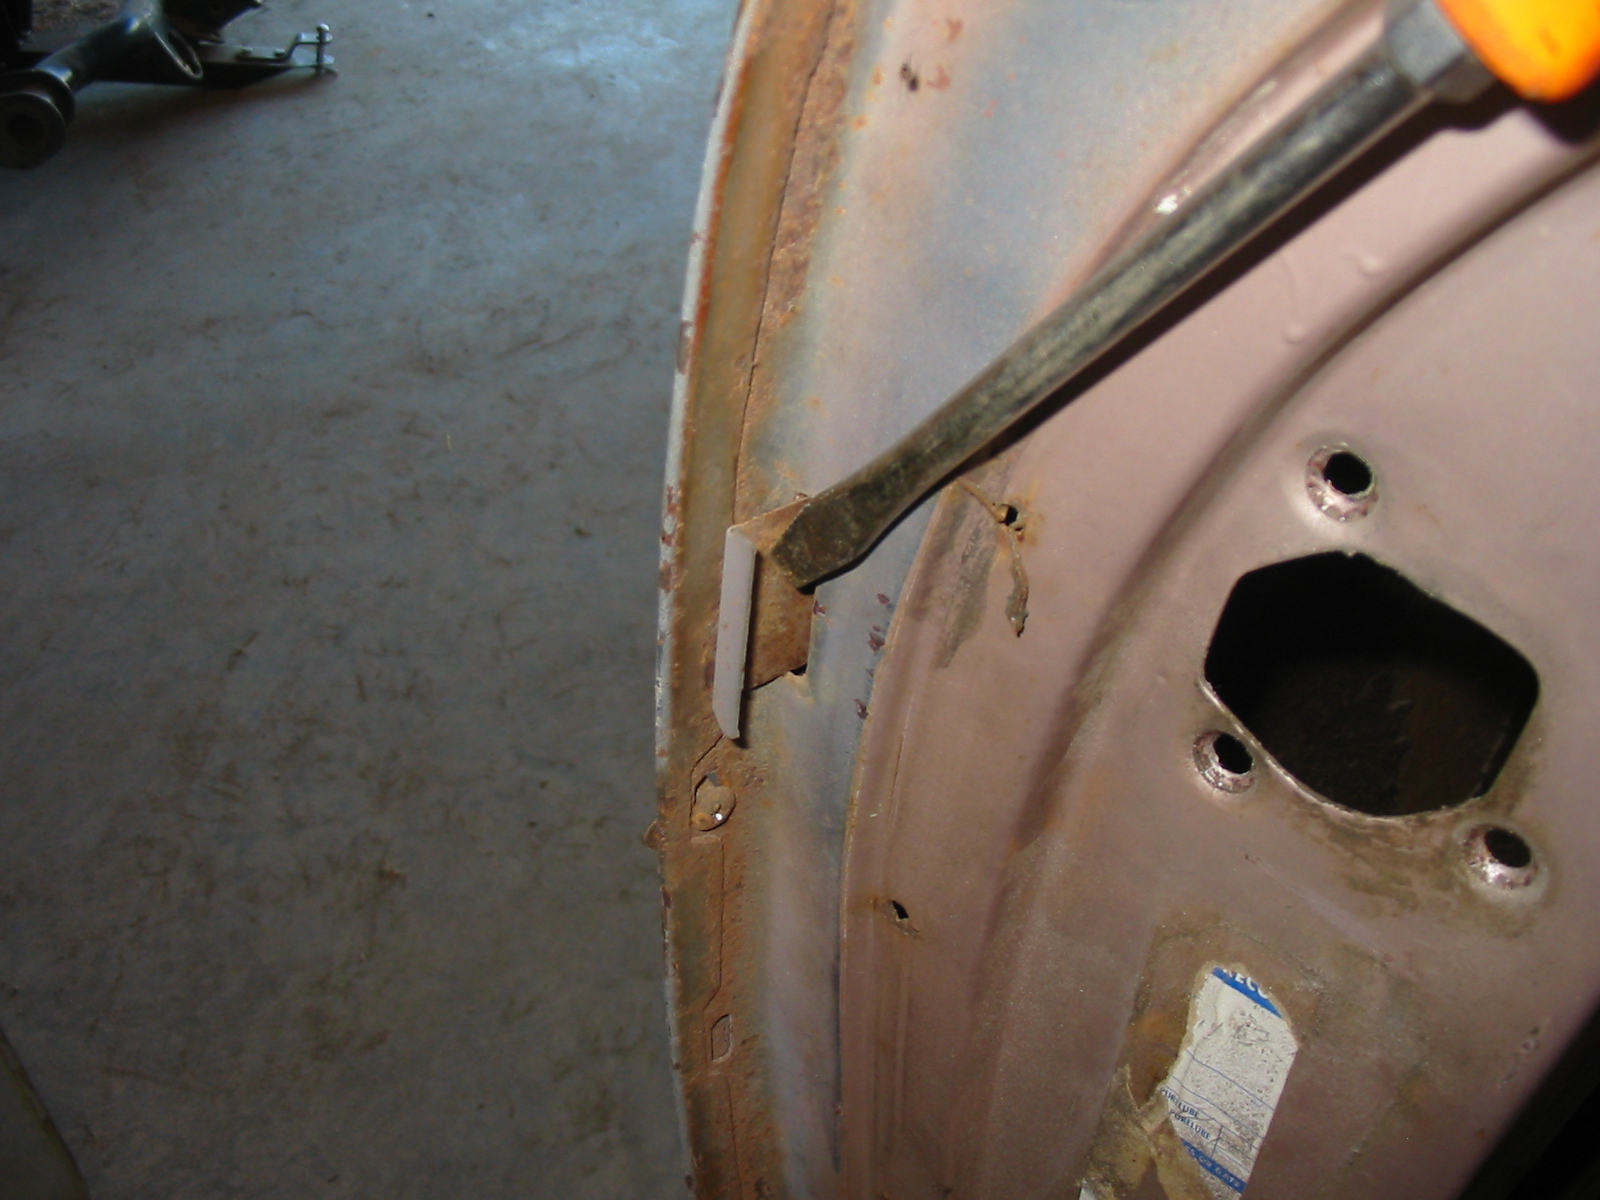
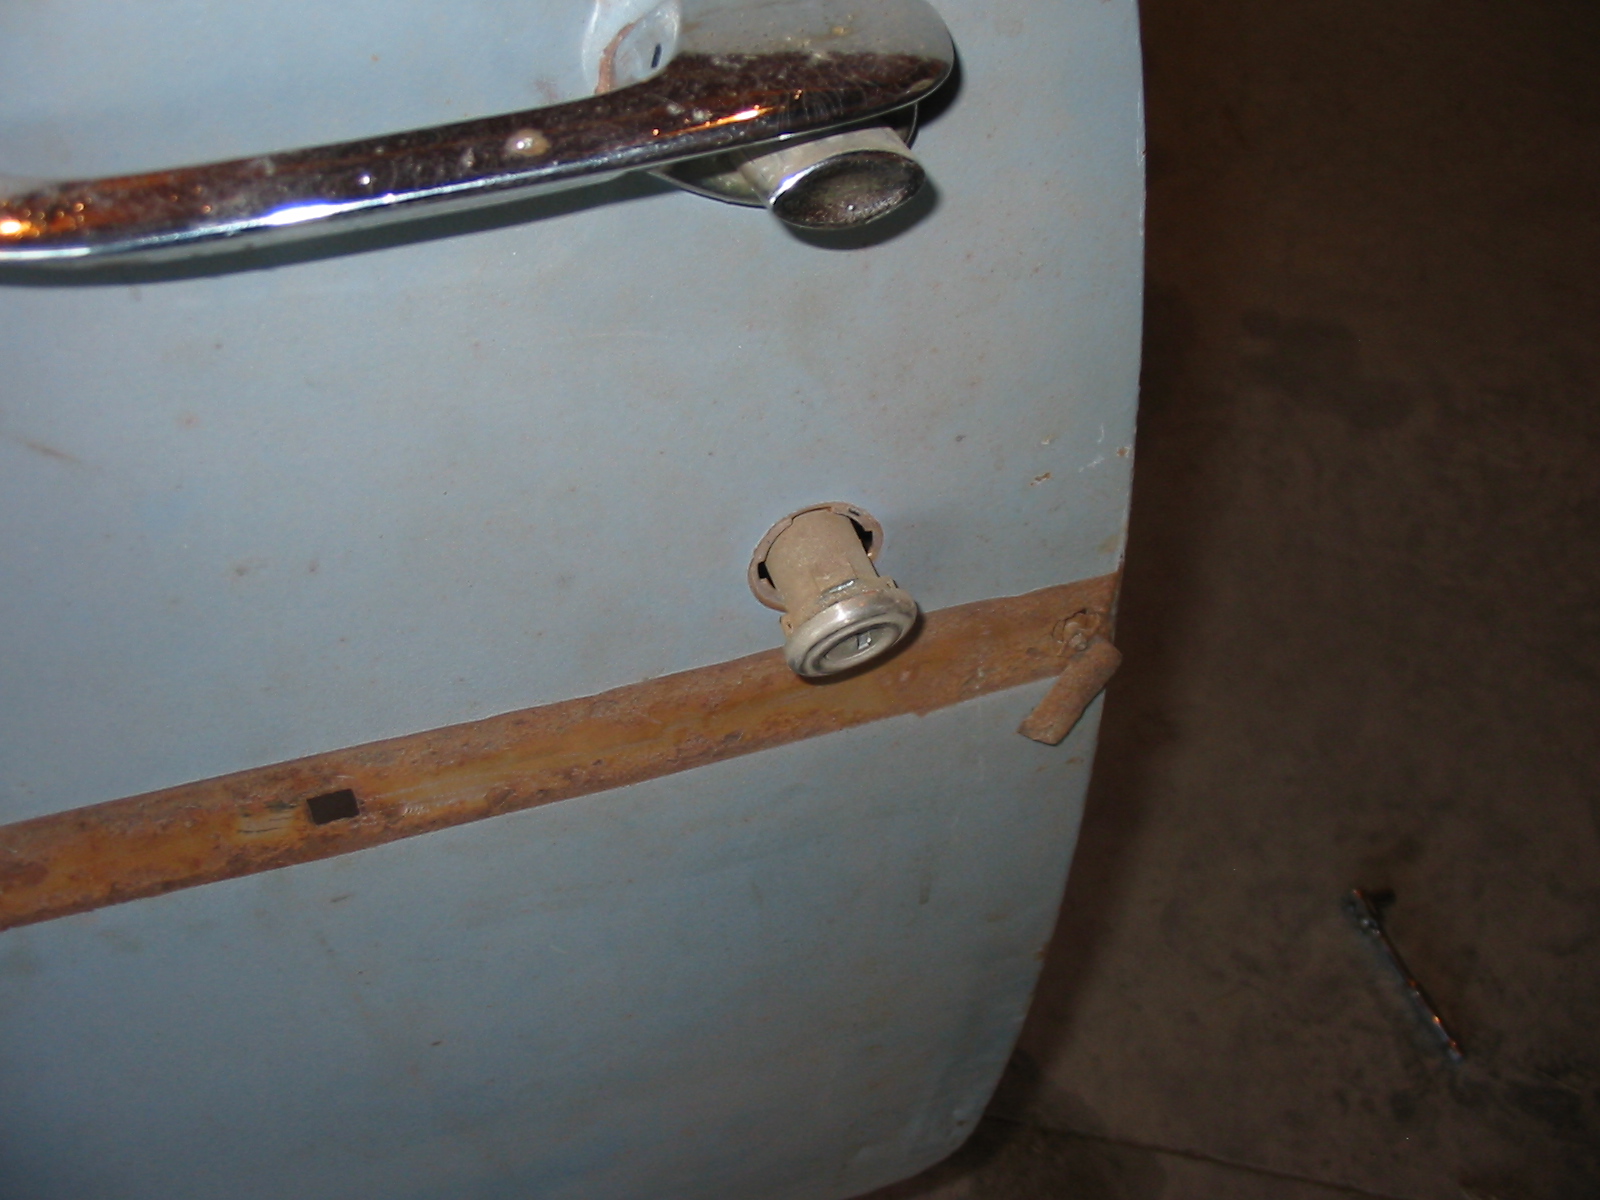
A twist of a screwdriver on the door lock retainer and poof! it's falling out.
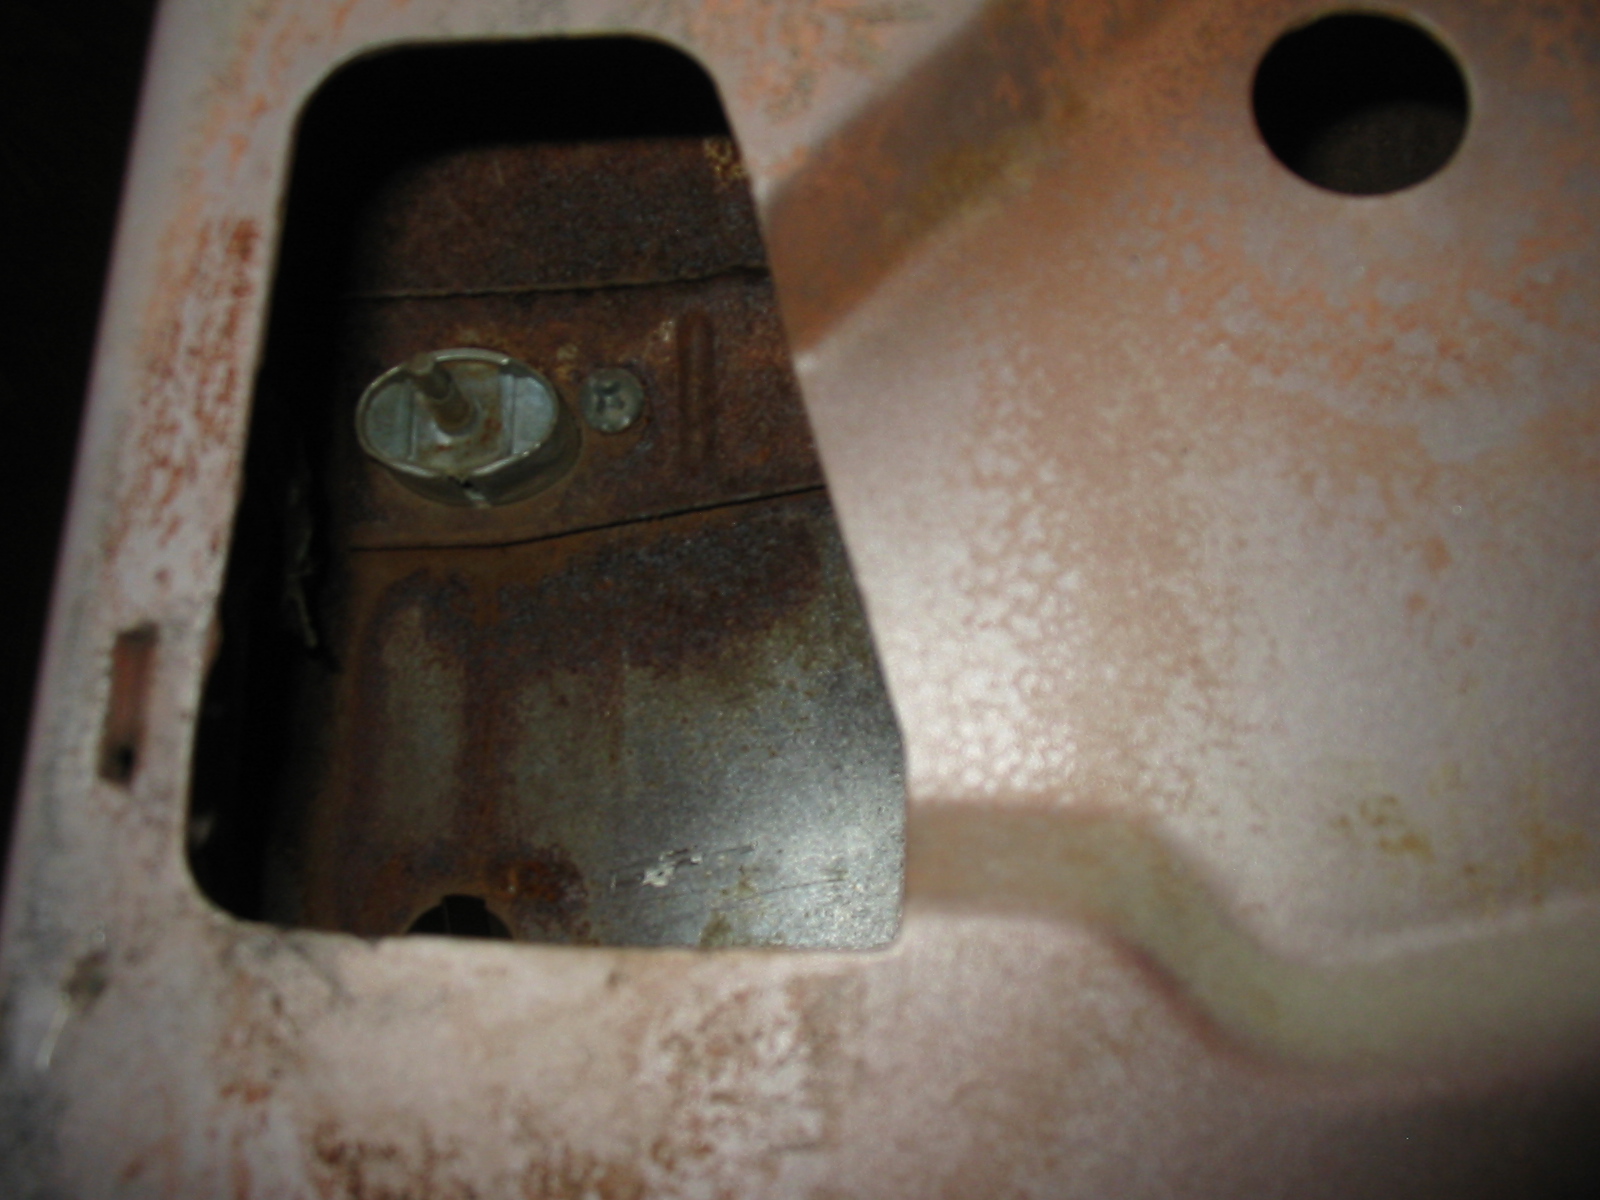
The door handle was next. Two screws (which again miraculously came loose!) and it fell from the door.
Thats the last time this door will be on the old gal. It's time for new metal.
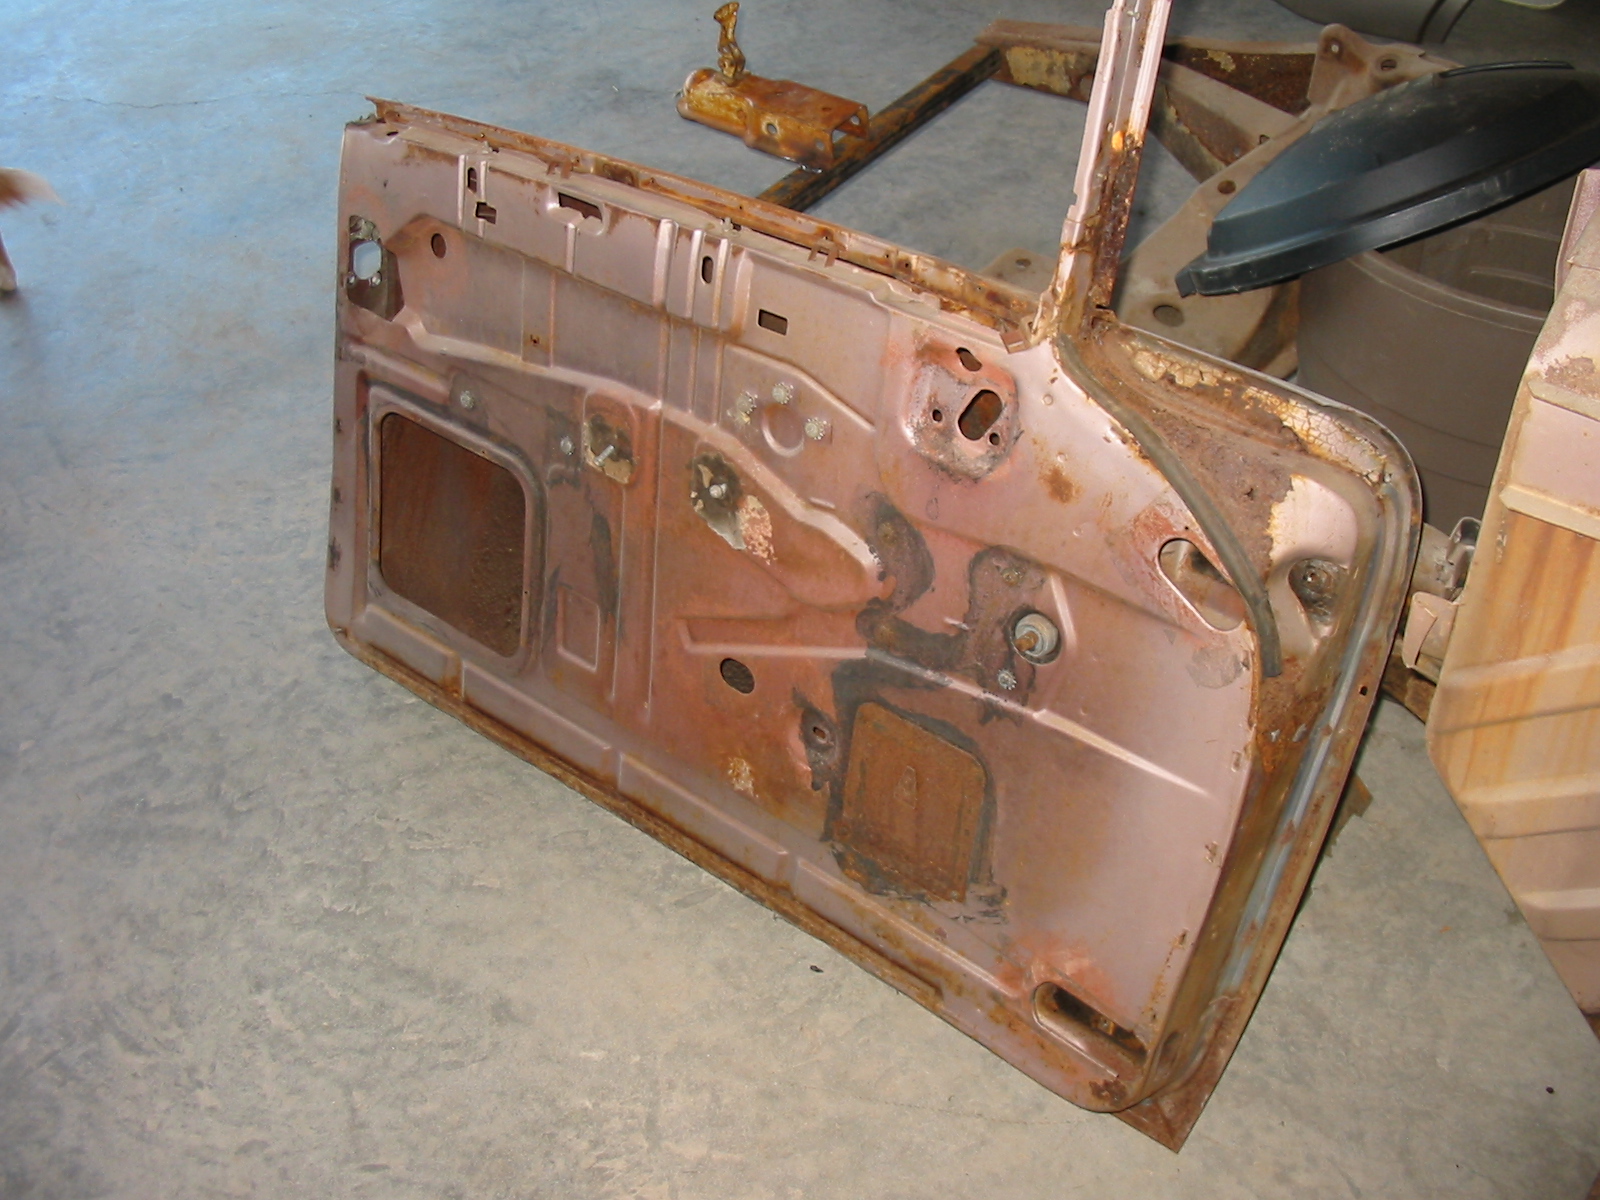
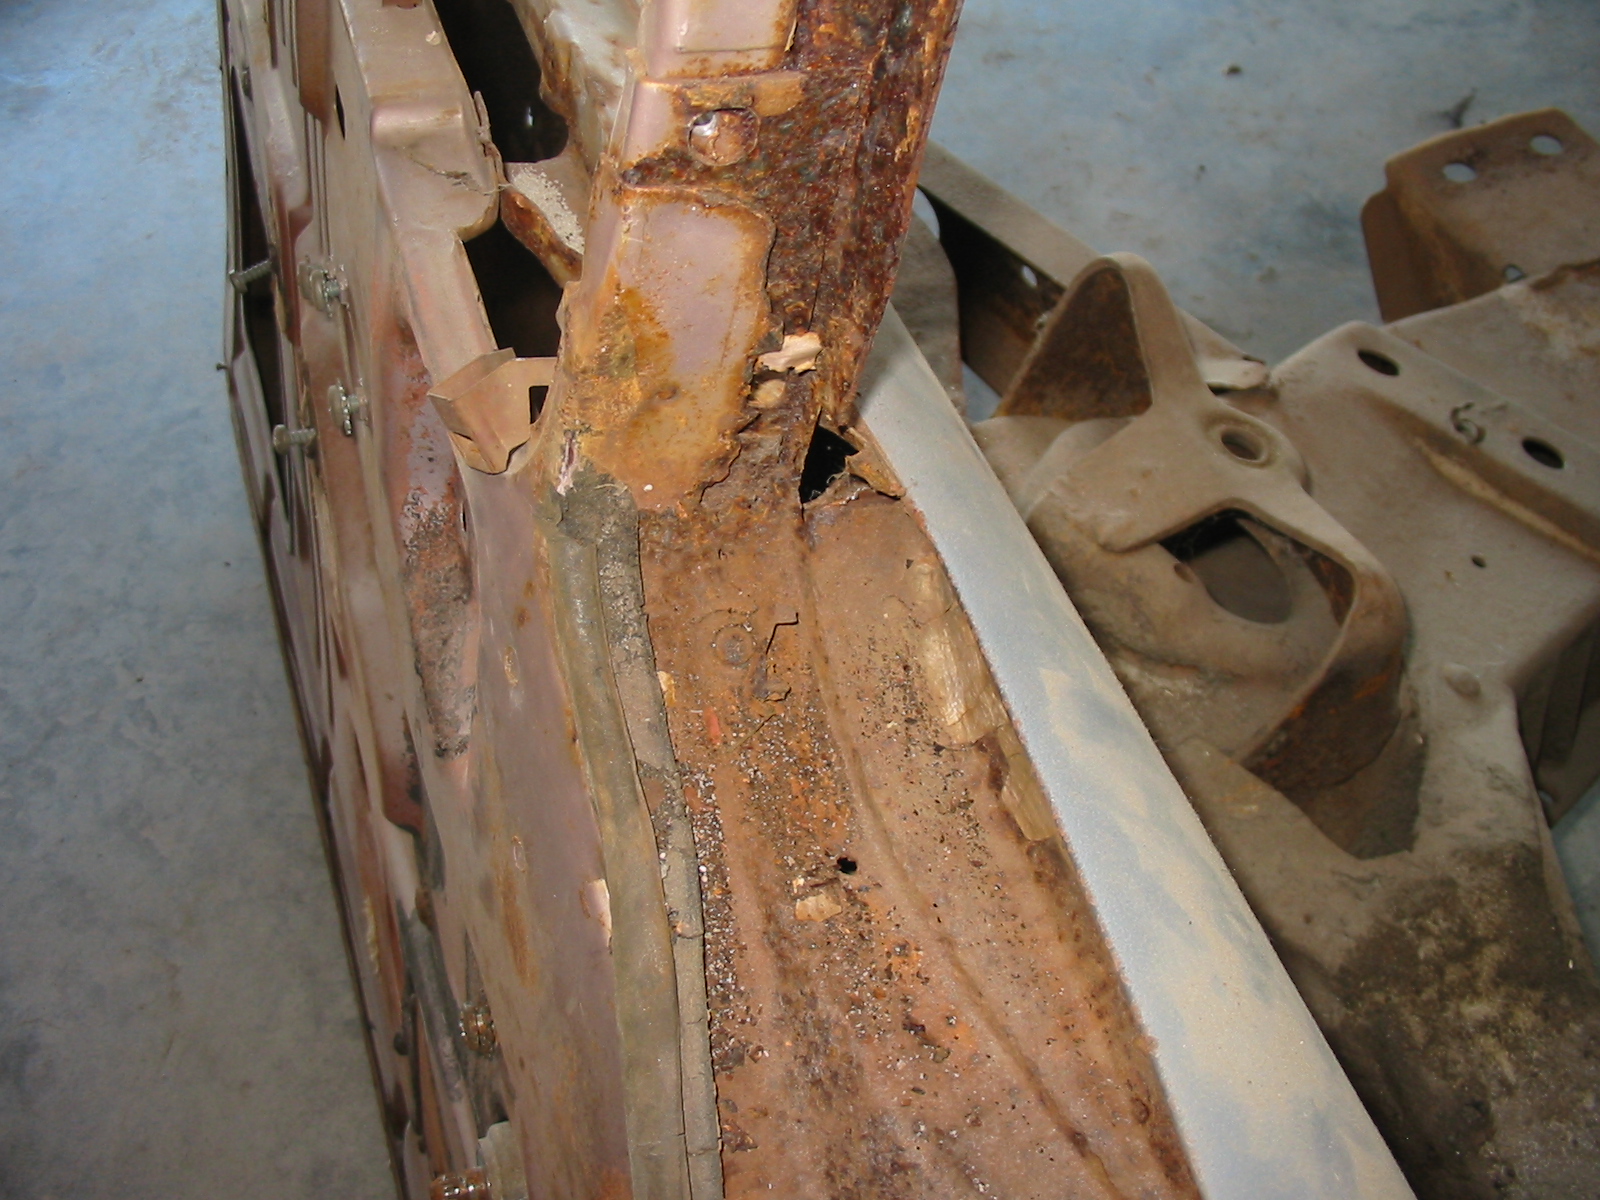
You can clearly see how bad the cancer is on this door. Hard to believe on this car!
It's been a very long time, I'm very excited about getting back to work on this rusty hulk. I hope to sand blast (AGAIN) the inside of the rear quarter, prime and install the new piece very soon. Thanks for not giving up on me and we'll see you soon!
Go to page