 Back
Back

I won't bore you with the same procedure as I did on the drivers side.
This is the new passenger wheel well.
I'm ready to cut the inner lip off just as I did on the drivers side
PAGE 25
Saturday 4/17/04 and Sunday 4/25/04
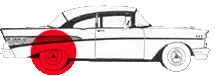
It's time to get busy on the passenger side rear wheel wells.
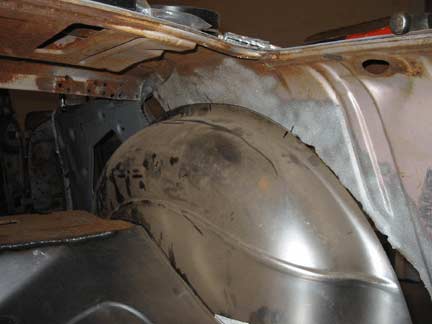
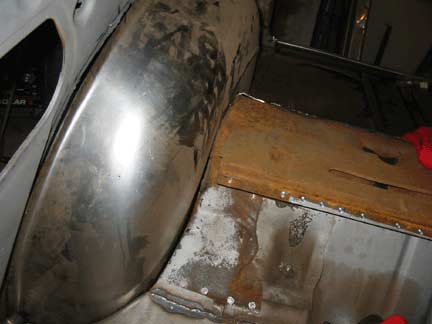
I placed the tub in place and used a Sharpie to outline around it just as I had done on the drivers side.
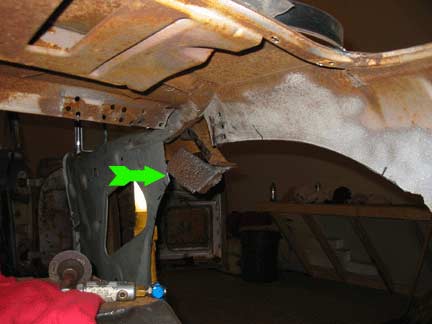
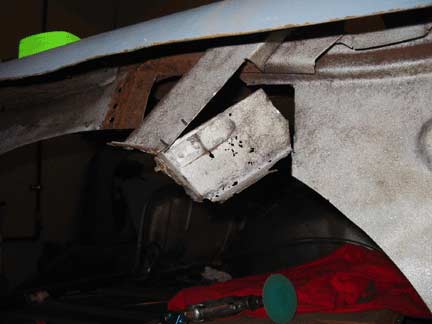
The rusted part of the inner trunk wall was cut out just outside my magic marker line.
The green arrow points out the badly rusted forward portion of the C pillar. This was also cut out.
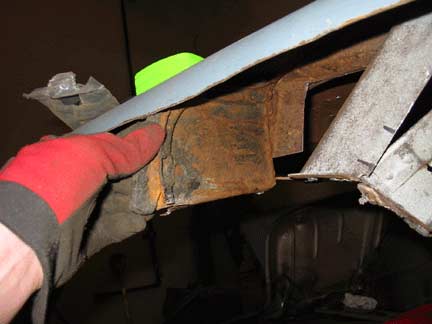
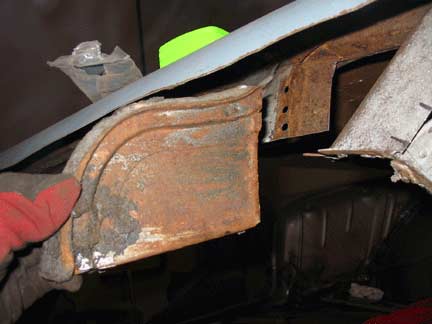
This is the passenger side rear quarter support. I cut the spot welds and removed it in order to get the area behind it sandblasted clean and this way I can replace the seal that goes along the top of it.
I won't bore you with the same procedure as I did on the drivers side.
This is the new passenger wheel well.
I'm ready to cut the inner lip off just as I did on the drivers side
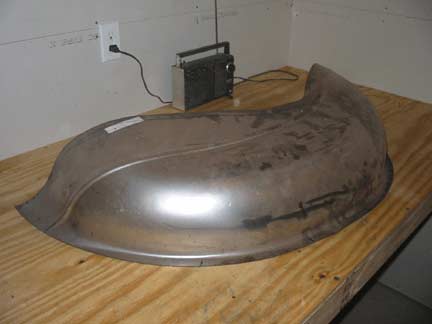
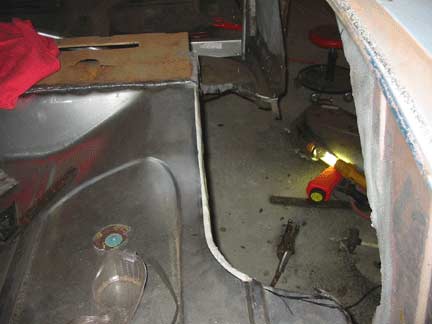
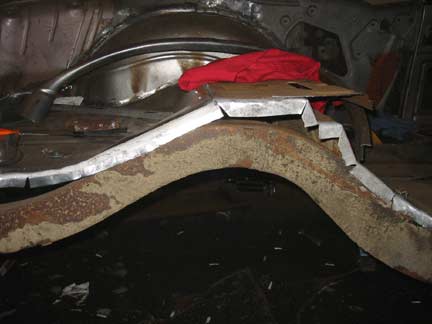
I then measured and cut out the trunk floor, I left enough metal to fold over a flange to attach the inner wheel well to.
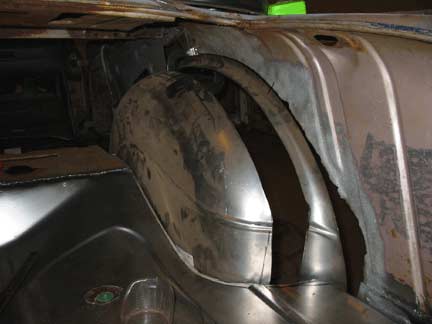
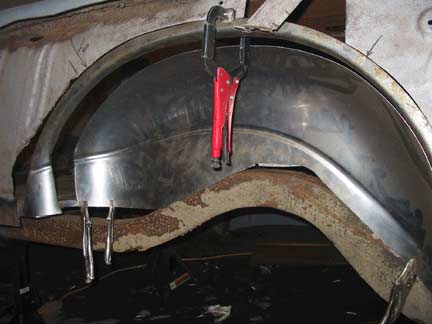
The outer lip and inner well were vice gripped in place to check for fit.
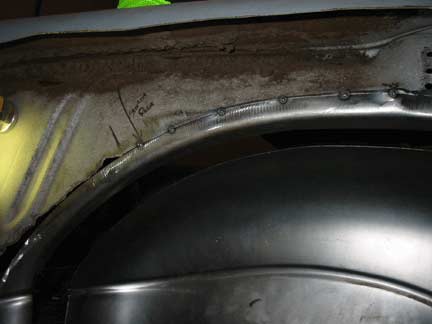
Once everything fit properly I carefully went around the perimeter with tack welds.
I worked slowly and moved the metal in or out as needed to try and keep it all flush. This picture is from the outside, you can see the remains of the rear quarter at the top.
This is so much easier working from the outside with the rear quarter cut away.
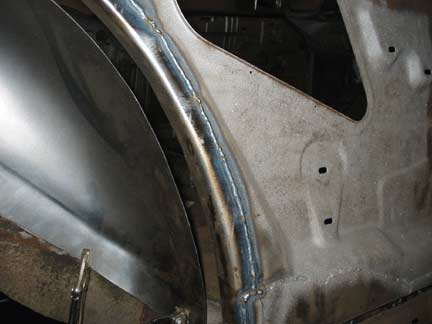
I then welded it in for good!
I only take pictures of pretty welds!
Another look from the outside.
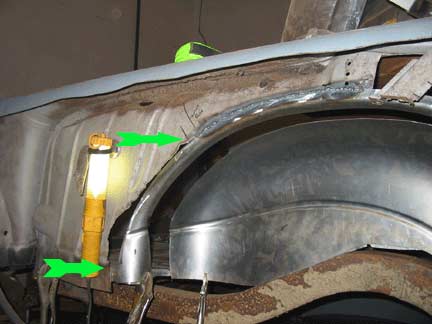
Next on the hit list was repairing the rusted out passenger inner trunk wall area directly behind the wheel well.
This area is indicated between the green arrows.
This is the same area from inside the trunk after cutting out the rusted portion.
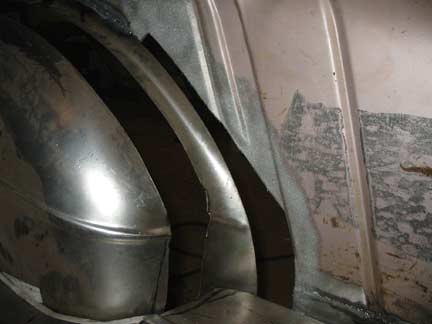
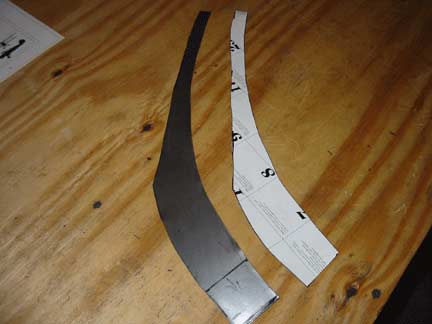
After making a cardboard template of the needed piece I cut a piece of 20 gauge sheet metal for a patch panel.
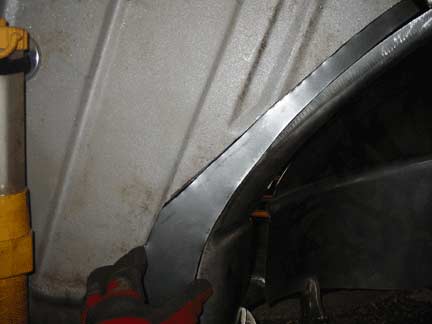
The same piece held in place from the outside.
I spent alot of time making it fit just right.
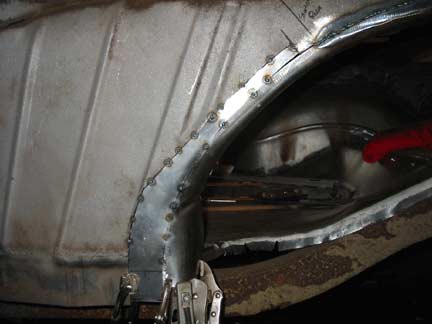
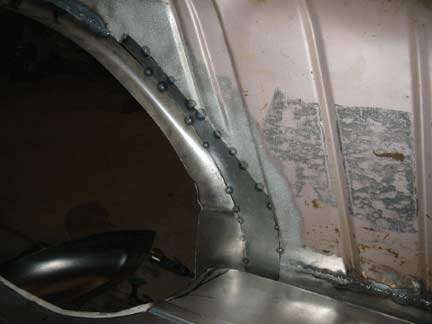
The part was then tack welded in. I started at the top and worked down slowly working the metal with a hammer and dolly to fit properly and follow the contours of the trunk wall. The pic on the left is from the outside and the one on the right is a view from the trunk.
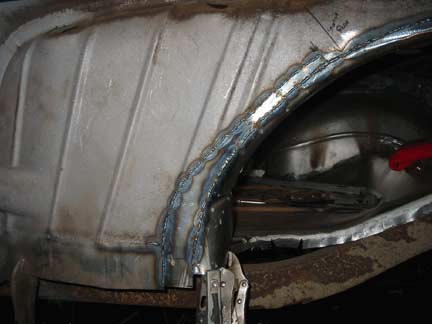
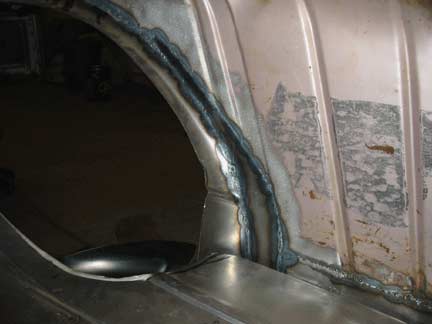
Then I filled in the areas between the tack welds. It really turned out terrific.
The majority of the rust on the old girl has been addressed at this point, which makes me smile from ear to ear!
None of the repairs have been fun but all were very rewarding.
I hope to have this area finished up next weekend. Then I can start spraying some primer! Wahoooo!!!
Go to page