 Back
Back

PAGE 18
Saturday 2/07/04

I finally got a chance to get over to visit the Belle and get some work done. It's been -20 F for a couple weeks, I run a Chevy service department and It's been crazy at work.
I really wanted to get the trunk pan cut out and the new one installed this weekend.
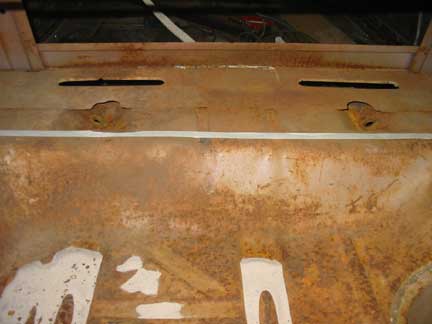
I started by laying a piece of masking tape along the line I wanted to cut. I carefully chose this area because the metal was strong here and it should be an easy area to weld the new metal in place.
Everything rear of the line I chose is basically rusted away.
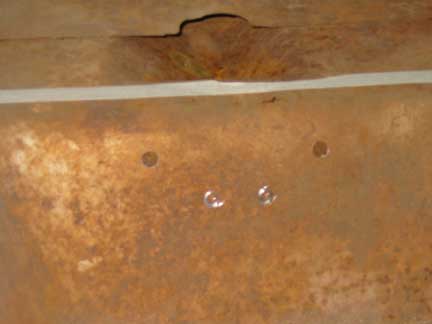
I started by using my trusty spotweld cutter to cut out the 4 spotwelds connecting the trunk floor to the shock mount brackets. Only four of the eight spotwelds in the trunk were actually welded through.
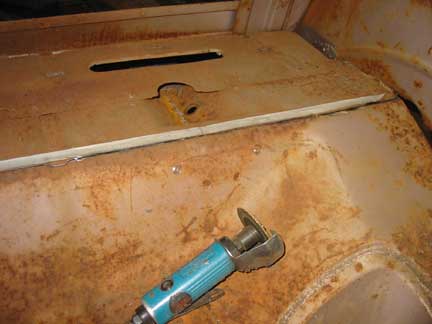
Then I used a cutoff wheel to cut along my masking tape line.
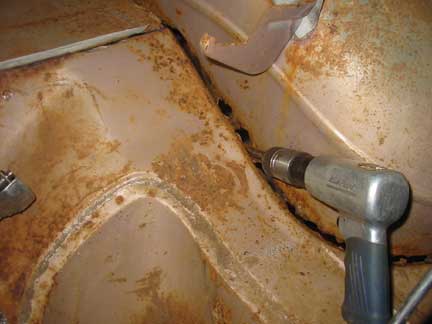
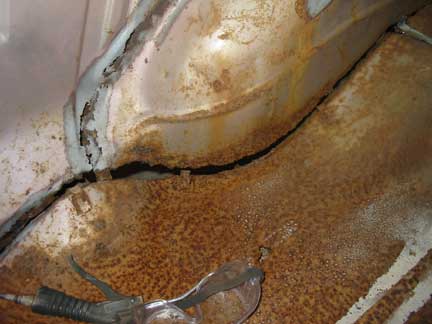
The trunk floor along the sides was nearly gone as you can see. I used an air chisel to persuade what was still holding to come loose.
It didn't take much effort.
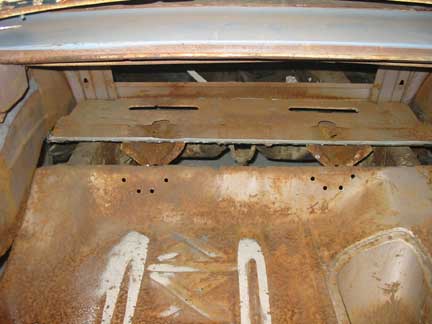
After a little pneumatic convincing, it came loose easily.
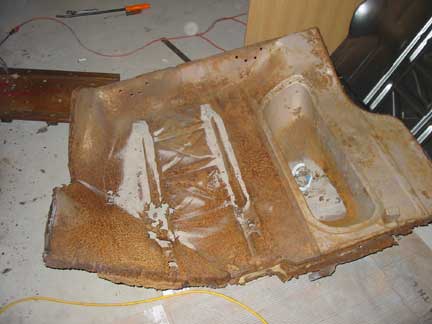
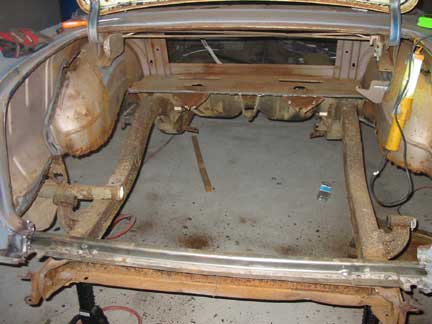
I almost feel sorry for the old trunk pan, it did a hell of a job for the last 47 years.
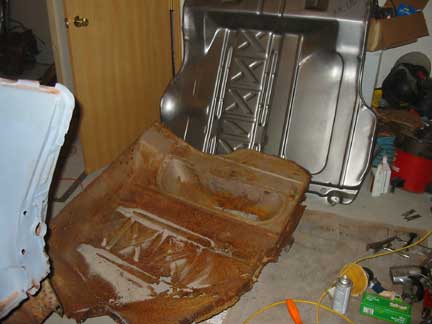
The old and the new next to each other.
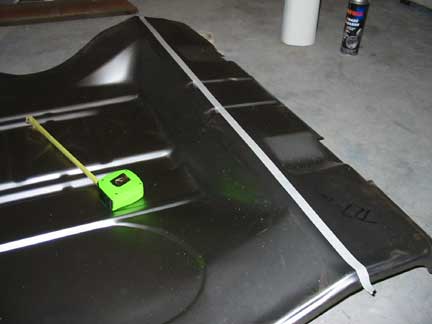
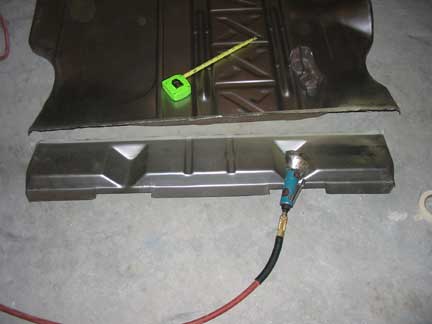
I measured it all out and made a cut on the new piece. This is always an anxious moment because it's a one chance operation. There is no going back. Measure, measure measure!
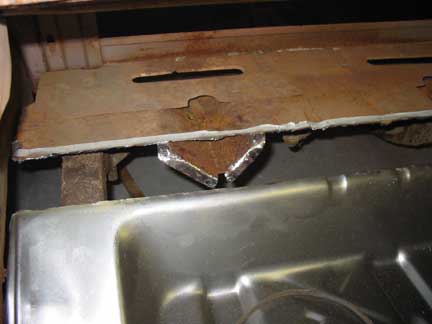
The shock mount supports needed to be cleaned up with a grinder prior to sliding the trunk pan in place. I'll cut holes in from the bottom of them later to weld to the trunk pan.
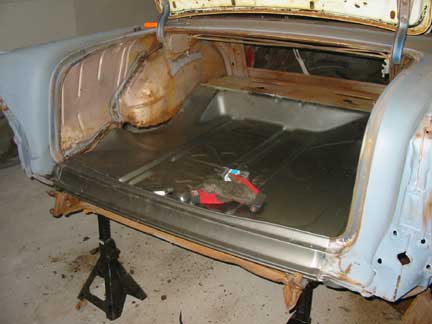
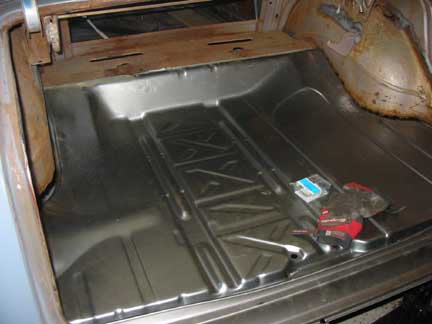
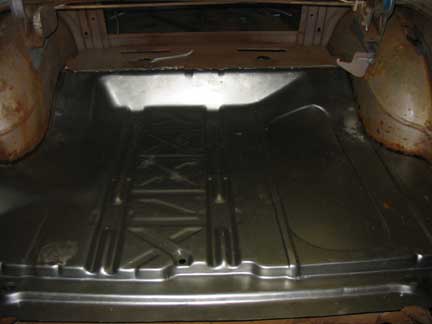
I got lucky and it all fit pretty well. I'll need to fill in a little area on the drivers side as I cut it a bit too much.
It looks great though! Nothing like new sheetmetal! Yee Ha!
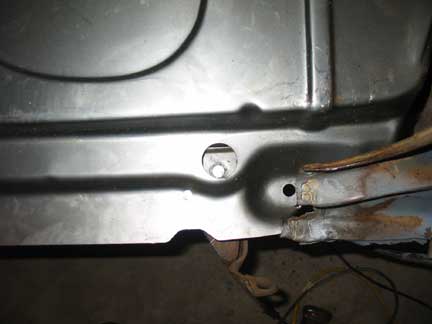
My rear mount bolts didn't quite center in the access holes of the trunk pan. I found the trunk floor was somewhat bowed or bent down in the center and I'll need to form it into shape. This should bring the rear of the pan into place also.
Saturday 2/14/04
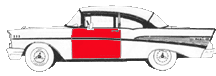
Before permanently welding in anything on the trunk I wanted to verify both doors were adjusted perfectly.
Well the rear top part of the drivers door looks good, and the rocker alignment of the front lower part looks too good to trust also.......
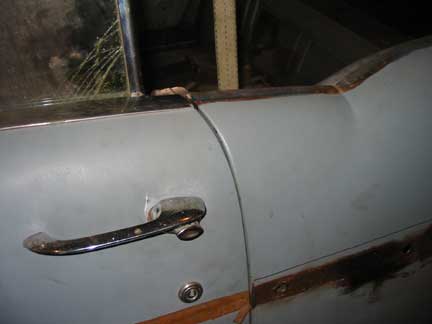
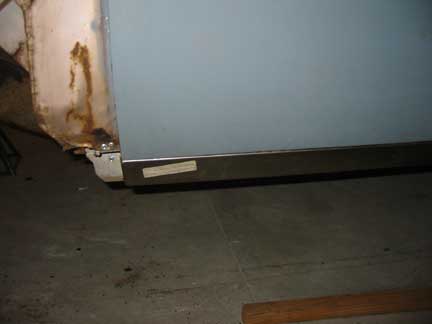
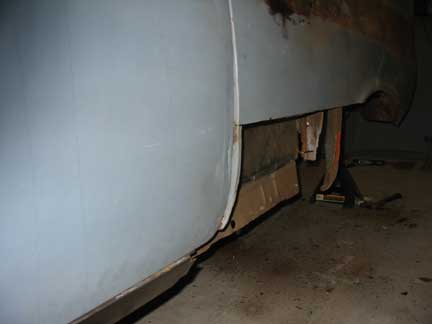
This however looks really bad! The lower part of the rear quarter is sticking way out and the door gap has grown to unbelievable proportions. This has all happened since I started messing in the trunk area and aligning the trunk floor to the drivers rear quarter.
I'm sure I was a real jerk in a past life to merit this type of luck.
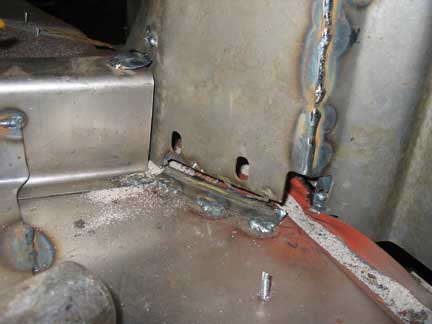
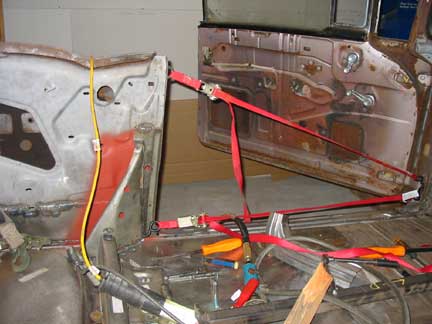
This will be the fourth time I have had to cut the welds on my once pretty and expensive B pillar support.
I used my ever present tie straps to pull the quarter forward and down before tacking the B pillar brace in what should be it's final resting place.
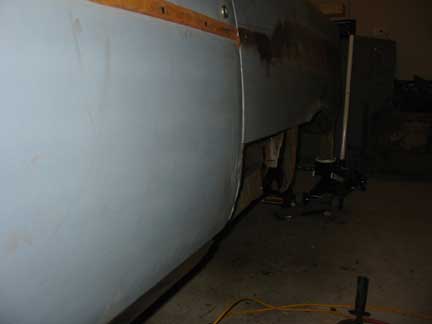
This looks much better, the rear edge of the door needs to be worked out a bit due to many years of inflicting door dings. It should be very close after that.
It's gotten to the point with this door alignment problem that I can't look at a car, truck, house or even a refrigerator without checking the door alignment and gap! I'm obsessed!
Maybe now I can attack the cancer ridden trunk area. I have ordered inner rear trunk patch panels and the passenger outer dog leg area patch panel. They should arrive soon.
Go to page