 Back
Back

Both front fenders are in this condition.
They are beyond repair, and I'm looking for a couple decent replacements.
PAGE 32
Sunday 9/5/04
I caught the old gal in a rare good mood today.
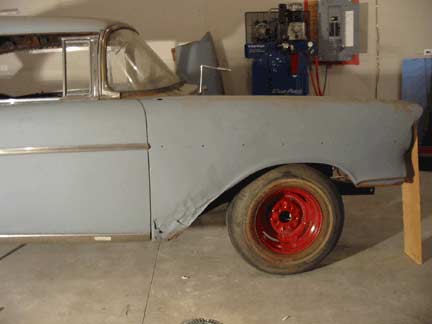
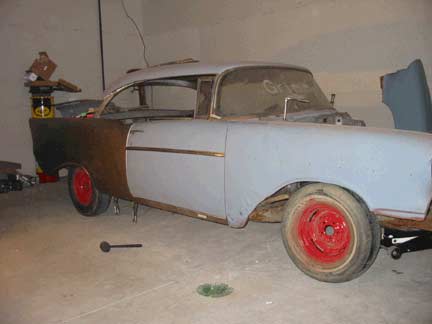
Before welding the rear quarter in for good I wanted to verify I had everything in line.
I temporarily installed the front fenders and rocker panel to check alignment.
The front wheel and tire is just setting in place to make it look cool!
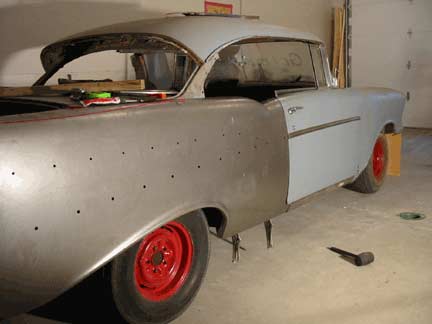
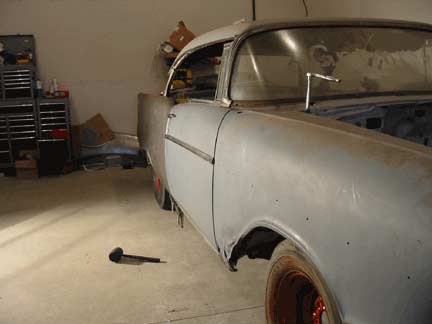
Hey! It kinda looks like a car!
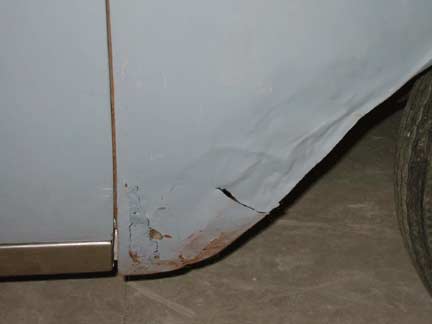
Both front fenders are in this condition.
They are beyond repair, and I'm looking for a couple decent replacements.
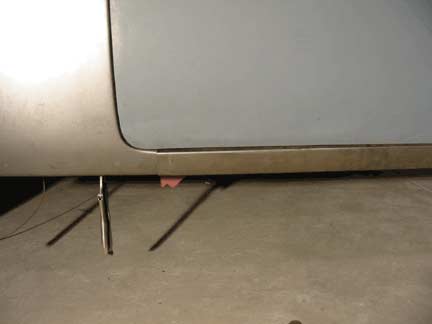
I also slipped the outer rockers in place to test for fit and door gap.
The gaps will need some work. It all looks pretty good though.
I never get to say that!
I measured many, many times and then placed a piece of tape along where I wanted to cut the top of the new quarter to meet the old.
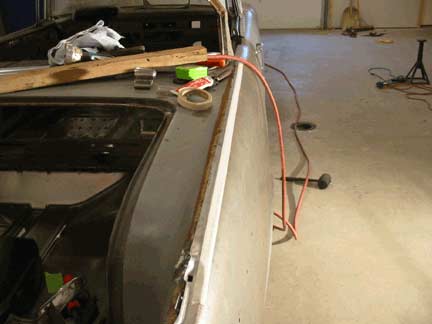
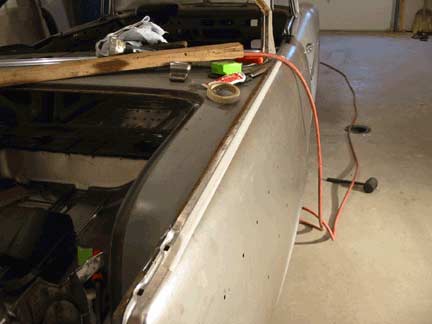
Then I used my cut-off wheel to cut through both to leave a dime sized gap between the two panels as seen below.
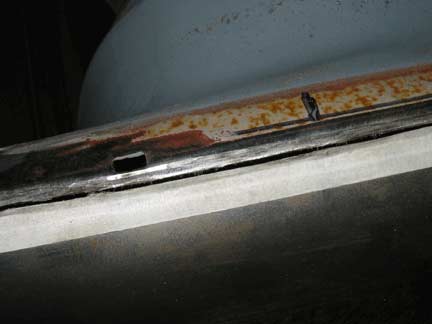
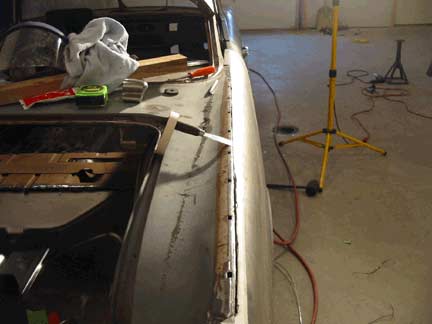
It really came out well. The putty knife in the picture on the right is being used to bring the edge of the new panel up and even with the original sheet metal.
Well, I've cut it, painted it, cut it again....I guess I may as well weld it!
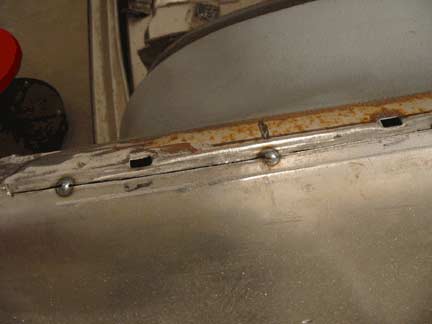
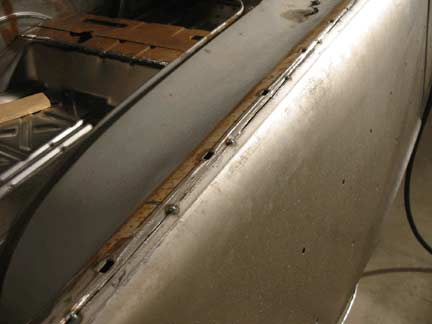
The idea here is to make tack welds several inches apart to avoid warping the metal by applying too much heat in any area.
I made several welds along the length of the quarter about 6 to 8 inches apart.
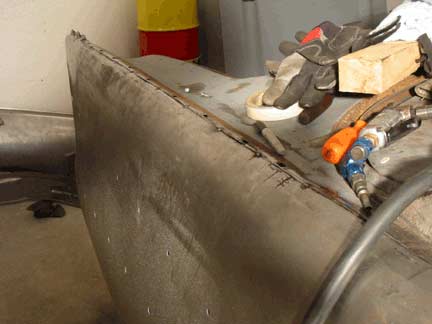
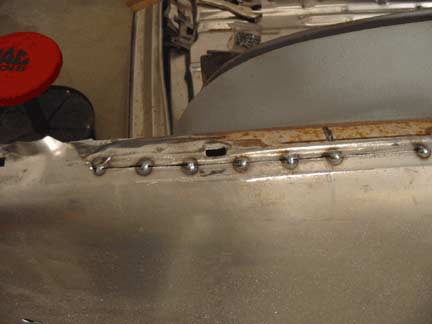
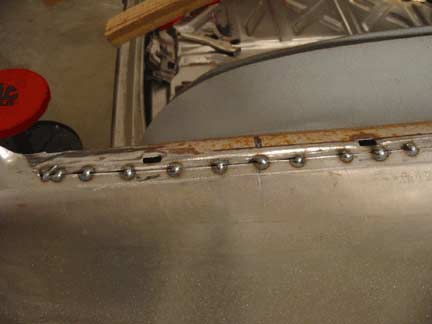
Then I went back and made another weld between the first ones...
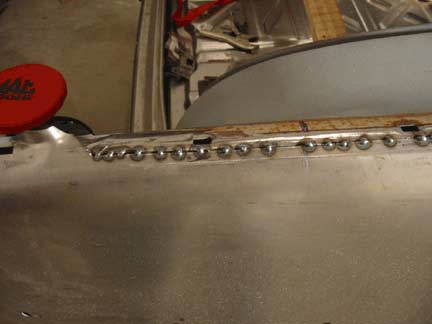
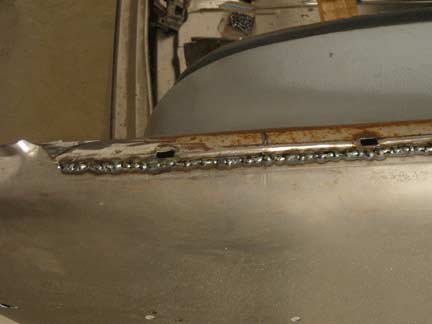
I continued this until I had joined all the spot welds together.
By allowing the welds to cool and making several tack welds the warpage of the new quarter should be minimized.
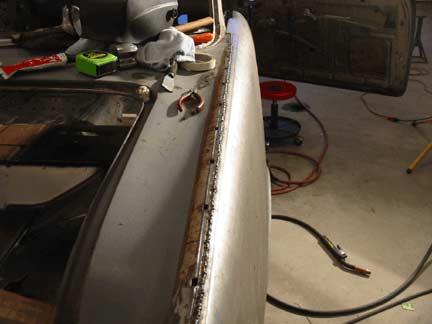
Here it is welded the full length.
Next I took my die grinder and ground down or dressed the welds.
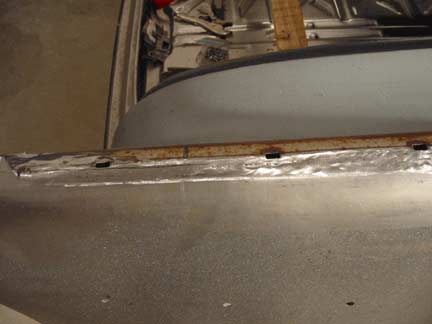
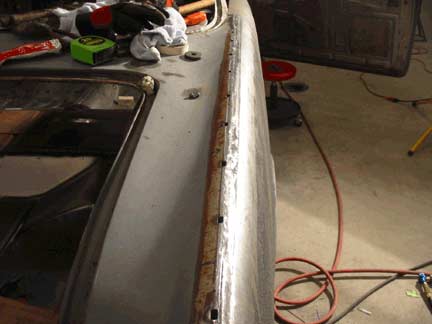
I was extremely impressed and pleased how it turned out.
The seam is nearly invisible.
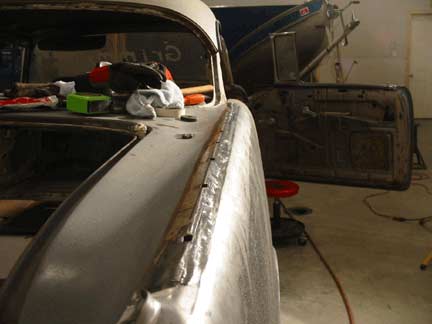
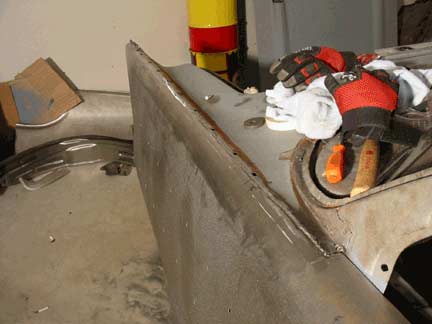
Not bad for a dummy like me!
I've never done anything like this before, I guess I got lucky.
She owns the quarter now!
Next is the door jamb area, I hope it goes as well.
Go to page