 Back
Back

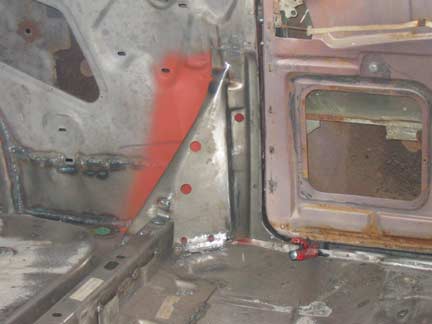
The arrows on the picture to the left show the area I'm working on.
The floor pan comes up and meets the firewall at the toe pan and transmission tunnel.
PAGE 39
Saturday 1/29/05 - Sunday 1/30/05

I decided to order the new patch panel for the drivers rear quarter. It's supposed to be much better quality and the contours are supposed to be much closer to original than the old version I have already.
While I'm on hold waiting for the new panel to arrive I decided to take care of finishing off the floor pan to firewall seam.
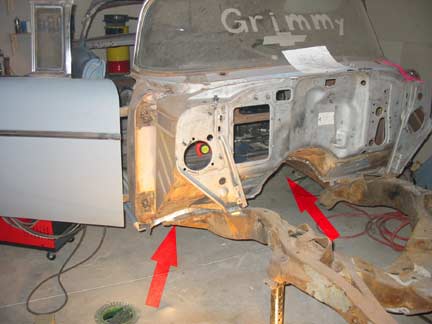
The arrows on the picture to the left show the area I'm working on.
The floor pan comes up and meets the firewall at the toe pan and transmission tunnel.
This is a close up picture of the passenger toe board where it meets the floor pan.
1. Is pointing to the self tapping screws I used to hold everything in position temporarily.
2. Indicates the firewall support that also connects to the seam.
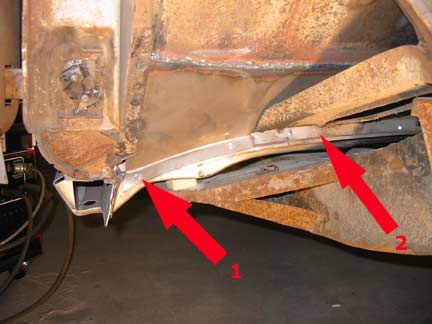
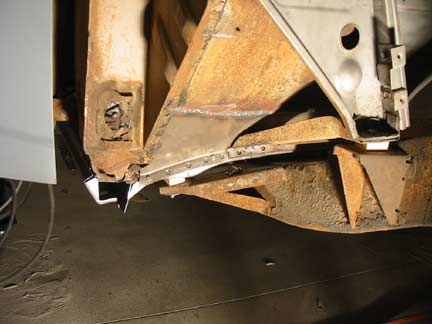
I drilled holes through the toe board and through the support and toe board.
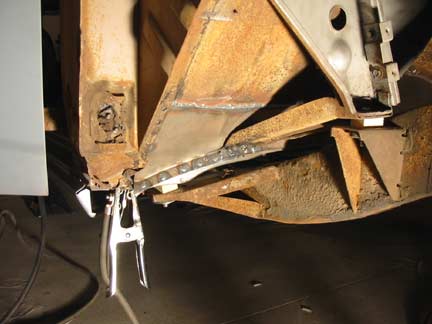
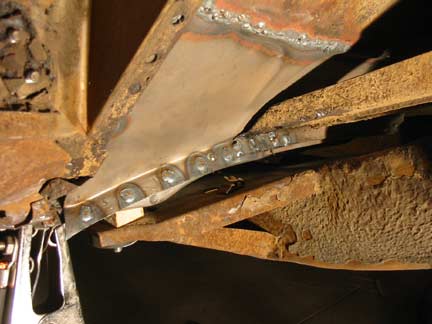
The holes were plug welded as before.
I'm sitting on the floor doing this, concrete is COLD in January in North Dakota!
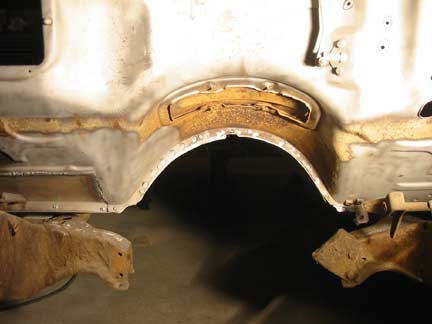
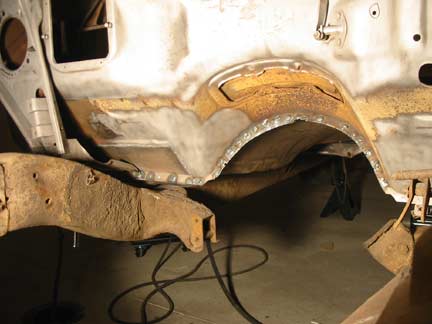
I continued this the entire length of the toe pan to floor pan seam.
There will be some more to do when the body comes back off and the welds will then be cleaned up as well.
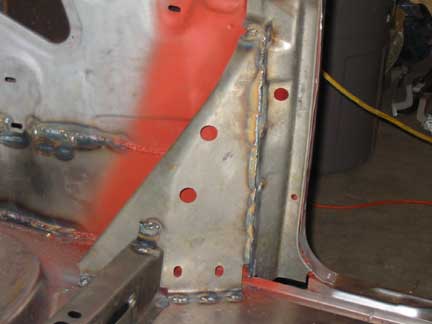
I also spent some time cleaning up several welds on the interior of the car.
As an example, the above picture are before and after of the drivers side B pillar support.
Saturday 2/05/05
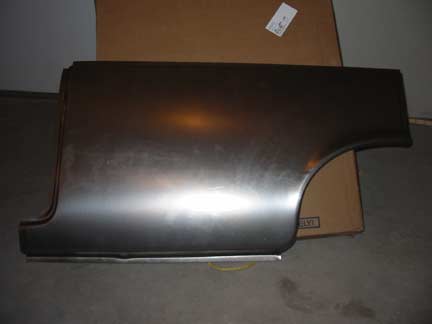
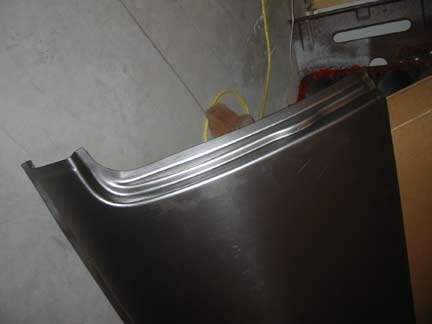
The new patch panel arrived this week.
I honestly don't see a dimes worth of difference between it and the old style panel I had. It cost twice as much and the door jamb area looks exactly the same to me.
Unless they sent me the old style panel by mistake, it's not worth the premium price.
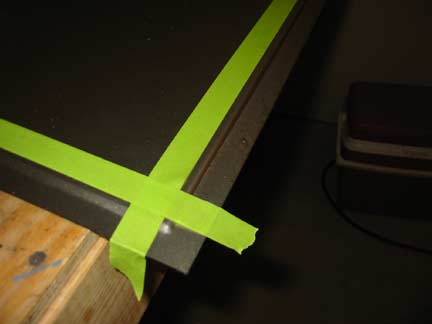
Oh well, I'm going to use it anyway.
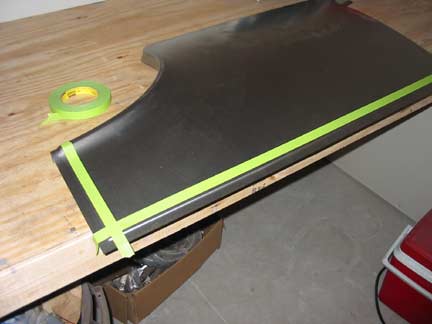
First off I need to get rid of the flange they stamp along the edge. The panel will be trimmed down to fit and properly butt welded.
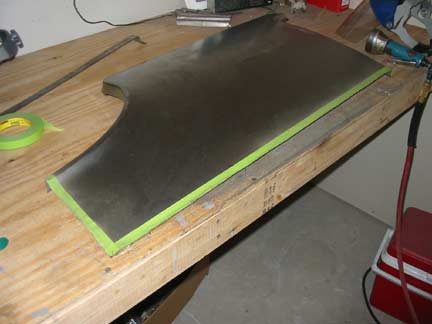
I marked off the area to be cut with tape to make it easier to see in the photos.
Here it is after cutting the flange off.
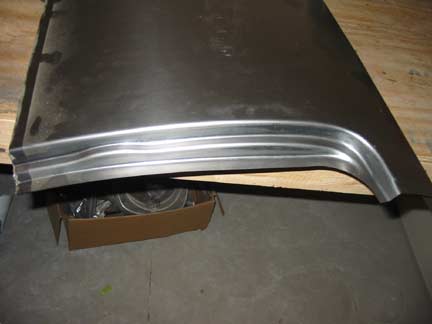
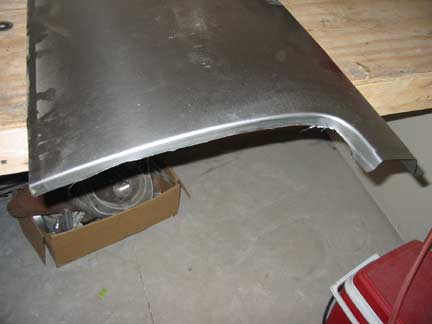
Then I cut off the very wrong stamping of the door jamb area. I will make a seam just inside the door jamb similar to the passenger side.
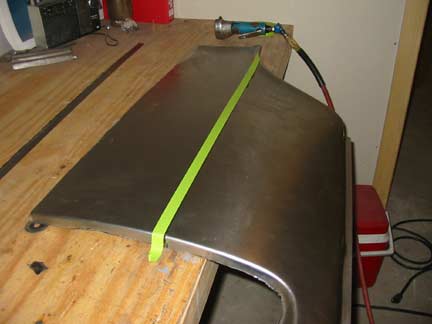
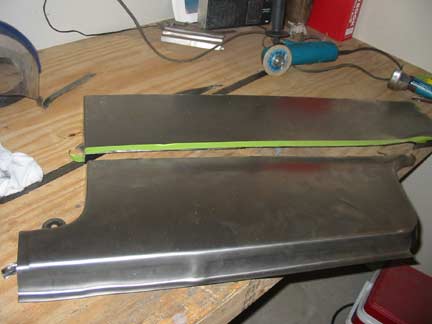
After a whole lot of measuring, guessing, installing, removing and all around eyeballing, I placed a line and cut the panel to fit the big old hole in my drivers side rear quarter.
I've gotten so much more at ease with cutting up new parts, it's scary.
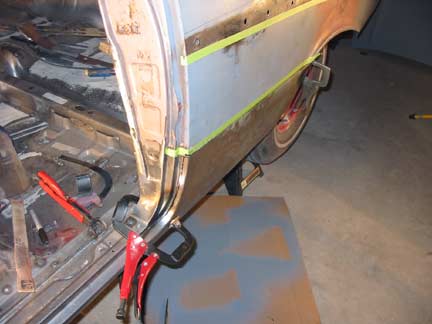
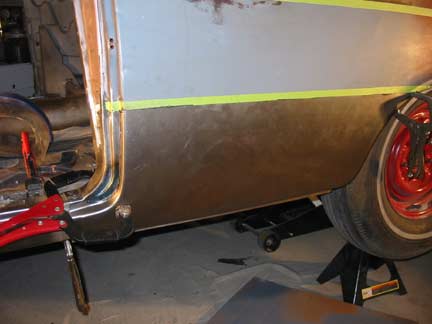
Here is the panel temporarily held in place for fitment.
It'll need work in the jamb area and where it meets the rear wheel opening.
Looks OK though!
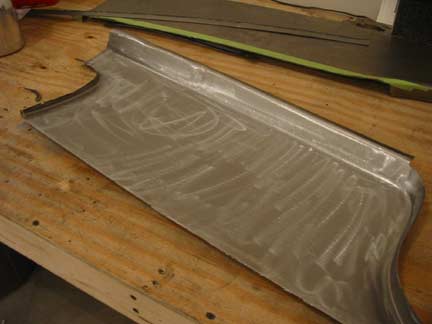
I pulled it back off the car and cleaned and roughed up the metal in prep for epoxy priming.
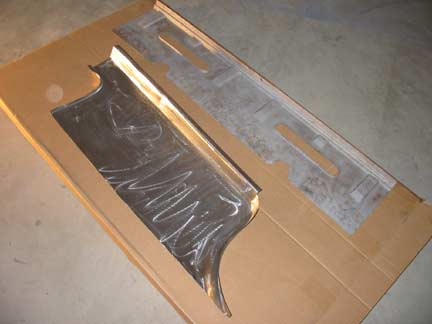
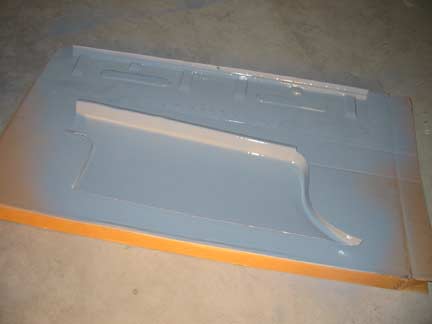
Here is before and after pictures of the inside of the patch panel and rear seat support getting a nice coat of primer.
This patch panel IS THE LAST rusted part of the body proper. When this is done the body will be rust free (except for surface rust) and as solid as the day it left the factory in Atlanta In November of 56.

Might be time to start thinking of a new license plate!
Go to page