PAGE 48
10.0 hours
Ok, I guess breaks over! Time to get back to work.
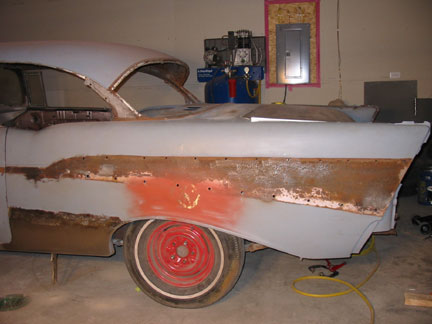
I'm cheating a little bit here, the first few pictures below are from last November.
After getting the trunk and tail pan done and mostly in primer I set my crosshairs on the drivers rear quarter panel.
I intended on getting it stripped and then prime the entire rear of the car.
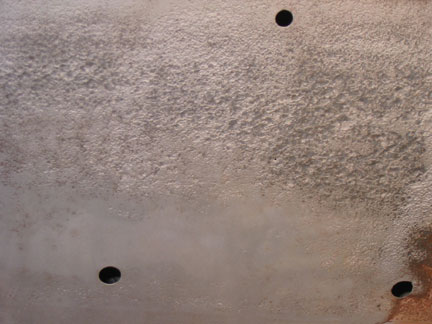
The primer the previous owner sprayed on along with the original paint it was like grinding through diamonds!
I had to use a DA sander, which barely touched the paint and my sandblaster (using very low air pressure to avoid warping the metal)
It took forever! And created a huge mess.
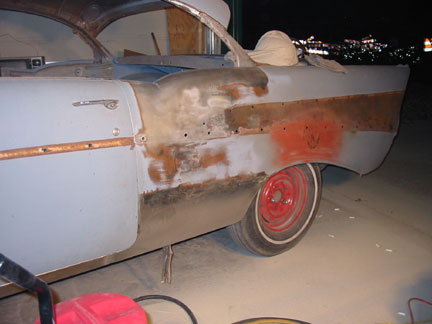
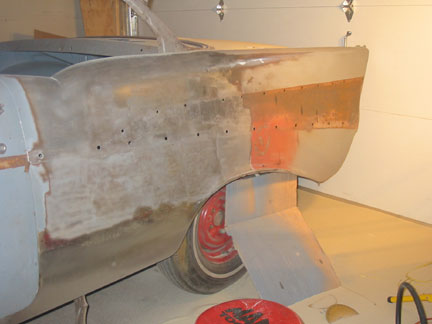
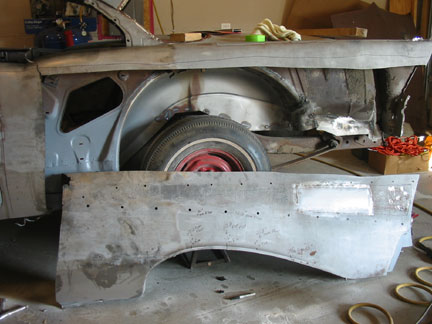
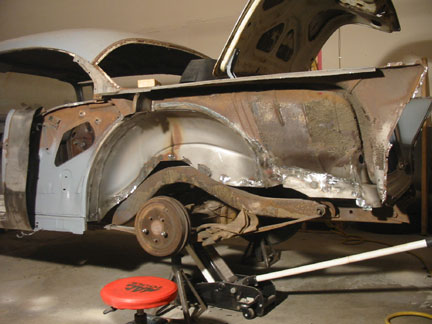
And here what it uncovered, serious pitting and holes in the rear quarter. So much for being done with the sheet metal work.
At this point I decided to replace the rear quarter. I had already patched the front part of it and now found all this damage.
I could have just used putty to just fill in the pits and holes, who woulda known?
I would have known I did a half assed job.
It's just the right thing to replace the entire quarter with a new straight un-butchered part.
I decided beings I didn't have a new quarter just laying around I would experiment and practice a bit.
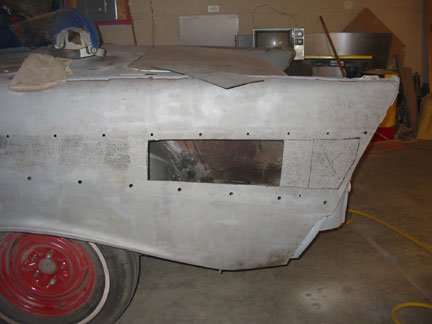
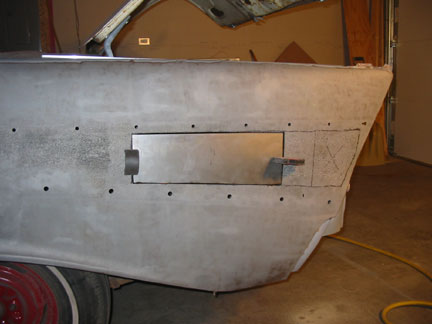
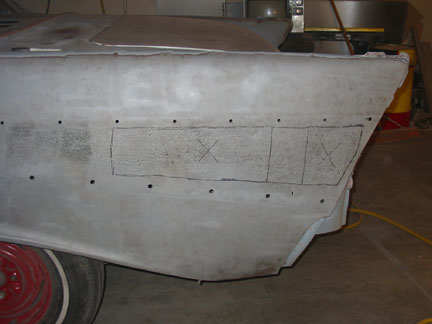
I thought I would cut out the ugly pitted holey metal and see if I could patch it. I had never dealt with such a large flat area before.
A more skilled craftsman could fix this but I pretty much knew it was beyond my skills.
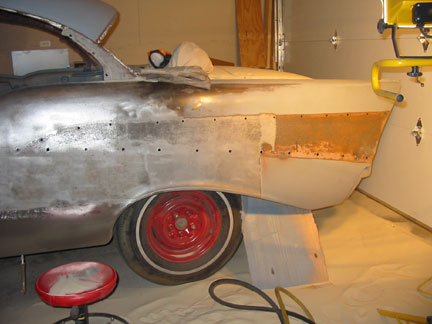
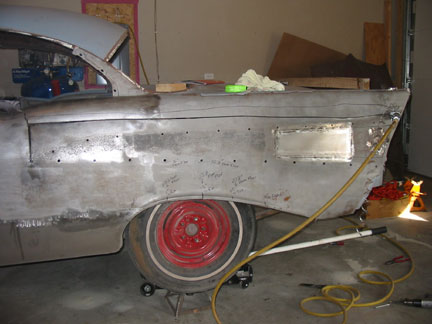
To the right is where I cut out the bulk of the area.
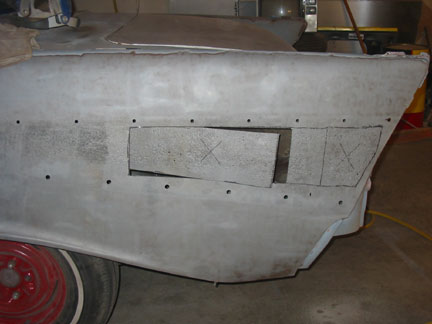
And a whole lot of little holes!
The old girl just keeps surprising me.
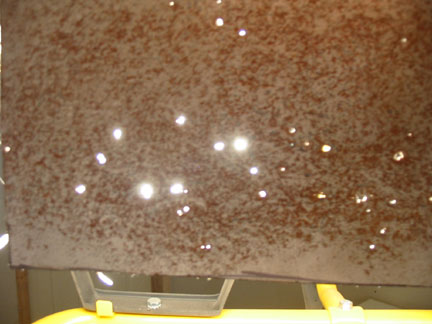
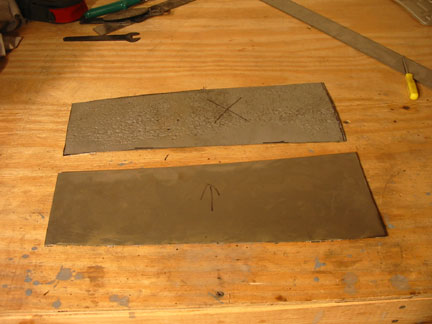
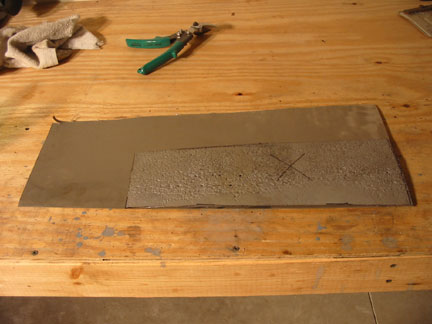
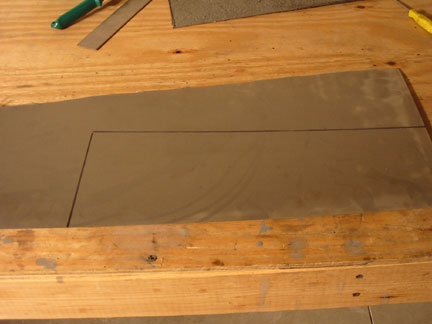
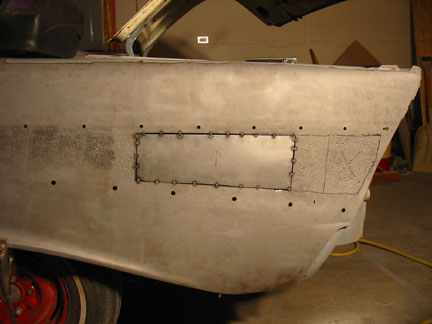
The metal I cut out was used as a template to cut a new part to fill the ugly void.
I actually had some psychotic visions of being able to repair this quarter at this point. (way too many paint fumes breathed in I guess)
I used magnets to hold the patch in place and very carefully and very slowly tacked it in place. Oh silly silly boy.
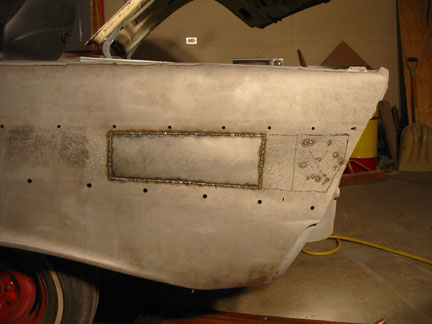
Even though I took all the time in the world to finish welding the patch in, the rear quarter warped terribly. And there still was another area farther back that needed to be patched.
New quarter panel here we come!
6.0 hours
New parts on order.
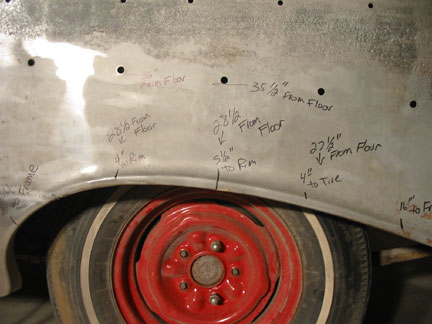
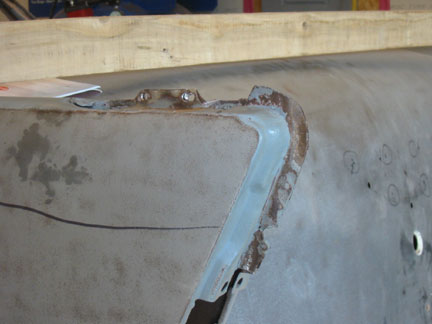
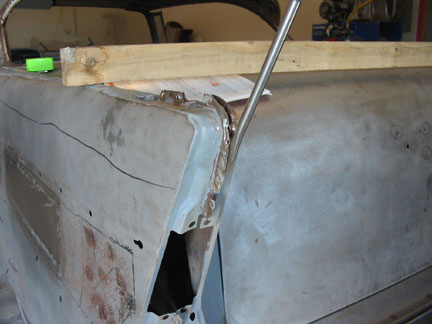
In preparing for the new quarter I took several measurements prior to cutting anything and wrote them directly on the old parts.
This way I can measure the new quarter to assure the placement is the same as the original.
I'm not going to bore you with all the details of replacing this rear quarter.
I documented it as well as I could on pages 29, 30, 31, 32, 33, 34 and 35.
All I can add is measure, measure and then measure some more.
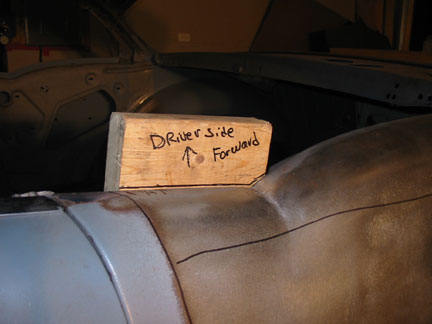
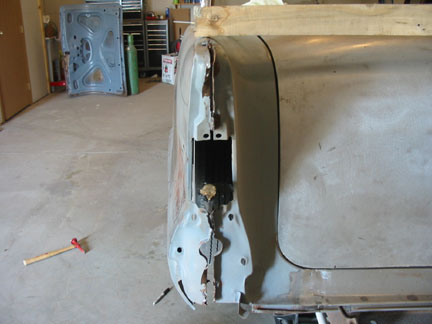
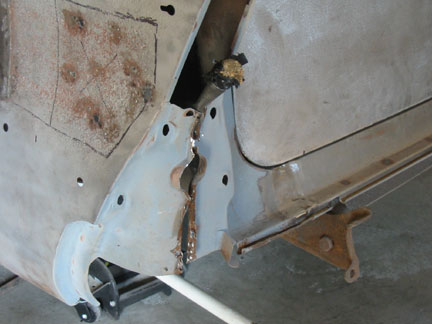
Again I cut out all the spot welds that hold the quarter at the rear.
And separated the two parts. I'm getting way too much practice at this.
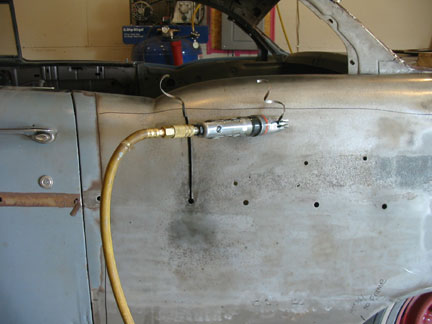
Then My trusty pneumatic snippers were called to action and I cut out the bulk of the old quarter leaving a healthy margin to work with.
Christmas came early this year with the arrival of several parts I ordered!
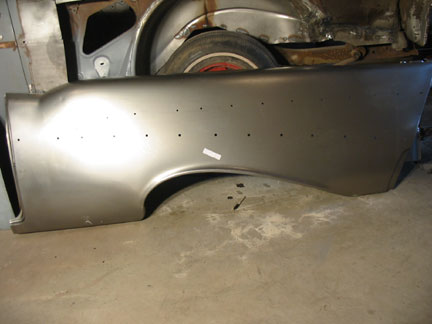
A brand new drivers side rear quarter...
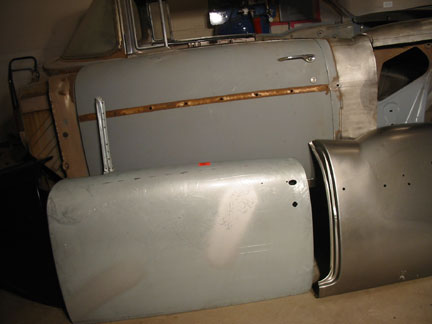
Here is just a glimpse of the rust damage on the original door, I'll show you more later.
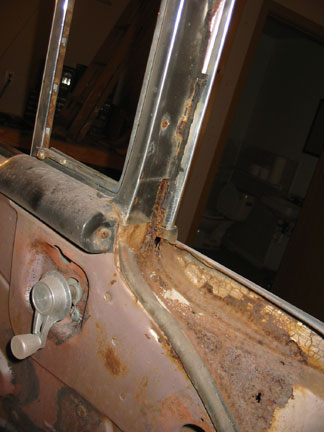
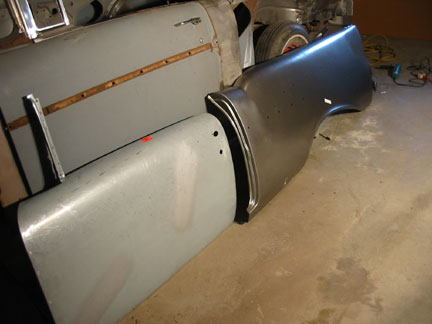
This looks pretty good, but there's more!
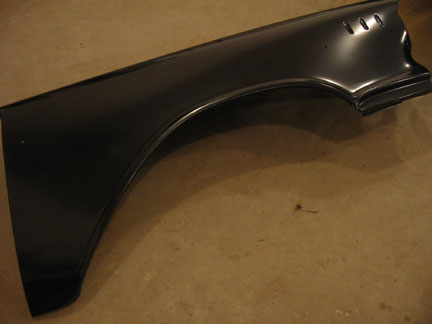
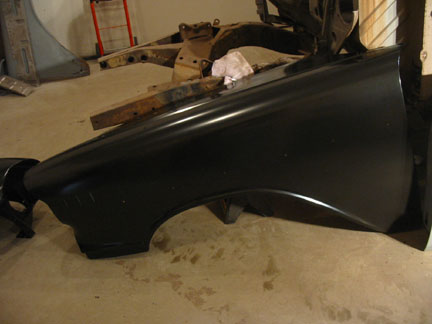
Both my front fenders would require hours and hours of repair to possibly get them straight and usable. Beings I was paying shipping for all that metal I decided to get both new front fenders at the same time.
Well here is where I am today. I've touched up and dressed some of the welds on the trunk wall that will never be seen again! What a nut!
Next is sand blasting this area, priming it, hanging the new door, placement of the new rear quarter and hanging the new front fenders to assure all is true and straight.
Thank you all who have hung in there with me.
Please stick around.
Go to page
 Back
Back