 Back
Back

The tail pan once again set in place for checking proper alignment after doing the job correctly, for the second time.
PAGE 47
Saturday 11/19/05
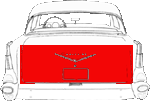
6.0 hours
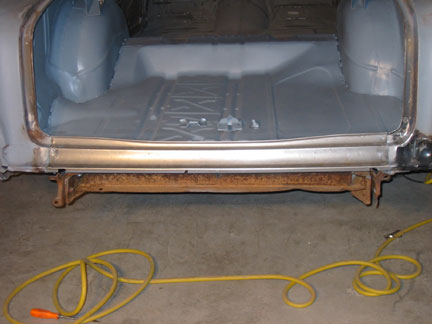
Now it's welded in place.....
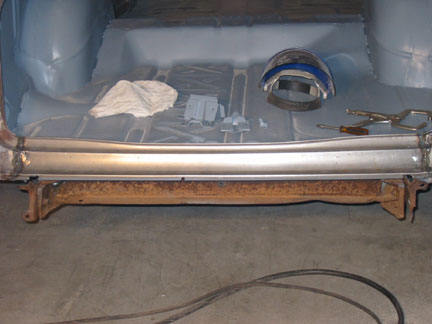
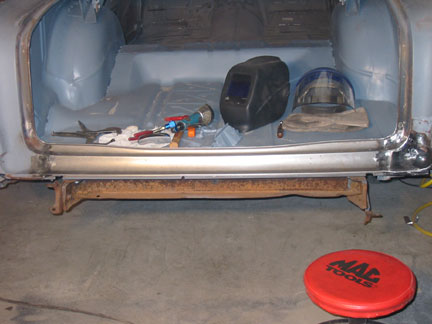
And now the welds are dressed with a grinder, as was the case the first time and as always I constantly used the correctly adjusted trunk lid to verify the gaps and proper alignment prior to welding anything permanently.
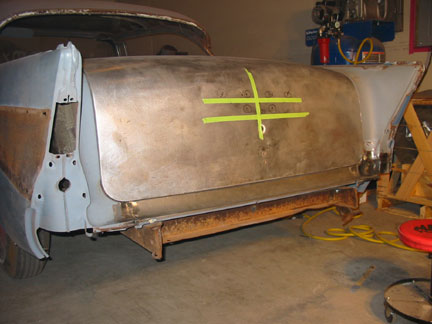
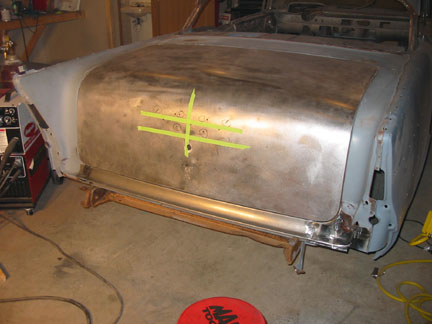
The gaps look great!! This is the view most will see of my Bel.
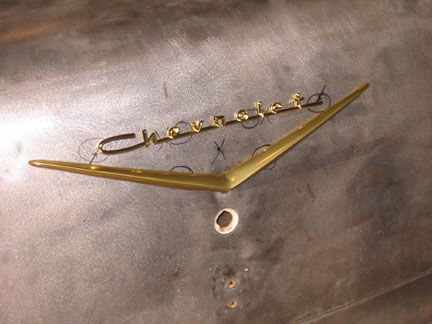
For a little inspiration I temporarily installed the beautiful gold script and V.
I'm Inspired!
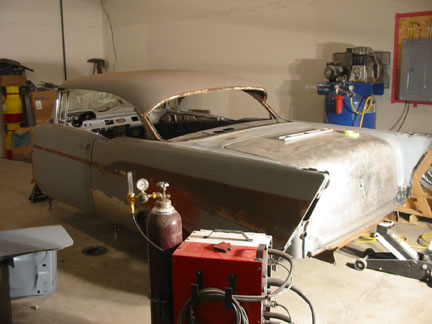
Two doors and a trunk.....too cool!
Enough patting myself on the back, there is more work to be done.
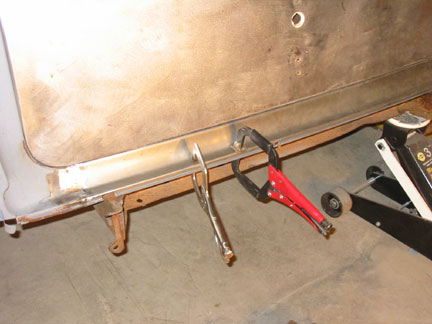
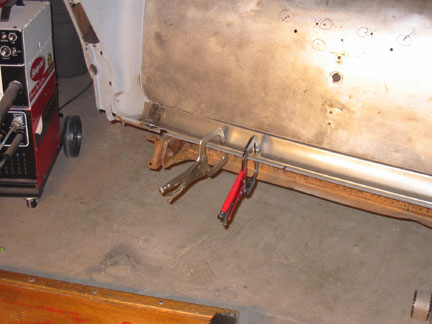
I used some vice grips to pull the trunk floor cleanly to the bottom of the tailpan.
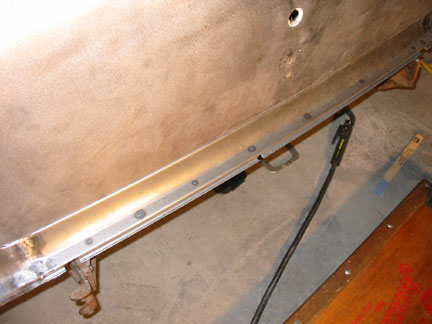
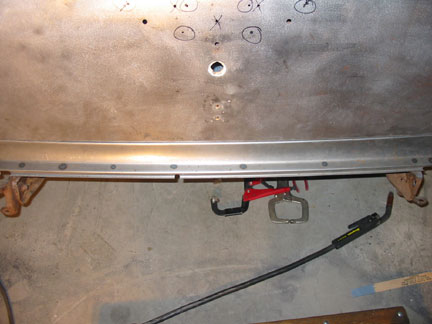
I then laid on my back and welded it in several places. Welding upside down sucks!
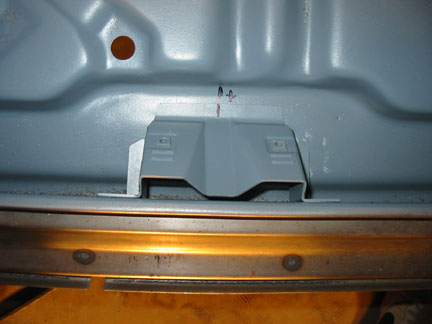
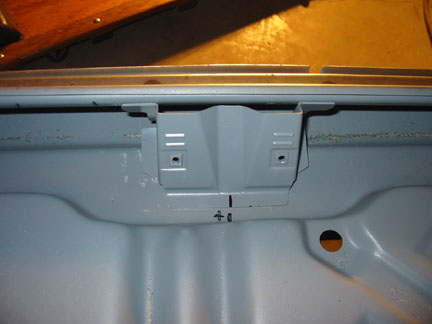
After some measurements and SWAG (Scientific Wild A** Guess) I placed my new trunk latch support in place.
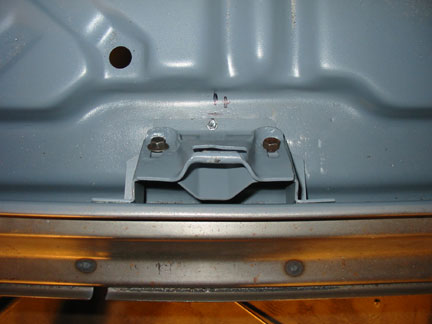
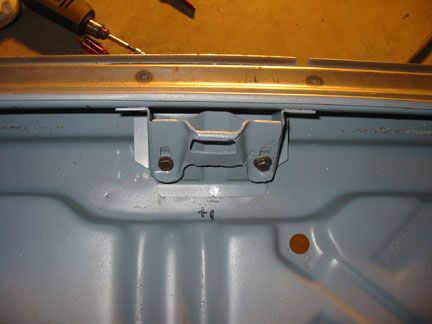
Here I have temporarily screwed the lower latch to the latch support, I also used a self tapper to screw the latch support to the trunk pan.
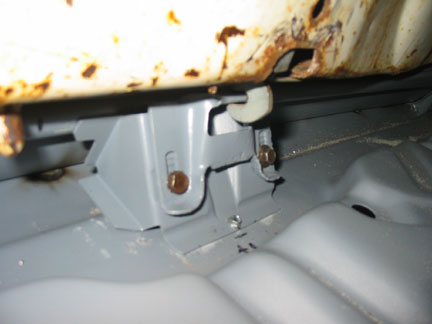
See what I go through for you guys?
I crawled inside the trunk and took this pic of the latch. I'm a bit concerned that I needed to adjust the striker all the way up to work properly.
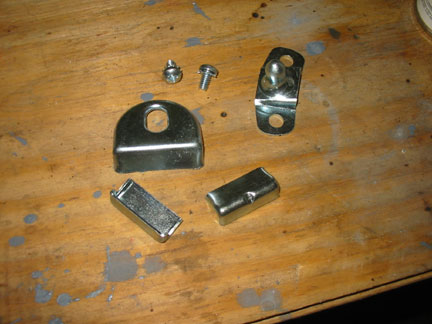
Here is what is provided with the trunk alignment hardware from the repro guys. The striker support is also included but not shown here.
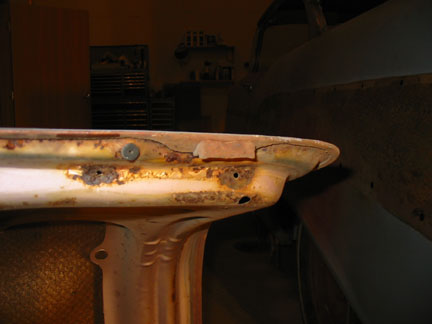
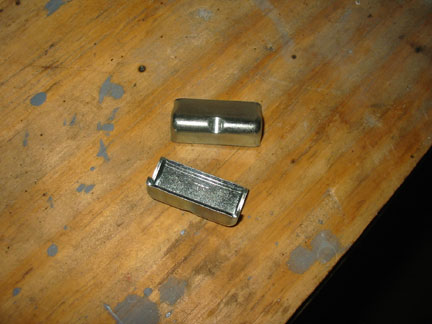
Remember those little feet that were on my 57 trunk lid! They are not on my 56 or 55 trunk.
However they are included in the trunk alignment kit I bought.
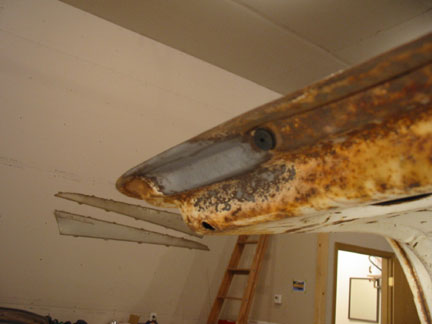
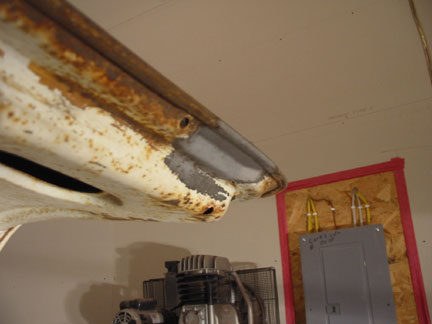
In order to install them I need to clean the areas on the trunk lid where they are to be welded. On the left is where I spot blasted the drivers side of the trunk lid and the passenger side on the right.
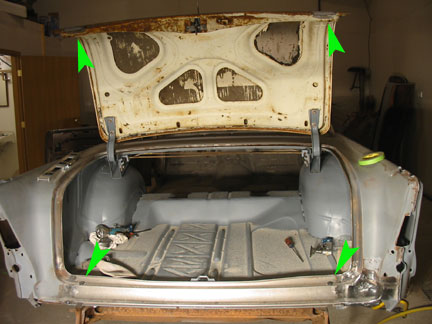
The green arrows pointing to the trunk lid show where the little metal "feet" go on the trunk lid and the green arrows pointing to the tail pan show where they meet the rubber stops on the tail pan.
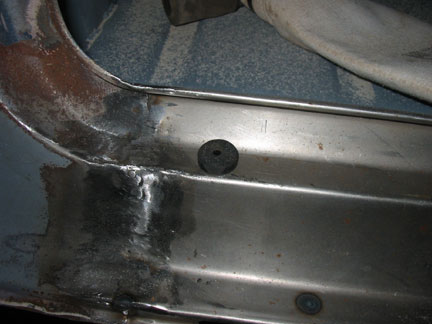
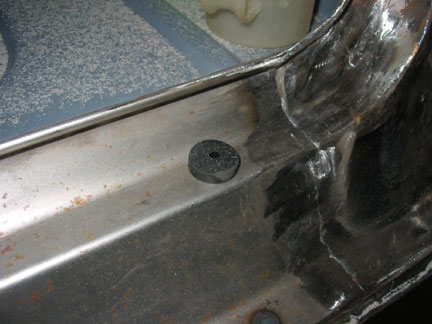
Here are the rubber stops on the tail pan. I bought two sets of these, one for getting it all aligned and one for the final product.
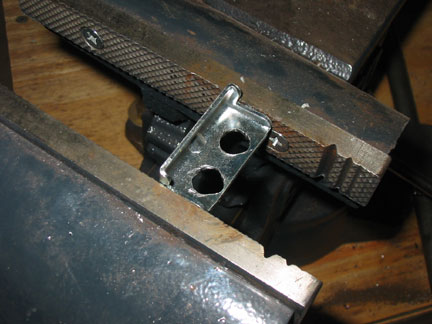
Originally these "feet" were spot welded to the trunk skin on 1957 models.
I drilled two holes in each new part to simulate these welds.
After measuring 500 times I clamped the new parts in place on the freshly blasted area of the trunk lid.
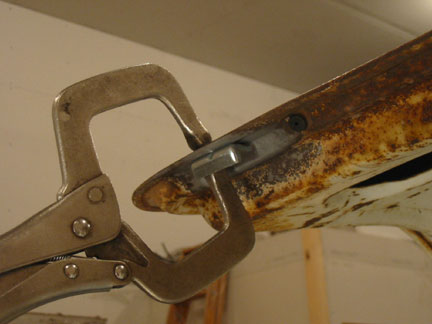
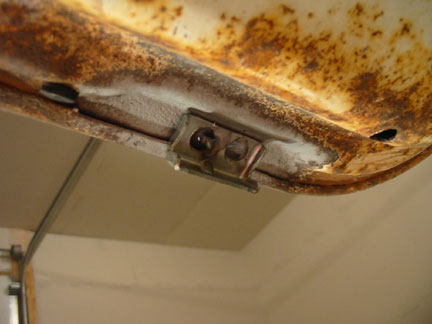
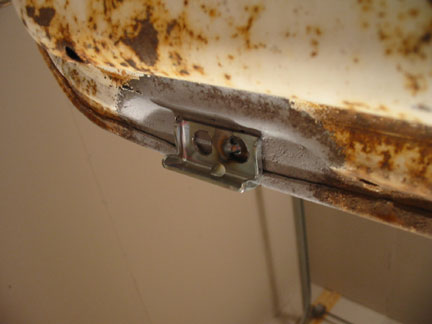
.....And then just tack welded them in place. After all is fitting correctly I'll be removing the trunk lid and sand blasting the interior. I'll weld these in for good at that time.
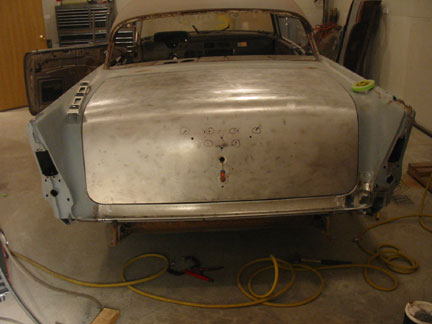
Damn that looks good!
I've nearly worn out the trunk hinges opening and closing it!
This says it all,
I'm starting to believe this old girl might actually drive down the road again after all!!!
Go to page