PAGE 29
5.0 hours
Progress and problems.
Now that's what I'm talking about!!
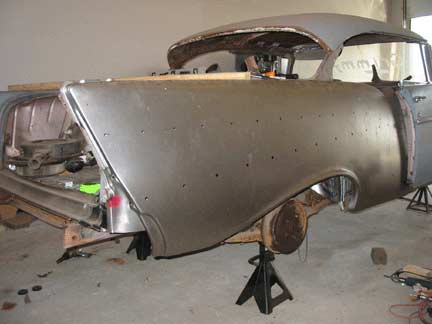
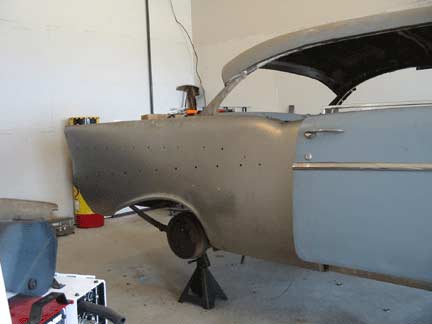
What you see is the passenger rear quarter just temporarily set in place. WOW what an inspiration!
It looks like a car again! Wahooo!
OK, here's the game plan:
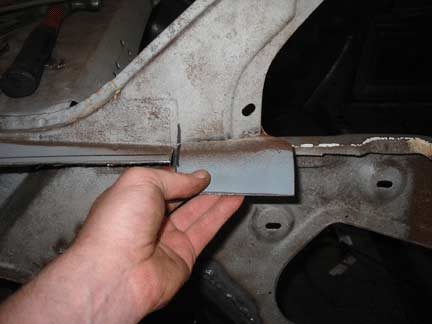
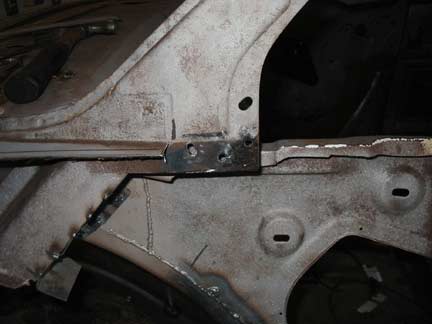
A. I'm going to cut the door jamb along the area marked with a black marker. I'm cutting it as close to the outer edge as possible to allow a large margin to allow me to have enough extra metal to sneak up on a perfect seam with the new quarter.
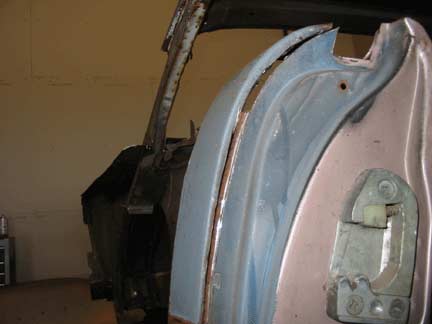
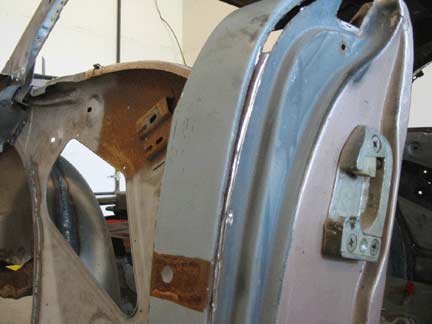
Two pics of halfway through the slow and careful cut using my pneumatic cut-off wheel.
This took more time than I expected to do correctly.
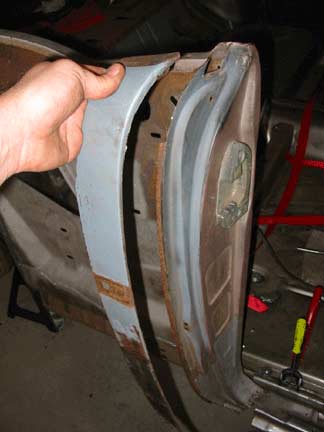
Here's what I removed. Caution had to be used not to cut through the B pillar support in the door jamb.
The next couple pictures show more clearly what I'm referring to.
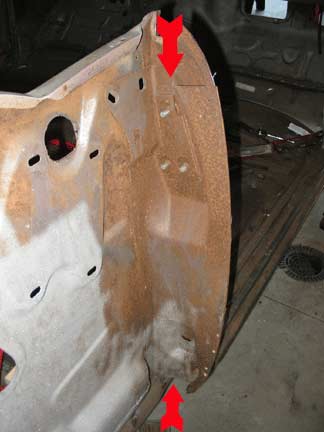
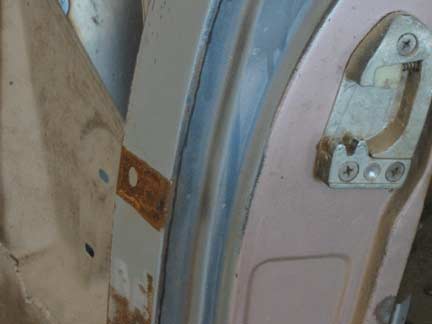
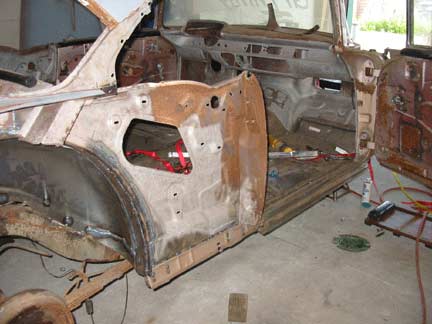
Directly behind the door jambs is a heavy support for the door jamb area.
As shown here between the red arrows.
This support contains the captured nuts for the door latch and adds considerable strength to the door jamb.
When cutting through the door jamb or B pillar, one must be extra careful not to cut through the B pillar support.
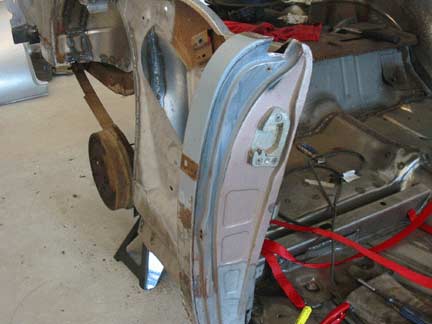
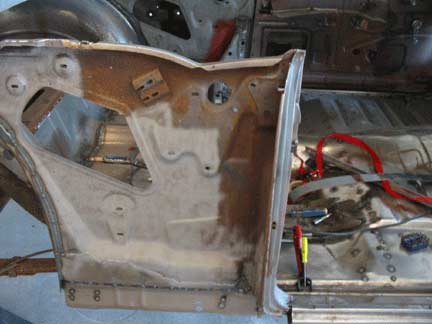
Another couple pics of the passenger B pillar to rear quarter area.
It still needs to be sand blasted and epoxy primed.
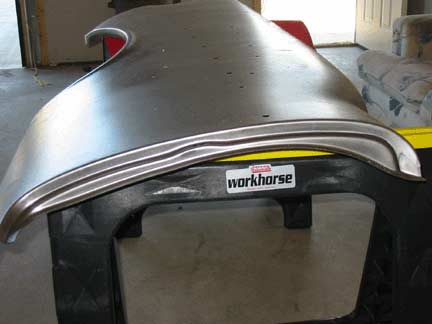
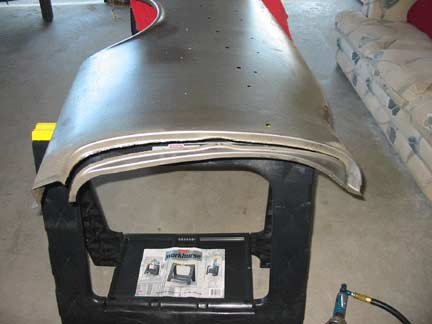
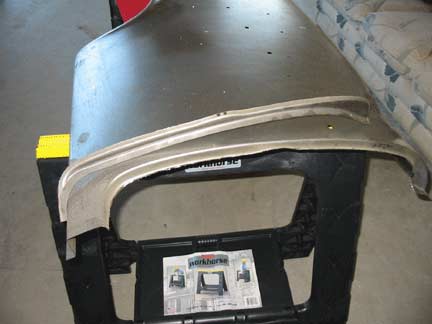
B: is to cut the new quarter near the inner edge of the door jamb. I want to allow alot of overlap to again allow me to work up to a perfect fit.
Well, it's non-returnable now! God I hate cutting up $600.00 parts!
Back on the car, I needed to remove a major attachment point at the C pillar or rear window dog leg.
I drilled out the three spot welds from the inside and removed the piece of rear quarter.
I then turned my attention to what was left of the rear quarter.
The metal was cut to 1/4 inch of the the square mounting holes for the upper quarter trim.
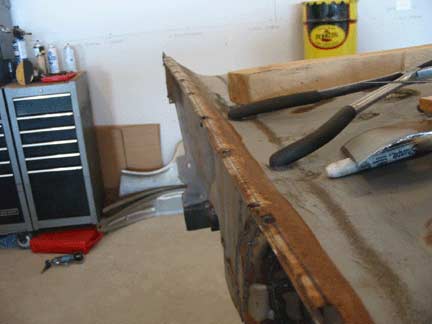
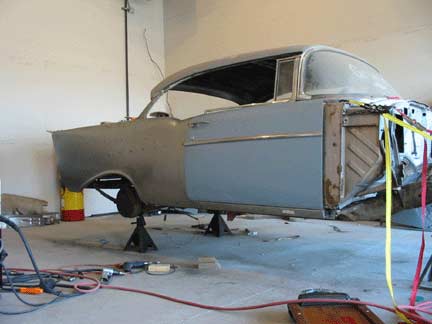
Again the new piece was installed for the sake of checking the fit.
This pic looks great, the reality is it fit really horrible.
The top of the door fit perfectly to the rear quarter, door jamb area. However the bottom was nearly an inch off. The door overlapped the new quarter by 3/4 inch when it was aligned with the rear of the car.
Here is where my hopes once again sank....damn this old girl is killing me.
This is the best I could get the door aligned to the rear quarter, it's pretty awful.
In order to get it this good I needed to raise the rear of the quarter....
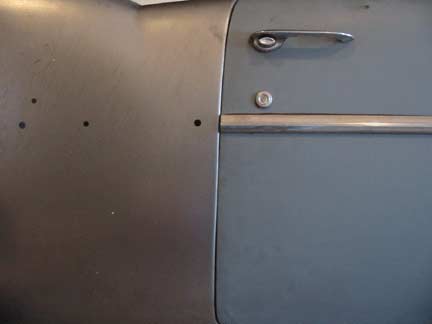
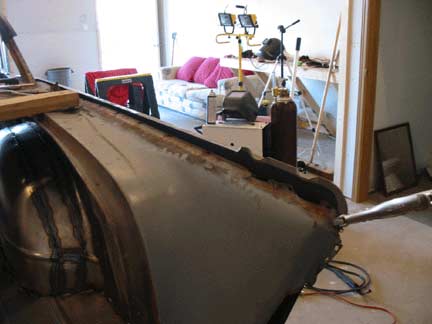
........this much.
This is obviously unacceptable.
I'm really unsure of what to do now.
My instincts tell me to cut a section form the new quarter and weld it to fit.
I'll need to ask for the counsel of those I trust before I proceed.
I hate body work!!!
Go to page
 Back
Back