 Back
Back

A few coats of epoxy primer to get things sealed up!
PAGE 51
11/18
Drivers rear quarter replacement

4.0 hours
It's about time for an update on the longest restoration in history!
There has been some work done on the old girl, not as much as I'd like but it is moving forward.
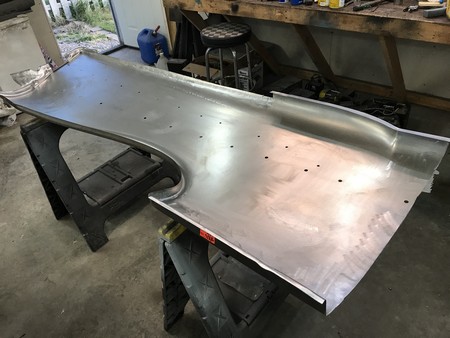
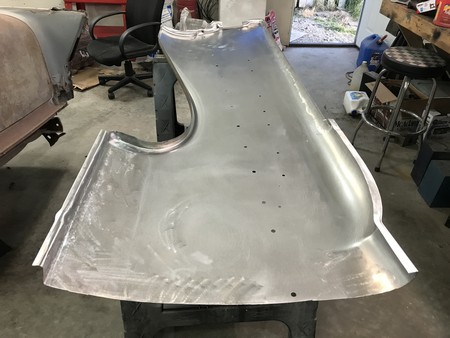
The next step is replacing the drivers rear quarter. It was like Swiss cheese under the quarter emblem.
I went into great detail earlier when I replaced the passenger side quarter, so I won't go into as much detail here.
The inside of the panel is thoroughly cleaned and roughed up a bit for paint adhesion.
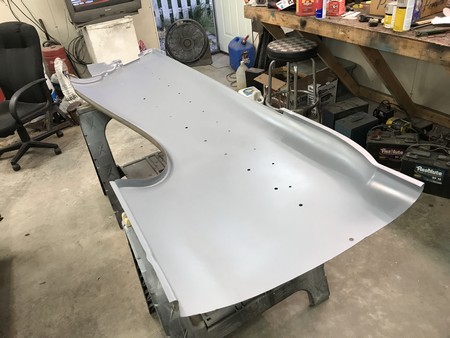
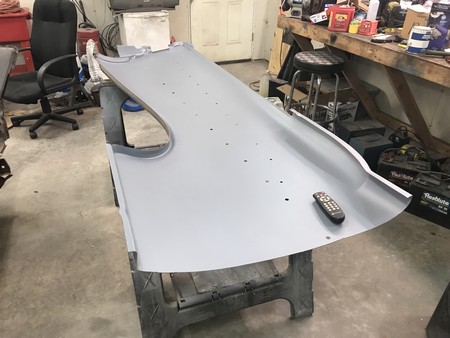
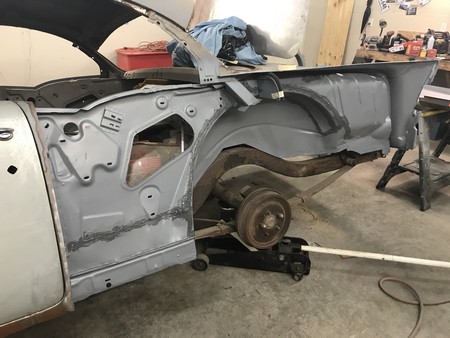
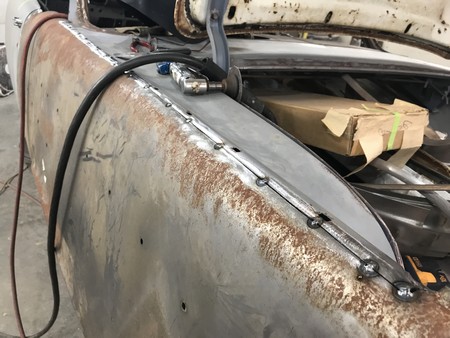
As before the quarter is roughly set in place. Sexy!
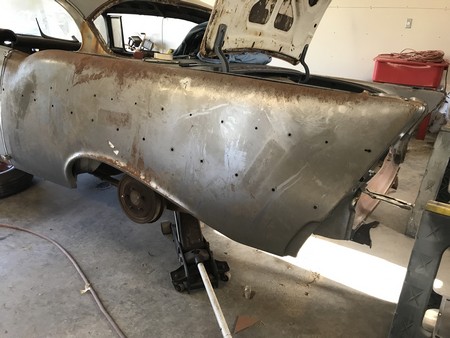
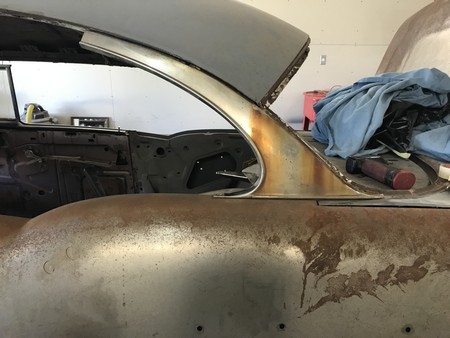
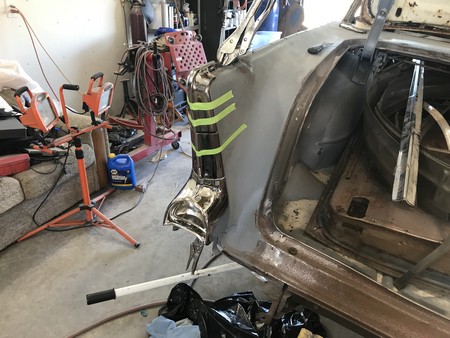
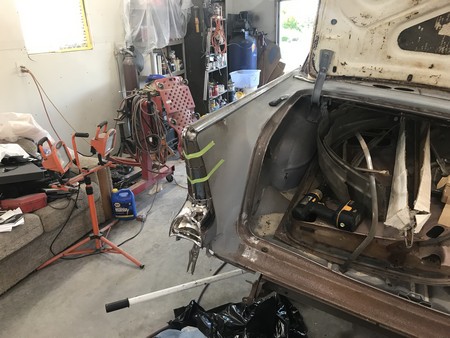
Once again the trim, taillight housing and moldings are used to fine tune the placement and assure those pieces will fit perfectly when finished.
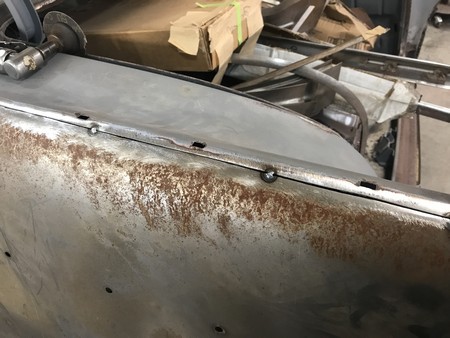
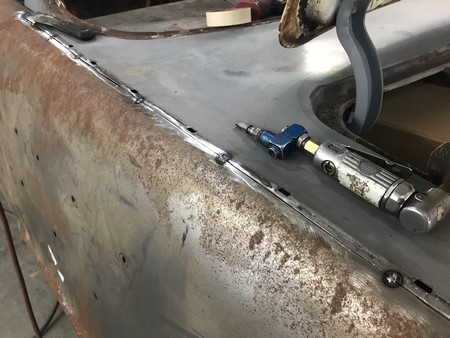
Then the laborious job of small welds moving all around the panel to reduce warpage.
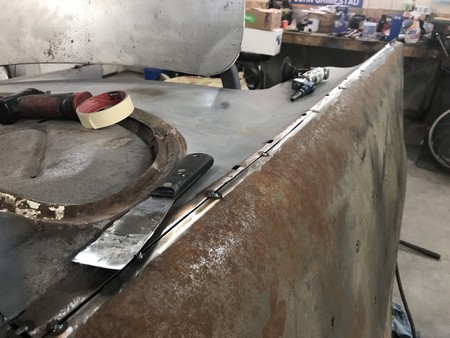
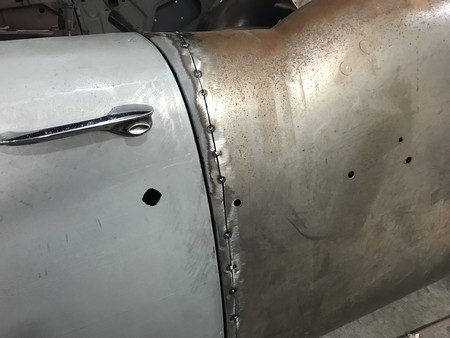
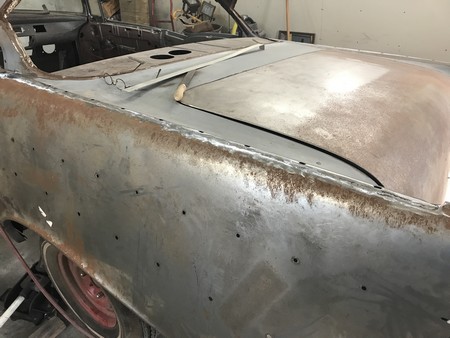
Once the panel is fully welded I can grind or dress the welds.
The welds disappear and the two panels become one.
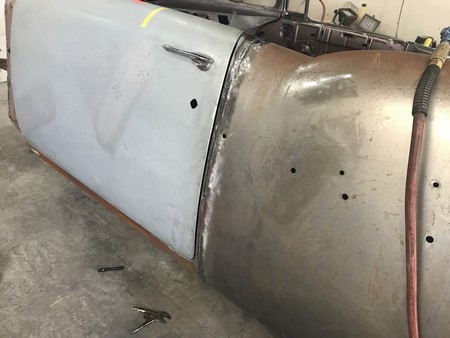
The new door is also hung and adjusted to verify a perfect gap.
Next up the body comes back off and the frame/suspension get the love they deserve.
Go to page