 Back
Back

The differential housing is sandblasted and thoroughly cleaned.
I just set the housing in place on the new perches and began to do some very rudimentary measurements. It needs to be centered side to side.
PAGE 53
11/18
Differential and rear suspension
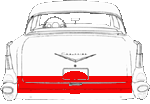
I decided to put a Ford 9 inch rear differential in the old girl. I hope to make some real power with her one day and wanted a bulletproof rear end.
I found this on Craigslist about an hour from me, it was cheap and already a pretty narrow rear end.
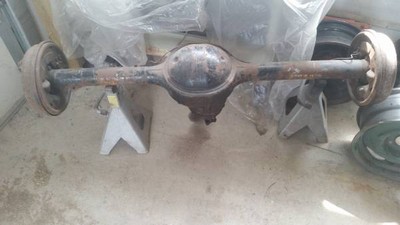
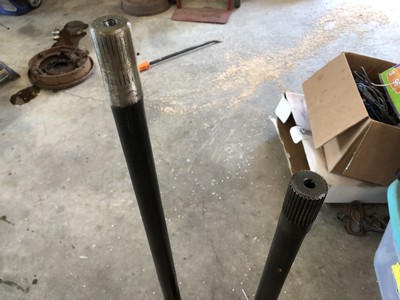
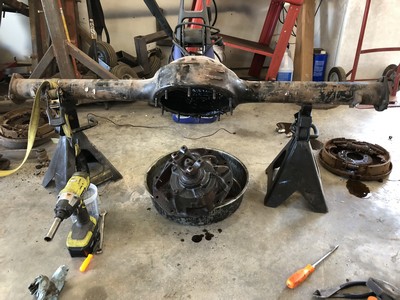
The axles are only 28 spline and the long one was completely stripped. Someone had some fun!
I dropped the center section and stripped the rest of the housing.
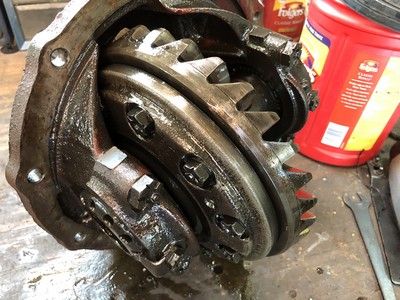
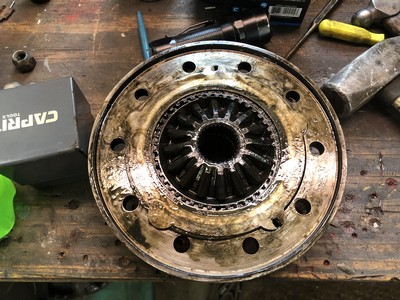
After getting it apart I found it was a 3.0 to 1 gear ratio and a very old style of Fords positraction called Equa lock. It's a pretty old style, not really desirable and needs to be upgraded.
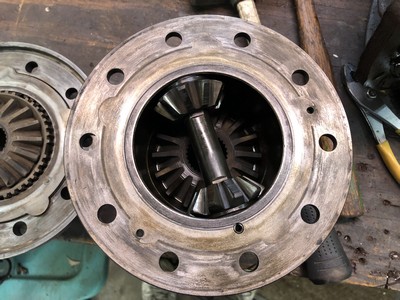
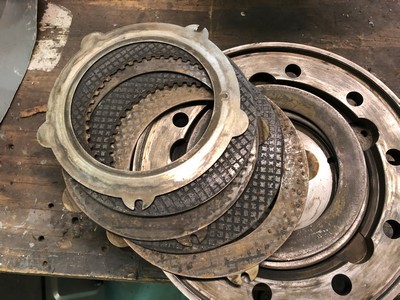
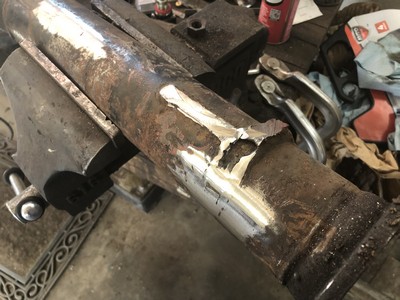
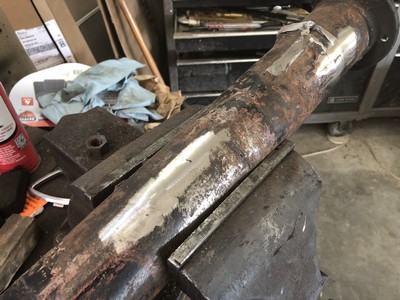
There were several areas where mounts were welded on the axle tubes over the years. It took some time to grind these down smooth without going too far.
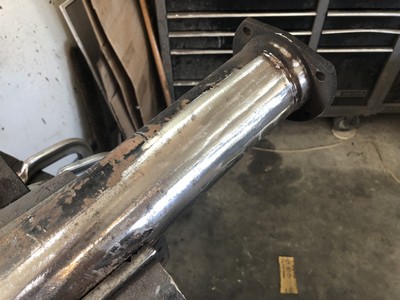
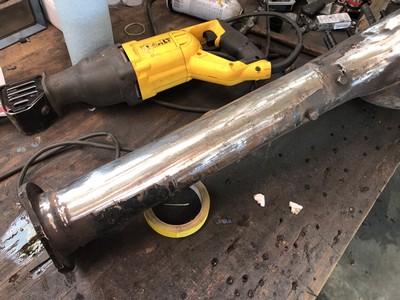
It's all nice and smooth.
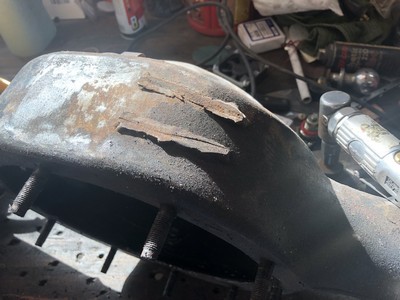
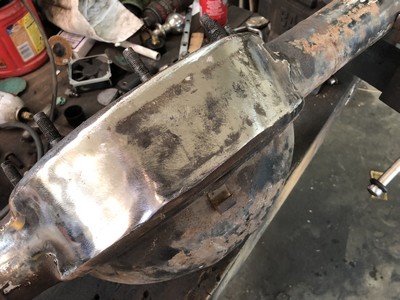
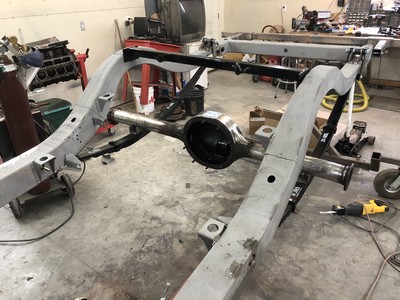
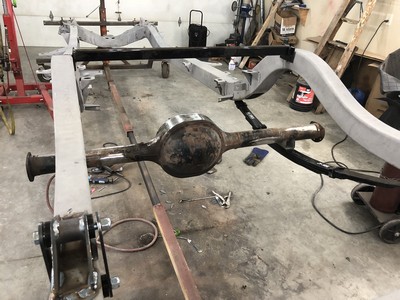
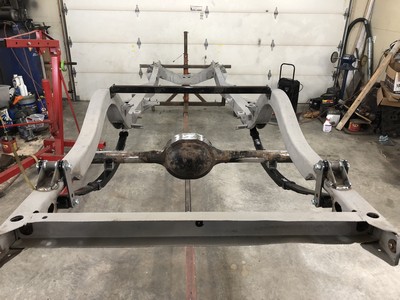
The empty case is test fitted on the spring perches. And the beginning of a whole lot of measuring.
I like how it looks!!
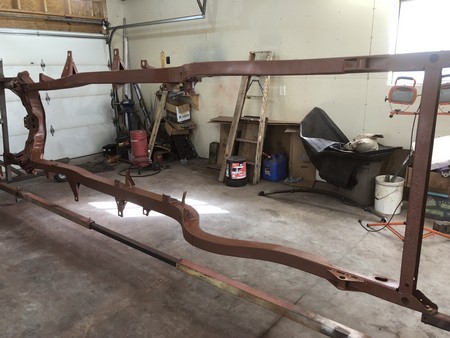
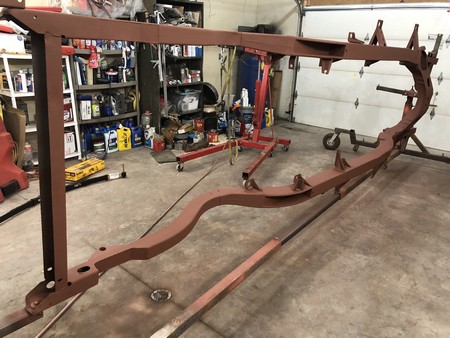
Now that I know everything lines up and is right lets sling some primer.
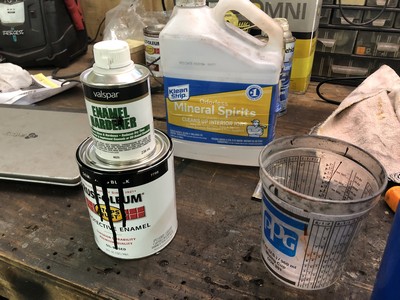
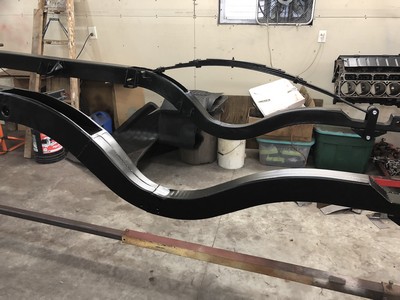
For chassis components that won't see any direct sunshine I like to use enamel.
Mixed 4-1-1 with mineral spirits and Valspar hardener it dries quickly and very hard. It's also very easy to repair any damage or scratches.
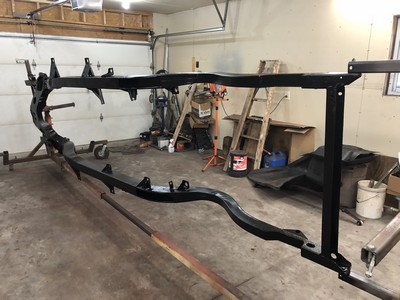
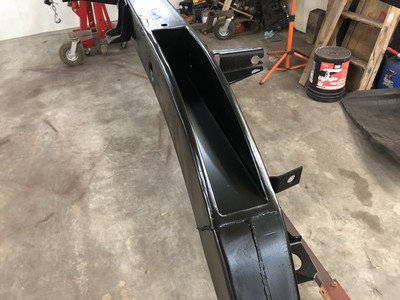
Time to start assembly! The fun part!
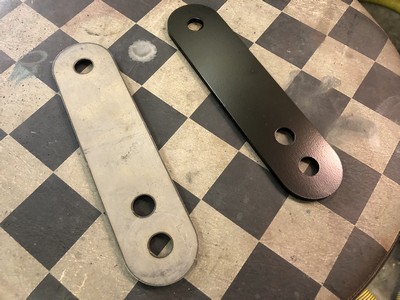
I did powdercoat the shackles to match the frame.
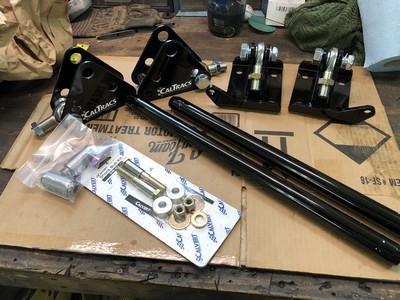
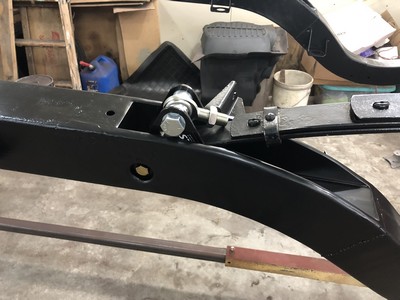
I'm using Calvert Racings Caltrac traction bars. They are really impressive and well built.
They will keep me from embarrassing myself with the rear wheels hopping up and down when I get on it.
The differential housing is sandblasted and thoroughly cleaned.
I just set the housing in place on the new perches and began to do some very rudimentary measurements. It needs to be centered side to side.
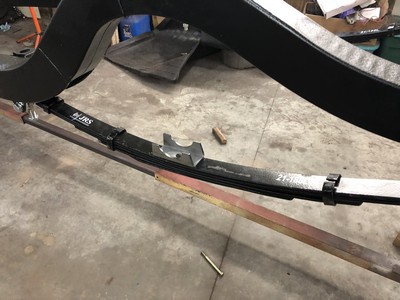
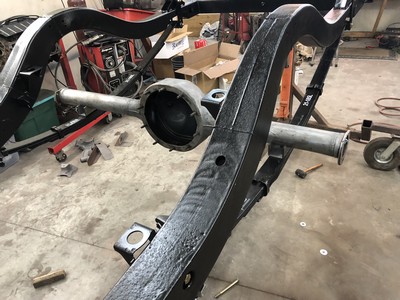
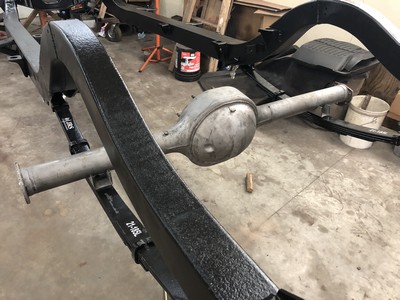
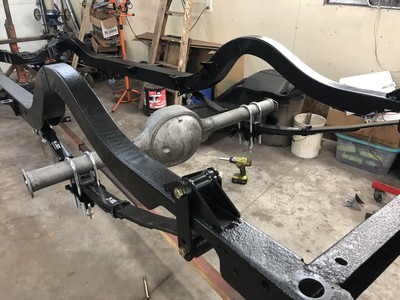
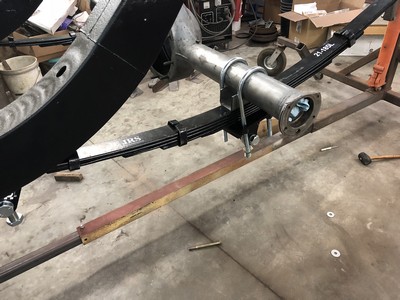
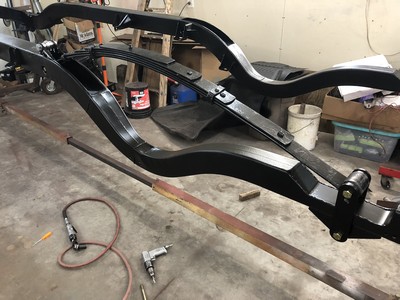
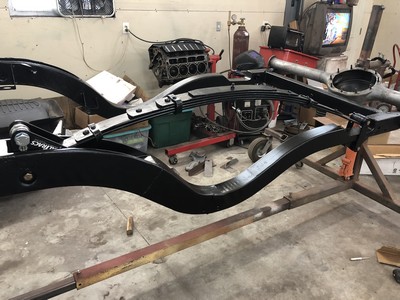
Everything is snugged up together. Then I installed the Caltrac bars from the front pivot to the U bolt plate under the leaf springs.
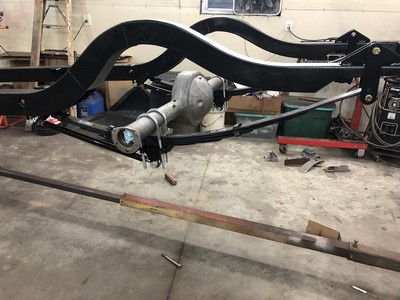
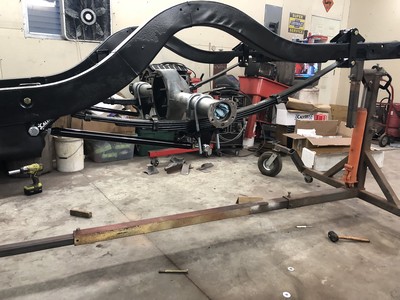
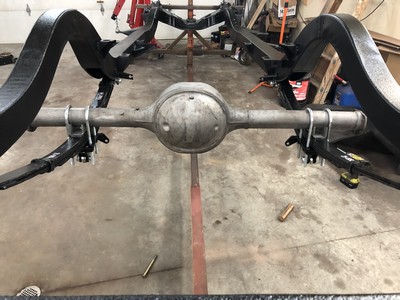
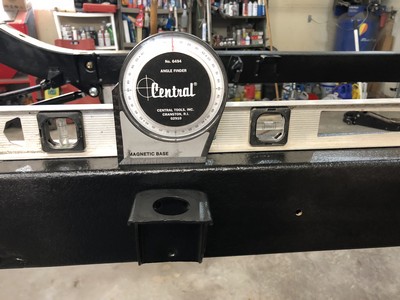
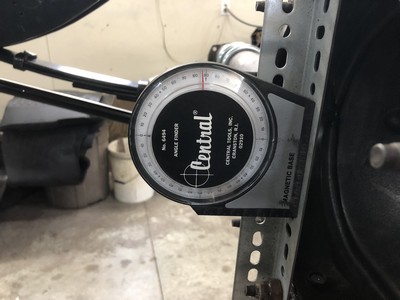
Time to set the pinion angle. Ideally I'm looking for 4 to 5 degrees up at the pinion.
I first verified the frame was perfectly level. Then after measuring everything over and over and over......
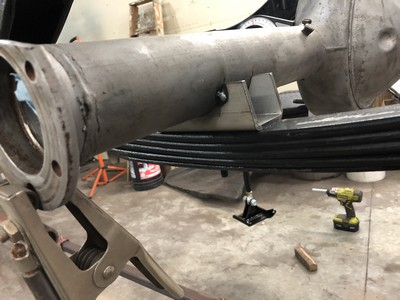
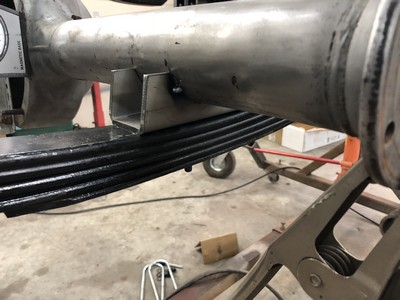
...I tacked the perches in place.
Setting the pinion angle is best done with the full weight of the finished car flexing the suspension. I used ratchet straps to cinch down the suspension and check to verify the angle didn't change.
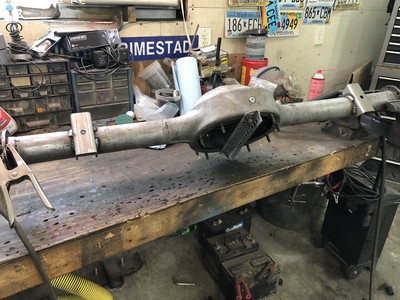
And then finished welding them on the bench.
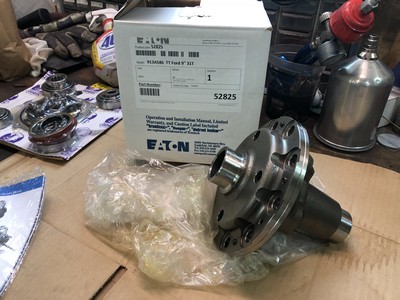
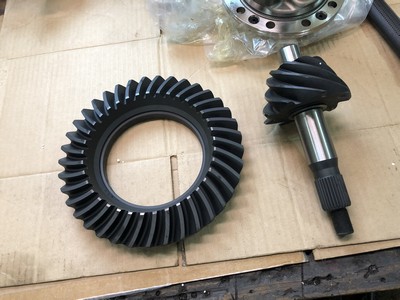
This is some beautiful stuff!
An EATON 31 spline Truetrac "positraction" unit and 4.11 to 1 rear gears.
I plan on running tall tires and a transmission with overdrive and hope I can get away with low gears.
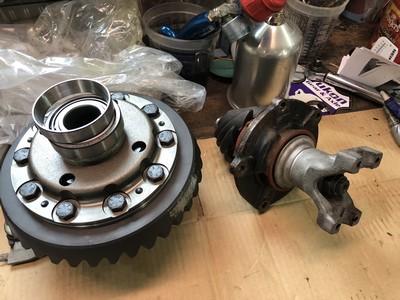
And just like MAGIC it's all together.
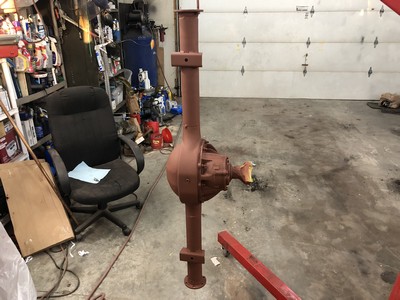
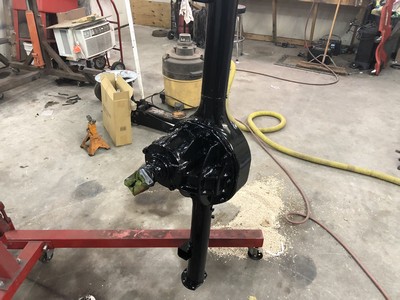
Some primer and paint and SHAZAM! Looks like new!
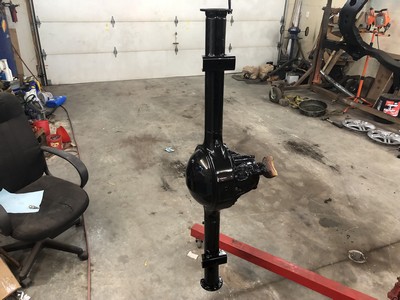
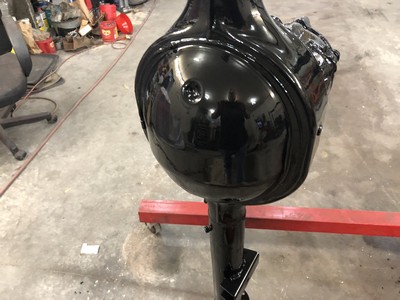
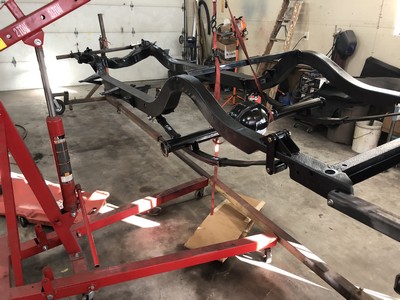
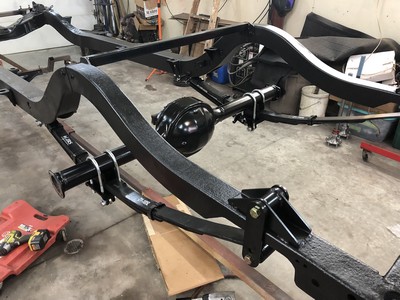
Got it all set back into place for the last time!
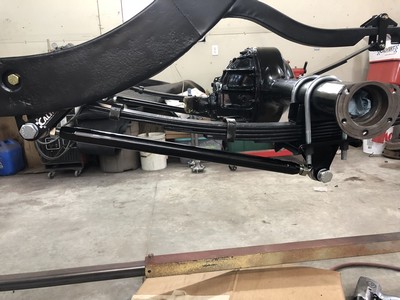
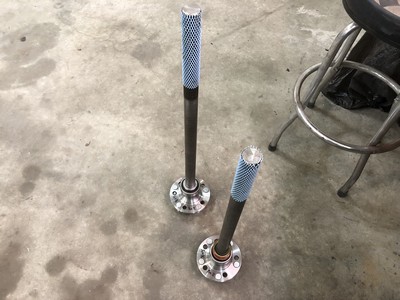
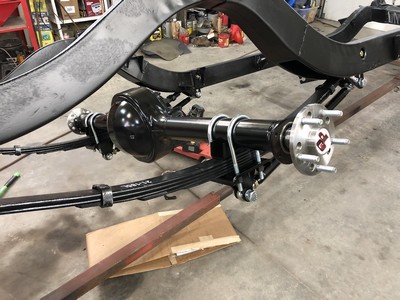
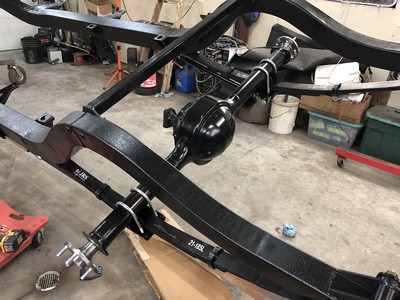
Caltracs all hooked up, new 31 spline axles in, she's coming together!
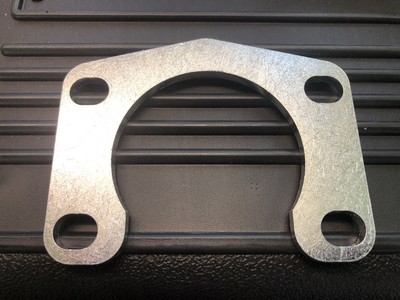
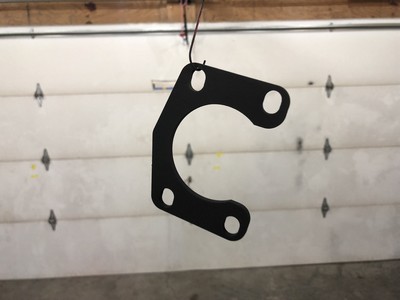
Finished up with some powdercoating a few last items, the axle retainers...
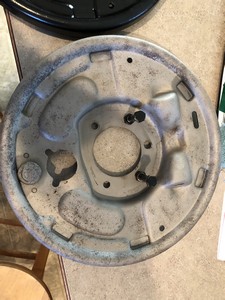
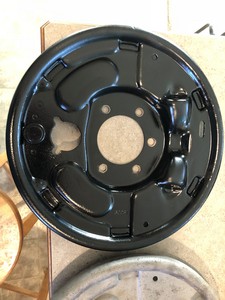
...brake backing plates...
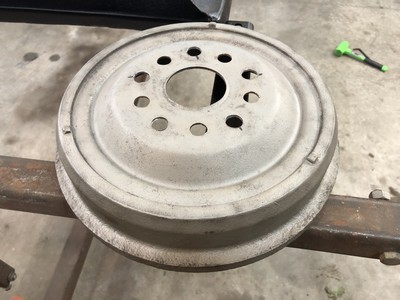
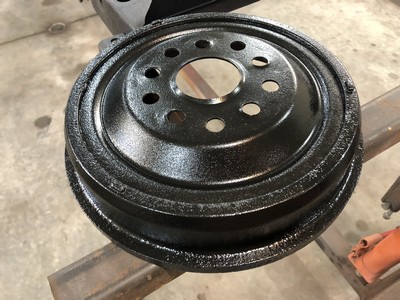
...and rear brake drums.
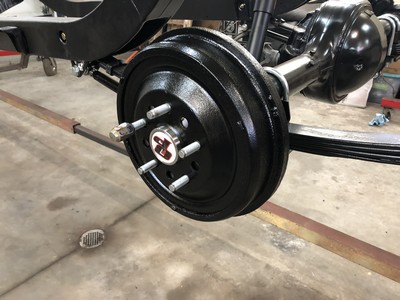
It's a pretty good looking rear end!
Next up we'll tackle the front suspension.
Go to page