 Back
Back

Time to break out the Sawzall!
PAGE 52
11/18
Frame and leaf spring pockets
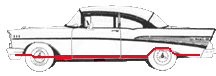
I didn't get any pictures of removing the body this time. It was pretty uneventful and boring.
There's a long list of repairs and modifications that the frame needs.
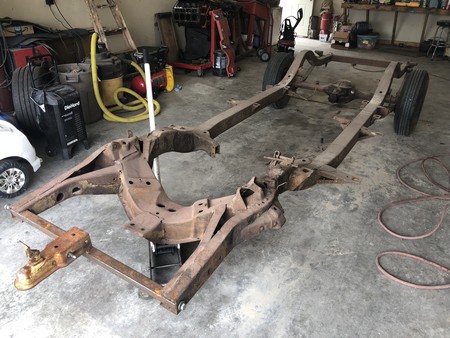
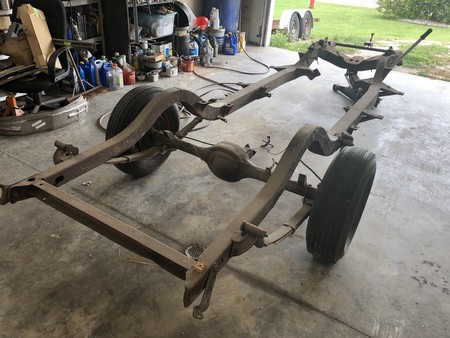
I had disassembled the front suspension a long time ago. None of the original front suspension will be reused.
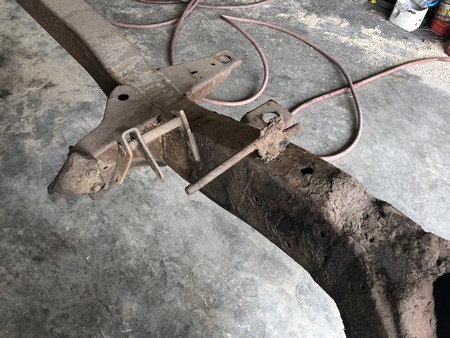
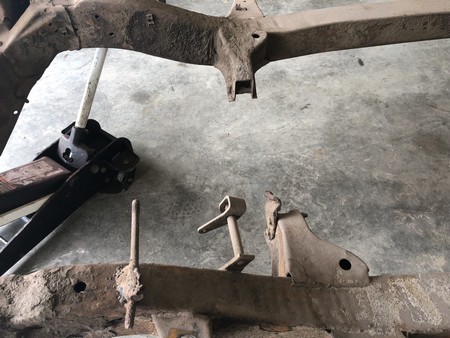
The transmission mounts from the original powerglide will need to be removed, I will be using a transmission mount on the rear of the tranny and this will open up a lot of room for the exhaust.
I'm also removing the transmission shift linkage and a beauty of a gobbed on welded bolt that was used for a clutch pivot.
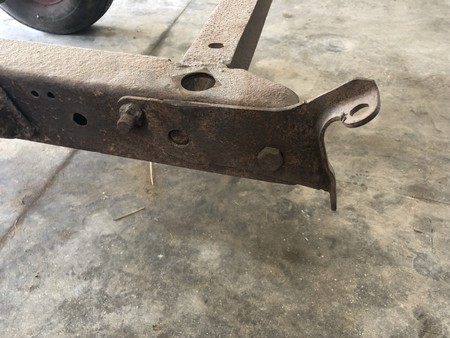
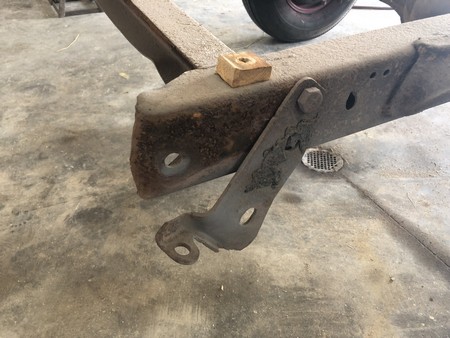
These two VERY stubborn rear bumper mounts wasted an hour of my time.
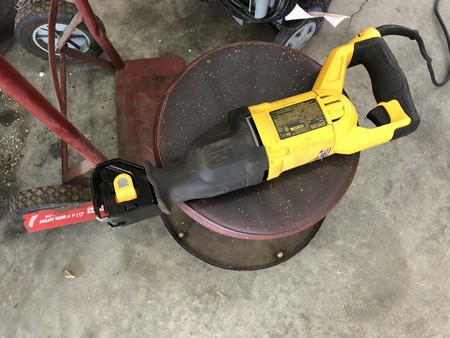
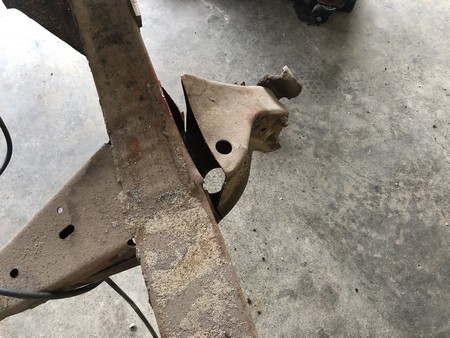
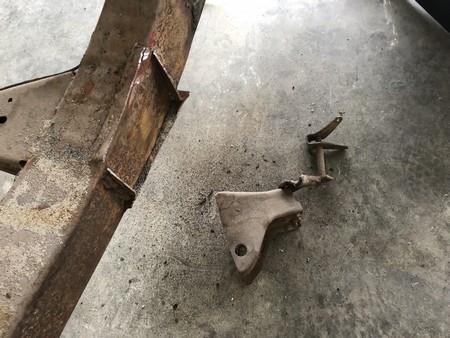
The mounts didn't put much resistance. The blade went through them like butter.
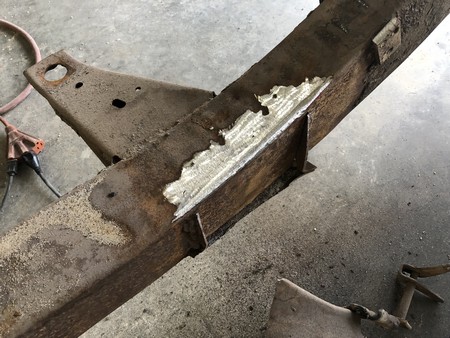
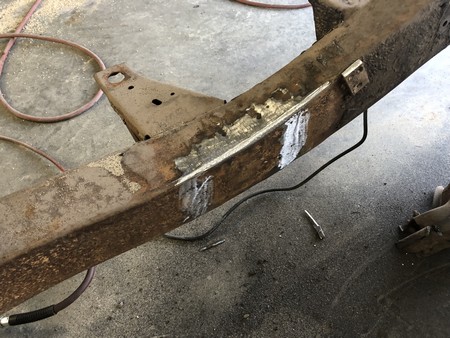
After cleaning up what's left with the grinder you'd never know it was there.
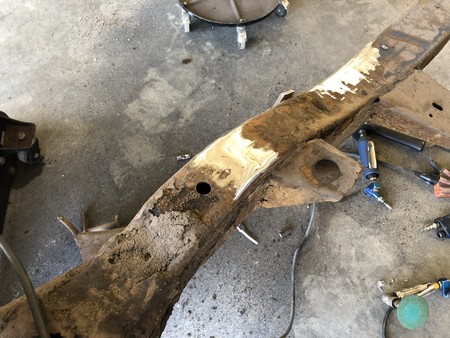
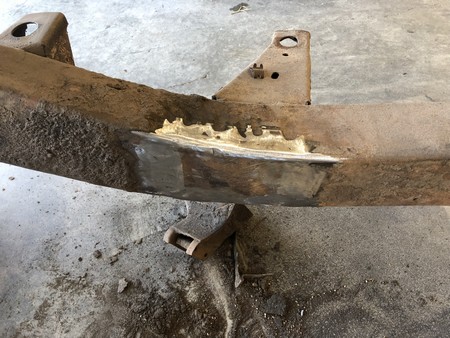
Everything out of the way! What a messy damn job.
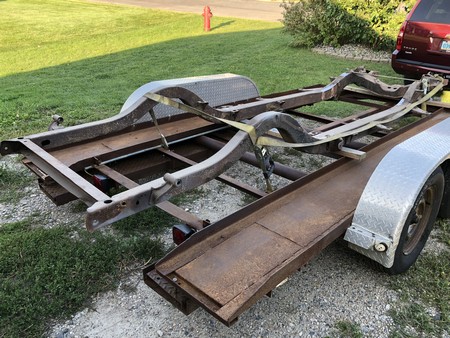
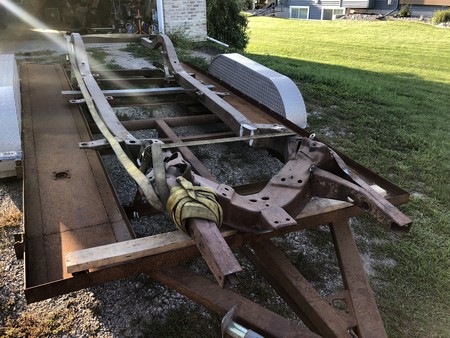
Off to the sandblaster. I really hope it doesn't reveal any serious damage.
I should have them do the trailer while they're at it!
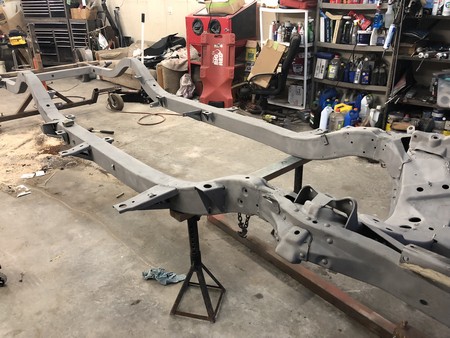
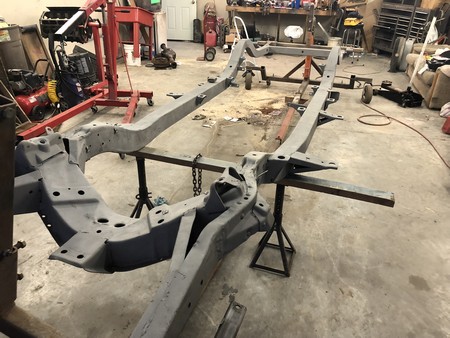
Back from the blaster and it looks great!
I'm very happy and a little surprised due to all the rust on the bottom of the car.
I got it up on the rotisserie and balanced pretty well.
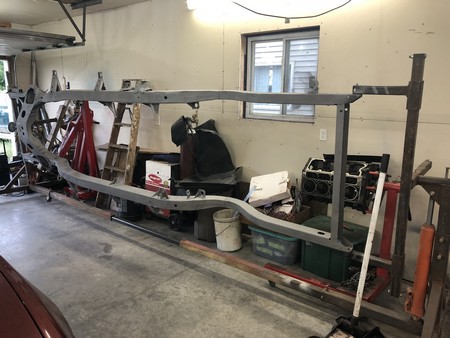
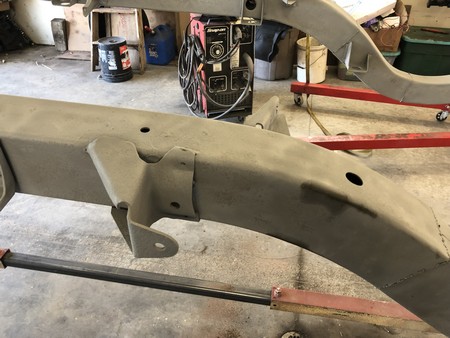
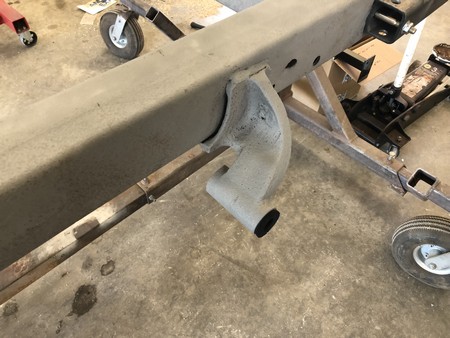
I'm pocketing the rear springs to gain several inches in the wheel well. This will allow a much wider rear tire to be used.
These rear spring perches need to be removed.
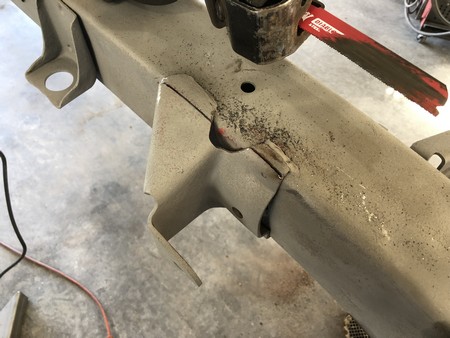
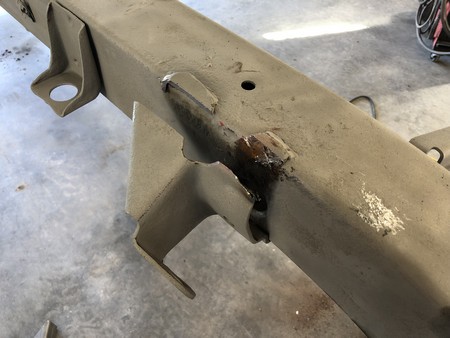
The front perch comes off just as slick as the tranny mounts did.
Looks like a little rot that needs attention, I'm not going to complain.
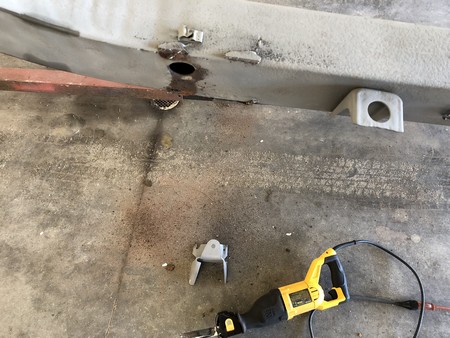
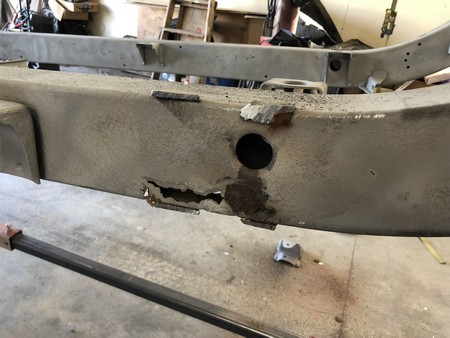
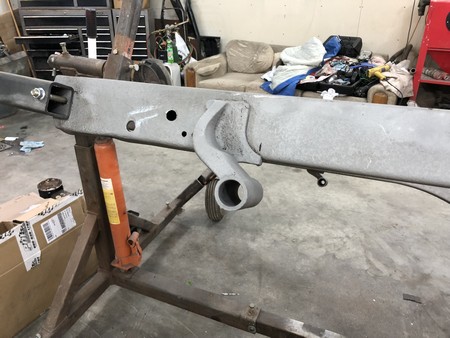
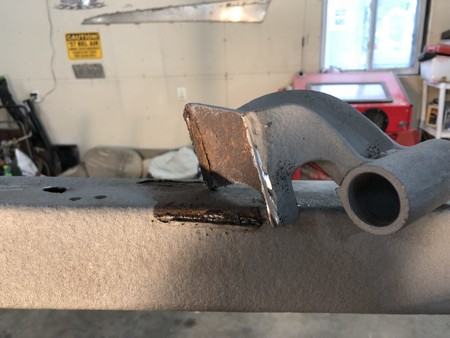
The rear perches put up a little more of a fight coming off.
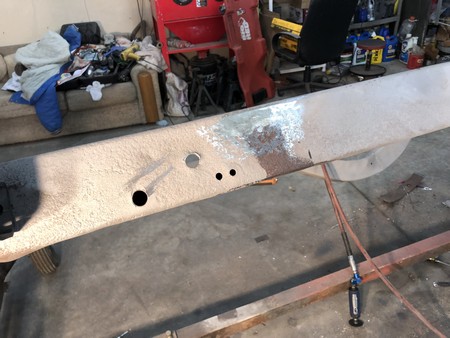
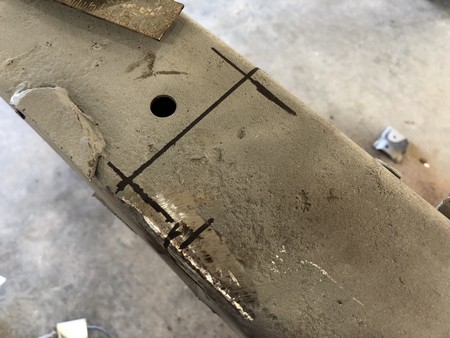
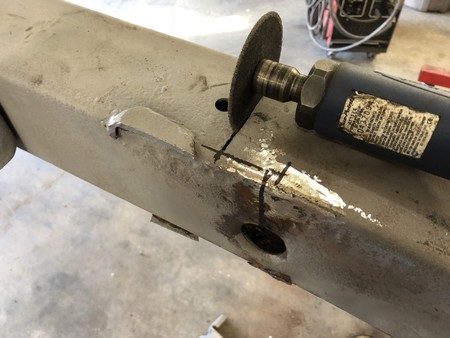
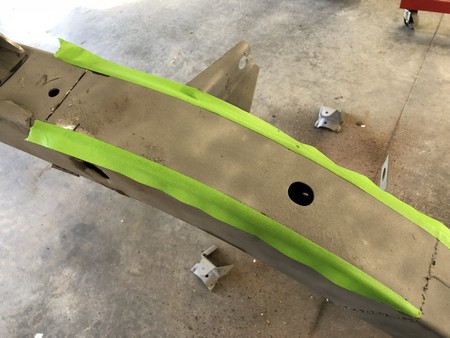
After A LOT of measuring and doubting myself I began to mark out and cut the front hole for the pocket.
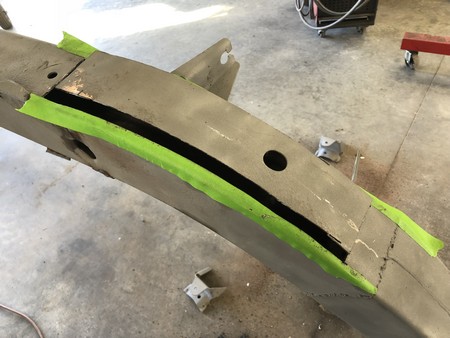
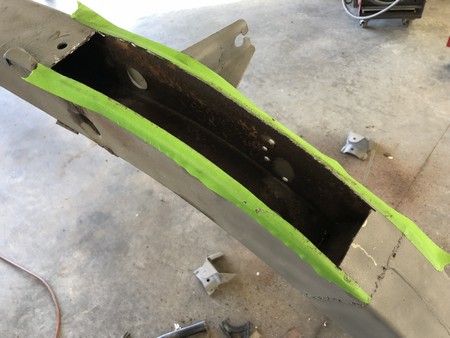
That's a big hole in my only frame!
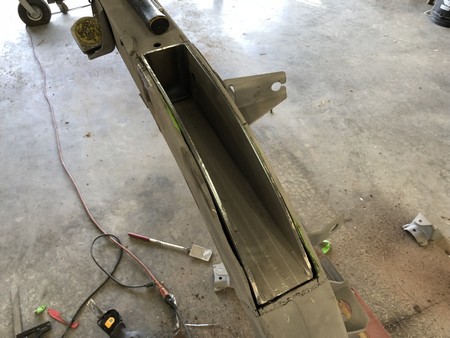
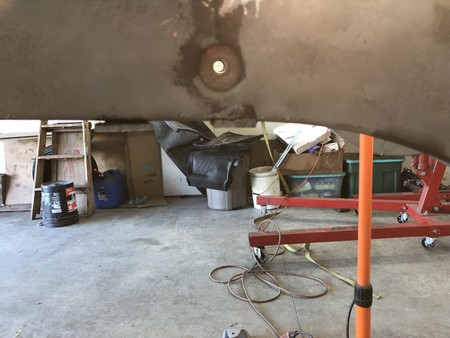
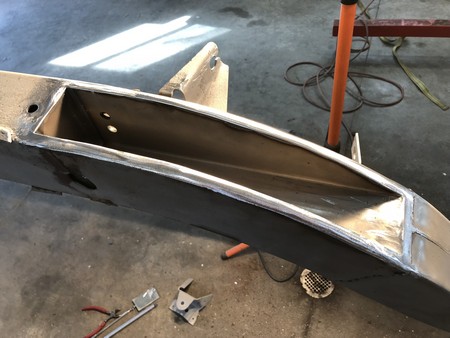
The new pocket fit snugly into the frame. The hole in the new pocket must be centered in the hole in the frame for the factory spring perch bolt.
The pocket is welded in and the weld is cleaned up. Looks good, the other side should go quicker.
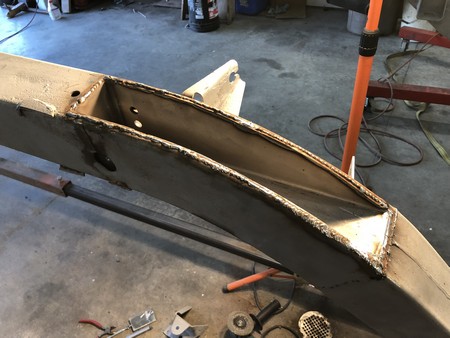
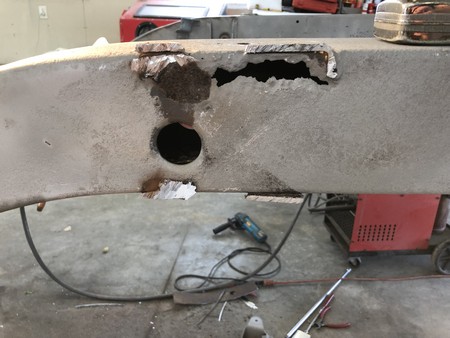
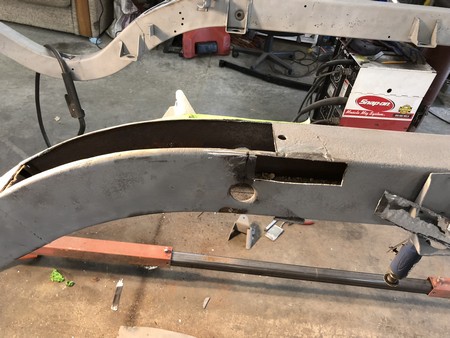
Time to address the rust hole on the other side. After getting everything measured out the pocket was cut out and the rusted out area was removed. When will I be done cutting out rust?
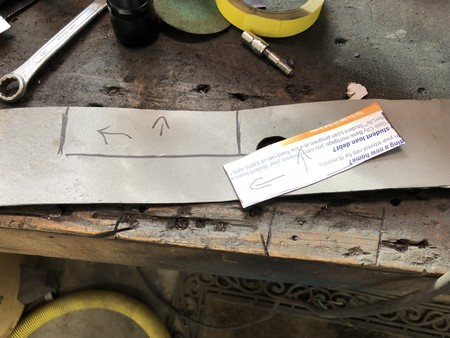
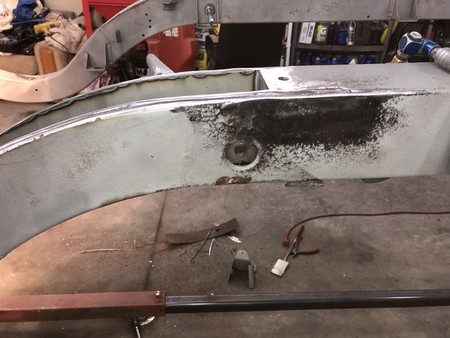
Using a small cardboard template I cut a patch piece from some of the frame material I had cut away. Welded it in along with the pocket and cleaned it all up.
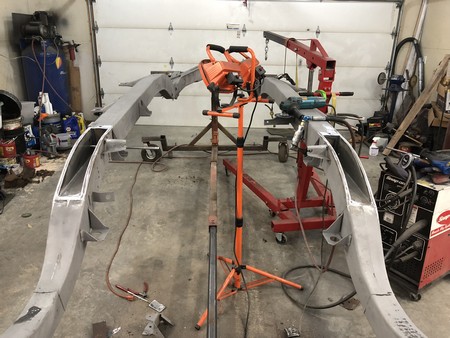
Two spring pockets! It actually turned out really well!
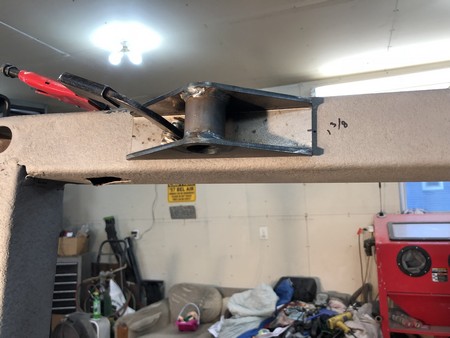
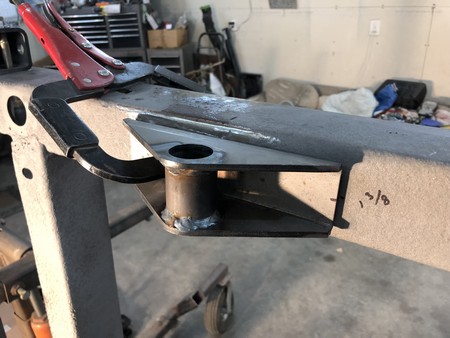
Finding the exact proper position for the rear shackle mount about drove me mad. Measured 6 ways to Sunday I finally...
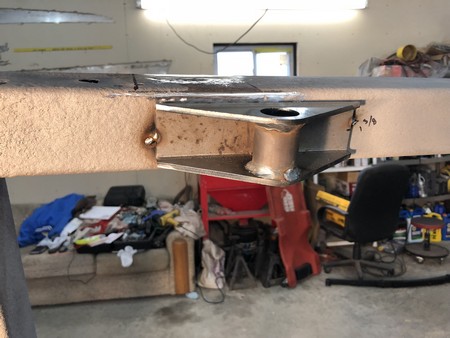
...tacked it in place.
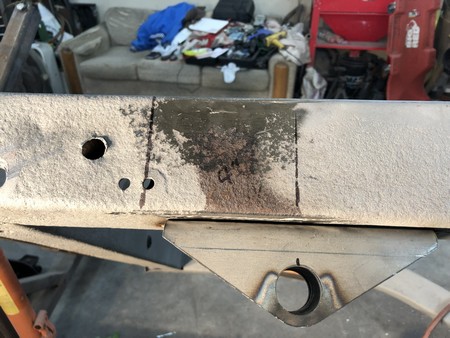
A whole bunch more measuring for the cutout on the lower part of the frame.
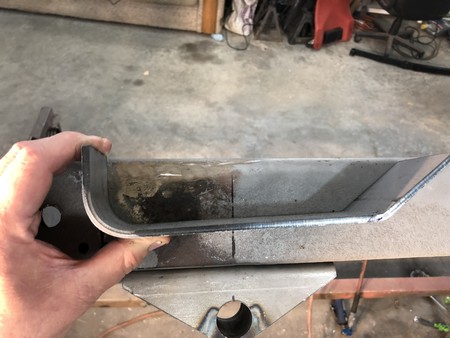
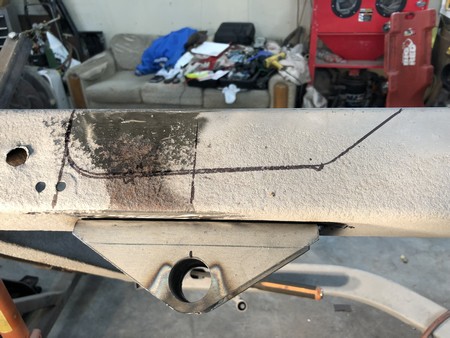
It's time to start cutting! Hope I've measured enough times.
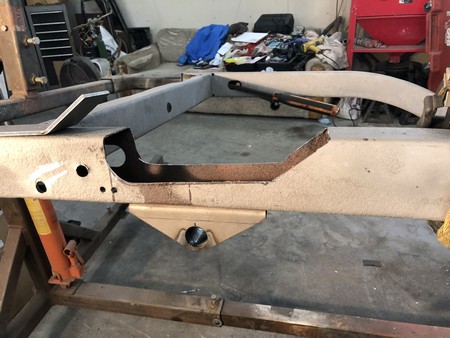
And another awfully big hole in my frame!
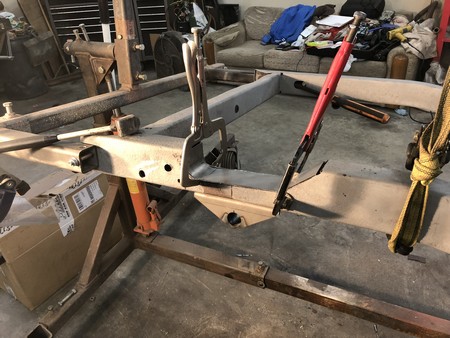
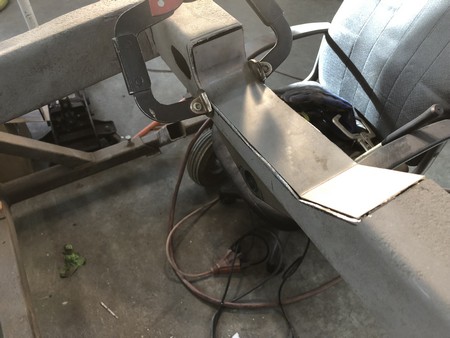
I'll try and fill it up with this piece.
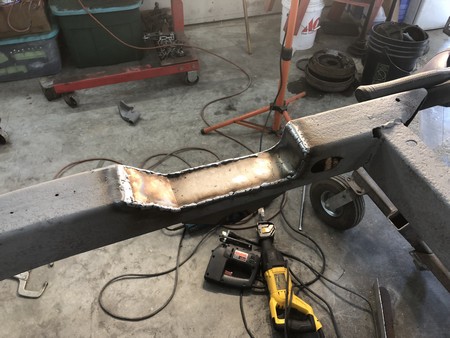
Well what do you know? It fit really well.
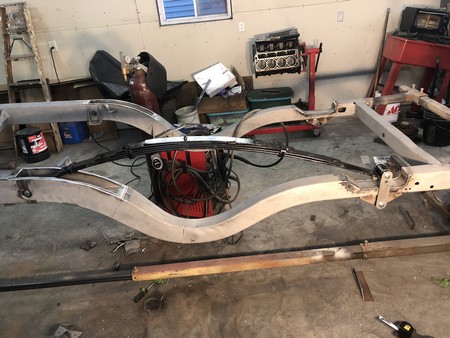
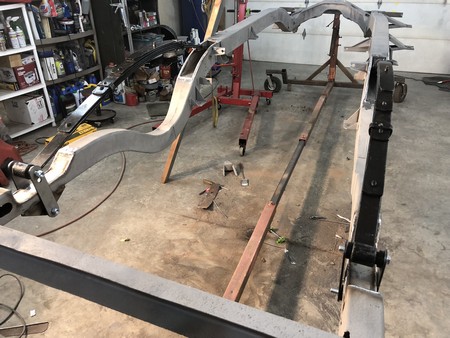
After completing the welds on the shackle mount I did a test fit of my new 2" lowering springs, I'm really happy how it all fits.
It's time to get a differential ready for this baby!
Go to page